It is very common to see a photo of a seedling or small nursery stock on social media with the following comment: “I am new to Bonsai, please help with advice”. Where to start? What the follows is a number of people writing one liners or a bit more with a genuine interest to help.
I have been demonstrating and teaching Bonsai now for many years and am following what I think is a logical series of steps to enable the new Bonsai enthusiast to work towards a specific goal. It is almost paint by numbers, but in the absence of knowledge and skills, it is the best way to get the basics across in a short period of time. Here are the steps:
- Unearth the topsoil to look at surface roots.
- Determine the front of the tree.
- Decide on a natural flow of the trunk dependent on the style envisaged.
- Decide which branches / side shoots to keep.
- Remove excess branches and foliage.
- Some of these can be selected for deadwood (jin).
- Create Jin.
- Wire main trunk if required.
- Bend trunk to desired shape.
- Wire branches into position.
- Clean hanging foliage up.
Each of these steps require a lot of knowledge to get to the end result. This is part of the conversation as the design unfolds. Small nursery material can take up to three hours to style with a new enthusiast in a workshop situation. The hands-on work takes only about thirty minutes to complete, but the explanations and answering of questions, in my mind the most important part, takes up a lot of time.
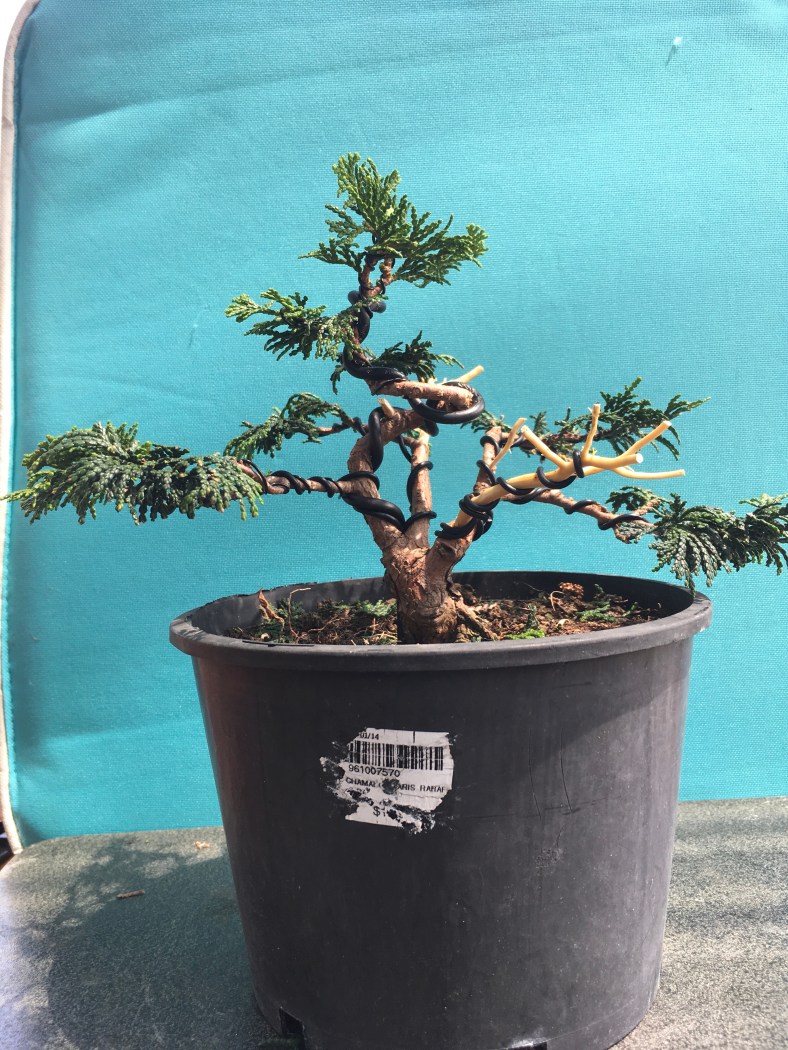
This Juniper is nursery stock and is 20cm high from the top of the soil. It has been standing around here for a year or so and received very little attention.

The first step is to scrape some of the soil away to see if there are any prominent, larger roots that can help to make a decision about the front / viewing side of the tree. In this case it only contained a whole lot of fine fibrous roots.

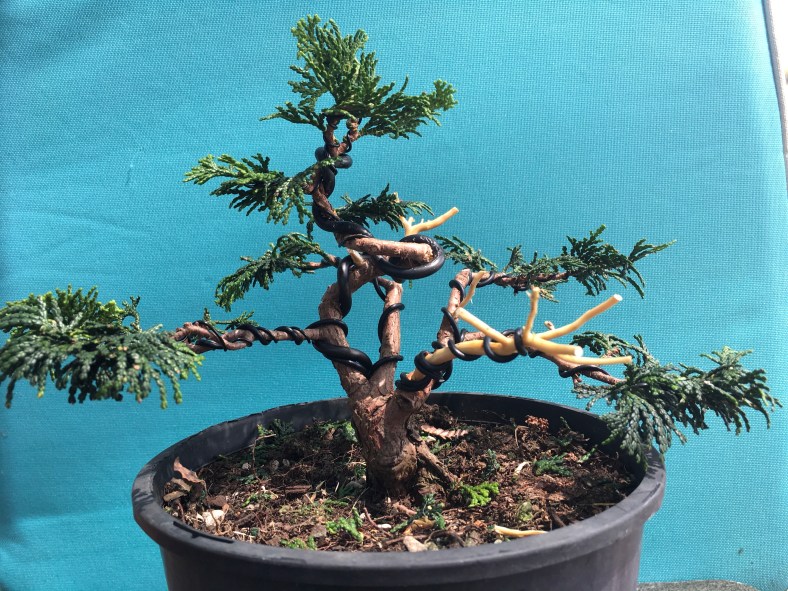
It is therefore now up to the trunk line to give an indication of what could be a possible front. For newcomers, we usually look for good movement and flow.

Once the best angle is determined to show things like flow and movement as well as taper or interesting features, it is marked and excess branches and foliage can be removed to reveal the trunk line. The conversation at this stage will include things like removing branches growing from the same height, branches on inside curves and crossing branches.
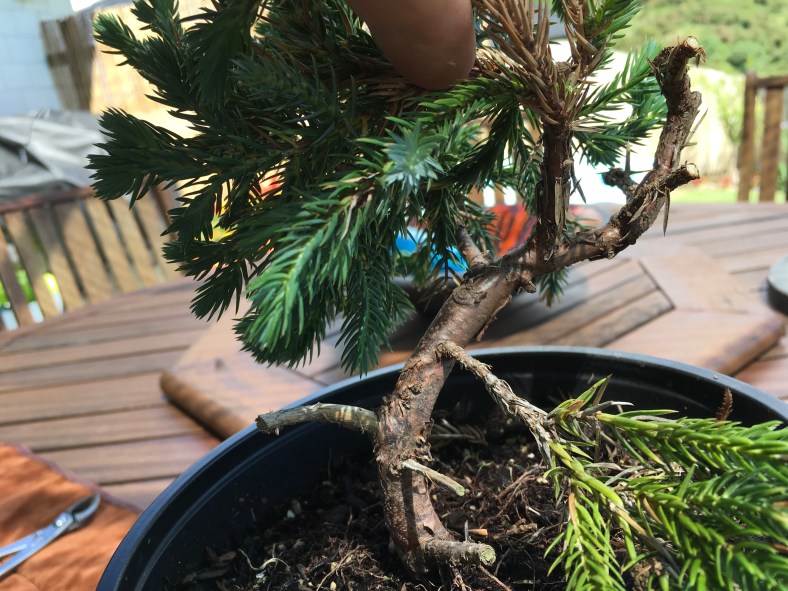
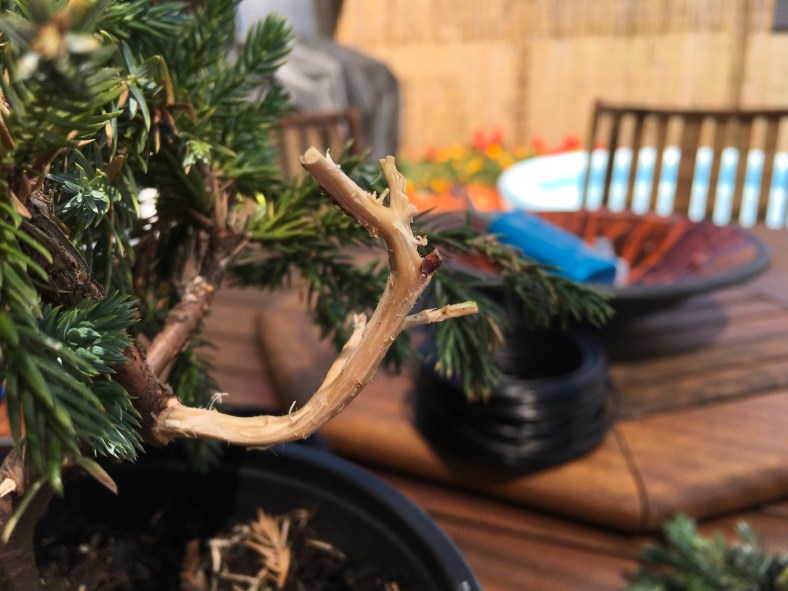
Some of the branches are identified as possible deadwood branches and these are kept a bit longer. Bark is then removed.

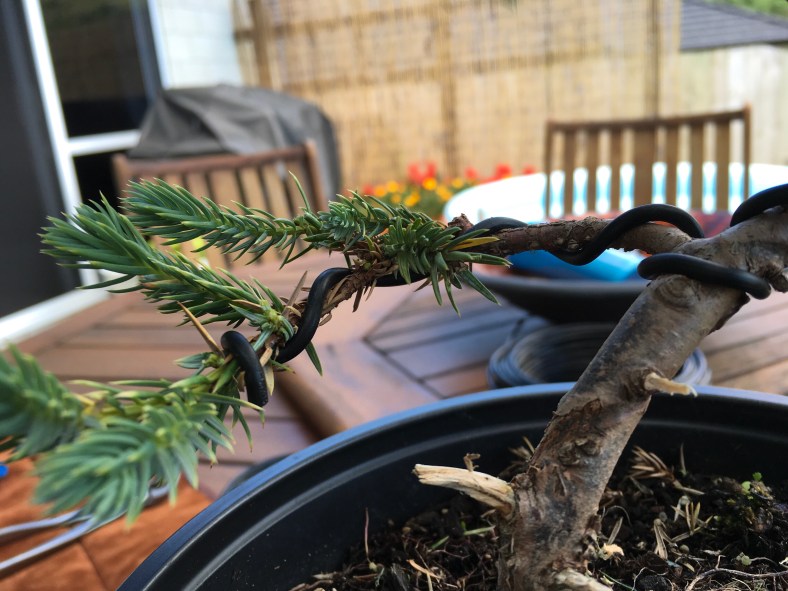
All of these steps have cleared the path for the trunk to be wired. Just the basic of wiring is explained and demonstrated at this stage as this skill is seen as a bit more advanced for a newbie. I think it is important to allow the person to start on their wiring pathway as it is an integral part of Bonsai design. As said, we stick to the basics at this point. It is more important to talk about design and flow at this point.

The branches can now be wired.
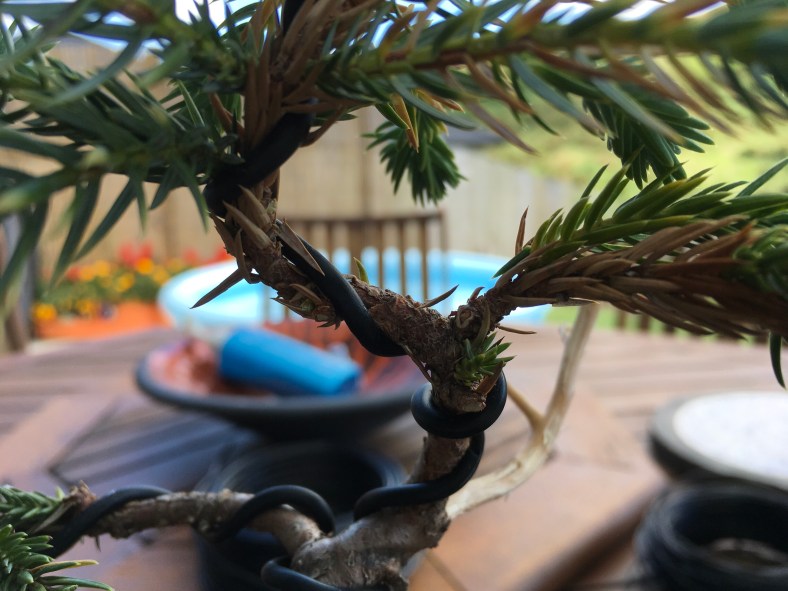
The next step is to place the branches in position while a conversation about safe bending takes place. Overall tree health is emphasized at all times. Once the placement is done, excess foliage, especially those growing downwards or upwards is removed. The concept of foliage pads is also touched upon. I find it is important to at this stage point things out like depth (back branches) and negative space. These are all explored ta more advanced workshops.

The last part of the workshop is focused on future growth, the role on foliage in feeding the plant (photosynthesis) and then the very important aftercare of the tree. Protection of small buds and the removal of older foliage as the tree buds over the next few months is discussed as well as feeding requirements and protection over the next month or so.
Potting, root management, carving, severe bending and more advanced wiring techniques are all part of more advanced techniques to be covered at advanced workshops.