

Let’s get one thing out of the way first. The term Yamadori refers to a tree lifted from the wild where it has spent many years, showing good age with features that will make a great Bonsai. When a tree is lifted from a garden or from any other place for that matter it is not a Yamadori, not even an Urban Yamadori as some people refer to it. Yamadori in my mind is for one thing and one thing only.
I have recently seen a photo of a very nice Magnolia Bonsai tree and wanted to try my hand at one. As luck would have it, a garden tree that was to be removed was advertised in my area and I jumped at the opportunity.

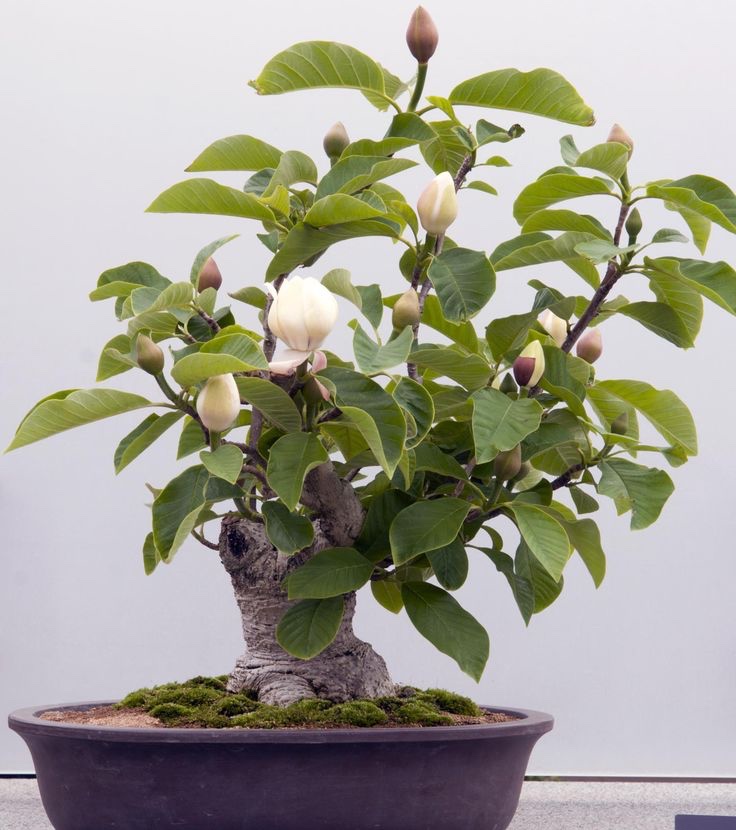
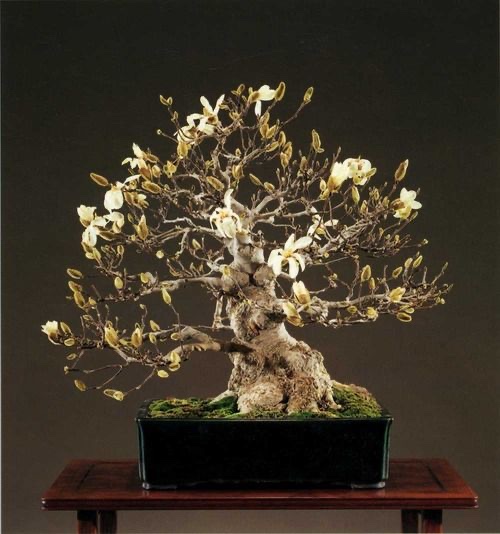
Examples of Magnolia Bonsai from various sources (Pinterest, Bonsai Nut).
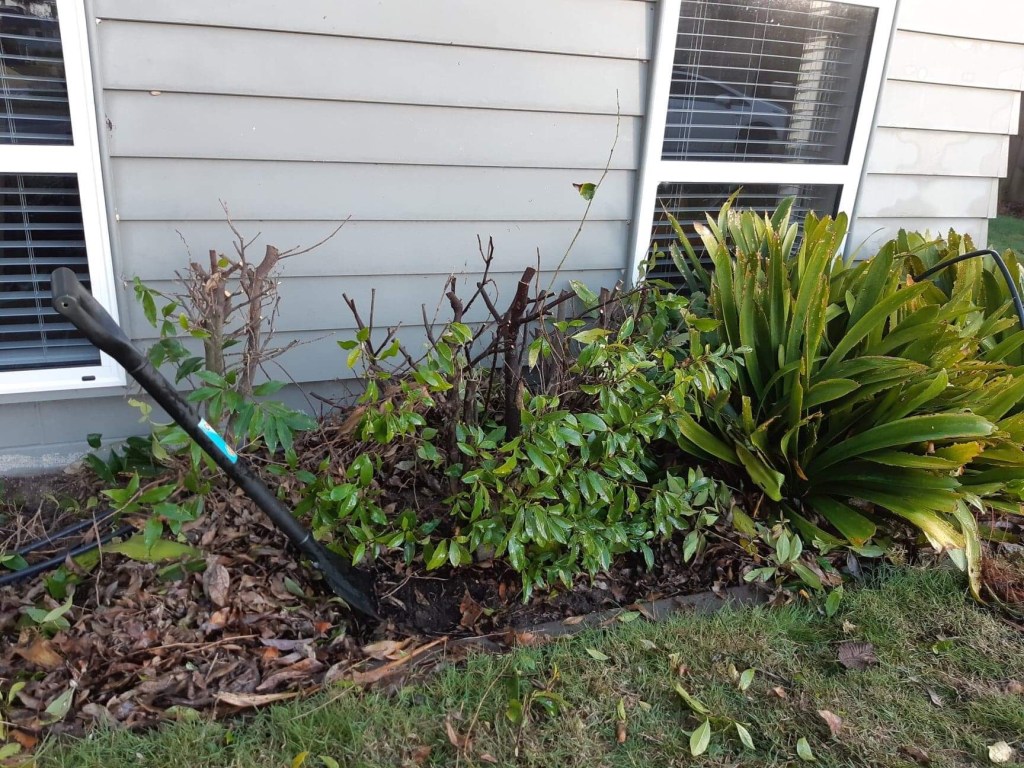
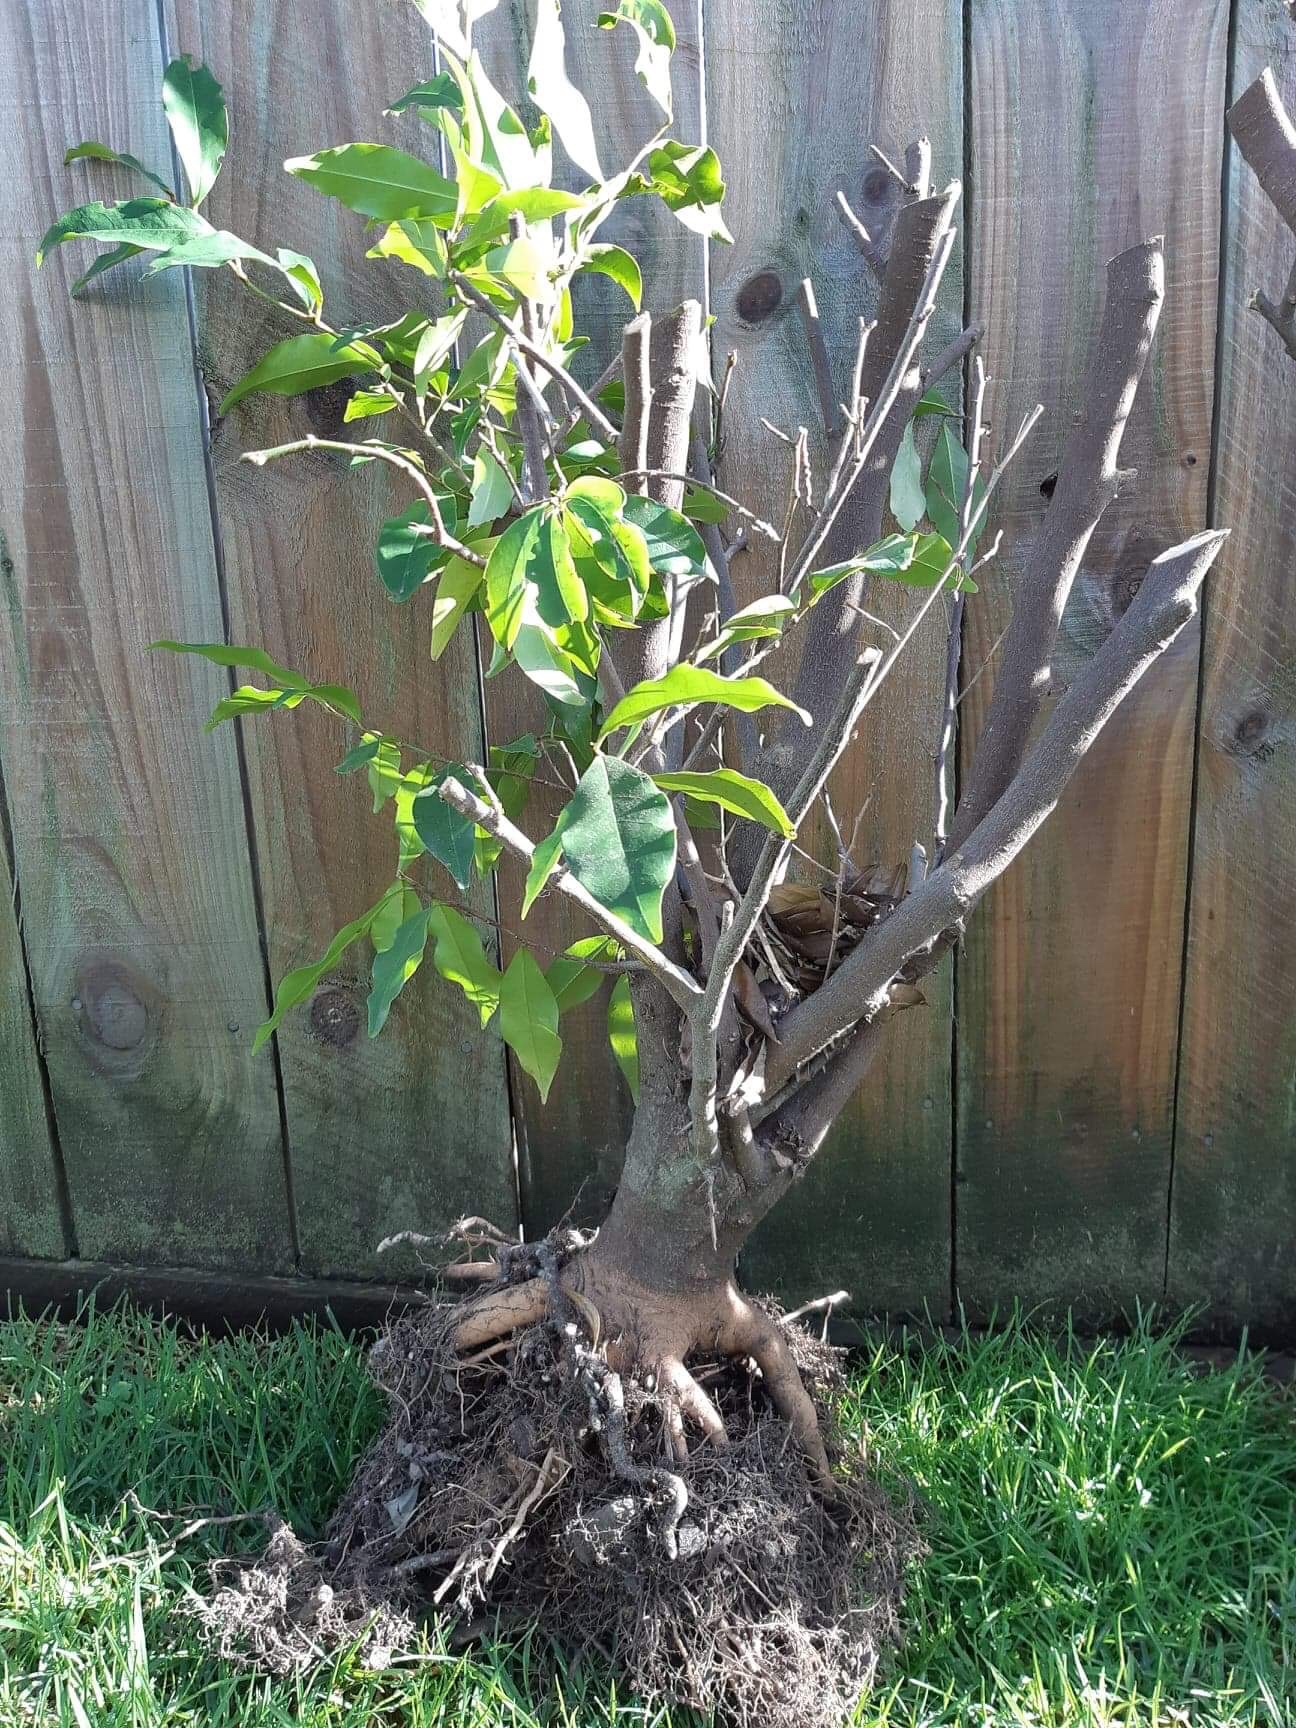
What we have here is a garden plant that has been grown as an ornamental plant in a garden bed. It is a Michelia figo or a Port wine Magnolia. It had to be removed as the owners were in the process of remodelling this garden area.

Great was my surprise when I parted some of the branches and discovered that it is actually three trees. It is important to make sure that there are no irrigation or other hidden water or electricity services going close to or underneath the digging area. The first job is to reduce the branches and foliage to get closer to the trunk and this will also help with survival as the branch and leaf mass needs to balance the root mass. Through the digging process and also the potting process, the root mass will also be reduced. And then the digging starts.
This was an easy dig as there are no tap roots and especially the two in the back were in quite dry loamy soil and they came out with just a spade length pushed into the soil about thirty centimetres from the trunk and circled around each plant.

It is important to leave the site in a tidy state and in this case I also removed the green waste for the owners. Each tree received a good spray of medicine water. Medicine water for me is just a weak solution of a marine-based or algae-based tonic across all parts of the tree. Now it is homeward bound.
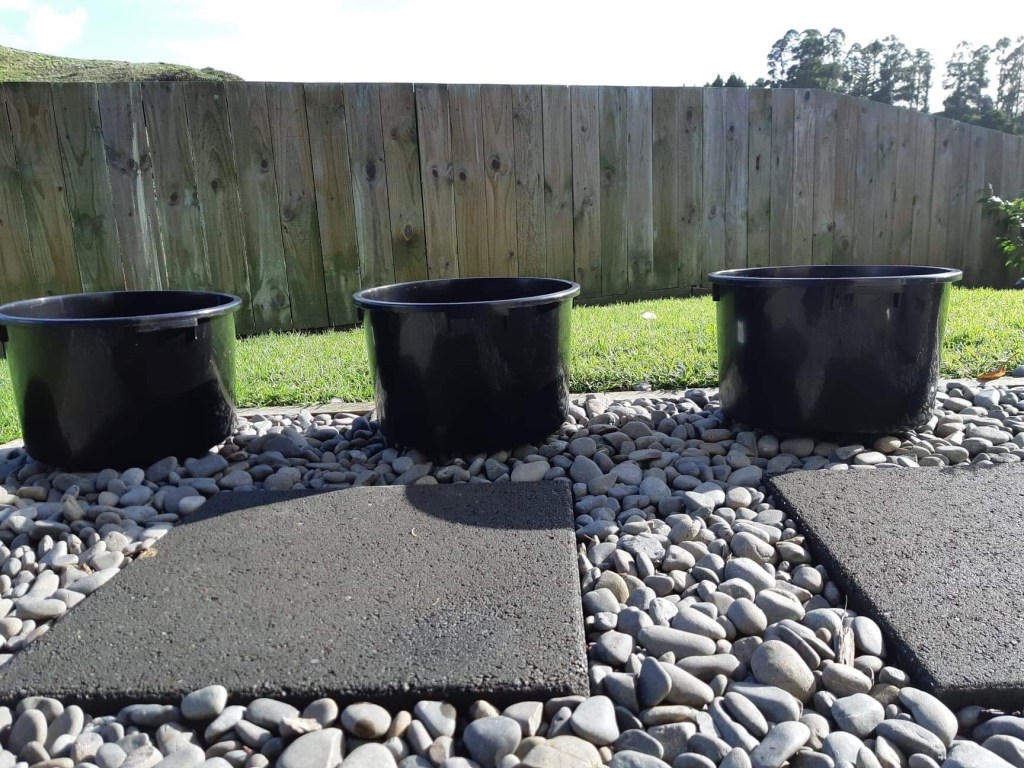
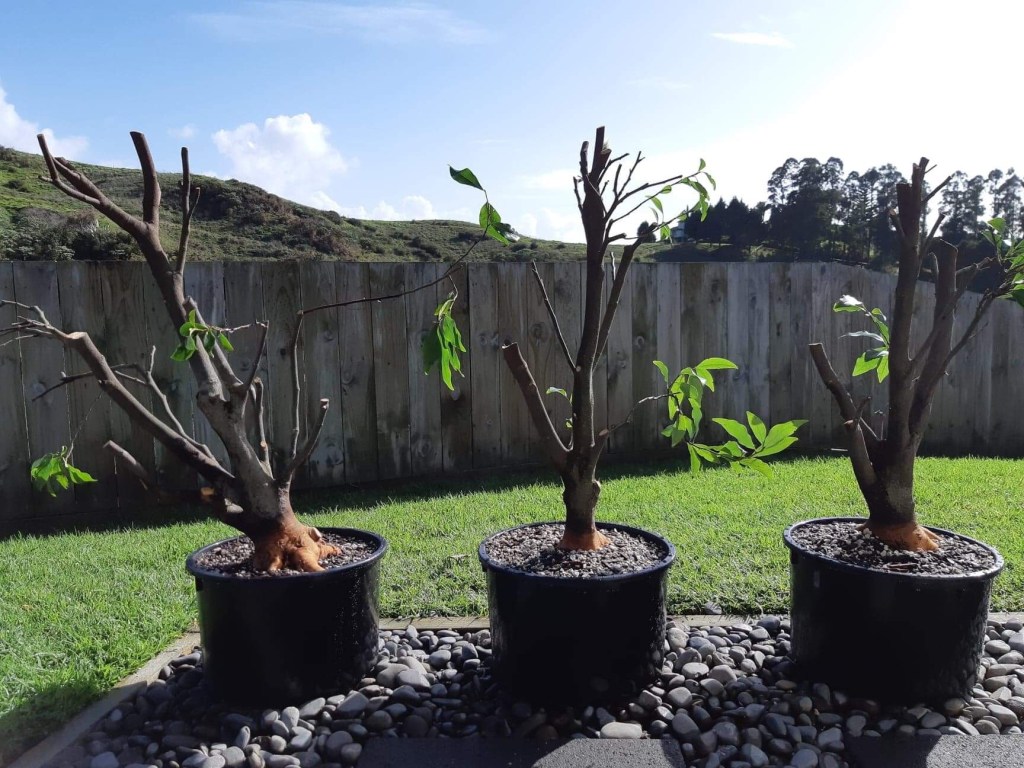
The best advice is to have the planting containers ready before you go, but probably not so practical as you never know how big the root ball will be. in this case I used plastic planting pots, deeper than what a Bonsai pot will be, but this is to allow space for finer root development.
The first thing I do is to work through the roots. Remove all of the old garden soil and in this case some fat earthworks as well. Next is to remove very thick roots and reducing the depth of the root ball. Leave enough finer roots to feed the tree. I also apply rooting hormone powder to the cut roots and sprinkle a bit over all roots. Depending on the species, but more importantly, the state of the roots, I also apply sphagnum moss to the cut roots at this stage. In this case I did not as there were enough roots and they were healthy.


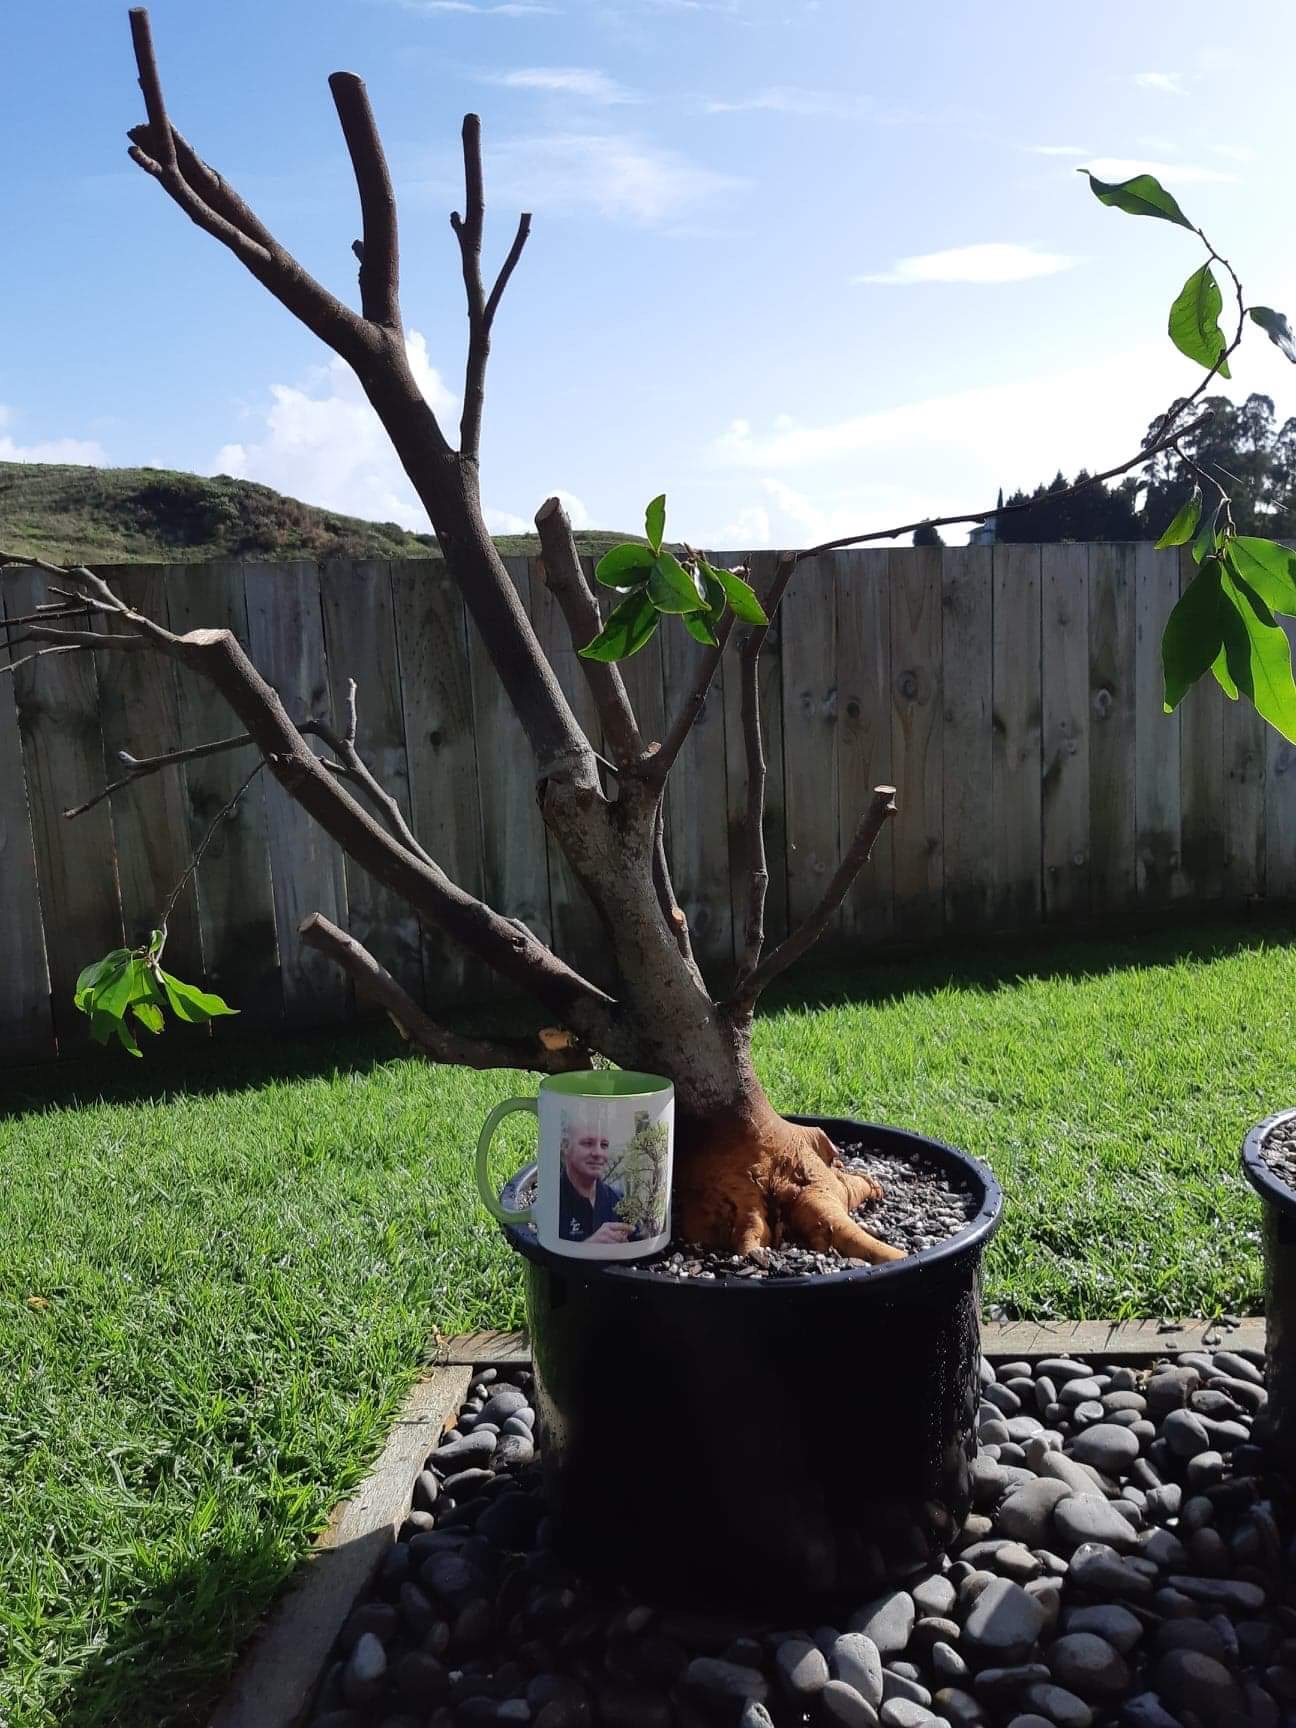
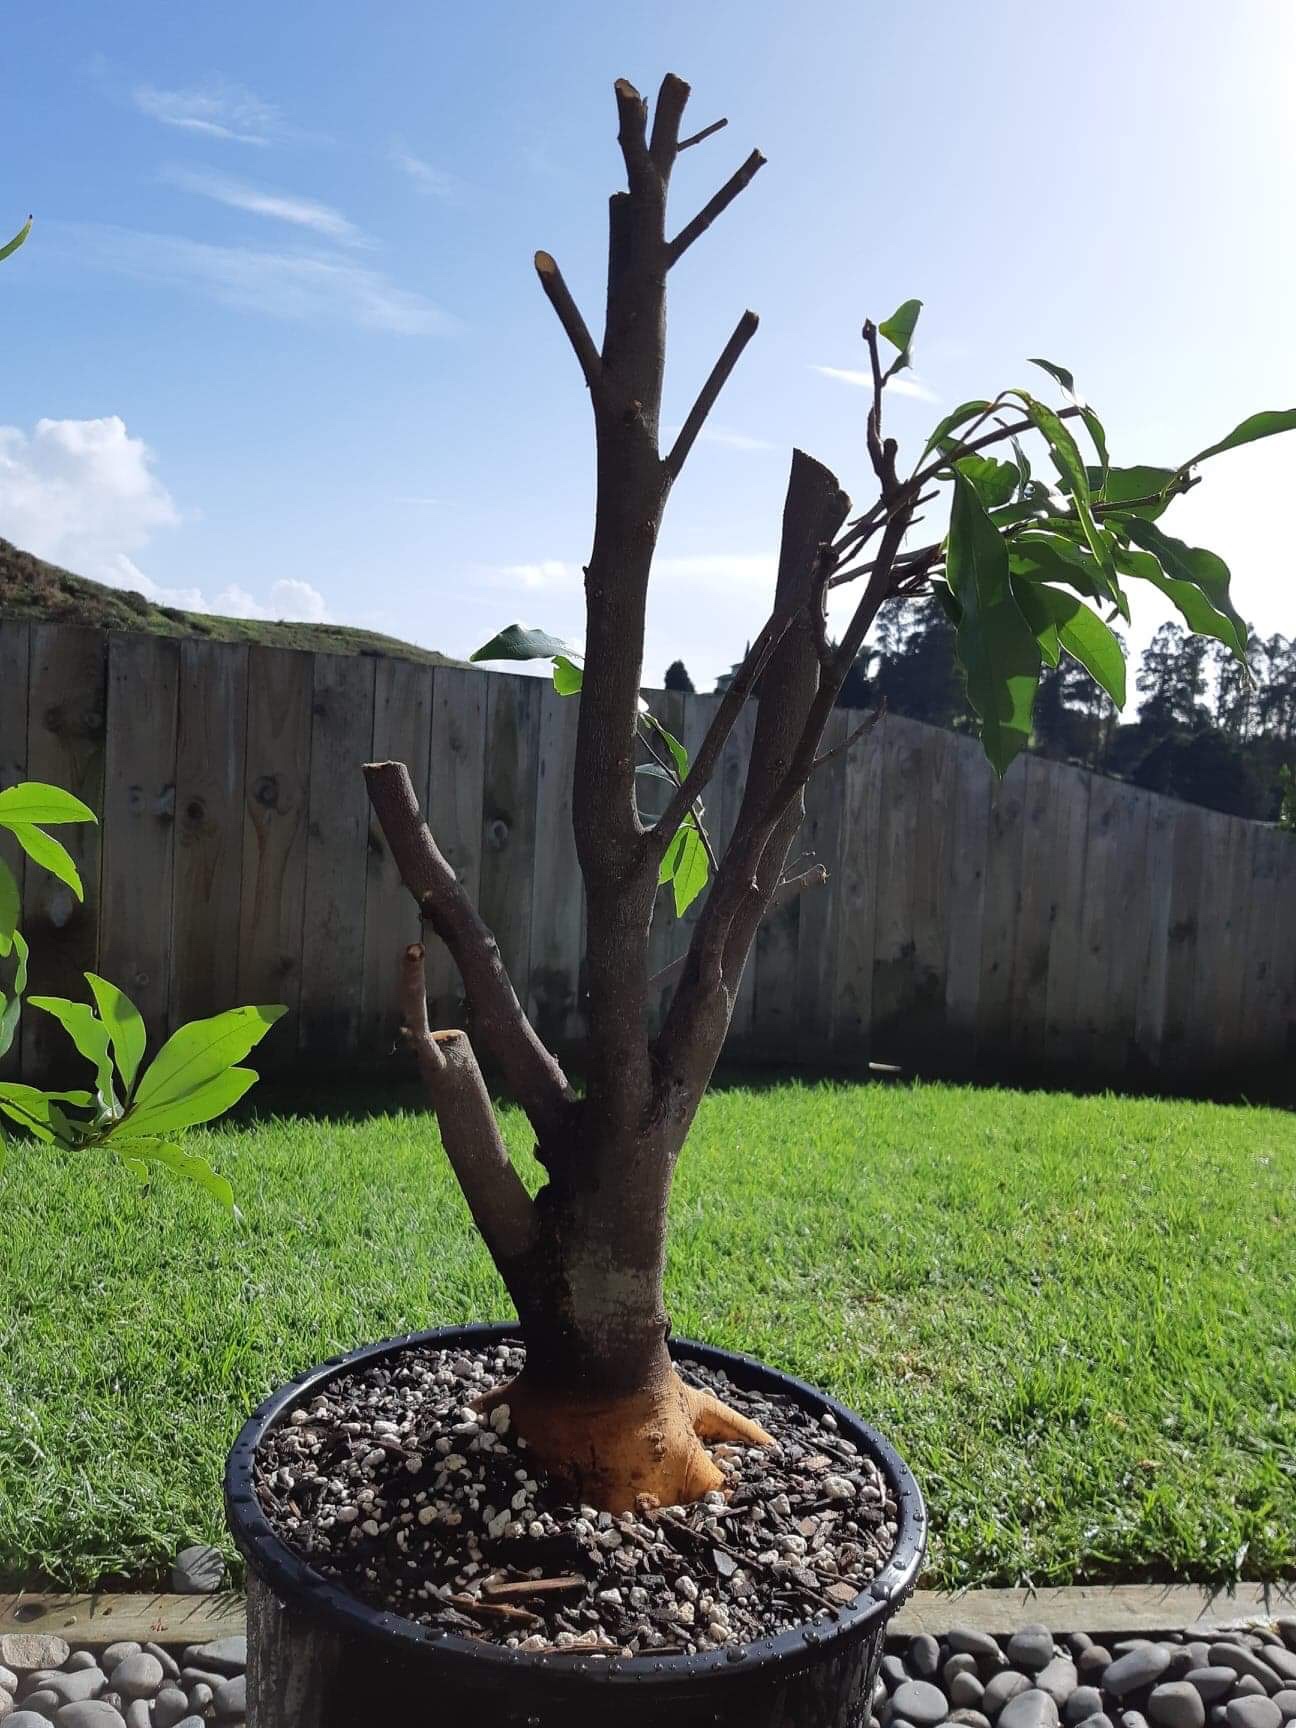
Next up is to find a possible front of the tree by finding the widest part of the nebari and lining this up with the best flow that the branch structure allows. This is also the time to now reduce or shorten the branches to fit this vision of what the future tree could like like in five to seven years. At this stage I do not remove all branches to limit the tree to just one or two styles or designs. In all three cases it is possible to highly likely that the main trunks will be shortened over time. as the pots are round there is no need to worry too much at this stage about the front of the tree for planting purposes. Just focus on what might be needed for future development.
Now for the planting. Good drainage is essential. The soil that I use for this type of planting is a 1:1 ratio of pumice and compost. These are broadleaf trees and will grow relatively unchecked over the next year or two. They will all be heavily fertilised as soon as new growth comes out. The compost base helps with this and the pumice provides the necessary drainage.
The soil is heaped up in a dome shape inside the containers, the tree is pushed down and wiggled into the soil, tied in with wire and then filled up to the top level. I use my fingers and then a rounded dowel to work the soil in-between the roots. All that is left now is to water the trees and to let them rest until spring when the feeding will start.

Updates will follow as these trees develop. I usually tend to keep one if I have multiples from the same type and sell the others. That just means that updates at times is on just one or two of the trees as the others might be making someone else very happy.
Please leave comments on this post.
