Introduction
Prevention is always better than cure. Preventative measures like general hygiene around your trees, cleaning tools often and preventative sprays are all things that can be done to prevent diseases and pests from causing damage to your trees.
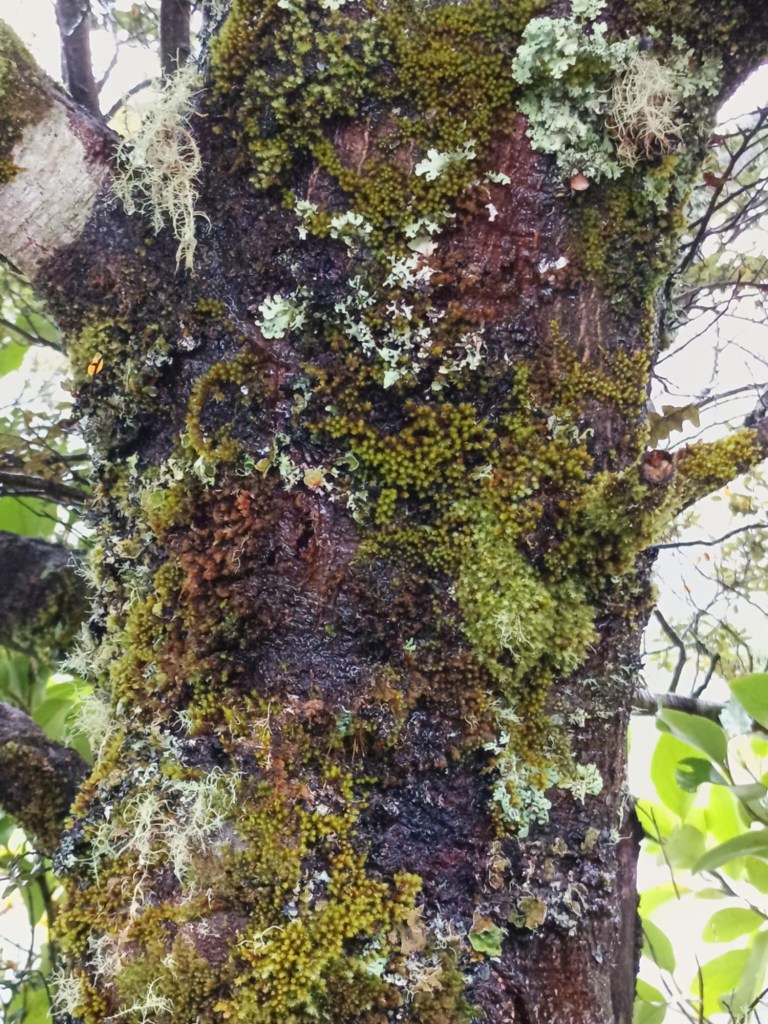
Hygiene includes removing dead leaves, checking the underside of pots for insects, slugs and snails and allowing enough space between trees for good air flow. Trees on shelves backing on to a wall can at times not get the air flow that is needed or even burn from the sun’s reflection (heat) off the wall. Tools should be cleaned regularly and preferably with an alcohol-based product. This needs to be done in between working on trees who are susceptible to disease and where disease is present.
General maintenance is also important. Repotting when needed, ensuring that watering is done appropriately and that the soil does not become water-logged are ways to prevent disease. Fungal problems can originate from things like root-rot and poor drainage.
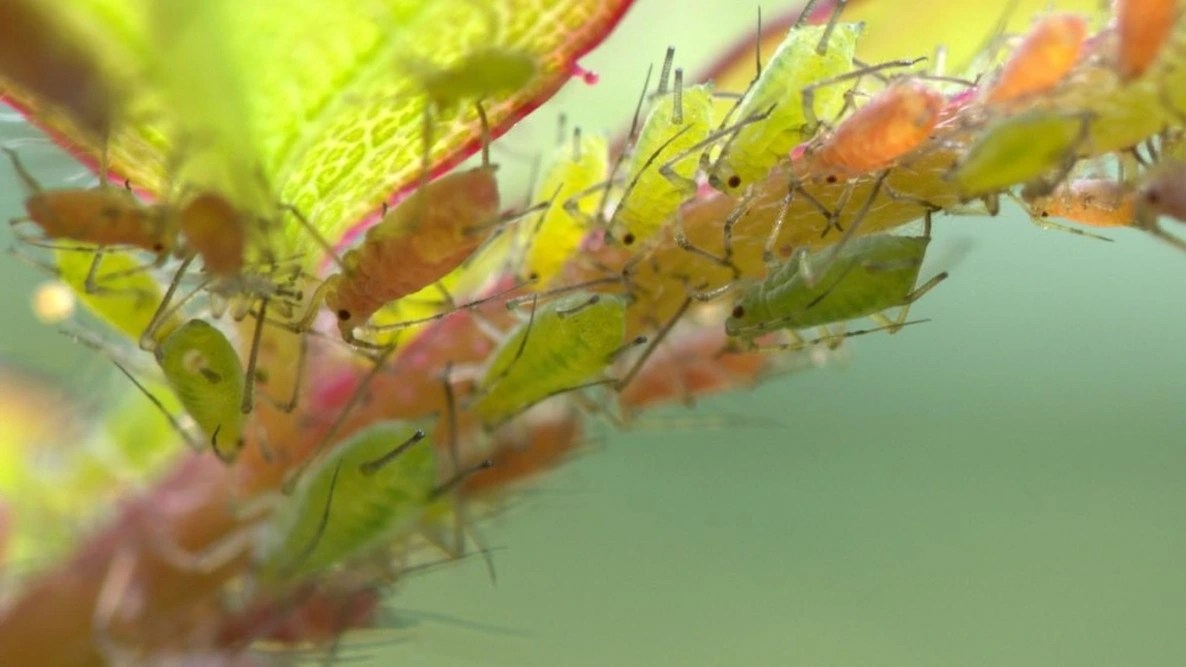
As this article focusses more on treatments available in New Zealand (some of the brands are also available in Australia), I will focus on preventing disease and pests from a chemical approach and then also from an elimination perspective. From an elimination perspective it is always best to use mechanical means (squashing) insects by hand when noticed. Aphids can at times (light infections) be blasted by using water directed at the insects. If that is not an option, chemical means will have to be used.
It is also important to note that trees that are generally in good health and well fertilized tend to be less susceptible to all sorts of diseases and pests. The biggest threat is when a new plant arrives in your collection and a couple of days or weeks later you become aware of a disease that came with the plant. Depending on the severity, the plant can be isolated or in bad cases if infestation, probably best to burn.
The best practice comes down to preventative sprays. These fall into basically two categories. The one is the prevention of fungal and bacterial diseases and the other is the prevention if insect infestations. I will largely include mites with insects although they technically are little spiders.
Use of chemicals
If you have less than ten trees it is probably best to use the ready-to-use spray bottles that are available off the shelf from most garden centers, and places like Bunnings and in New Zealand, Mitre10. I find that anything more than that, it is more economical to buy the concentrated forms of the products. At the minimum I would suggest a fungal control product and an insect control product. If you have more trees, beware of the fact that most fungal infections become resistant to the use of the same chemical (see active ingredients) and it is best to have two products for fungal diseases and alternate the use of these. Fungal sprays are also mostly systemic (the preferred option) which means that they are taken up throughout the plant systems and in that way can protect the plant and fight disease from within. Most insect sprays kill on contact, but there are systemic options available as well. Just when you think you get the hang of all of this, another warning. Not all these chemically based products are compatible. There are many permutations here and it is best to read the labels and the instructions before you buy and use the products on your trees. Some of these products cannot be stored after the solution has been made up and used.


Common Problems
The compatibility of chemicals with each other is mentioned above as well as the fact that some diseases become resistant to the chemicals after repeated and prolonged use. Safety around these products cannot be over-emphasized. Basic hygiene protocols are important and the one to mention here if you use concentrated forms and then have to make up your own diluted solutions, is to either mark your spray bottles with the name of the product clearly indicated (make sure it is permanent and does not wash off) or thoroughly clean your bottles in-between applications. Never use the same bottle or sprayer for disease and insect control AND weed control. That is a guaranteed disaster.
General caution
As with all chemical products, read the instructions and the warnings. All of these products have Safety Data Sheets (SDS) available on the supplier’s websites where more product information is also available. Generally, store away from children and pets and use the products away from children and pests. Wash your hands thoroughly after use and use a mask. Best not to spray on windy days. For best application ensure that you spray the whole tree, inclusive of the undersides of leaves. It is also known that there are beneficial fungus and bacterial organisms in the soil of our trees, and these need to be protected when chemicals that are formulated to kill these are used. It is especially the very useful relationship between the roots of conifers, especially Pine trees, and the white mycelium of Mycorrhiza to be noted here. Fungal fighting chemicals will harm these and therefore it is important that a good barrier is placed on top of the soil when especially Pine trees are treated to prevent the chemical from having contact with the soil.

In summary
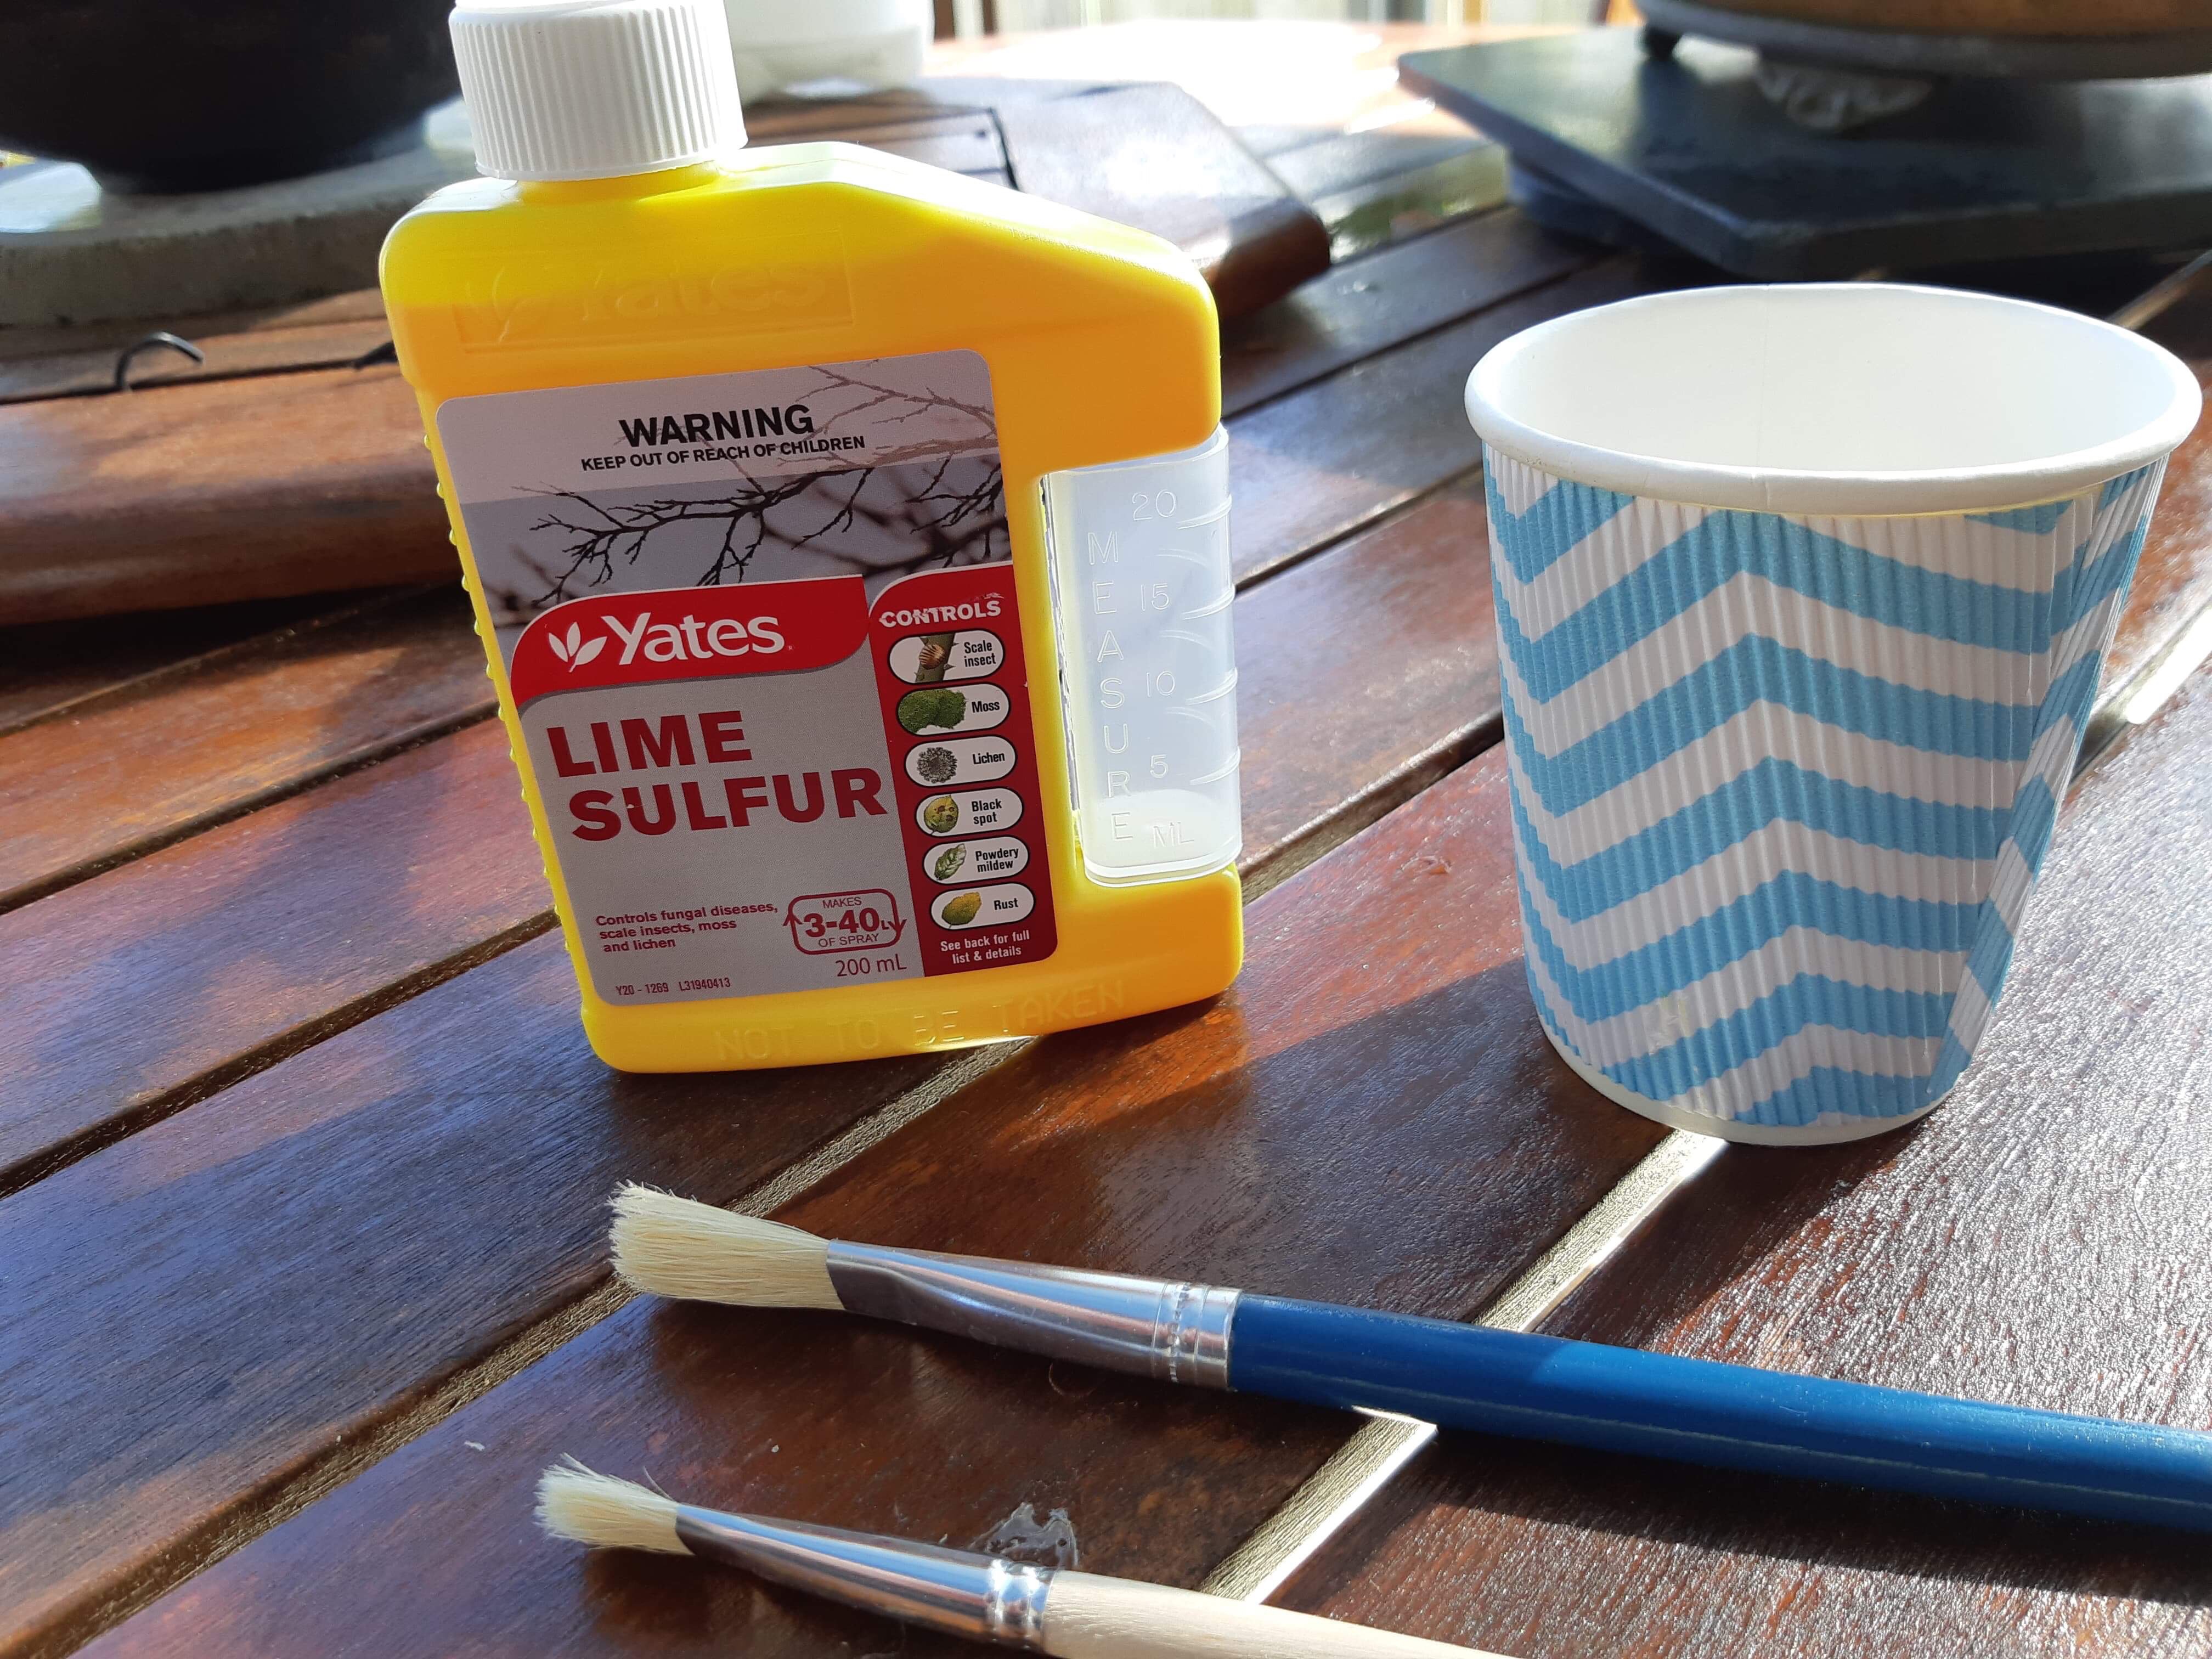
I use two fungal fighting products and two pest fighting products alternatively. An explanatory note to say that these products are available in New Zealand. My main go to products for fungal diseases are Kiwicare Spectrum (Myclobutanil) and Yates Liquid Copper. That covers two different active ingredients, and these are used as both preventative and when disease is noticed. In winter I do a diluted spray of lime sulfur a couple of times. For insects it is a matter of mechanical means as first defense and if that fails, I use Yates Mavrik. The tables below provide a bit more of an overview of available products. Also note that there are other products available and if larges quantities or something specific is needed, agricultural or horticultural suppliers can be contacted for those applications. The tables also include a few organic or safer products, especially in the Nature’s Way range of products.
| Fungal Diseases | |||
| Product | Active Ingredient | Dosage | Notes |
| Yates Fungus Fighter | 12g/litre Myclobutanil | 10ml per litre of water | Protect conifer roots before application |
| Yates Liquid Copper | 92.8/L Copper, present as Copper Ammonium Acetate | 5ml per litre of water | Do not store solution after application. |
| Yates Copper Oxychloride | 500g/kg Copper as a Copper Oxychloride | 25g with 5 litres of water | Powder. Stains walls, fences and other surfaces. |
| Yates Lime Sulfur | 200g/L sulfur as calcium polysulphide | Multi-purpose that controls a range of pests and diseases, moss and lichens. Largely for preventative use. | |
| Yates Fungus Gun | Myclobutanil (0.05g/litre) | Ready to use. | Systemic fungicide. |
| Yates Nature’s Way Fungus Spray | 350g/kg as copper oxychloride and 240g/kg sulfur. | 5g per litre of water. | Powder. |
| Kiwicare Spectrum | 4.4g per litre Myclobutanil and 9.6g per litre Tau-fluvalinate. | 10ml per litre of water. | Comes in a ready-to-use spray bottle as well. |
| Insects and Mites | |||
| Product | Active Ingredient | Dosage | Notes |
| Yates Mavrik Insect and Mite spray | 7.5g per litre tau-fluvalinate | 10-15ml per litre. Also available in a ready-to-use spray bottle. | Controls a wide range of insect and mites pests by contact. |
| Yates Success Ultra | 5g per litre Spinetoram | 5-10ml per litre of water. | Spinetoram is the latest generation insect control – derived from beneficial soil bacteria. |
| Yates Nature’s Way Natural Insect Spray Pyrethrum | 14g per litre Pyrethrins and 56.5g/litre piperonyl butoxide. | 5ml per litre of water. | Works by contact action. Also available in a ready-to-use spray bottle. |
| Kiwicare No Borer | 1g per litre Permethrin. | Spray / Inject directly to borer hole. | Spray injector. |
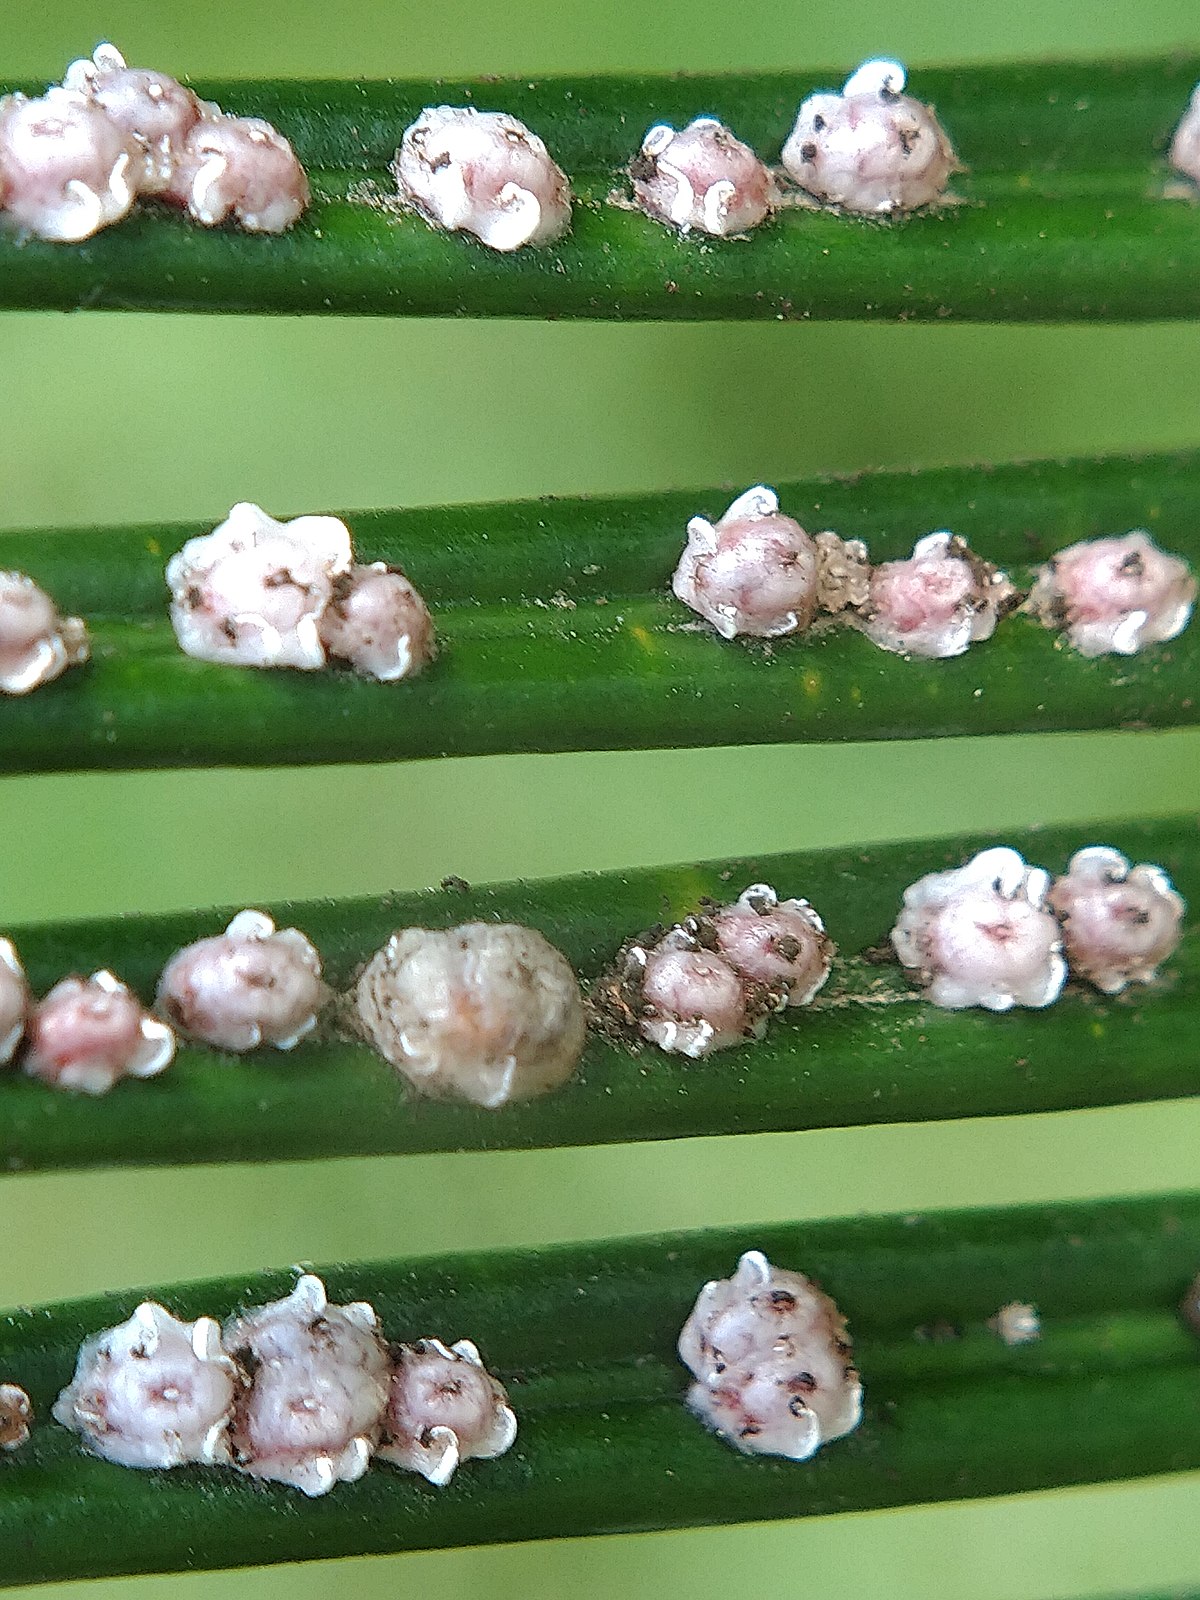
| Spraying Oils – especially good on scale insects | |||
| Product | Active Ingredient | Dosage | Notes |
| Kiwicare Super Spraying Oil | 843g per litre mineral oil. | 10ml per litre (summer) of water or 20ml per litre of water (winter). | Also available in ready-to-use spray bottle. |
| Yates Conqueror Oil | 823g per litre mineral oil | 15 – 20 ml per litre of water all year. | An intermediate spraying oil for control of scale, mites and mealy bug. Also available in ready-to-use spray bottle. |
This article was also published in Bonsai Times – a publication of the New Zealand Bonsai Association.
Please comment, like and subscribe if you are a Bonsai addict.