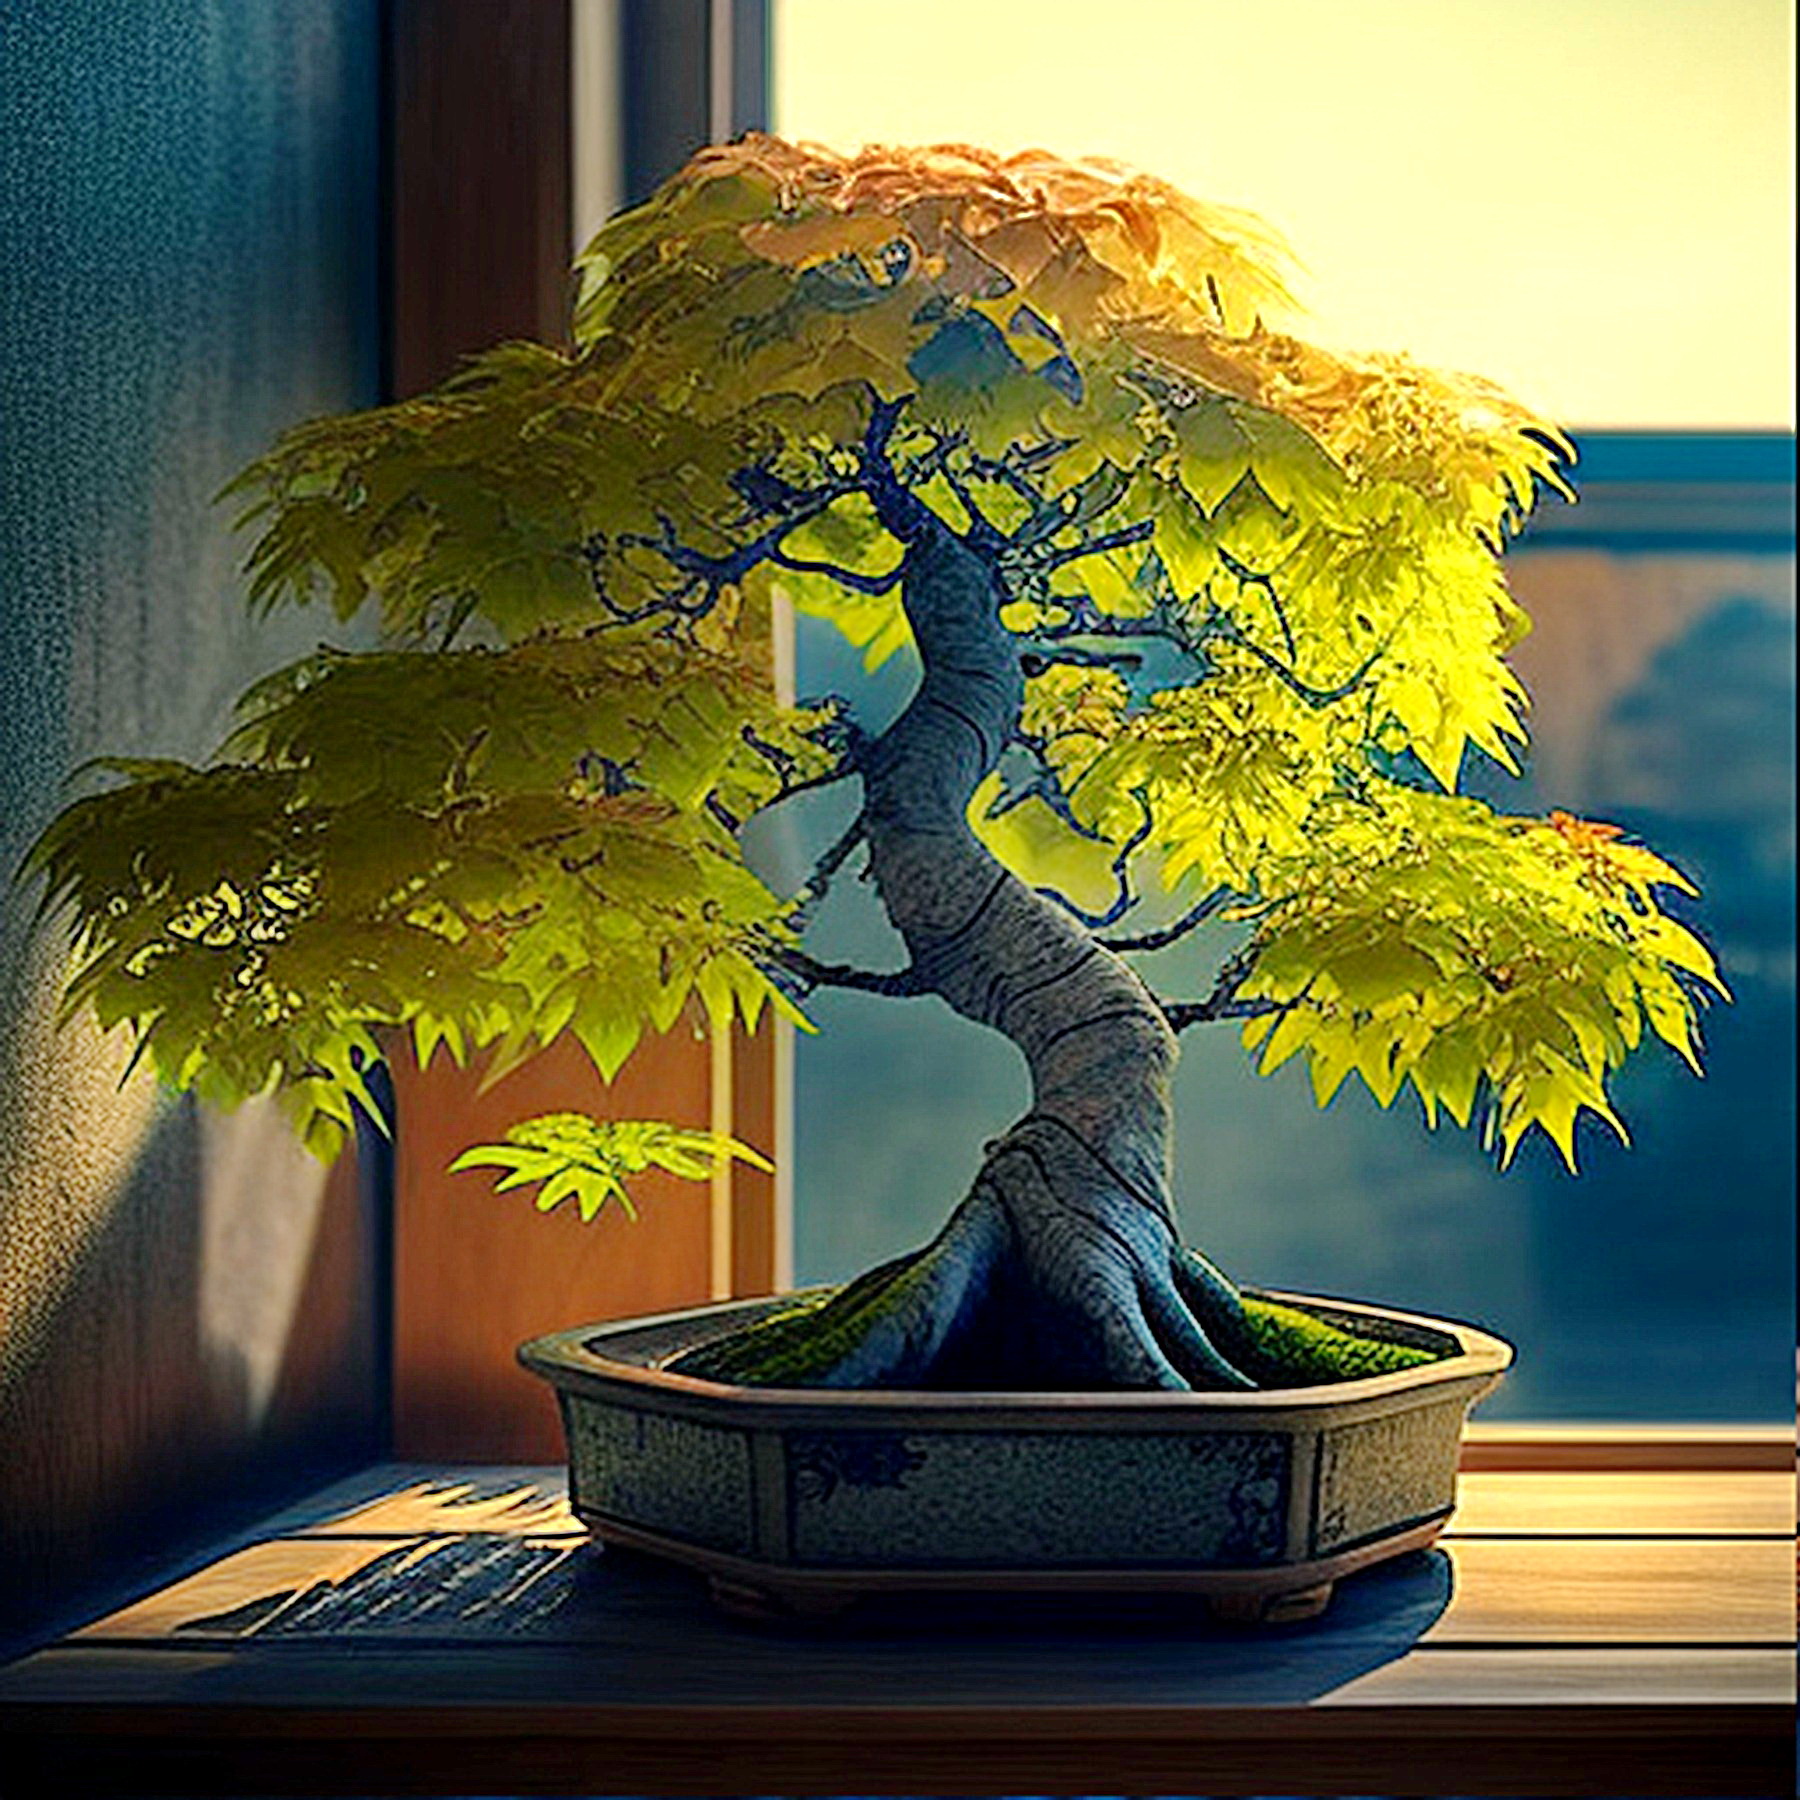
Bonsai enthusiasts have known for a long time that Bonsai is good for them, maybe not financially, but it certainly impacts positively on wellbeing. With that in mind, I did some wider reading and found that most of what is written about the wellbeing impacts on humans and the positive psychological impacts come from personal observations. There are however a few studies that was published over the last couple of years. One of these is in the International Journal of Environmental Research and Public Health in 2021 that addressed this matter from an academic perspective.
Research Evidence

This study (Practitioner’s Experiences of the Influence of Bonsai Art on Health) asked 255 skilled bonsai practitioners about their experiences and observations. The study’s hypothesis was supported by the outcome that “bonsai art was associated with meaningful healing experiences”. Specifically, the evidence showed that bonsai practitioners experienced improved ecological, spiritual, and emotional awareness. It also stated various healing dimensions, inclusive of aesthetic creativity, resilience, adaptability, as well as social, physical, and personal health. It goes as far as saying that bonsai art can be used as an ethically sound health promotion technique in various settings, inclusive of psychiatric hospitals, retirement homes, rehabilitation centres and prisons (Hermann, Caroll and Edwards, Stephen. 2021).
Here are a few quotes from participants:
“Having to concentrate when shaping or styling a tree or keep your mind active when handling a problem tree helps one to stay mentally alert and sharp”.
“Bonsai gives me a creative outlet, helps me relax, helps me focus, and sometimes gives a temporary refuge from conflict”.
“It helped me to overcome major physical trauma in a positive way”.
“Growing Bonsai makes me aware of the need to care about my personal health and wellbeing”. The further reading came up with a number of points to illustrate that Bonsai does indeed support wellbeing and positive psychological outcomes.
Hormones again

Further to the study above, it is generally accepted that Bonsai can boost mental wellbeing by enhancing a relaxed state and a sense of accomplishment. This goes hand in hand with the impact of serotonin, the happiness hormone. We do know that Serotonin levels rise in anticipation of rewards and increase with their value. Working on Bonsai trees with a specific design or plan in mind anticipates that the tree will develop over time and become a tree that one can be proud of. This is further enhanced when Bonsai trees are displayed, and positive feedback is received from other Bonsai artists. From this it is advised that Bonsai trees are shown at club meetings and regional and national shows. There is a proliferation of online social media posts of people showing their trees to the world. This concept is also backed up by scientific research (Neurosciencenews.com).
Mindfulness
Caring for Bonsai trees encourages mindfulness, and this in turn, reduces stress. Mindfulness is the act of focussing on something without external distractions and especially seen in Bonsai cultivation when detailed work is done. This relates to actions like wiring, pruning, carving and doing delicate bending work. Being mindful allows the individual to ignore all other influences, inclusive of things that might be troubling the person mentally, financially and physically. Sometimes this is related to a spiritual experience but from a purely focusing exercise, will help to shut noise out and allows for a time of relaxation and escape from the realities of life.
The Creative Process
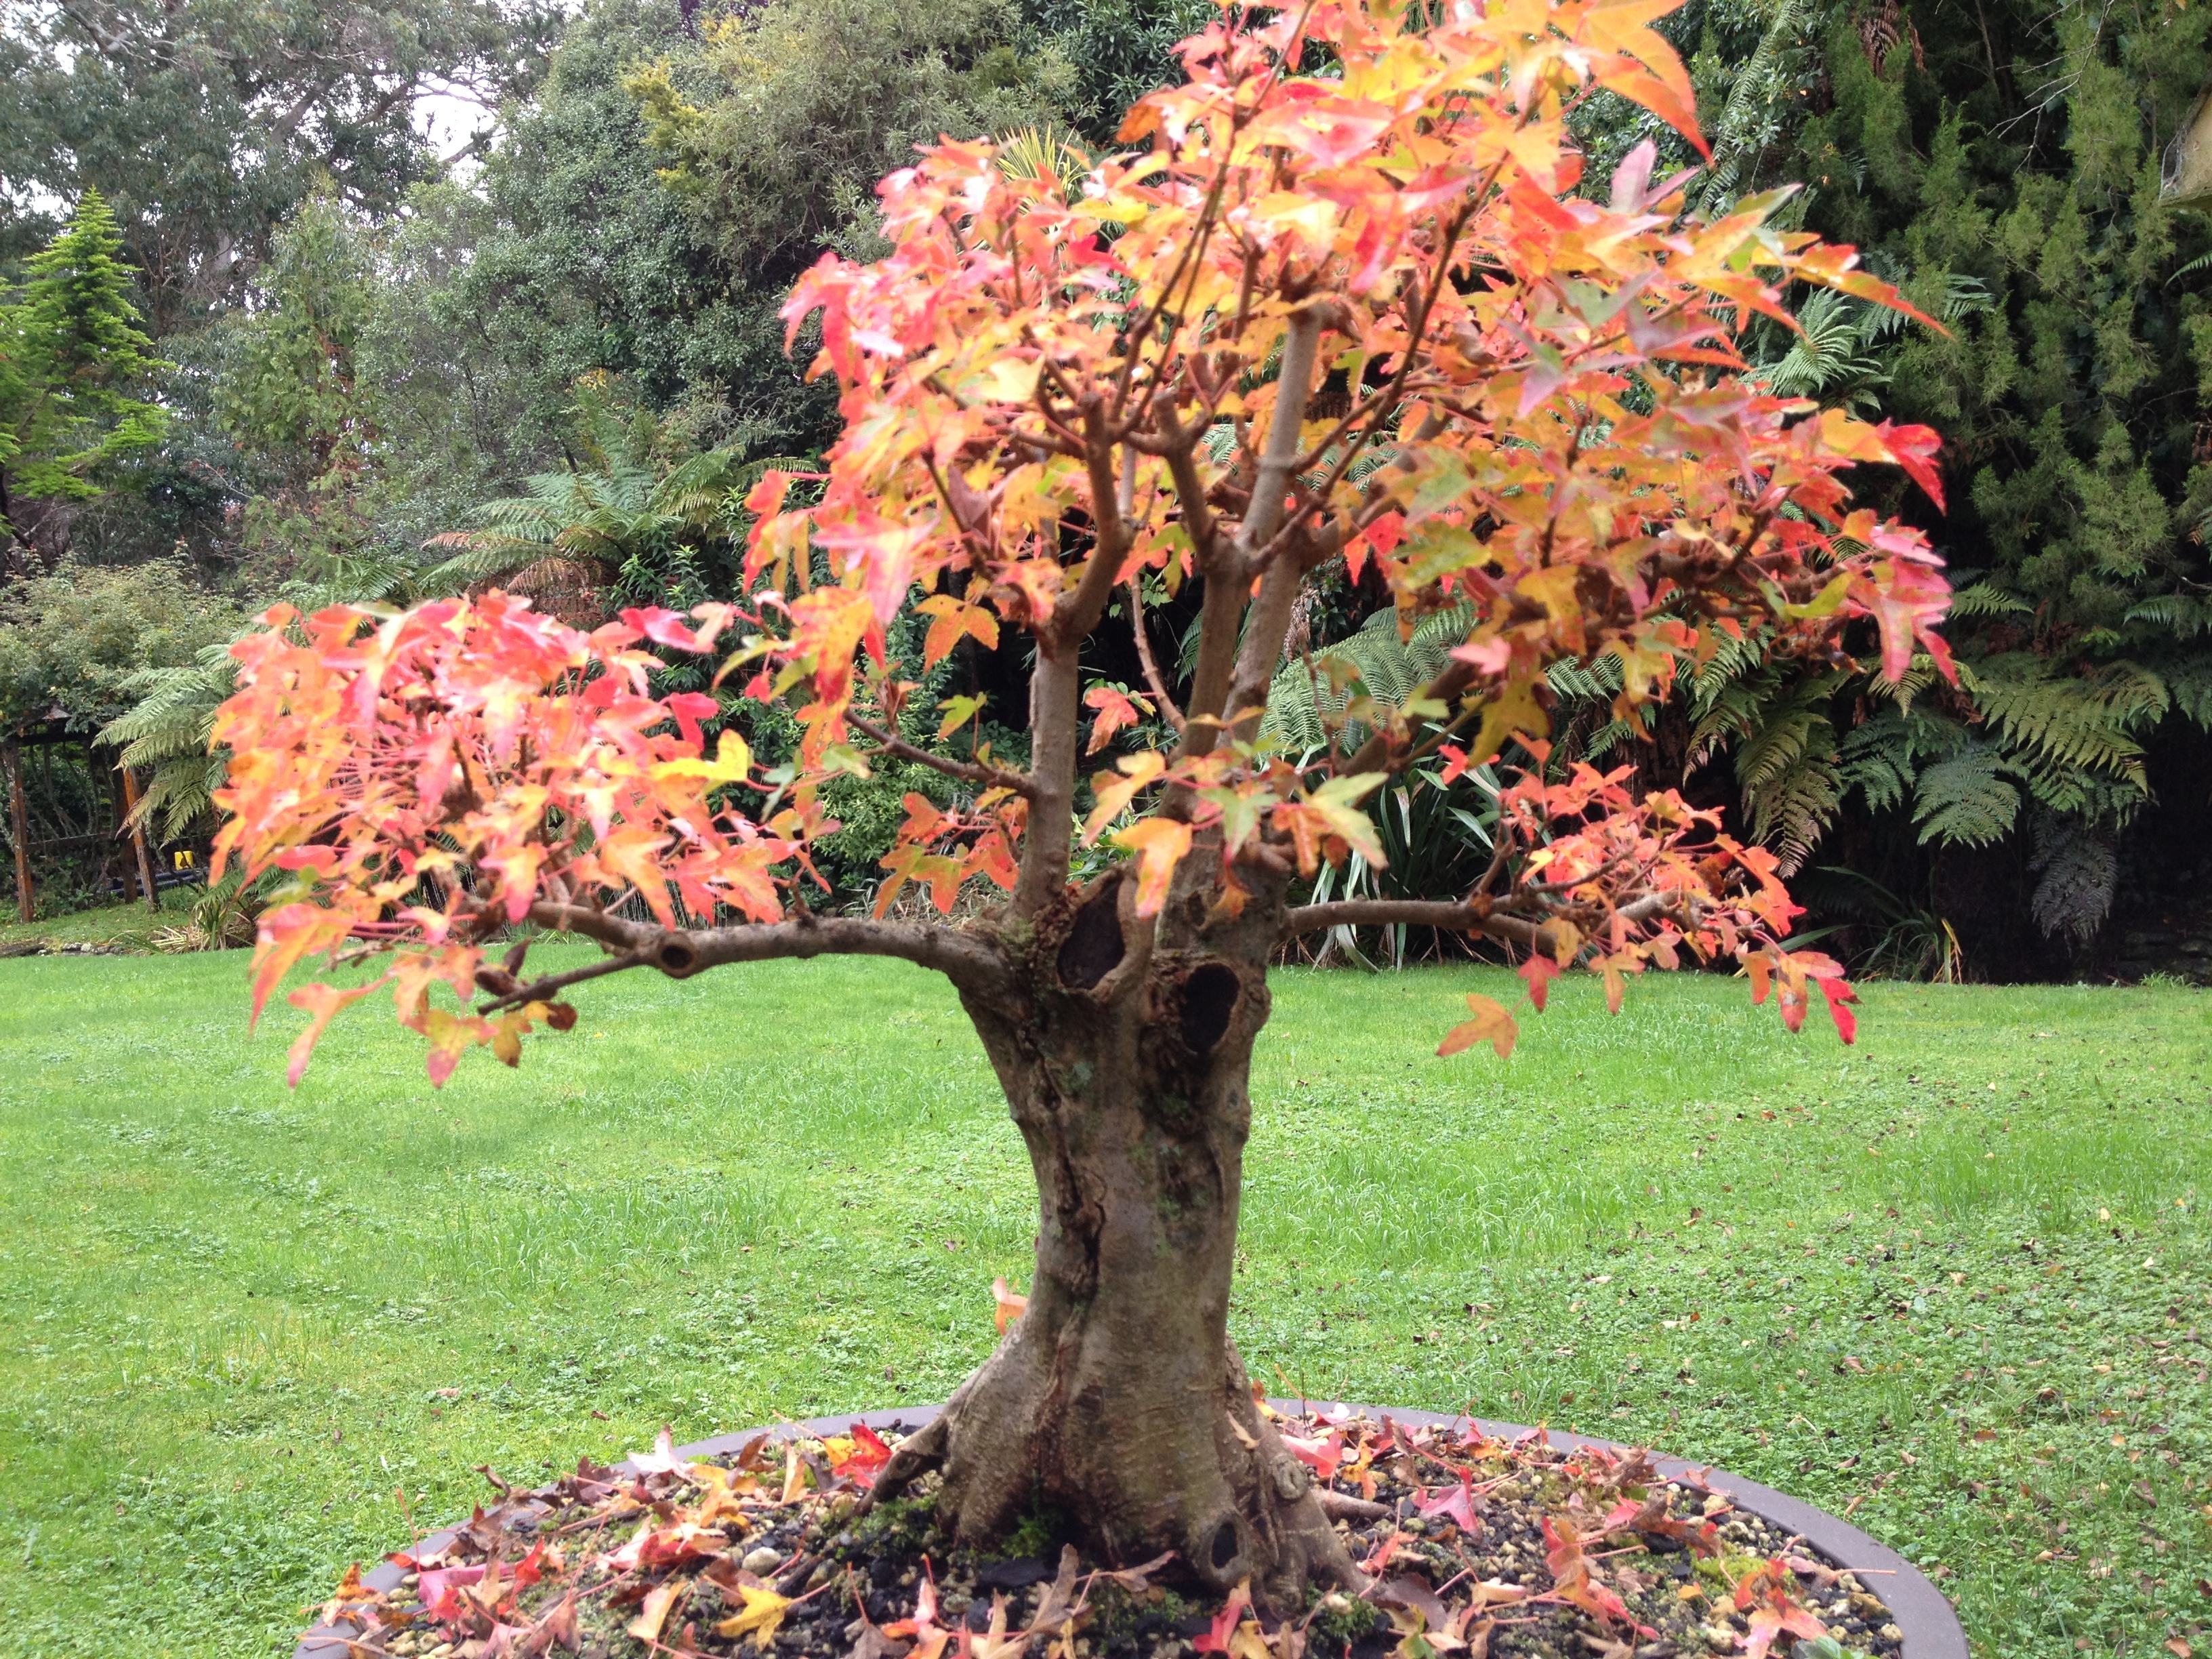
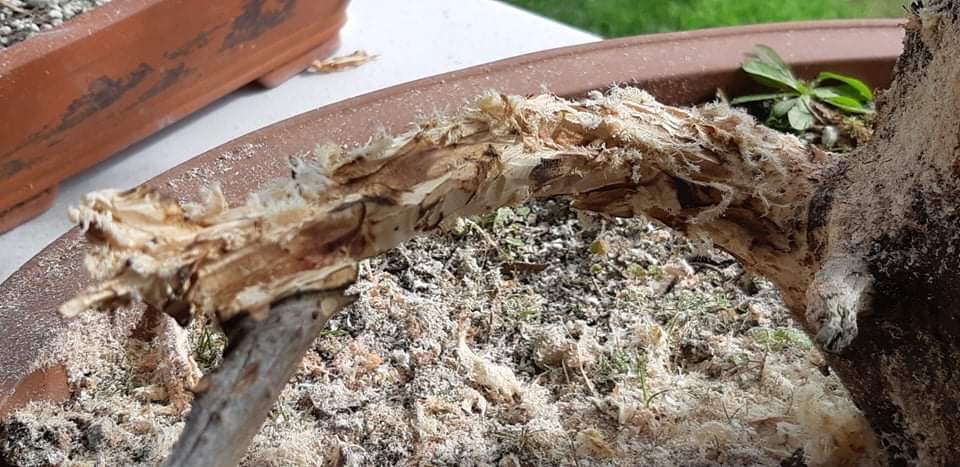
Shaping and nurturing Bonsai trees enhances mental clarity and personal satisfaction. The clarity comes from studying the tree’s structure, planning further development and then taking the ultimate step to the refinement of a well-developed Bonsai. This is one of the few art forms that is never finished. There is no finished product, just striving for perfection within a cycle of seasonal care, repetitive actions, and slowly working towards an ultimate goal. Realising that this never comes to full achievement. Once that is understood it provides clarity of the purpose, the fact that we are merely guardians of the trees, and reaching the intermediate goals towards perfection serves as steps towards personal satisfaction. Advancing a tree step-by-step on the journey, observing the development and finding the flow of all these actions, satisfies the creative soul and leads to a state of satisfaction that few other activities lead to.
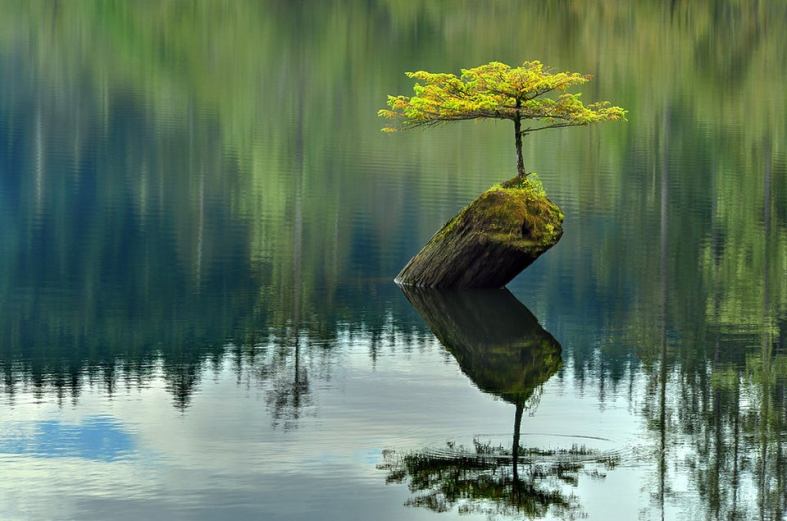
Close to nature
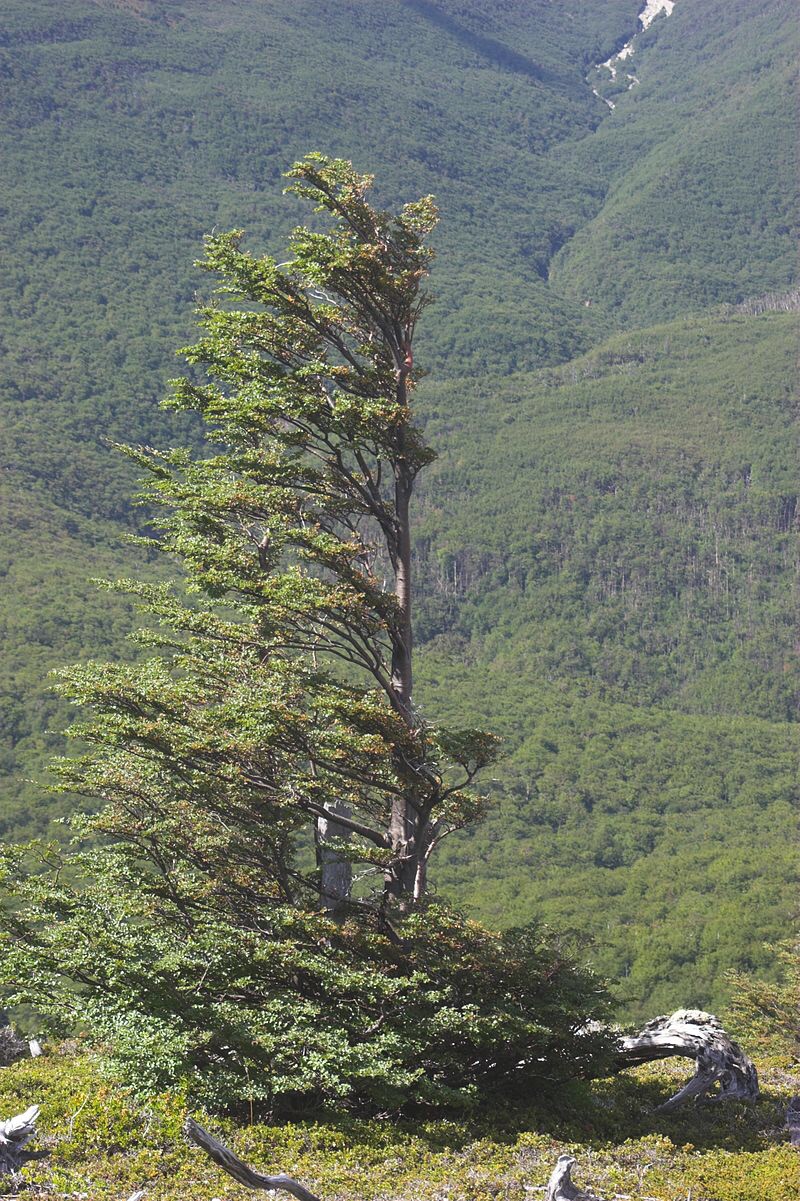
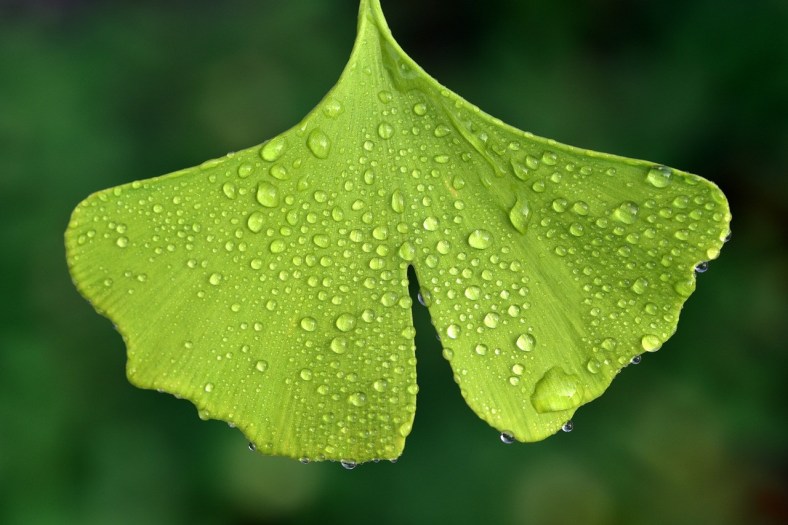
Nature heals. Some would argue that Bonsai is artificial in the sense that the tree is in a pot, removed from nature. Bonsai art could also be seen as trying to imitate nature. Shaping a tree to represent its big cousins in a forest or standing alone in a field. Both of these thoughts do bring the Bonsai practitioner closer to nature. Caring for a living organism, providing the essentials that is found in nature for the tree towards peak development, or taking you into nature to collect trees for your collection, both needs a deeper understanding of living organisms and its place in nature. Many Bonsai artists that I have met over many years are keen conservationists with a caring nature towards not just trees, but the whole ecology that makes it possible for a tree to live. This closeness to nature serves as a channel for health and wellbeing.

Recovery and healing
Many stories and cases exist of people who talk about how their Bonsai activities have supported them to get through difficult times, recover from relationship break-ups, depression and even life-threatening health issues. I can personally vouch for this as part of recovery from a stint with cancer a few years ago and how the mindfulness, meditative actions of working on my trees helped the recovery process, especially from a mental health perspective. While things like radiation and other chemicals cause destruction in your body, you can become still, focus on a Bonsai task at hand, and I am certain that this in turn not only helped the physical recovery along, but also strengthened the mental aspects needed for recovery. It is this mental strength and patience that helps to put things in perspective and keep on working on your self as you would on a tree. The other analogy that comes to mind is that you allow many medical professionals to work on you the same way you work on a tree. The trust aspect is immense.
This is also backed up by research and discussed in a paper published in December 2023, Bonsai: “a life in balance”. The therapeutic benefits of growing bonsai trees.
Physical exercise
Another well-known aspect enhancing mental wealth and wellbeing is that of exercise. This is of even more importance as we get older. Bonsai certainly helps with that aspect as we do not always sit on a chair to work on our trees. I prefer standing up, more importantly, carrying trees in pots from benches to a workstation, shifting at times quite heavy pots for seasonal enhancement and in my case, climbing a staircase multiple times per day with trees and pots in hand, certainly works on the legs, back and aerobic exercise. My bonsai display and workstation is split across two levels of land. Of the utmost importance is also fine-motor activities. These refer to aspects of wiring and using scissors and other small tools while cultivating Bonsai trees. All of these, when regularly engaged in, not only supports physical health, but also mental health and wellbeing. This is certainly supported by the World Health Organisation (WHO, 2024).
Social Interaction
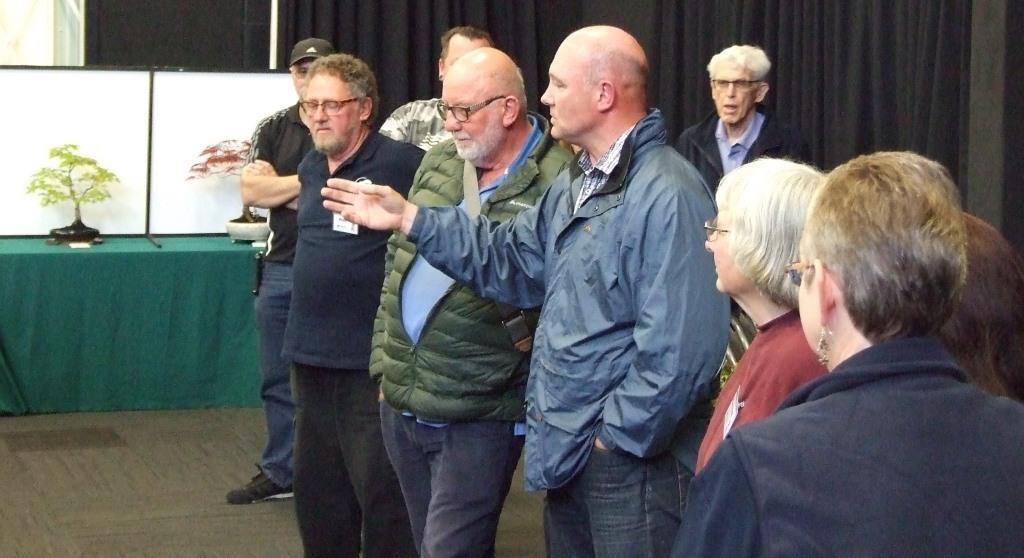
Lack of social interaction has recently been shown to be a contributor towards the onset of Dementia. Bonsai as an activity provides many opportunities to interact with others. Join a club, visit displays and participate in national conventions. a Bonsai tree always serves as a conversation starter, no matter where you are. It extends across language barriers as it is a visual art form, leading to close friendships and gaining acquaintances that supports this need for social interaction (Somerlad et.al 2023. https://rdcu.be/dVqOs).

References
Hermann, Caroll and Edwards, Stephen D. International Journal of Environmental Research and Public Health. 2021 March; 18(6): 2894. Published online 2021 March 12. Doi: 10.3390/ijerph18062894
Neuroscience News.com. Serotonin levels rise with reward anticipation. Online, 28 September 2024.
Pack. S. (2023). Bonsai: “a life in balance”. The therapeutic benefits of growing bonsai trees. Journal of Therapeutic Horticulture, 33(1), 1-18. https://ahta.memberclicks.net/journal-of-therapeutic-horticulture-33-1 – 2023.
Sommerlad, A., Kivimäki, M., Larson, E.B. et al. Social participation and risk of developing dementia. Nat Aging 3, 532–545 (2023). https://doi.org/10.1038/s43587-023-00387-0
World Health Organisation (WHO). Physical activity (who.int). Accessed on 29 September 2024.
Feel free to comment on how Bonsai is supporting your wellbeing.