Committing a Crime in the name of Bonsai Art.

I was confronted with this Mugo Pine and had no idea what to do with it. The two bar branches at the bottom is ugly and the two arms going up from there does not lean itself to any of the Bonsai styles that I know of.

After many days, weeks and months of staring at it from different angles, I one day was working on a small Japanese White Pine that is planted in a crescent shaped pot and a new idea came to me. To do this, many Bonsai “rules” must be broken and the tree put at risk due to a lot of material being removed. This is a calculated risk. More about that later. Here is the culprit in all its former glory.

What to do with it?

The decision was made to remove the one thick branch on the one side and create a two inch long Jin out of it.

The Jin on the right.

Then the other branch was stripped and Jinned as well.

One short Jin and one long Jin.

This longer Jin is now wired up and bent in the shape of a crescent, the same as what a crescent shaped pot would look like.

Now the only branch that is left is shaped to represent an informal upright style Bonsai tree with a loop in what is now the trunk to get the height correct.

The end product for now.

Aftercare and the future: the tree will now be placed in a sheltered spot and remain there for at least a year. Fertilisation, watering, checking on the wire and weeding is the most excitement this tree will see for a long time. When the time is right, the wire will be removed and the Jin will be further developed. That will just be some detail work, inclusive of using fine carving tools, torching it and lime sulphur treatment. The tree will also go into a Bonsai pot once the growth is strong.

I mentioned taking calculated risks earlier. It really comes down to mitigating the risks by thinking through each risk and finding a way to minimise the risk. These include not potting anytime soon which means no root work at this time, sealing all the wounds and keeping the tree out of wind and harsh sunlight. Extensive wiring took place and this is mitigated by placing guy wires in places to support the harder wiring as to take some of the load off. Guy wires are attached to the wire on the branches / Jin and not on the branches itself. Now, let’s pray.

The shorter Jin that will undergo further development.

Lockdown Bonsai work.

We were supposed to have aBonsai Society meeting today, which would have been the first one in a long time. Last night at 9pm, a change in alert levels was announced which means that where we live, social distancing is in place and as the venue is quite small, not the best for safety in the current Covid climate. That was called off.

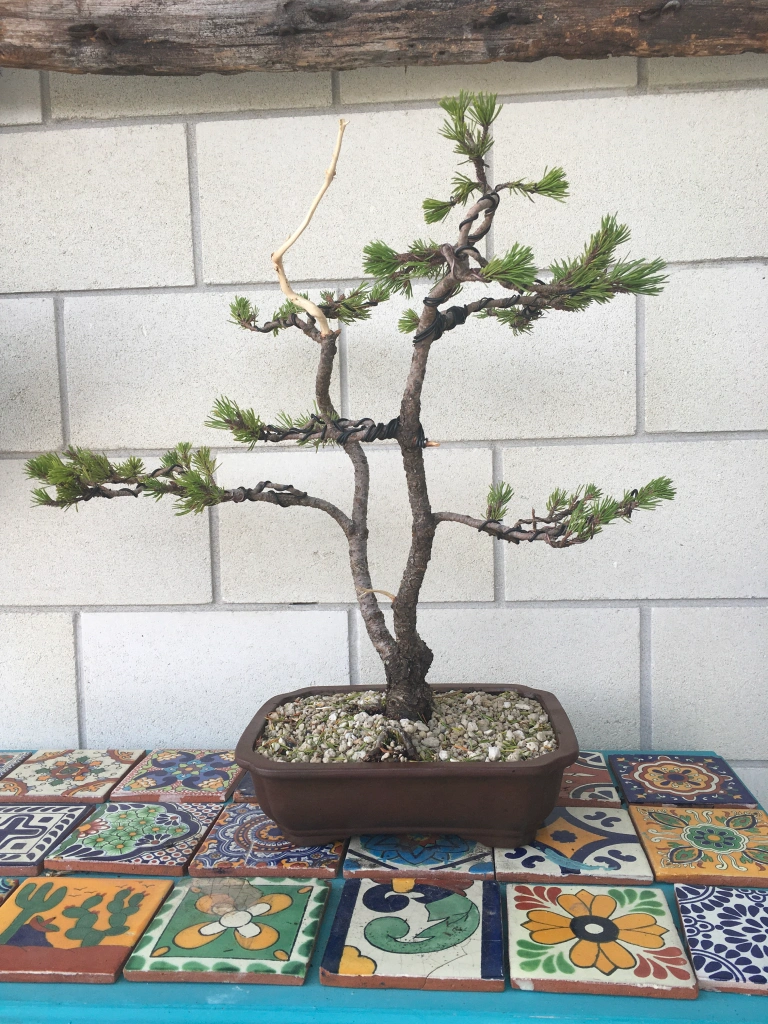
I had this tree that I wanted to work on at the meeting. Basically just a clean up job and then lots of wiring to set the foliage pads. It is a Pine tree and in the twin-trunk style. Here is the before photo.

Before the wiring commenced.

And here is the tree after the pads were set.

Cleaning, Jin work, wiring and branches set. Pity some of the three-dimensionality disappears in these photos. Maybe I just need to get my photography sorted.

Please like and subscribe to this blog as I will post updates on this tree.

Basic Identification of Conifers

Conifers make up a large percentage of most Bonsai collections across the world. To me, one of the difficult things with conifers, is to identify the tree to the correct species level. The reason for this could be that my early Bonsai education was on broadleaves and not so much on conifers. Conifers as a large group are identified by the fact that they do not flower, but in the place of this, they produce cones that contain the seeds. This makes them part of the Gymnosperm taxa, along with ginkgo and cycads. These are some of the oldest known plants in nature.

It is not that difficult to identify conifers to genus level, as this can be done mainly on leaf type and shape. Here follows my take on what this looks like (An arrow points to the next table for that category).

Conifers

Cupressaceae

Have scale-like or awl-like shaped leaves.

Pinaceae

Have needle-like leaves


Taxus

Have leaves that are flat and feather-like in arrangement and shape.

Junipers and Thuja Pines, Spruce, Fir and Douglas fir

Yews


Cupressaceae family

Leaves are scale-like or awl-like.

Fruit is a berry-like cone with scales fused together

Leaves are scale-like or awl-shaped. The foliage is arranged around the branch, rather than flattened and cones are berry-like with scales pressed together.

Juniper (Juniperus)

The leaves are small, scale-like and pressed to the stem. The foliage is flattened and plate-like in appearance. The cones are berry-like with thick scales.

Thuja (Arborvitae)


Pinaceae family

Leaves are needle-like

Single needles.


Needles sheathed at the base in bundles of two to five. Cones have thick scales and are woody with swollen tips.

Pine (Pinus)

Short needles in tufts of ten or more and could be deciduous.


Larch (Larix)

Needles are flat in cross-section and quite flexible.

The needles are square in cross-section and quite stiff.

Spruce (Picea)

Norway_Spruce_foliage,_Fågelmara,_Sweden

Spruce

The needles leave an oval leaf scar and the bud tips are pointed. The cones have a three-pronged lobed tongue-like bract that extend out beyond the scales.

Douglas Fir (Pseudotsuga menziesii)

The needles leave a round leave-scar and the bud tips are roundish. The cones grow upright on the branch and usually breaks apart before falling off completely.

Fir (Abies)


From here the classification can be further refined to identify the specific conifer to species level. This will come in a future blog.


Pine Seedlings as Cuttings – Early work to get a killer Nebari.

In an earlier post (https://wordpress.com/post/bonsaiplace.net/515), I have written about imagethe germination of Pine seedlings. These seeds (planted on 26 January 2016) germinated very fast and are now large enough to change into cuttings. The reason why I do this is that it gets rid of the tap root early on and forces the seedling to grow new roots and the hope is that the new roots will develop radially for a really great nebari. That is theory.

I started off by making sure that I have all the tools needed to start the process. This included containers with seedling mix, a surgical blade, hormone rooting liquid as well as my trusty Rhizotonic.

IMG_0292

The first step is to wet the seedling mix in the container with the Rhizotonic solution. Rhizotonic is a dynamic, organic root stimulator and stress reliever (wonder whether it works for humans?). I use it for everything that is re-potted, yamadori that are planted and especially for plants where a lot of roots have to be cut.

IMG_0297

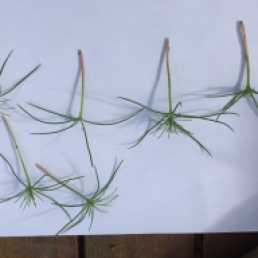
The next step is to very gently remove the seedlings from the original container. This phase needs to be accurate and quick as the seedlings cannot dry out during this time. The seedlings are placed on a cutting board and the tap roots are removed by cutting through the seedling where the stem and taproot meets. It is important that a very sharp blade is used as the stem cannot be bruised or crushed at this stage.

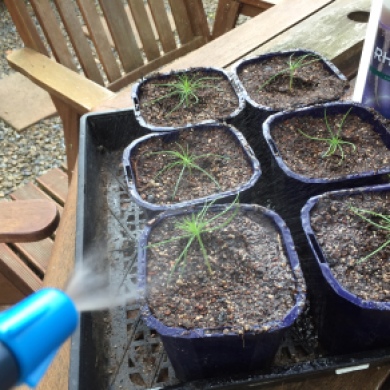
The seedlings are then handled by the leaves to further prevent bruising to the stem and it is placed in the rooting hormone. From here the seedlings are quickly planted in the seed raising soil. The seedlings are now watered in with the Rhizotonic solution and placed in a shady, but warm location. From here the seedlings will be sprayed with the Rhizotonic solution twice a day and if necessary even three times a day. Now the wait begins. The date today is 20 March 2016.