
Tag Yamadori

Pine gets its first styling as a Literati Bonsai.
Structural Work on Bonsai
Winter provides good opportunities to do structural work on deciduous Bonsai trees. Sap flow is low, no leaves means you can see what you are doing and wiring can set branches before Spring growth starts.

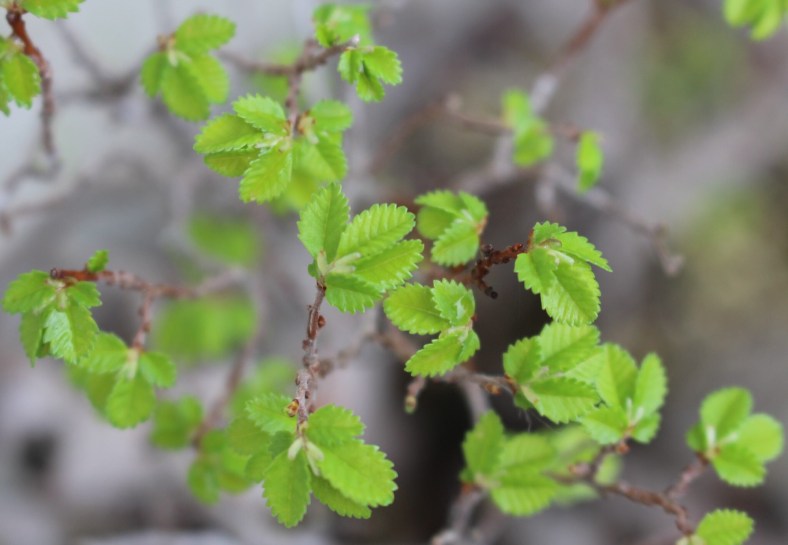
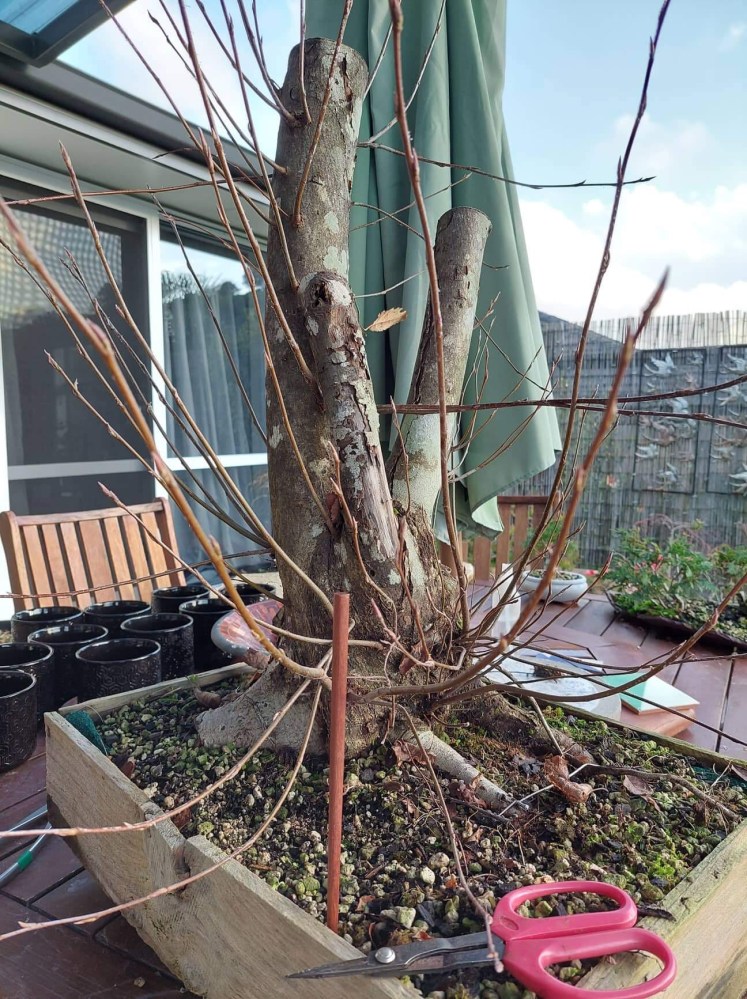
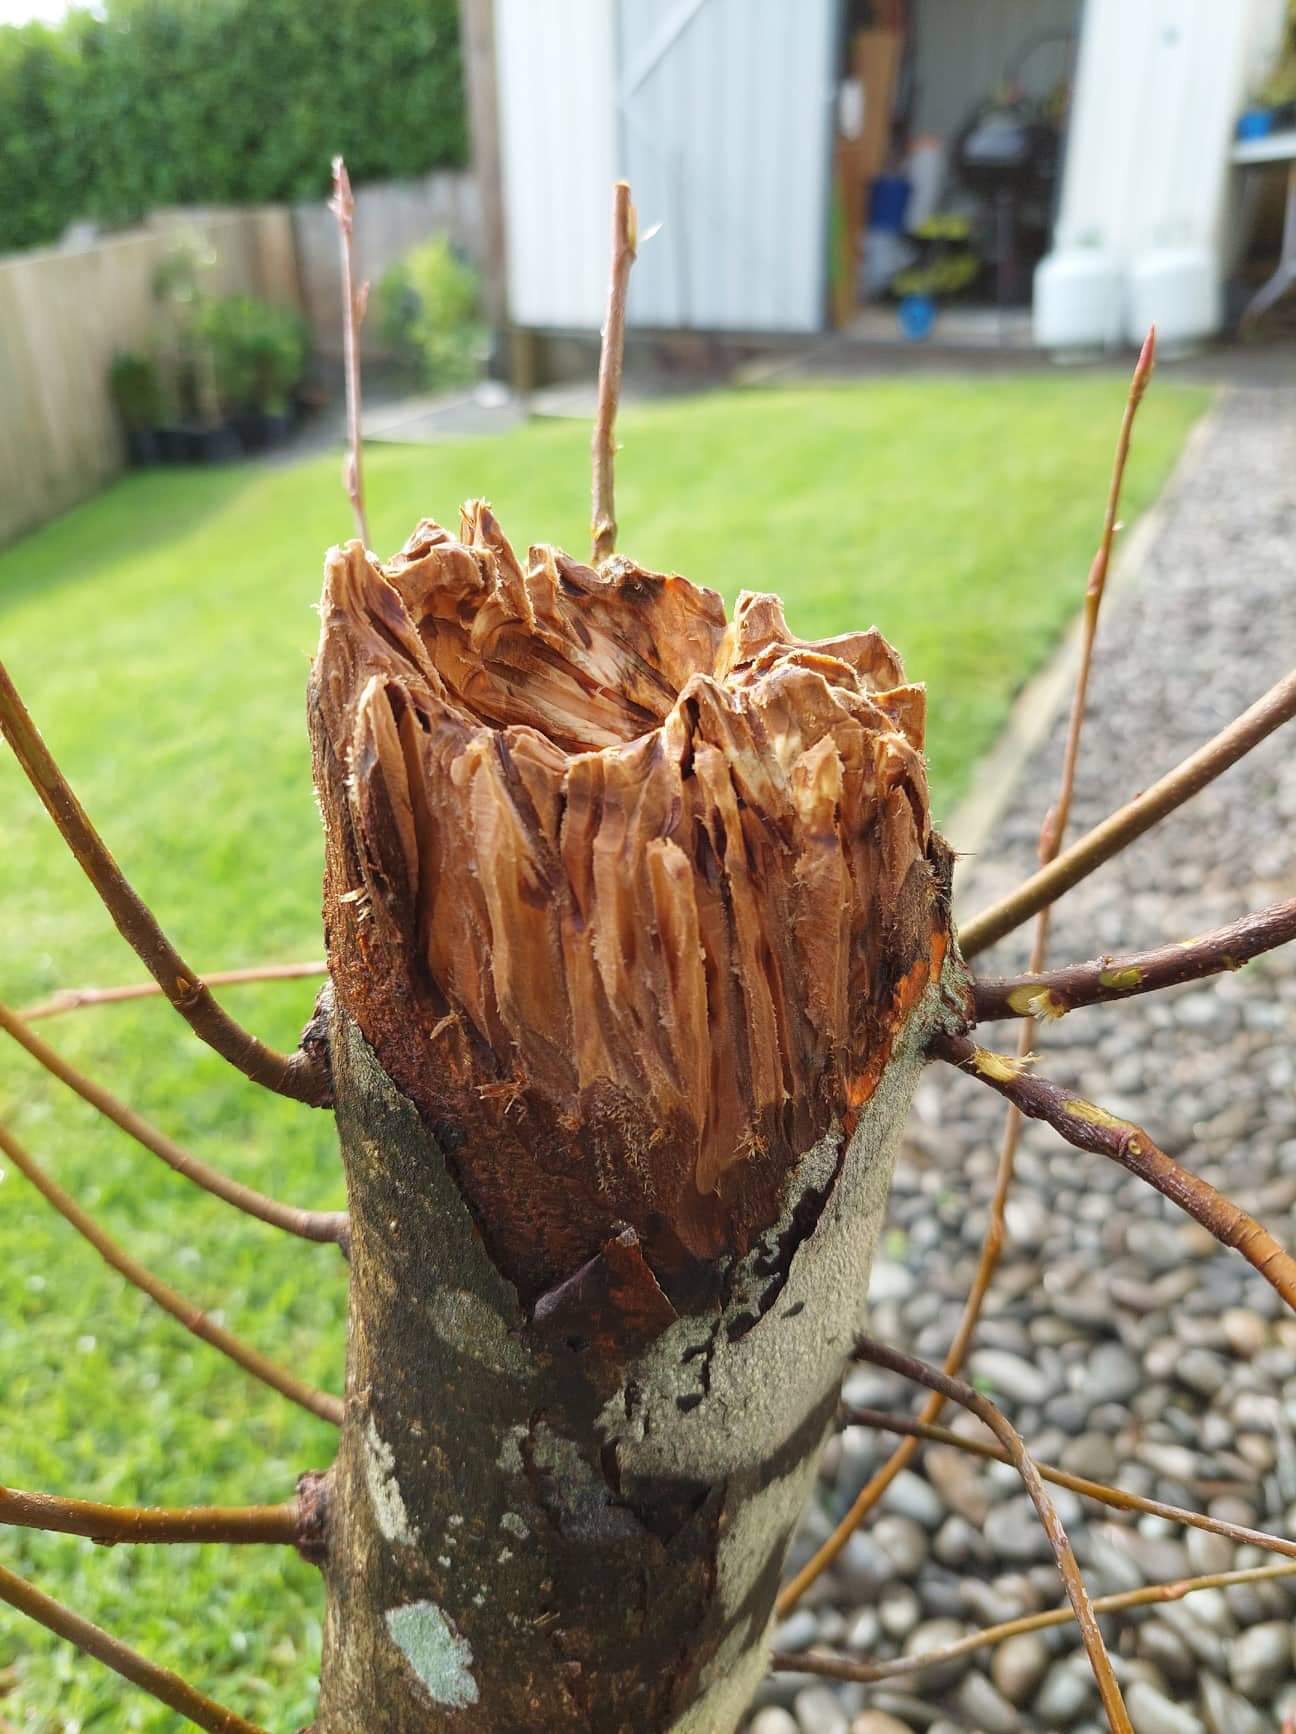
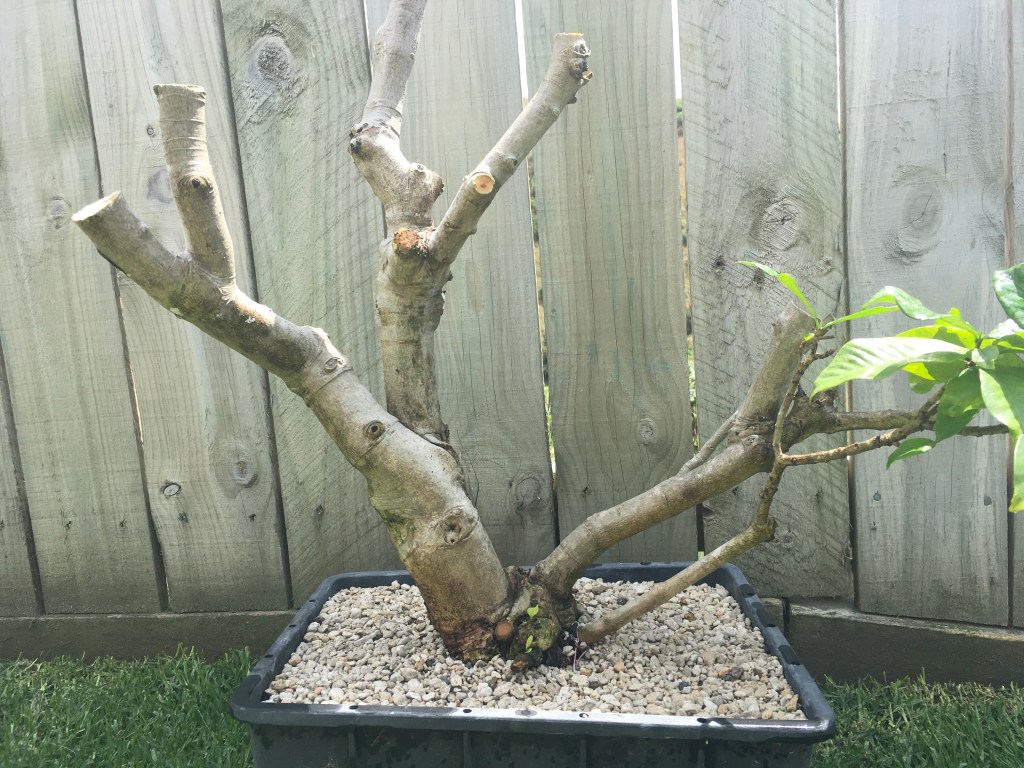
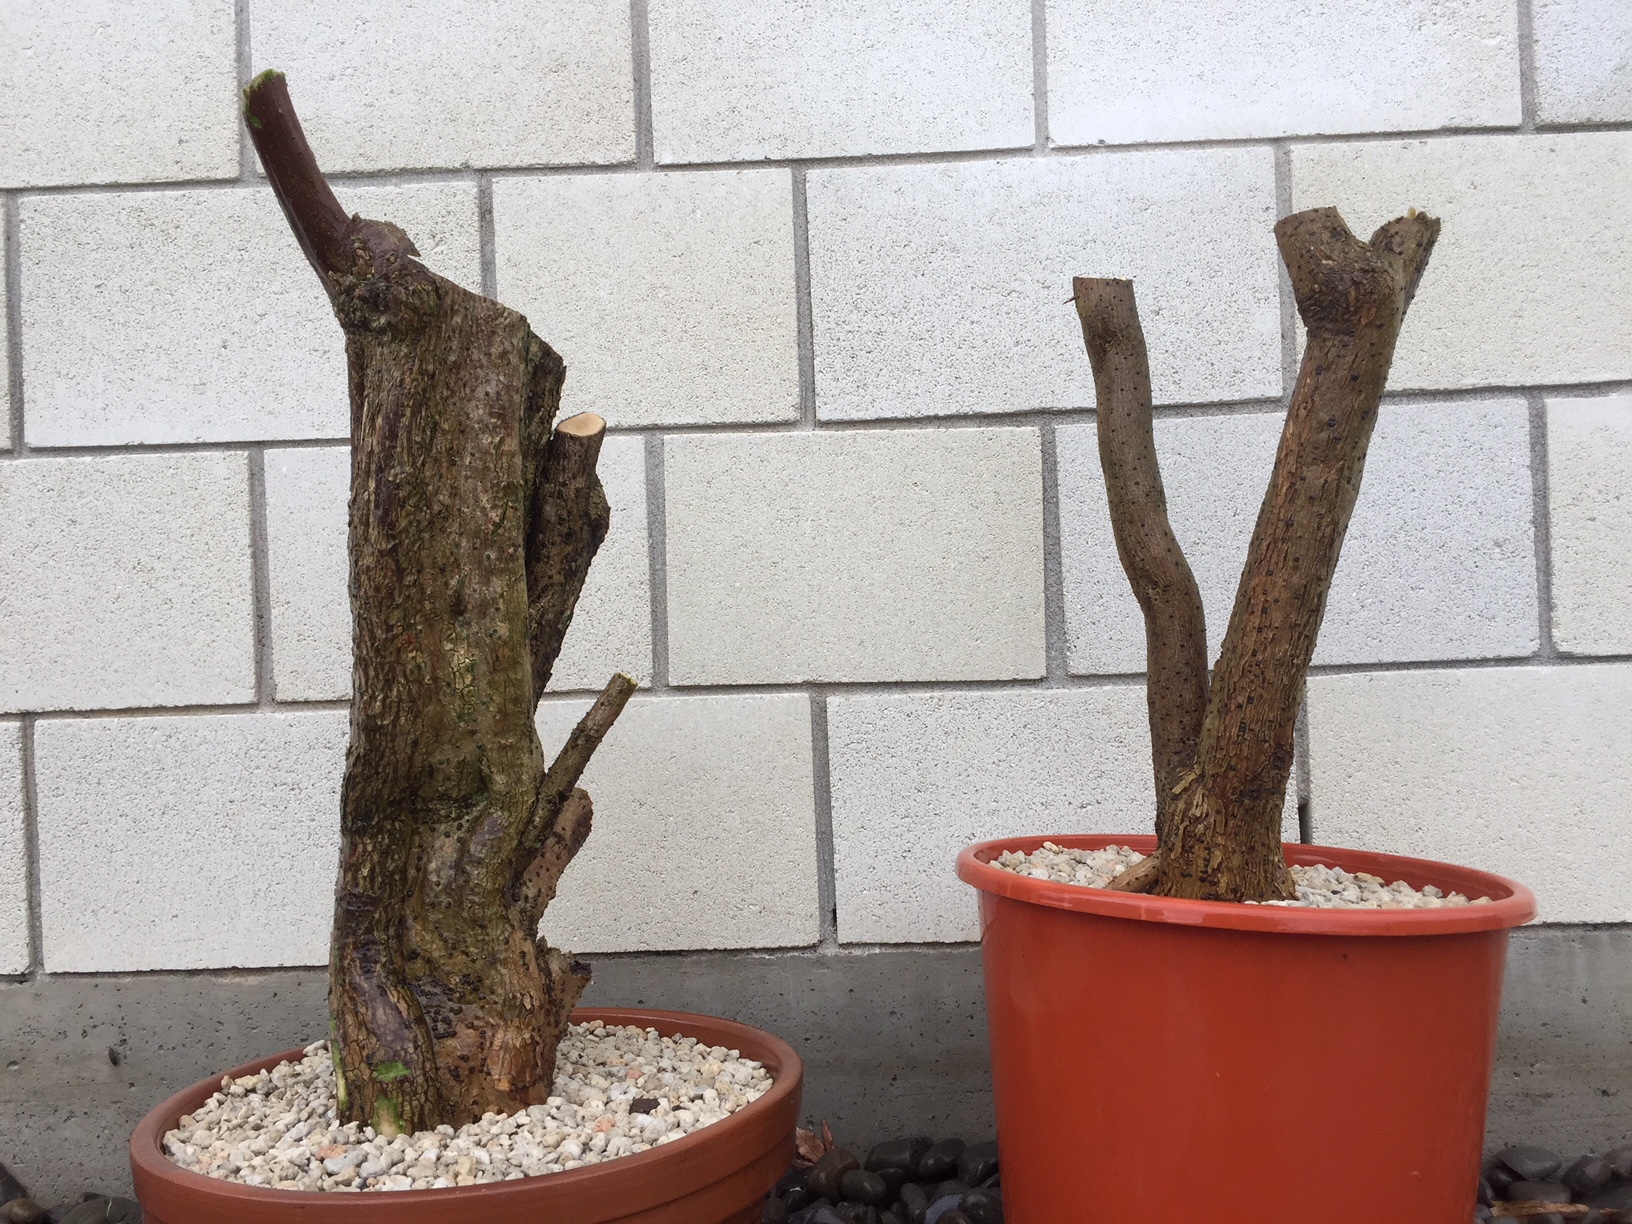
This Cherry tree was collected about a year ago and was just a trunk, in this case a triple trunk at collection. The original tree was about four metres high and in a forrest which means it was quite lanky with no branches towards the bottom. One year later and it has put on a lot of new growth and the fine root development is spectacular.
It has three quite large scars on the end of each trunk and then also a very big one on a chopped root. The middle trunk is dead and has been at collection already. This trunk was rotten and easy to just break to shorten it. As the root scar was going to be large, it was decided to have that at the back.


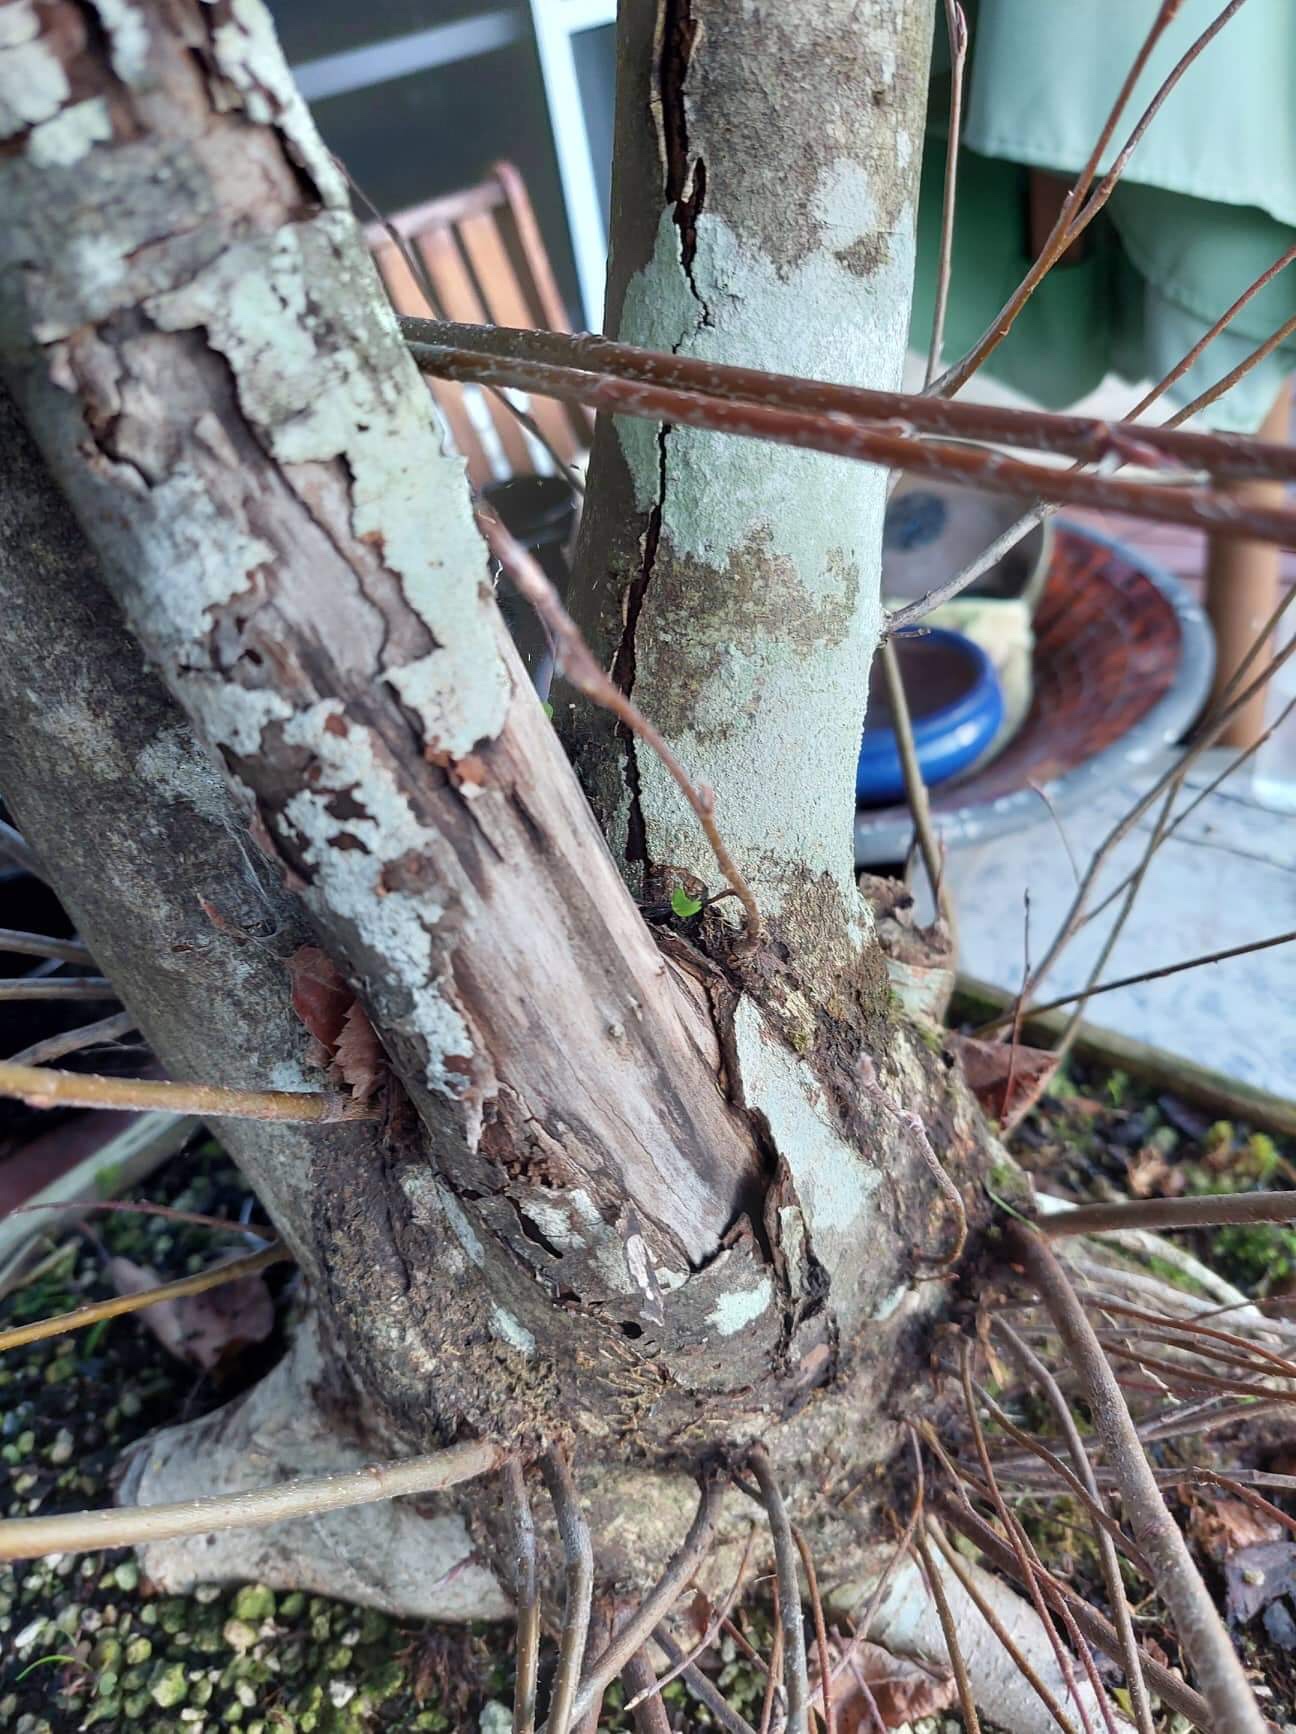

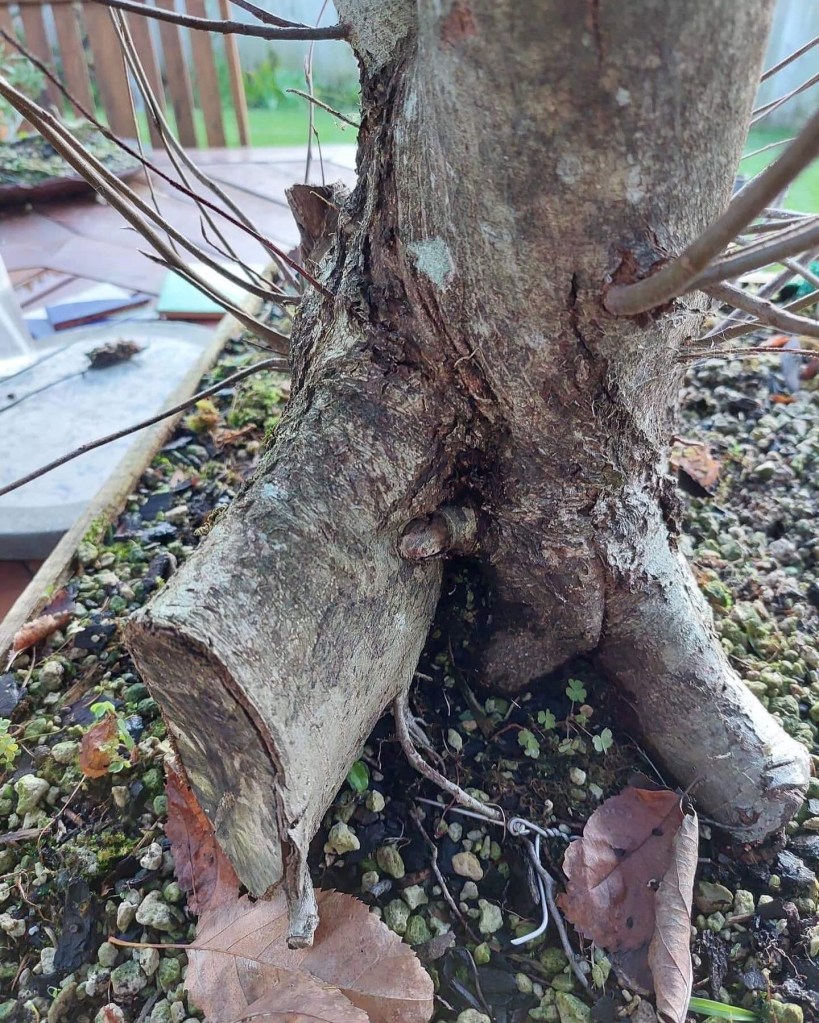
Once the front was established, extra branches were removed and a few at the top were shortened. All branches crossing the main trunks or too low down on the trunks were removed. The same happened where two new branches grew from the same place or they were just too close to each other. A few branches were in a 50/50 situation and these were left for now to be decided on later. Always start by removing large parts first. In this case it was mainly the root which was removed with a reciprocal saw and then the larger bit on the die grinder was used to set the first grooves by also creating some taper. This was then followed up by ever decreasing sizes of bits and once everything was carved, a wire brush and then a nylon brush was used to clean and polish the carvings. By polish I mean brushing vigorously to remove fine threads and fibres left over from the carving. I usually use a blow torch to help with this action, but in this case it was decided to not use the torch.

Once this phase was completed, the carving started. This was a three hour operation using different sized carving bits with both a Dremel 4000 as well as a trusty old die grinder.

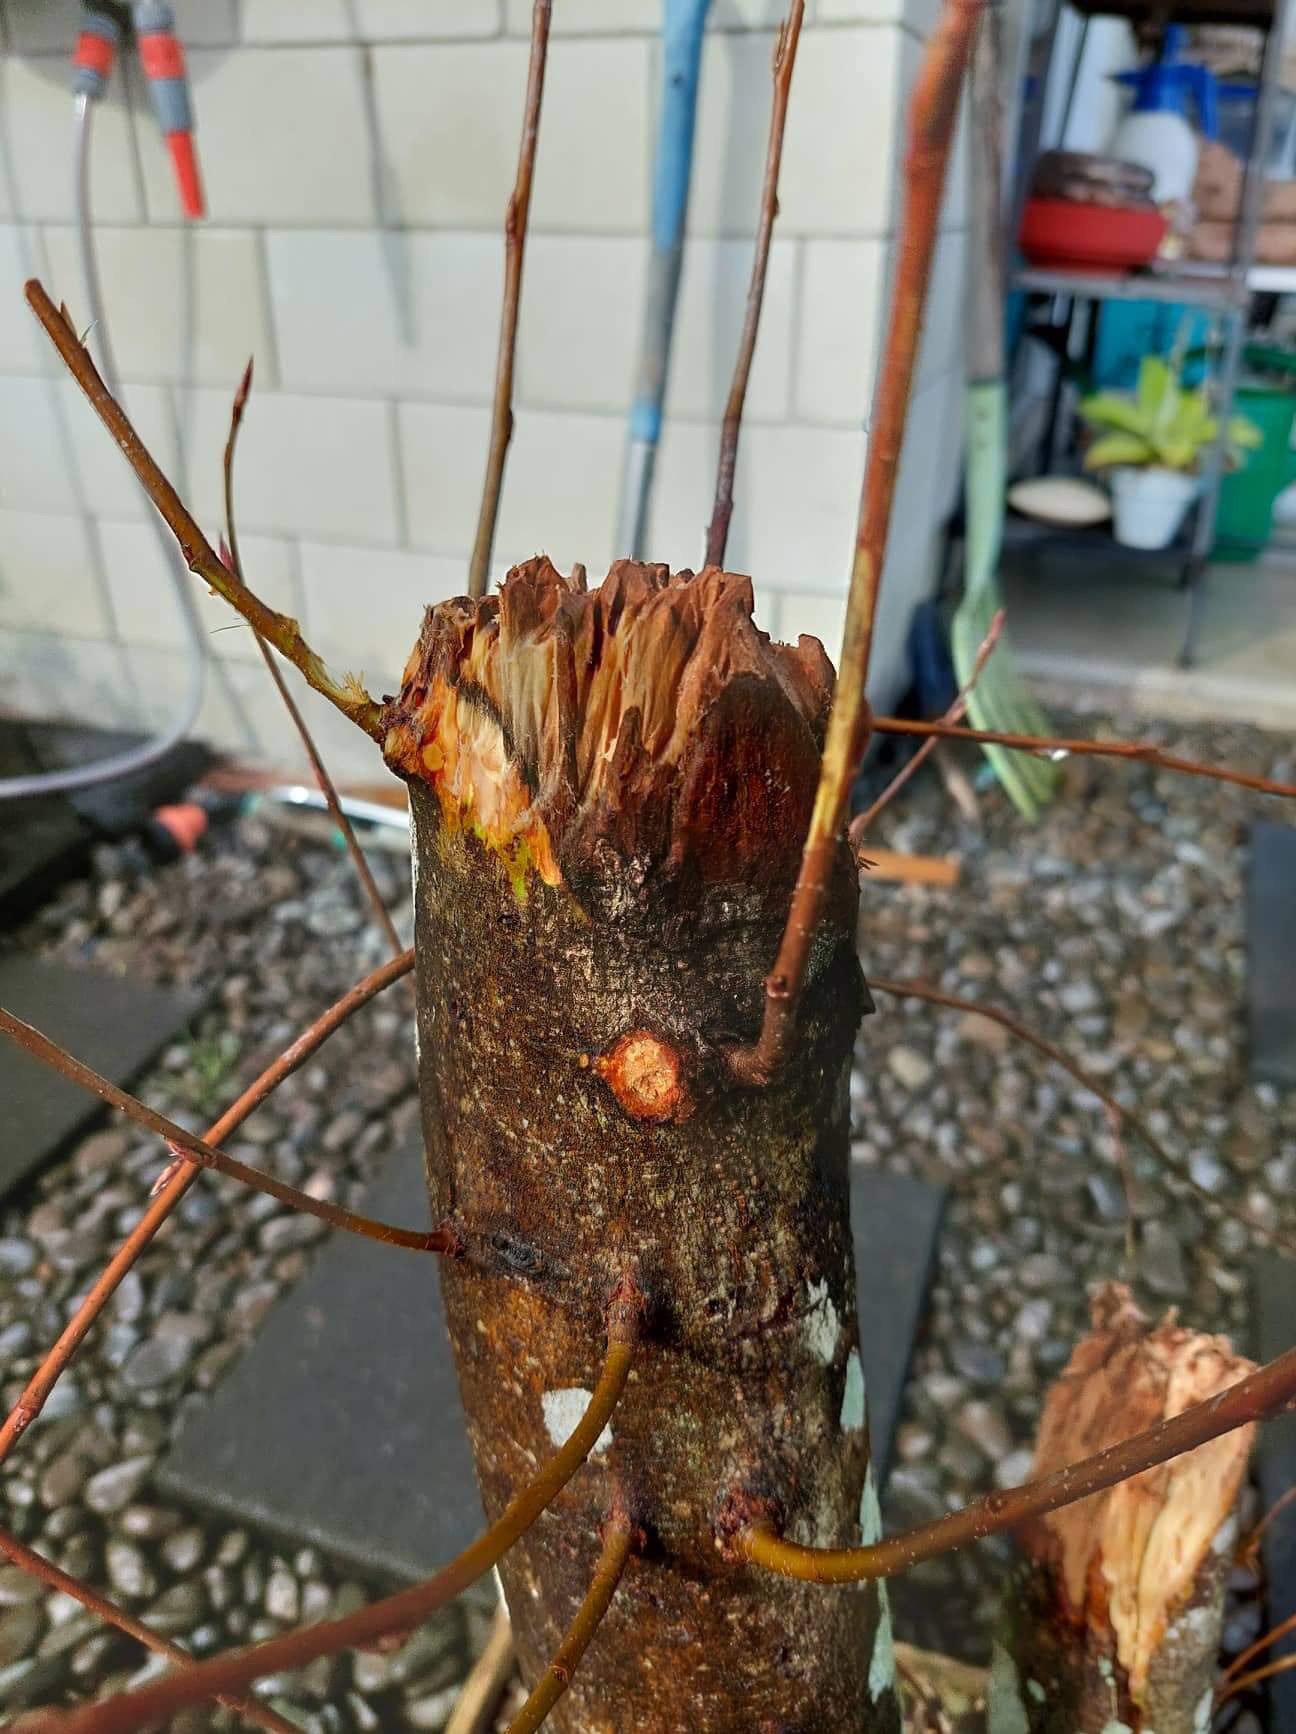


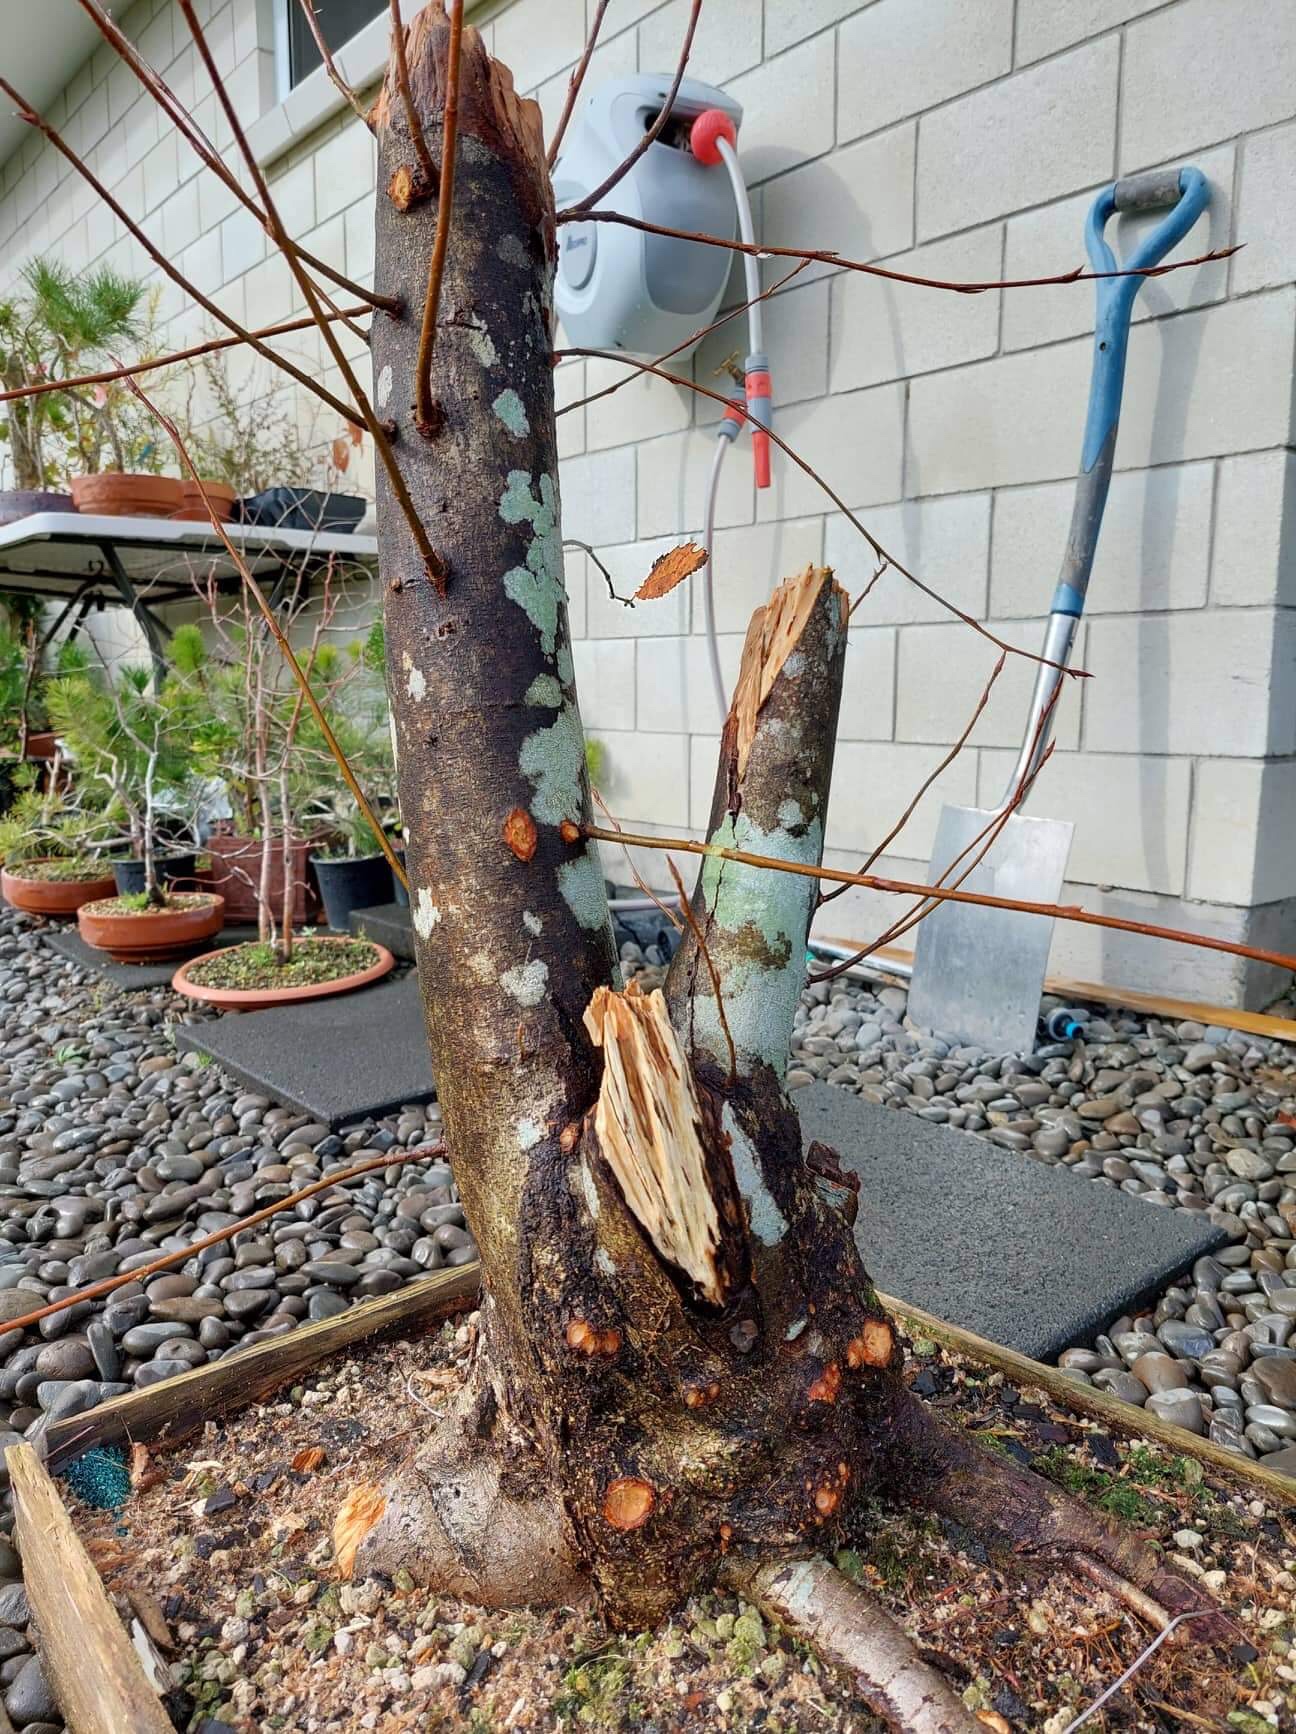
The last step was now to apply wire and set the branches. A few more branches were removed and it was also decided to plant the tree on an angle leaning forward a bit more once Spring sets in. This will be a naturalistic looking tree with a large and rounded top with the shorter trunk carrying the lower branches on the left hand side. There are still a couple of branches that will probably be removed, but that will come later depending on further development. An example of this are the two branches that looks as if they are coming of the front of the main trunk about a third from the top.
Now it will rest and as soon as the buds swell a fertilisation program will start and a sharp eye be kept on the wire as it will cut in quickly as the tree grows. Watch this space for updates.

Subscribing to this blog will ensure you see the progress of this tree over the years to come.

From Garden Plant to Bonsai
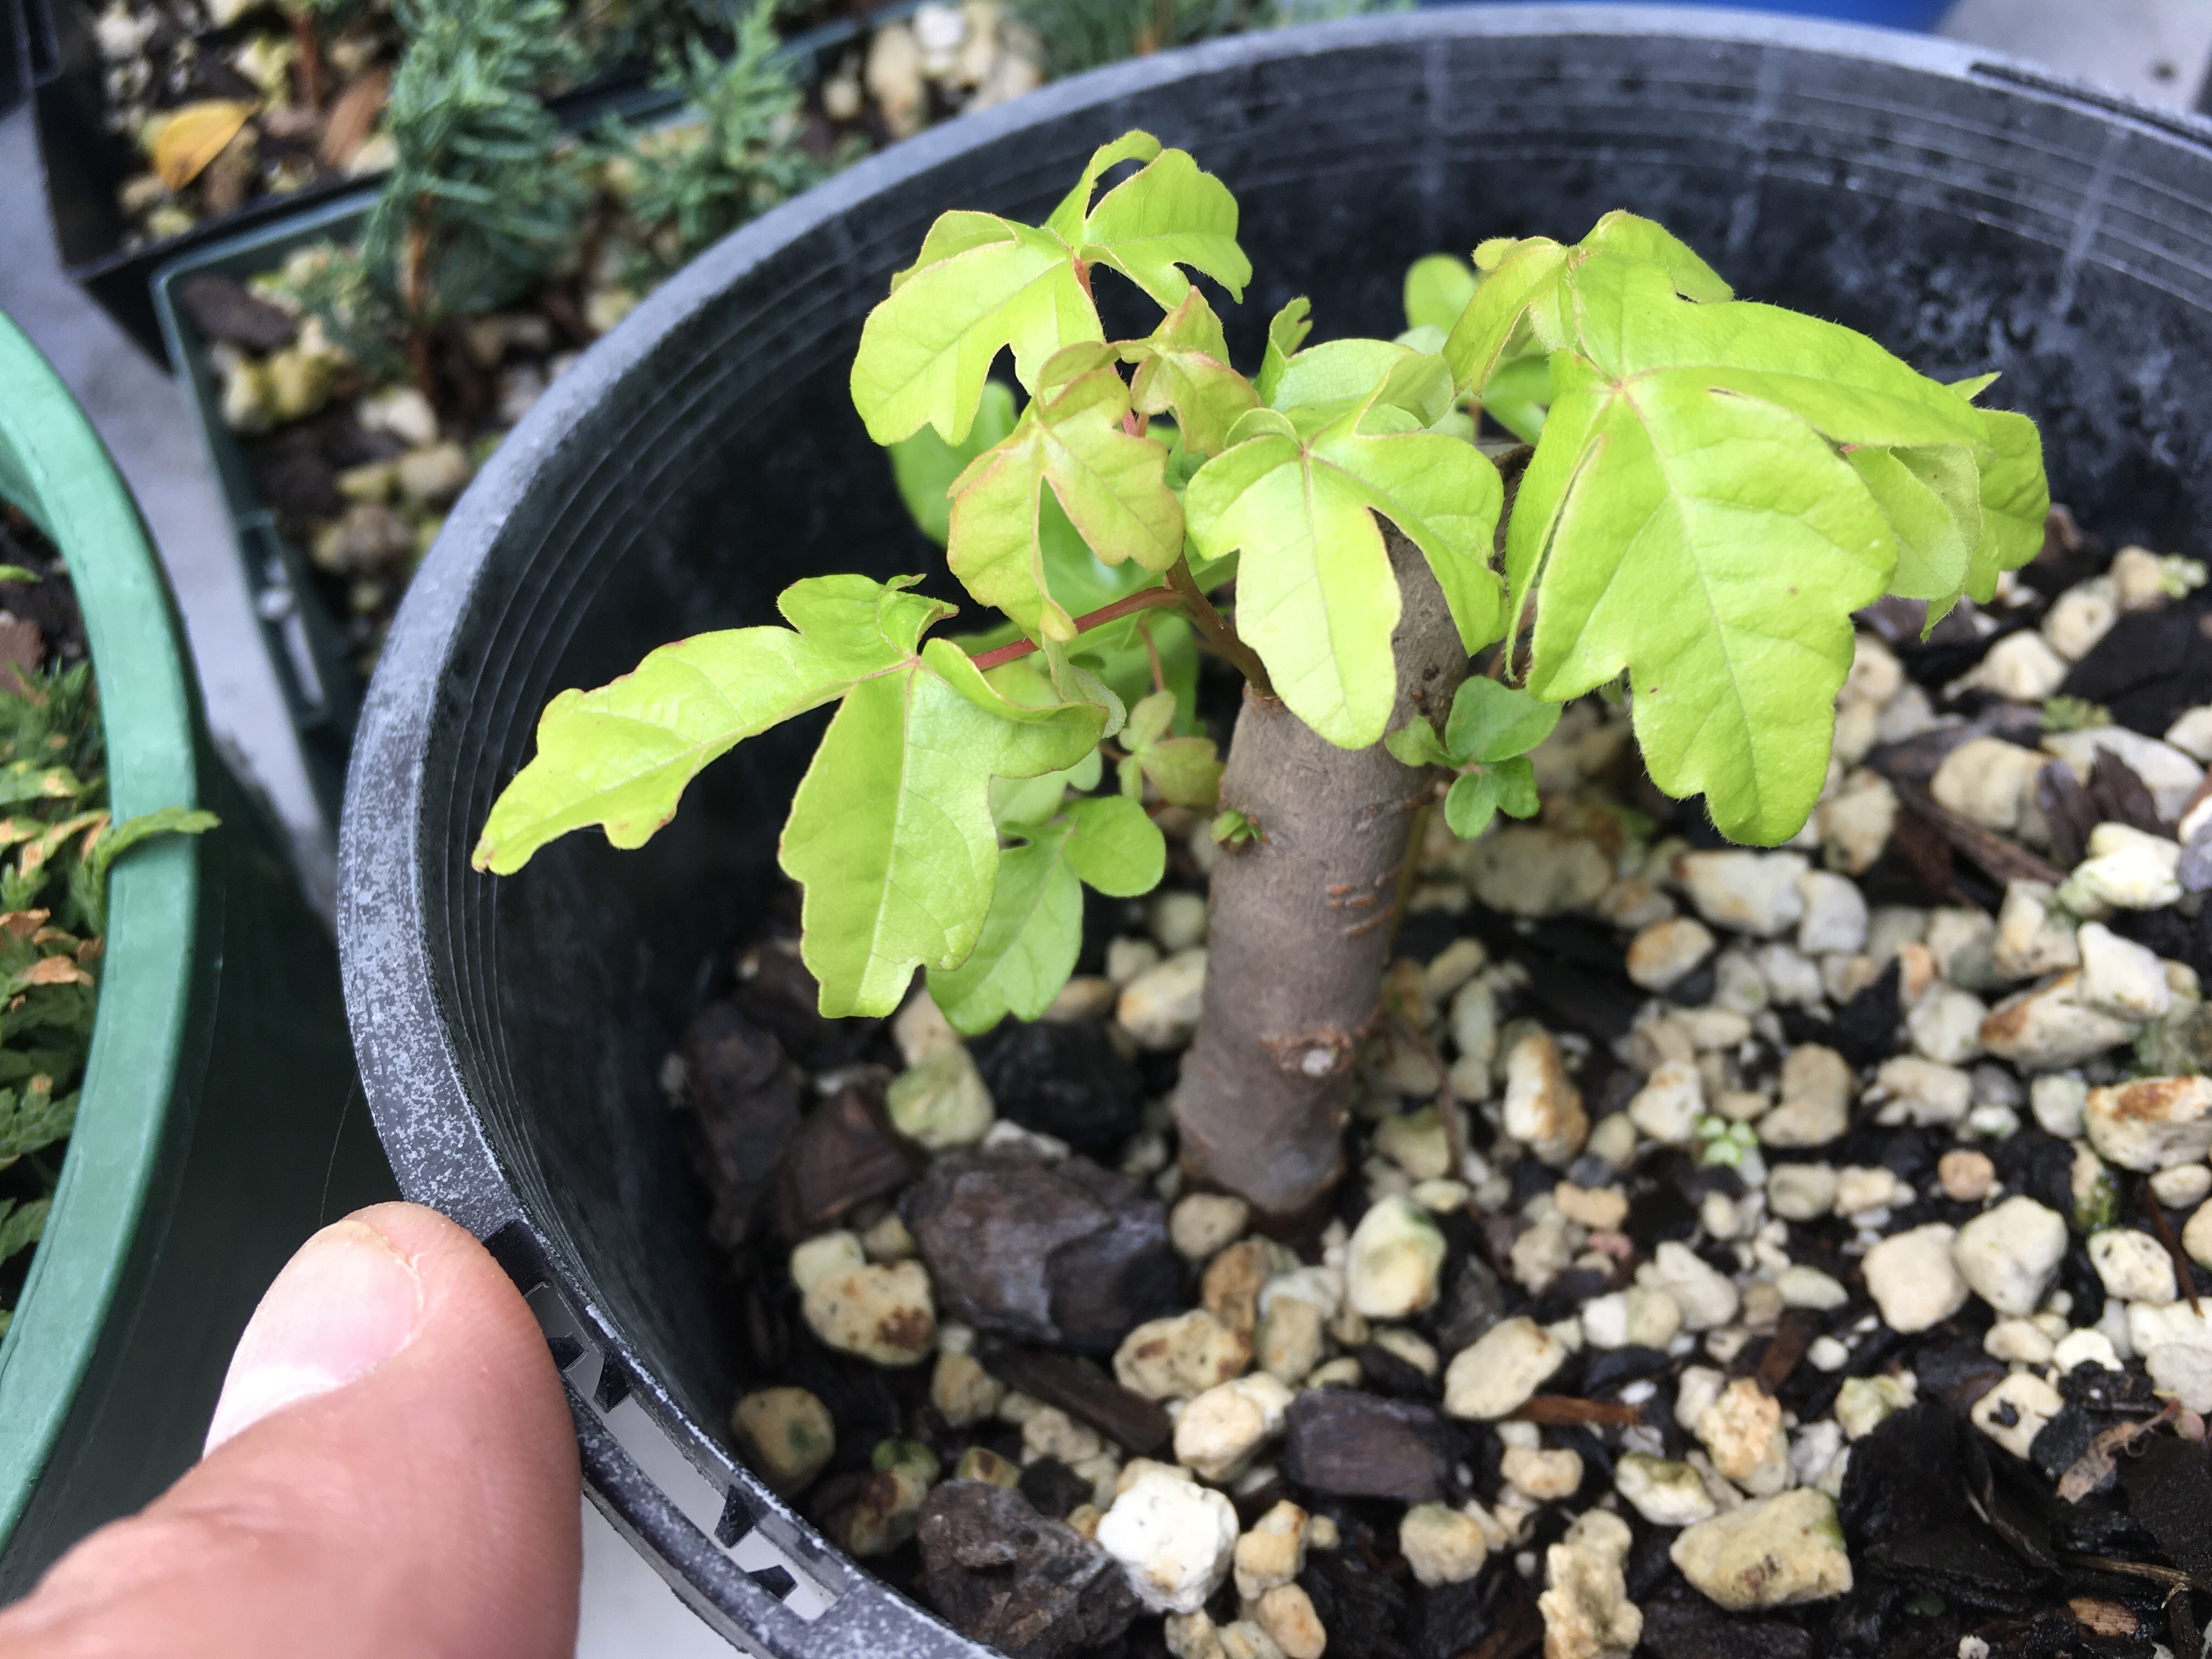
I am always on the lookout for new material and prefer to work with material that has accumulated some age and character through being garden plants or from nature during the first phase of their lives. Sometimes they come for free and sometimes you have to pay. These two Azalea plants were advertised for free and just needed to be dug out. That took two minutes as these are shallow rooted plants.


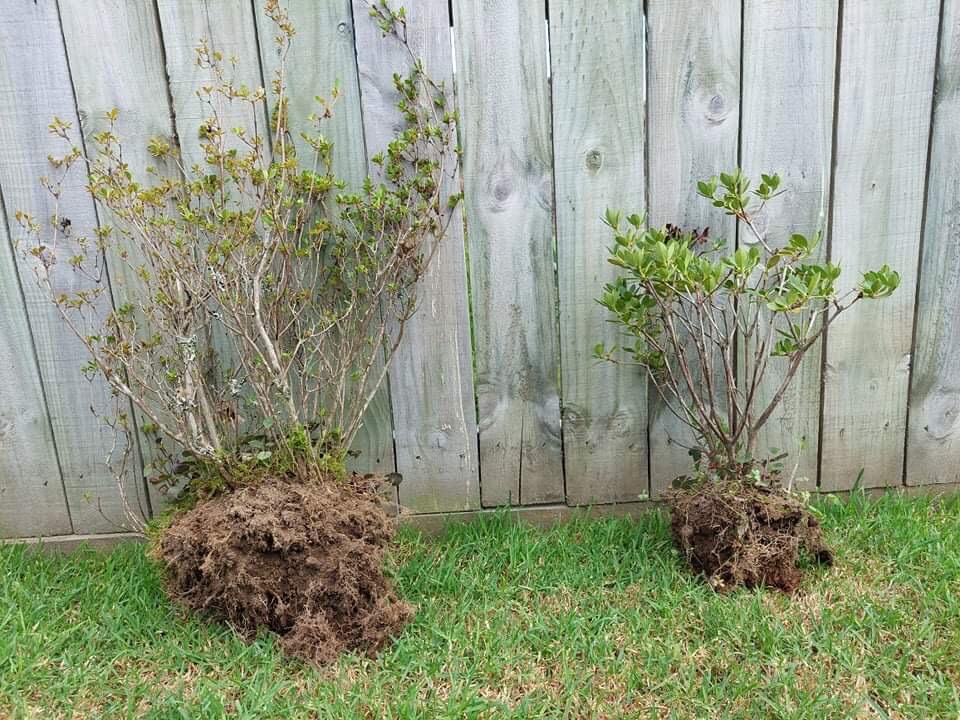
Freshly dug Azaleas and the first step is to remove all dead branches and then also to remove most of the garden soil. It is better to remove all old soil, but in some cases it is ok to leave some of the garden soil depending on the season. You do not always have a choice when the plants become available and then you have to make informed decisions about how far you can go, especially when it comes to root work.
These two were potted up and we also managed to get seven smaller plants off the larger clump. Needless to say, these two are clump style and will be grown and refined over the next few years as such.

Aftercare is the most important aspect when it comes to doing work on plants out of the optimum season. Watering is a big part of this and after I have watered the plants in, I always water with a nutrient rich tonic and fertiliser and prefer liquid ones. My go to preference is Swift Grow due to the fact that it is organic, contains all needed nutrients and very important for me, the right probiotics to get the roots off to a great start.
Please subscribe and leave comments.

Garden trees to Bonsai
Let’s get one thing out of the way first. The term Yamadori refers to a tree lifted from the wild where it has spent many years, showing good age with features that will make a great Bonsai. When a tree is lifted from a garden or from any other place for that matter it is not a Yamadori, not even an Urban Yamadori as some people refer to it. Yamadori in my mind is for one thing and one thing only.
I have recently seen a photo of a very nice Magnolia Bonsai tree and wanted to try my hand at one. As luck would have it, a garden tree that was to be removed was advertised in my area and I jumped at the opportunity.

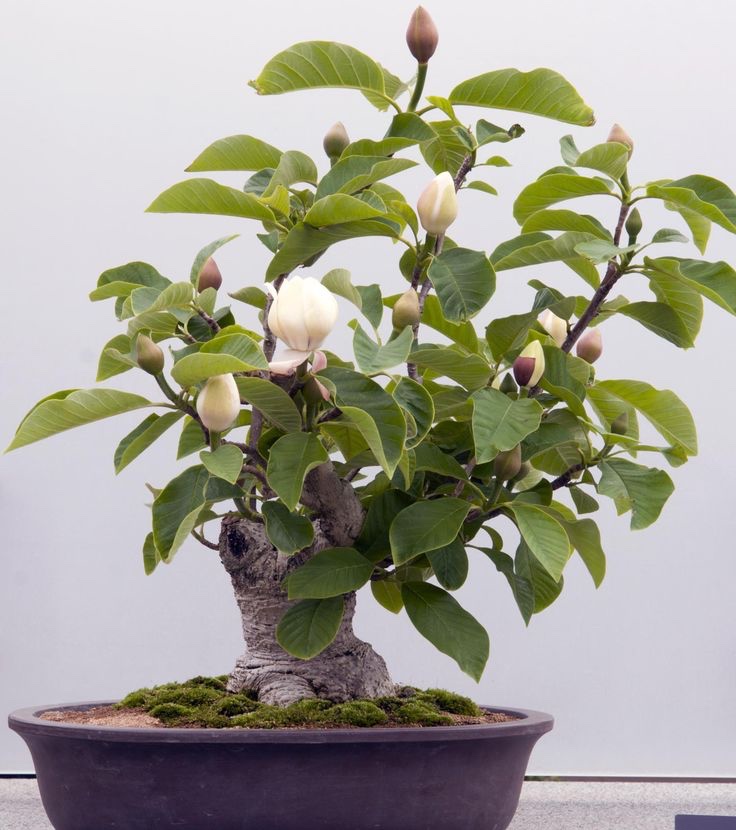
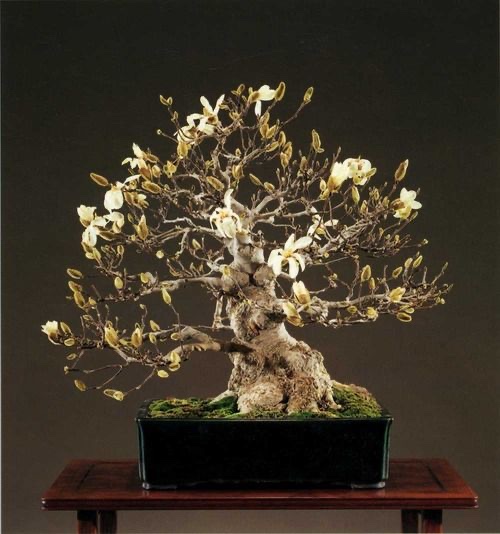
Examples of Magnolia Bonsai from various sources (Pinterest, Bonsai Nut).
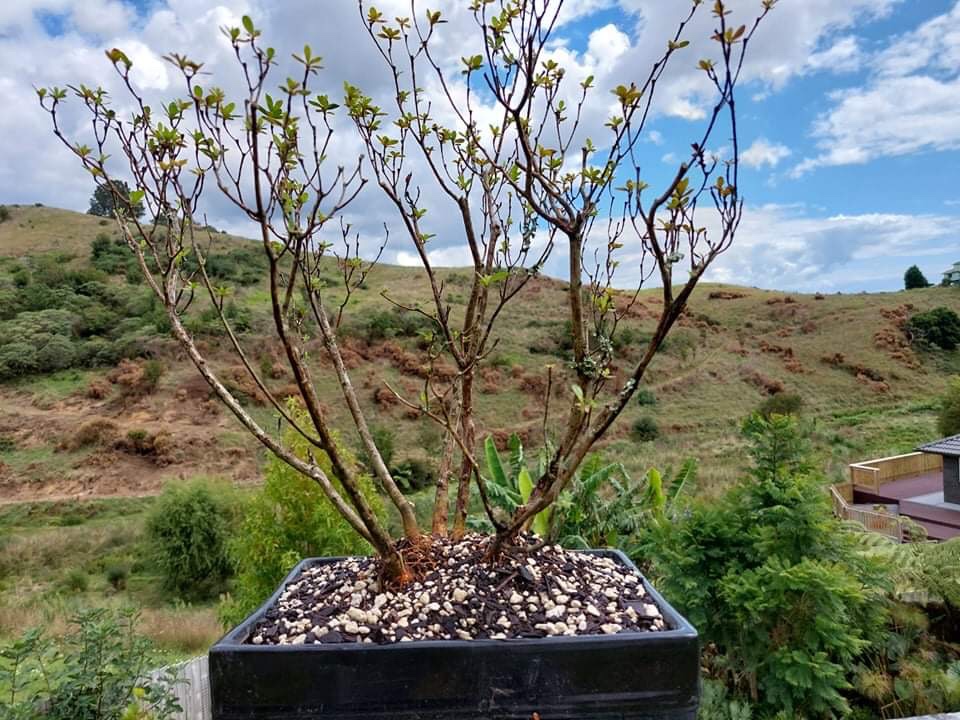
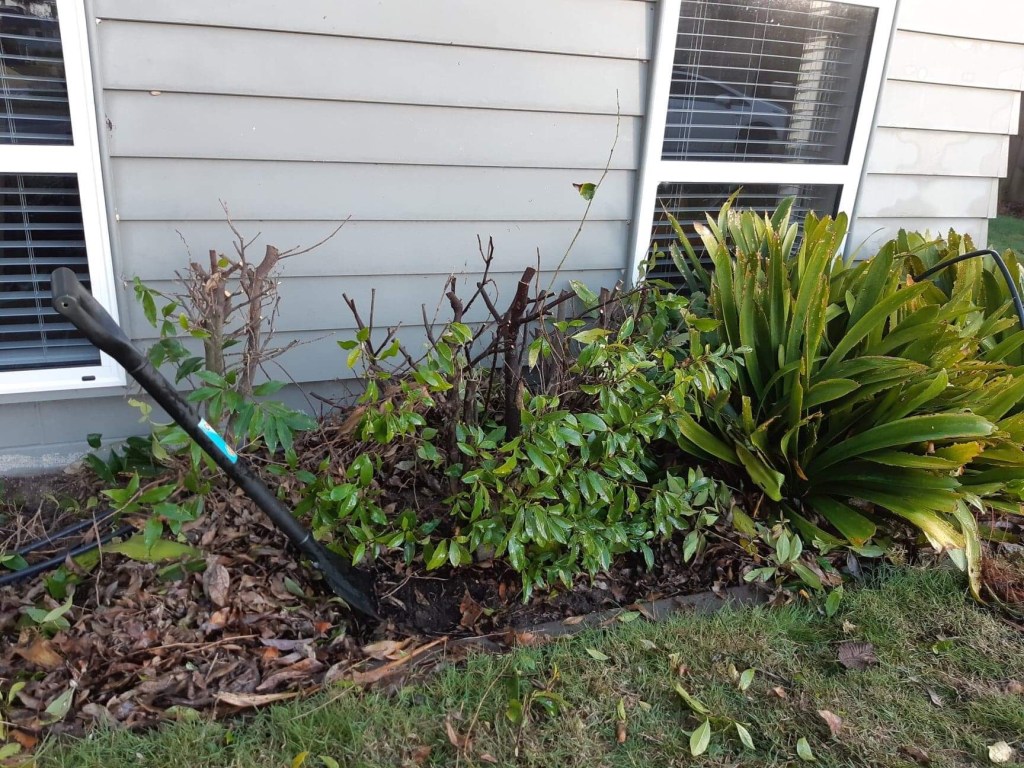
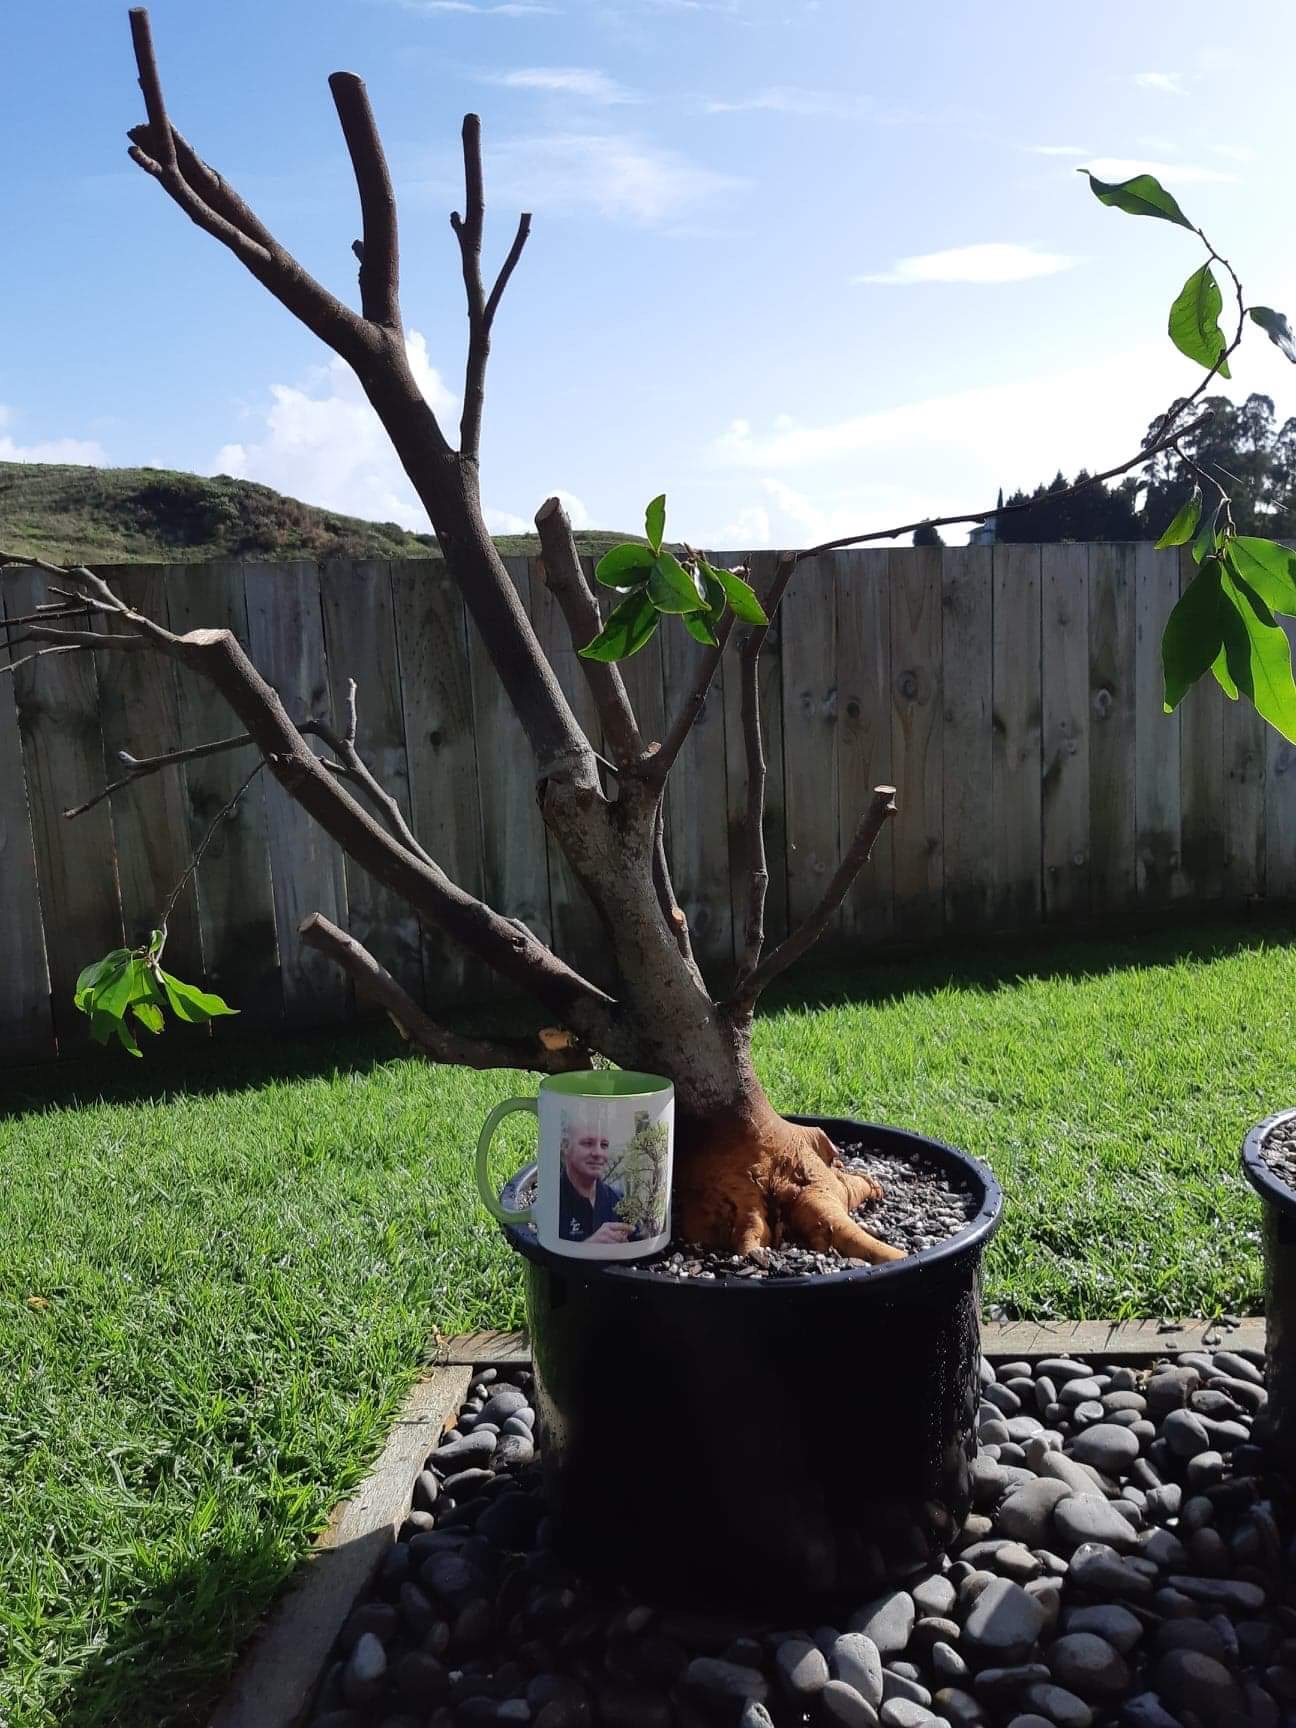
What we have here is a garden plant that has been grown as an ornamental plant in a garden bed. It is a Michelia figo or a Port wine Magnolia. It had to be removed as the owners were in the process of remodelling this garden area.

Great was my surprise when I parted some of the branches and discovered that it is actually three trees. It is important to make sure that there are no irrigation or other hidden water or electricity services going close to or underneath the digging area. The first job is to reduce the branches and foliage to get closer to the trunk and this will also help with survival as the branch and leaf mass needs to balance the root mass. Through the digging process and also the potting process, the root mass will also be reduced. And then the digging starts.
This was an easy dig as there are no tap roots and especially the two in the back were in quite dry loamy soil and they came out with just a spade length pushed into the soil about thirty centimetres from the trunk and circled around each plant.

It is important to leave the site in a tidy state and in this case I also removed the green waste for the owners. Each tree received a good spray of medicine water. Medicine water for me is just a weak solution of a marine-based or algae-based tonic across all parts of the tree. Now it is homeward bound.
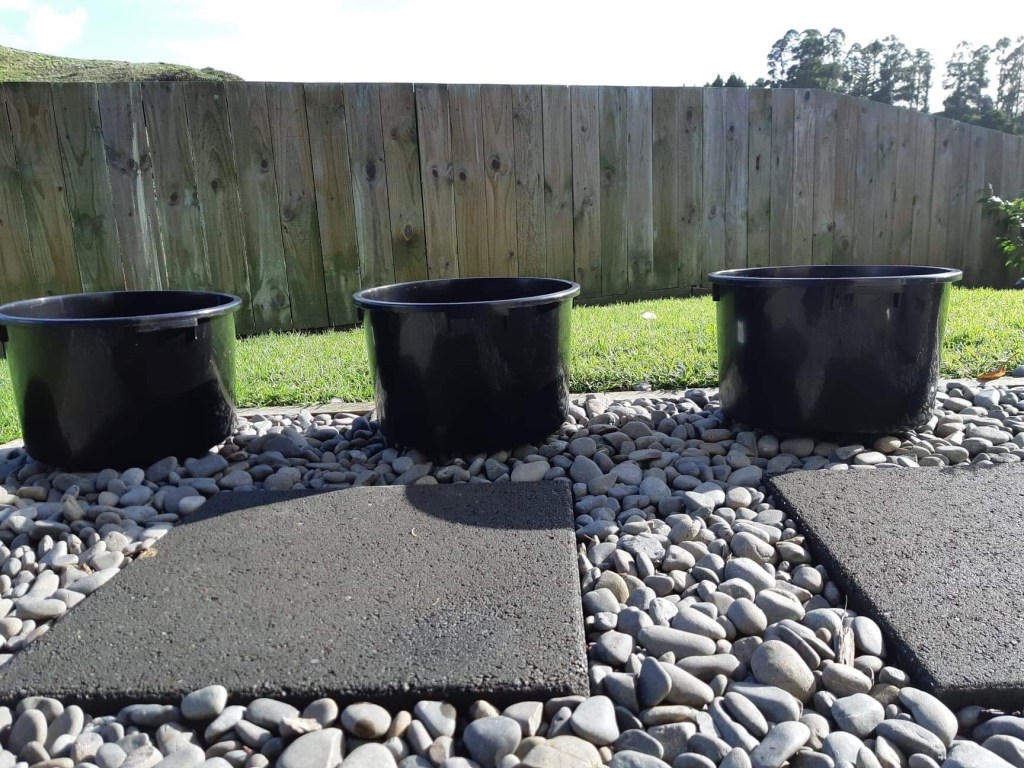
The best advice is to have the planting containers ready before you go, but probably not so practical as you never know how big the root ball will be. in this case I used plastic planting pots, deeper than what a Bonsai pot will be, but this is to allow space for finer root development.
The first thing I do is to work through the roots. Remove all of the old garden soil and in this case some fat earthworks as well. Next is to remove very thick roots and reducing the depth of the root ball. Leave enough finer roots to feed the tree. I also apply rooting hormone powder to the cut roots and sprinkle a bit over all roots. Depending on the species, but more importantly, the state of the roots, I also apply sphagnum moss to the cut roots at this stage. In this case I did not as there were enough roots and they were healthy.
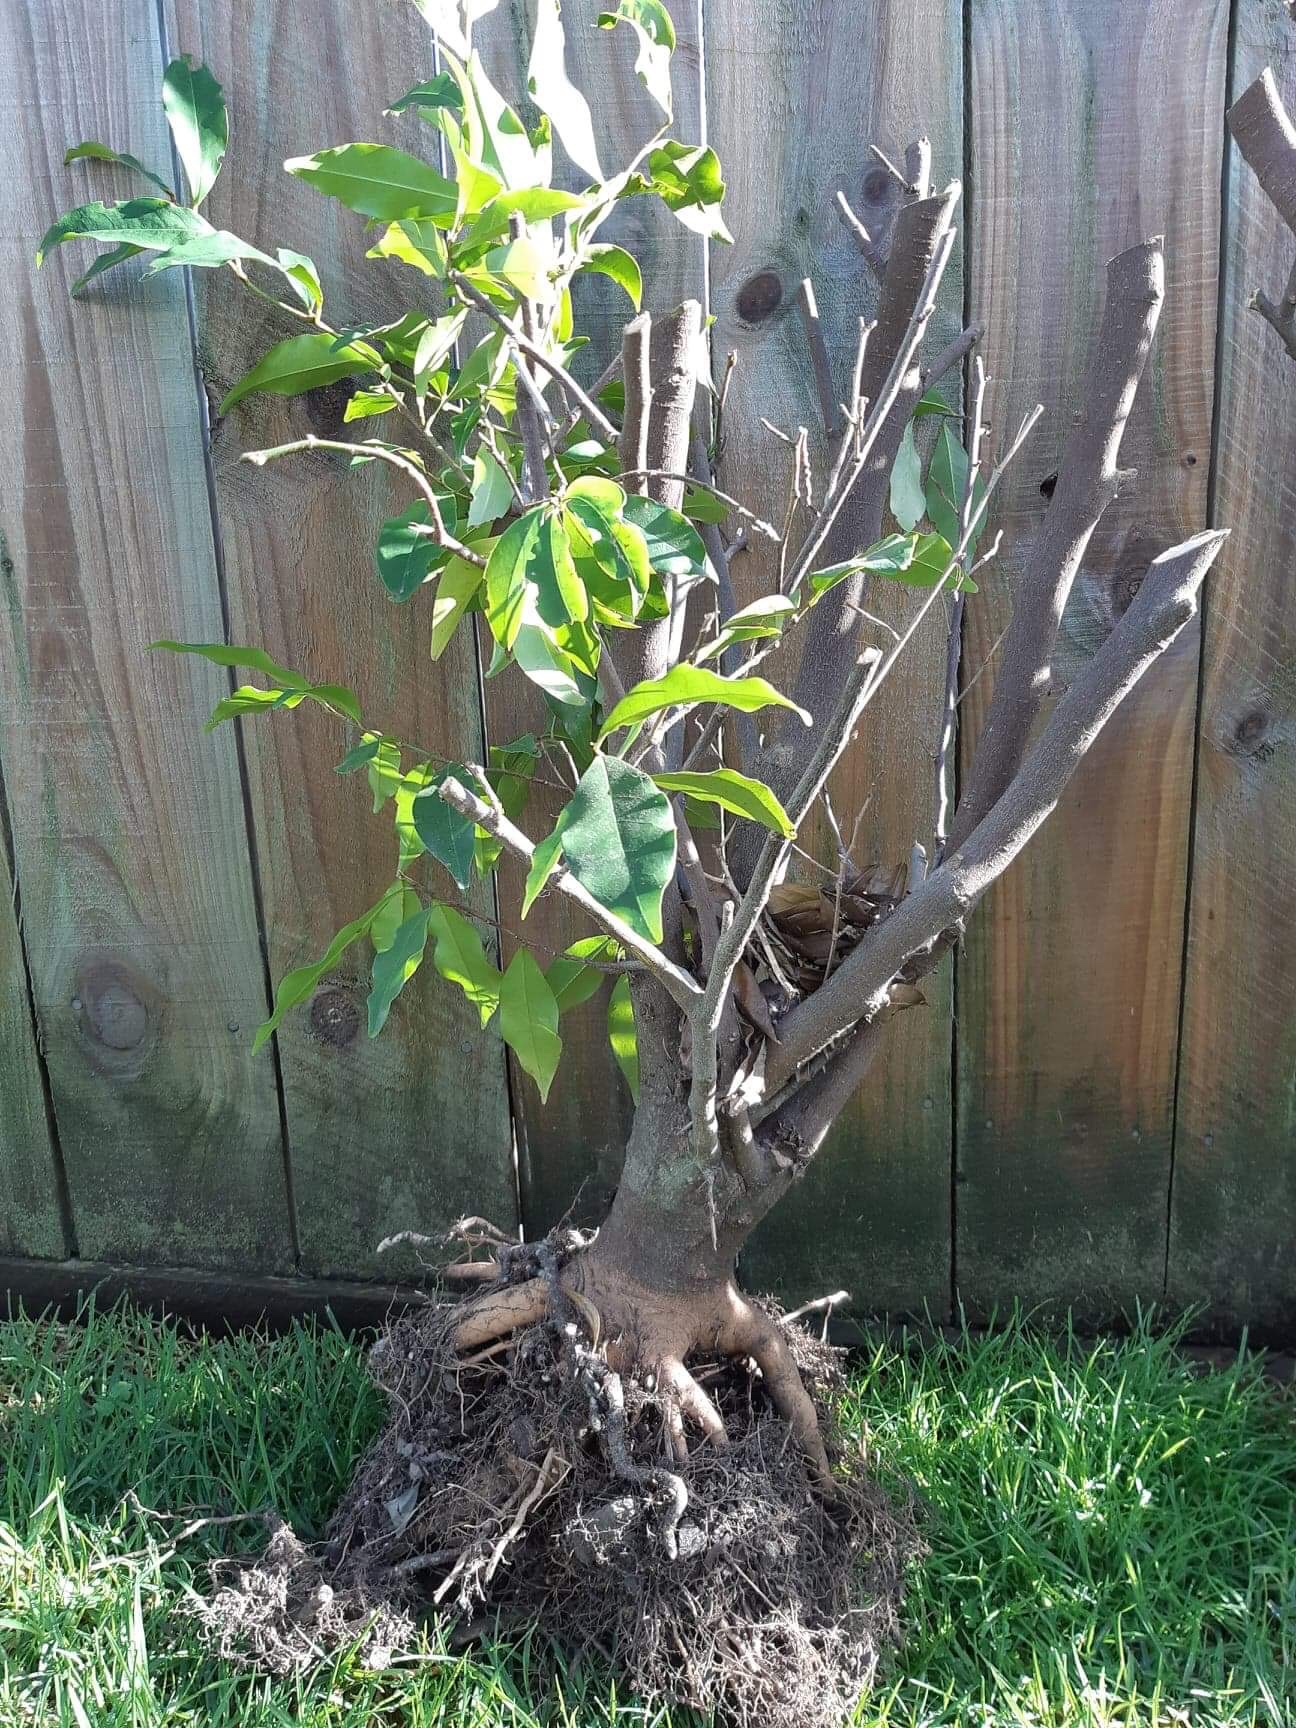


Next up is to find a possible front of the tree by finding the widest part of the nebari and lining this up with the best flow that the branch structure allows. This is also the time to now reduce or shorten the branches to fit this vision of what the future tree could like like in five to seven years. At this stage I do not remove all branches to limit the tree to just one or two styles or designs. In all three cases it is possible to highly likely that the main trunks will be shortened over time. as the pots are round there is no need to worry too much at this stage about the front of the tree for planting purposes. Just focus on what might be needed for future development.
Now for the planting. Good drainage is essential. The soil that I use for this type of planting is a 1:1 ratio of pumice and compost. These are broadleaf trees and will grow relatively unchecked over the next year or two. They will all be heavily fertilised as soon as new growth comes out. The compost base helps with this and the pumice provides the necessary drainage.
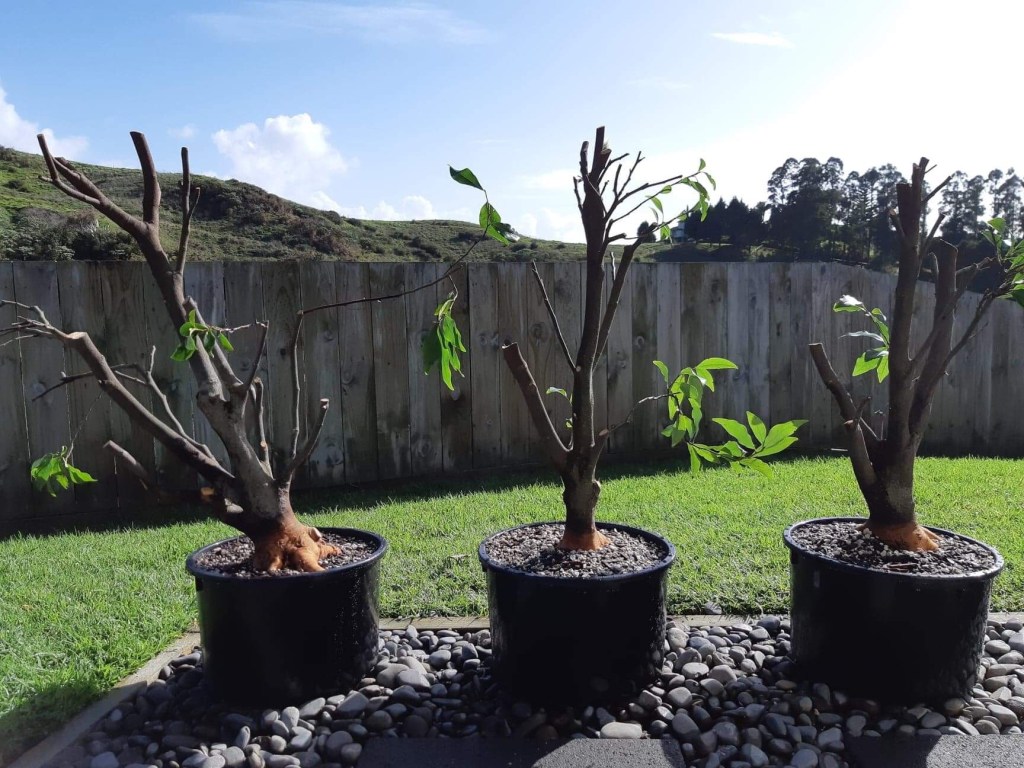
The soil is heaped up in a dome shape inside the containers, the tree is pushed down and wiggled into the soil, tied in with wire and then filled up to the top level. I use my fingers and then a rounded dowel to work the soil in-between the roots. All that is left now is to water the trees and to let them rest until spring when the feeding will start.

Updates will follow as these trees develop. I usually tend to keep one if I have multiples from the same type and sell the others. That just means that updates at times is on just one or two of the trees as the others might be making someone else very happy.
Please leave comments on this post.

Lockdown Bonsai work.
We were supposed to have aBonsai Society meeting today, which would have been the first one in a long time. Last night at 9pm, a change in alert levels was announced which means that where we live, social distancing is in place and as the venue is quite small, not the best for safety in the current Covid climate. That was called off.
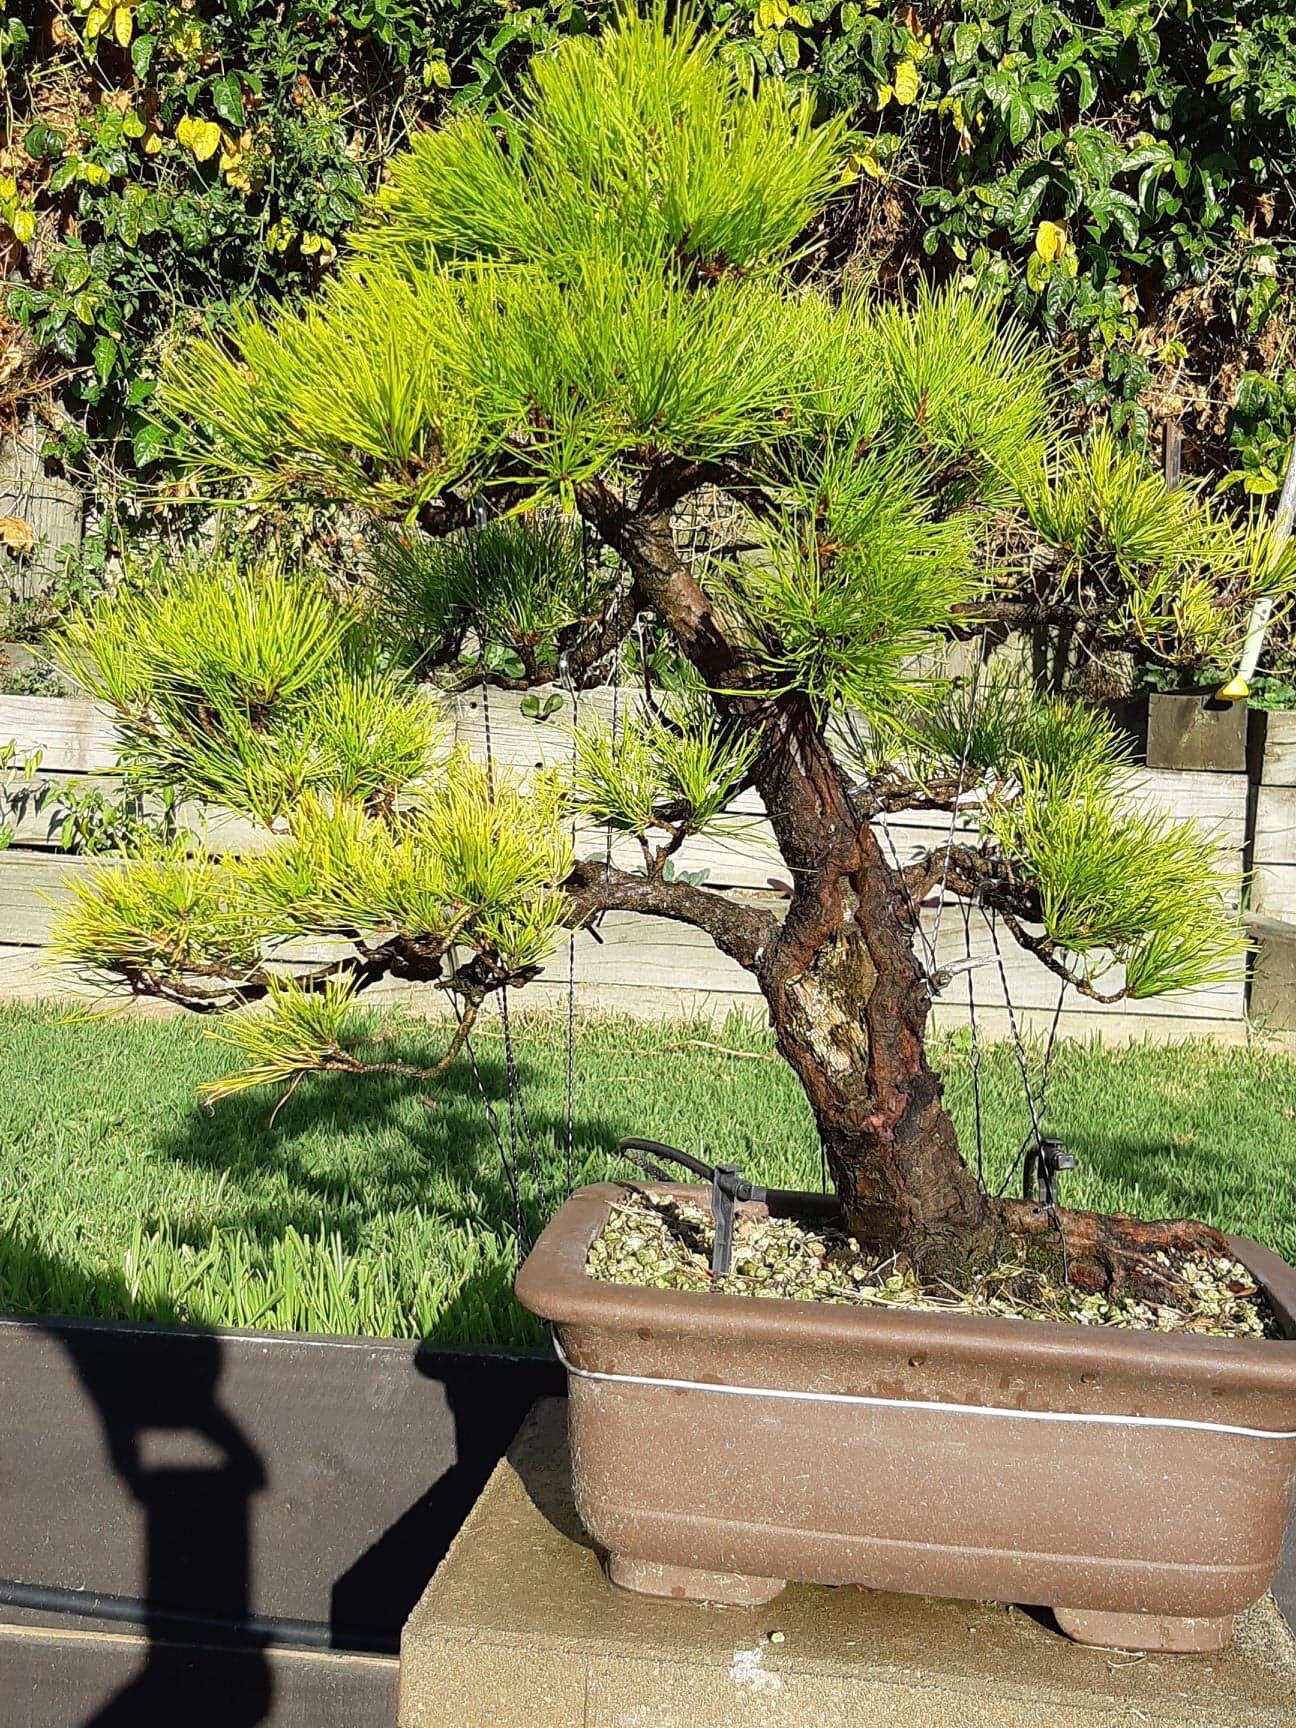
I had this tree that I wanted to work on at the meeting. Basically just a clean up job and then lots of wiring to set the foliage pads. It is a Pine tree and in the twin-trunk style. Here is the before photo.
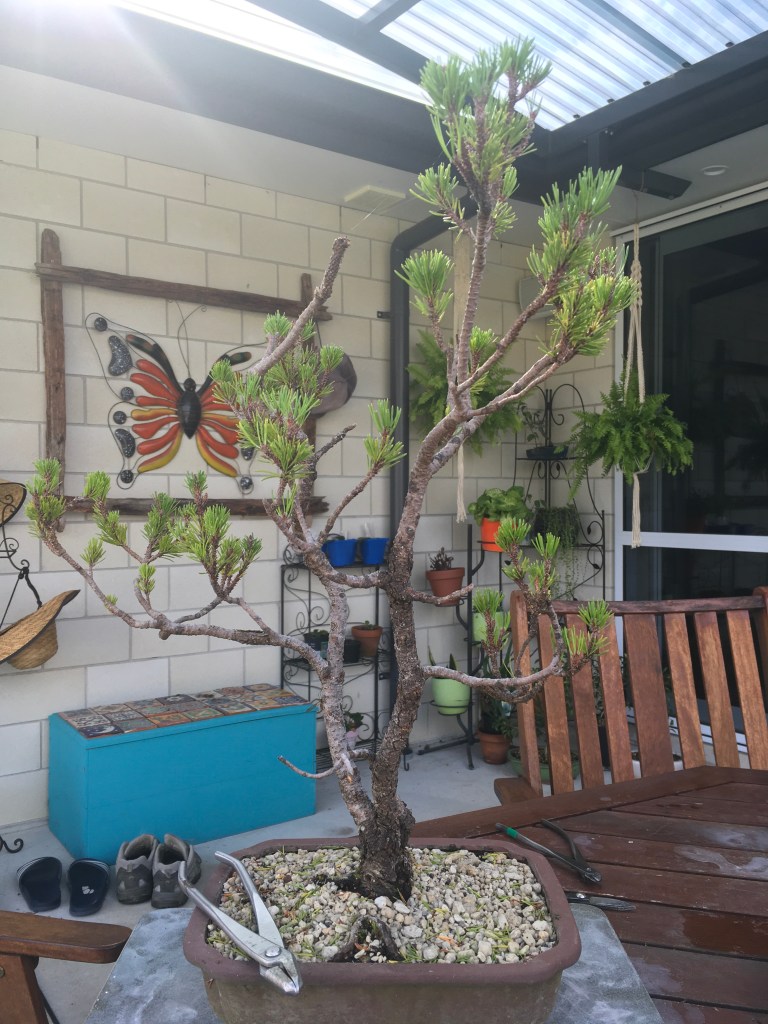
And here is the tree after the pads were set.

Please like and subscribe to this blog as I will post updates on this tree.

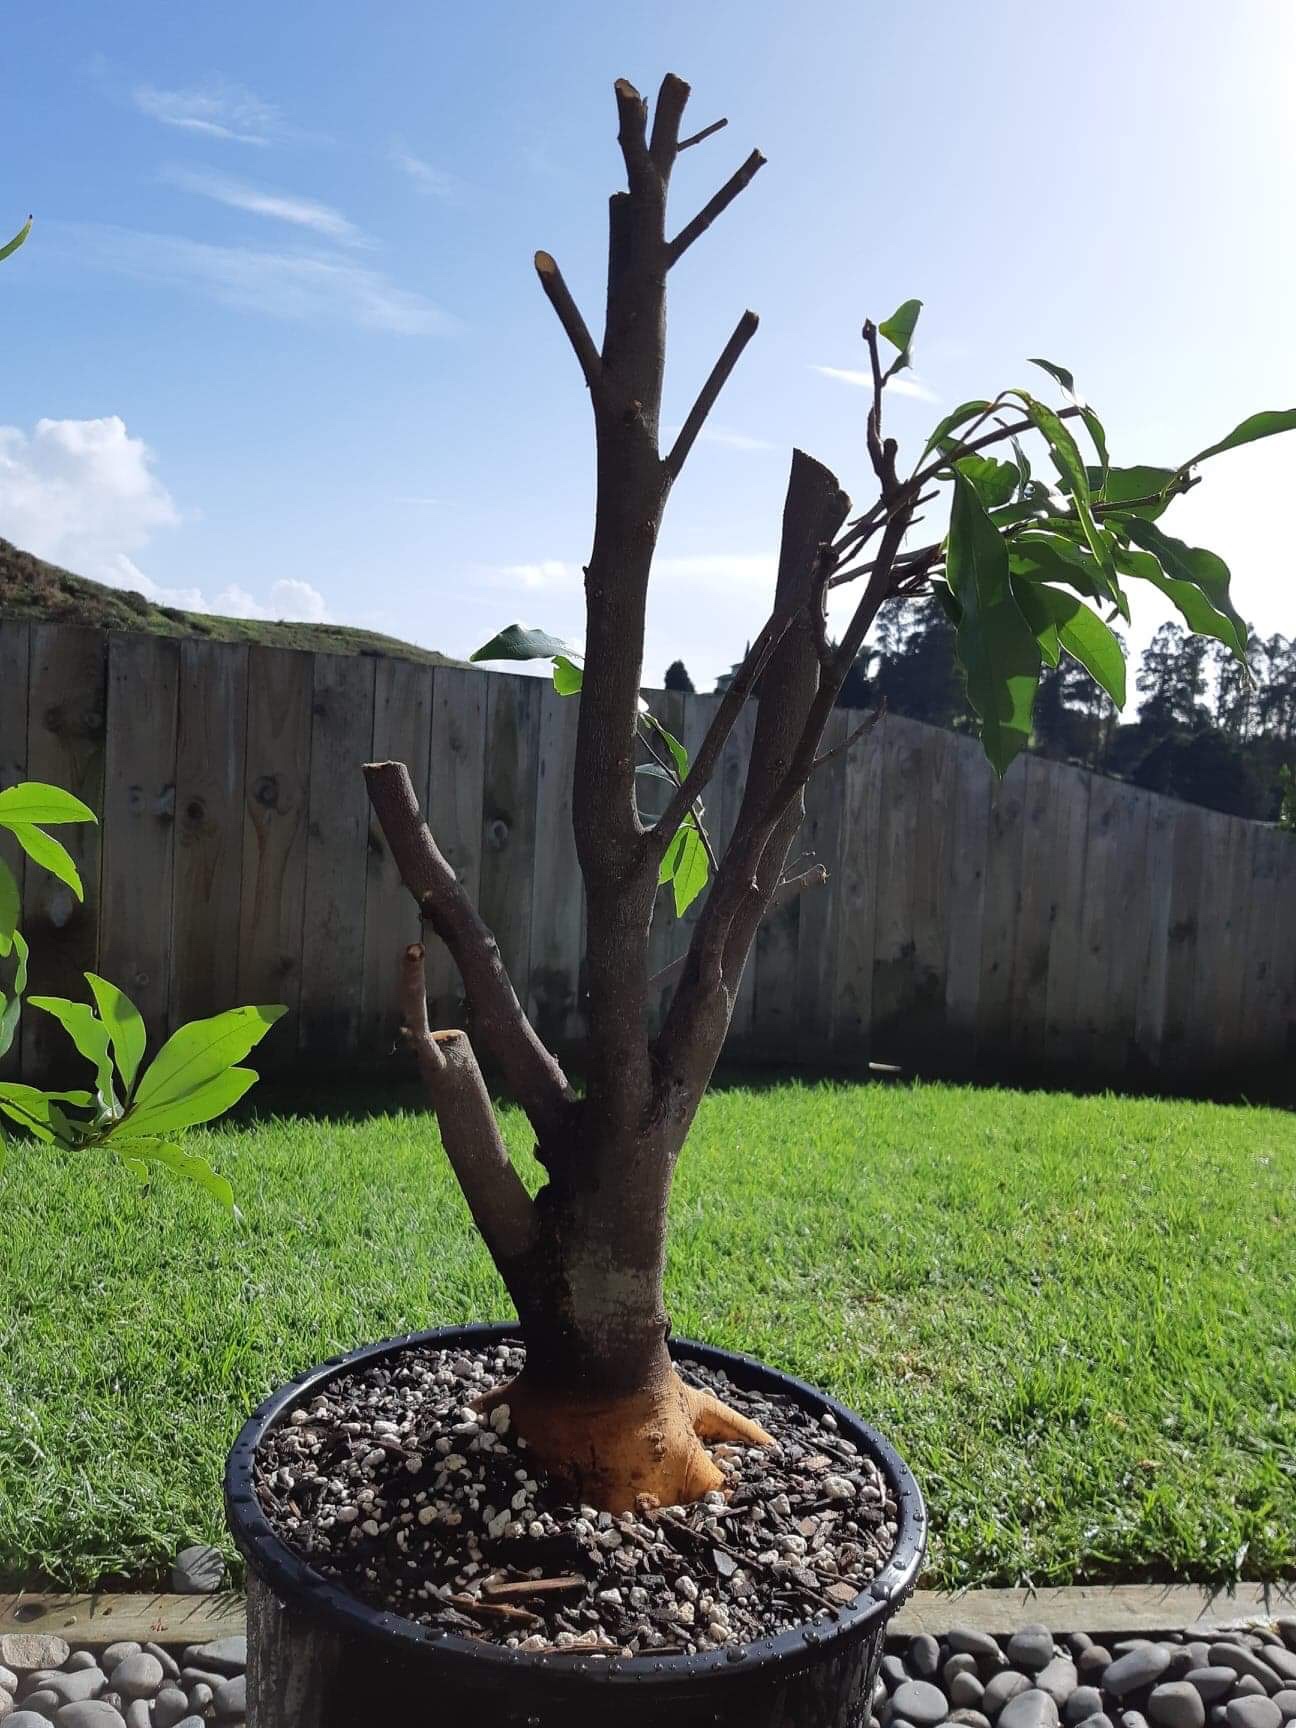
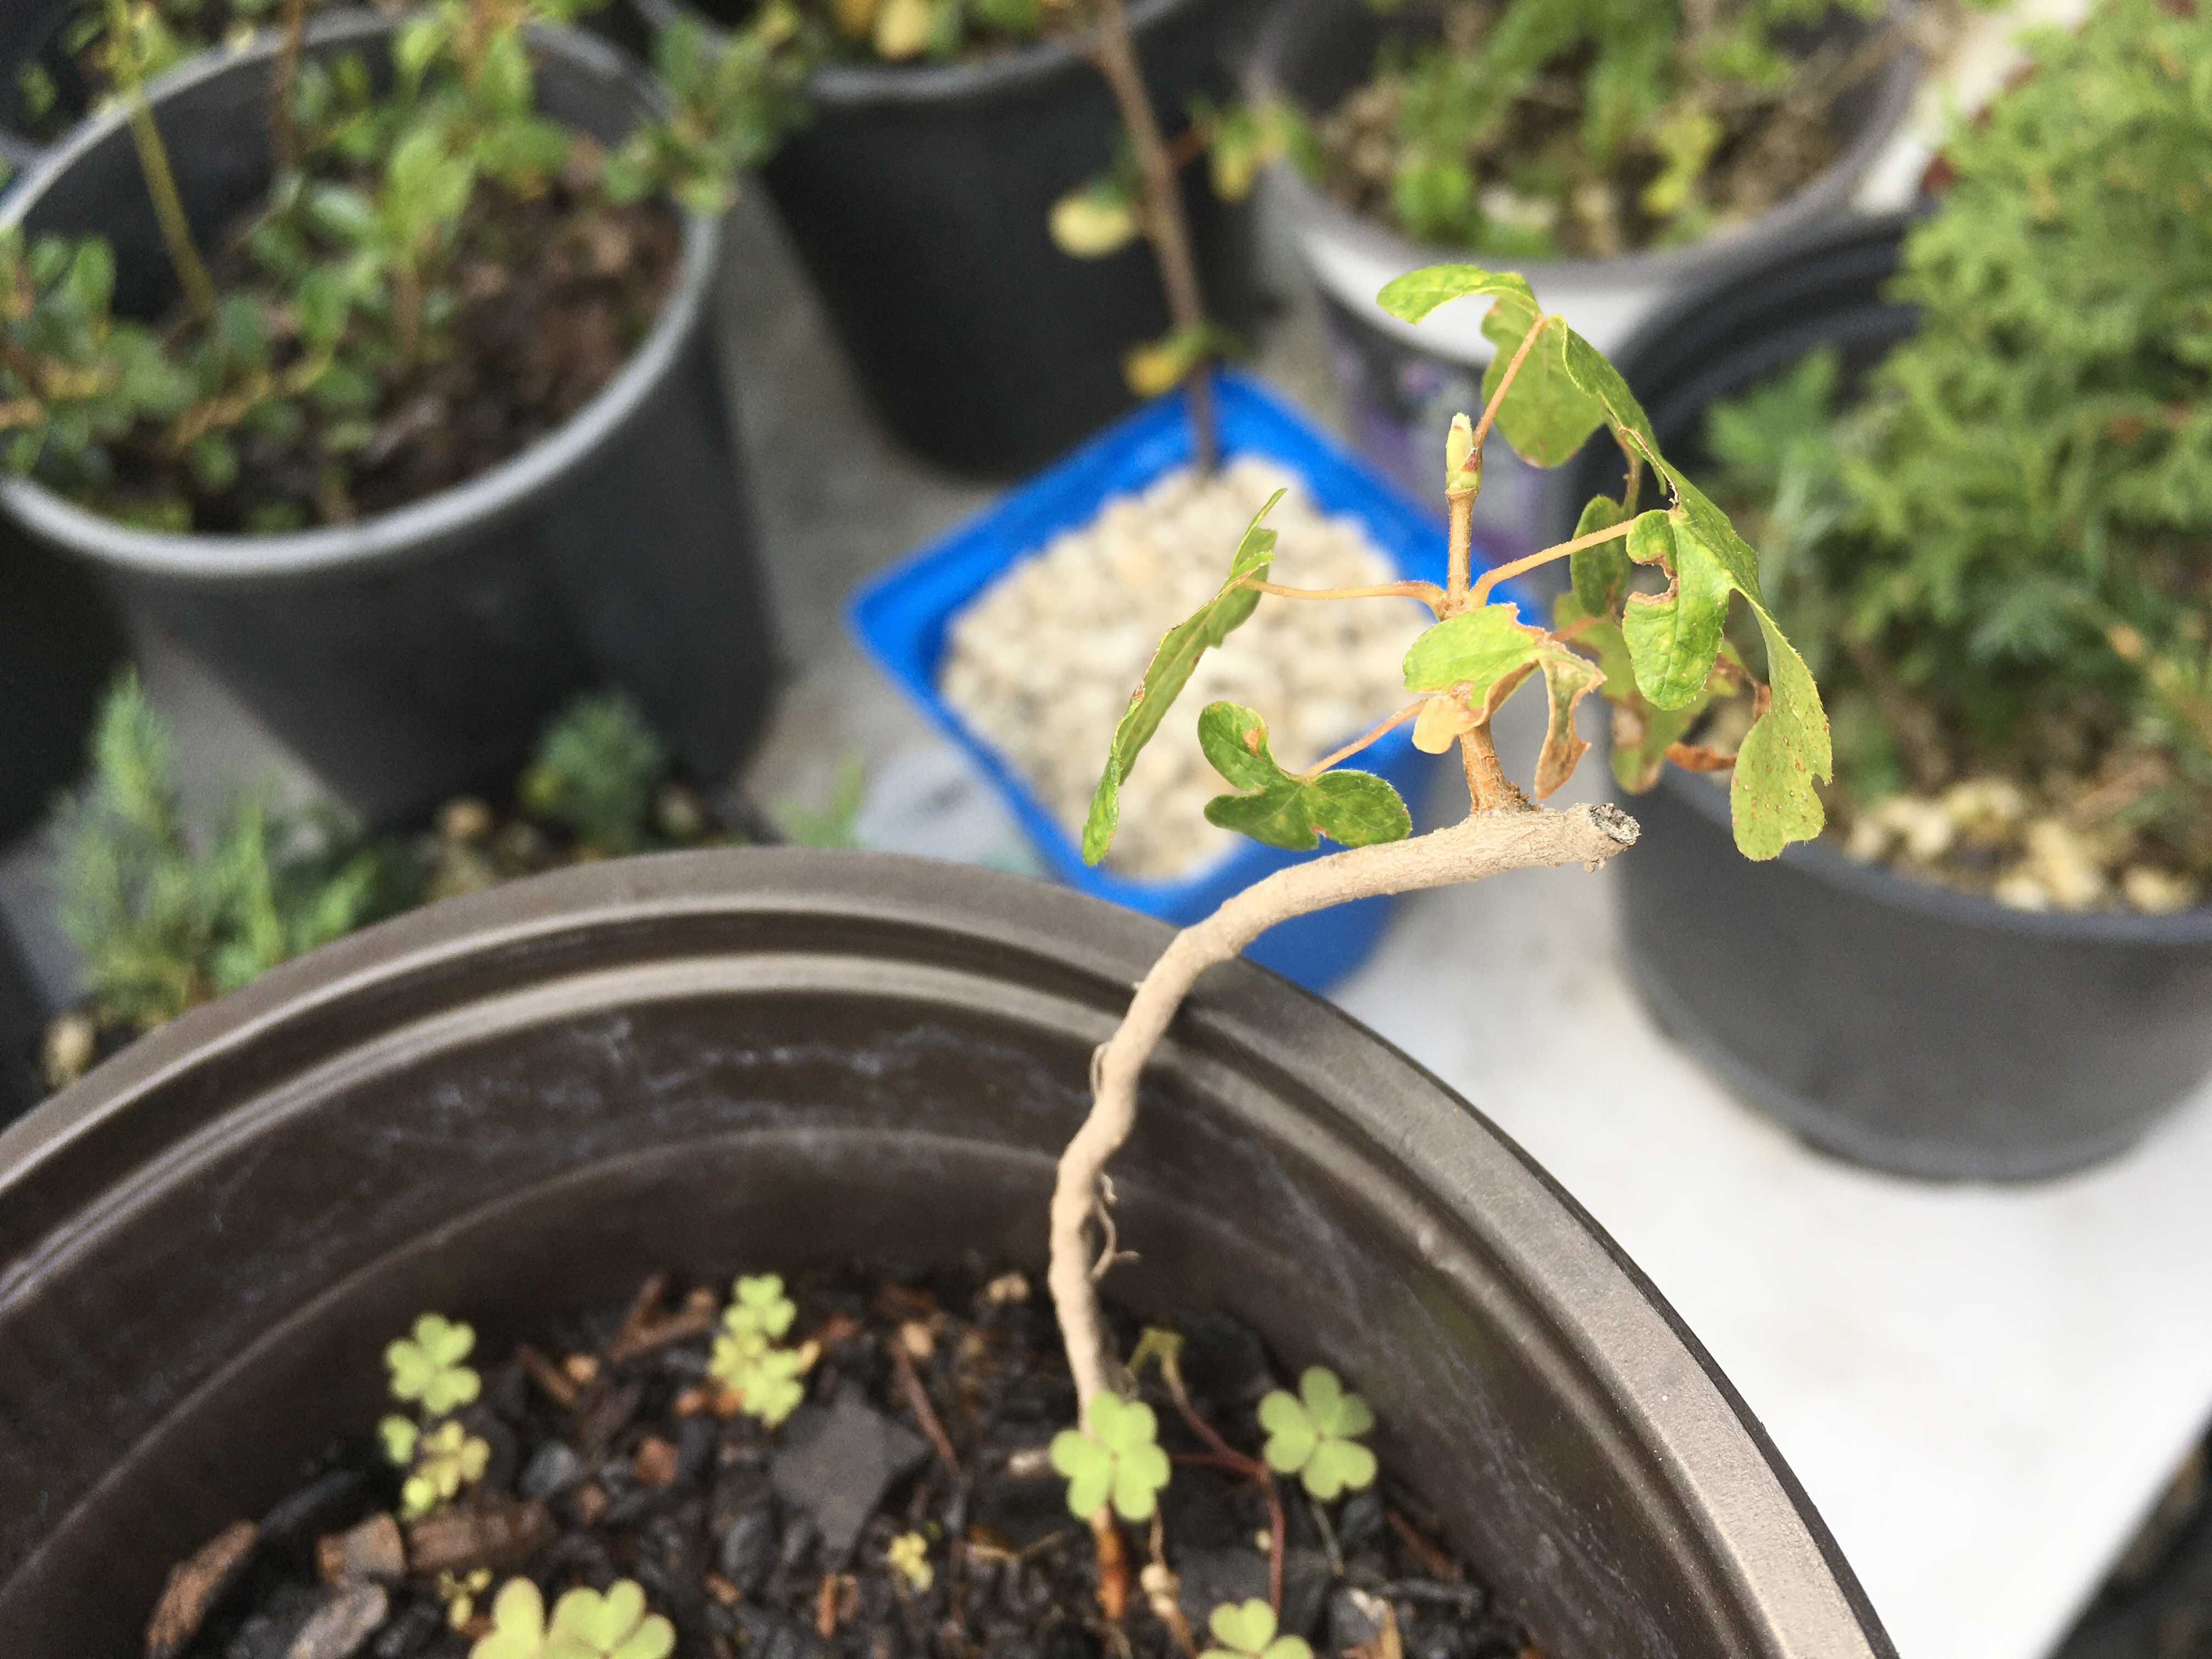
Off the back of a truck.
I had to hide the introvert in my today when a small truck went past us and on the back there was a medium sized bush / tree clearly on its way to be dumped. The driver stopped and went into a shop while we waited outside. When the owner came out, I asked him if the tree is going to be dumped and when he confirmed that, I pulled out my Bonsaiplace business card and told him that I can create a Bonsai tree from the tree and he promptly agreed that I could have the tree.
Just a week ago we had a couple came to our private shop who had the idea that Bonsai are a specific type of tree and that you can grow them from Bonsai seed. I love these situations as it allows the educator in me to come out. This man (owner of the tree on the truck) said that it cannot become a Bonsai as it is not a Bonsai tree. Guess what? Out came the educator again.
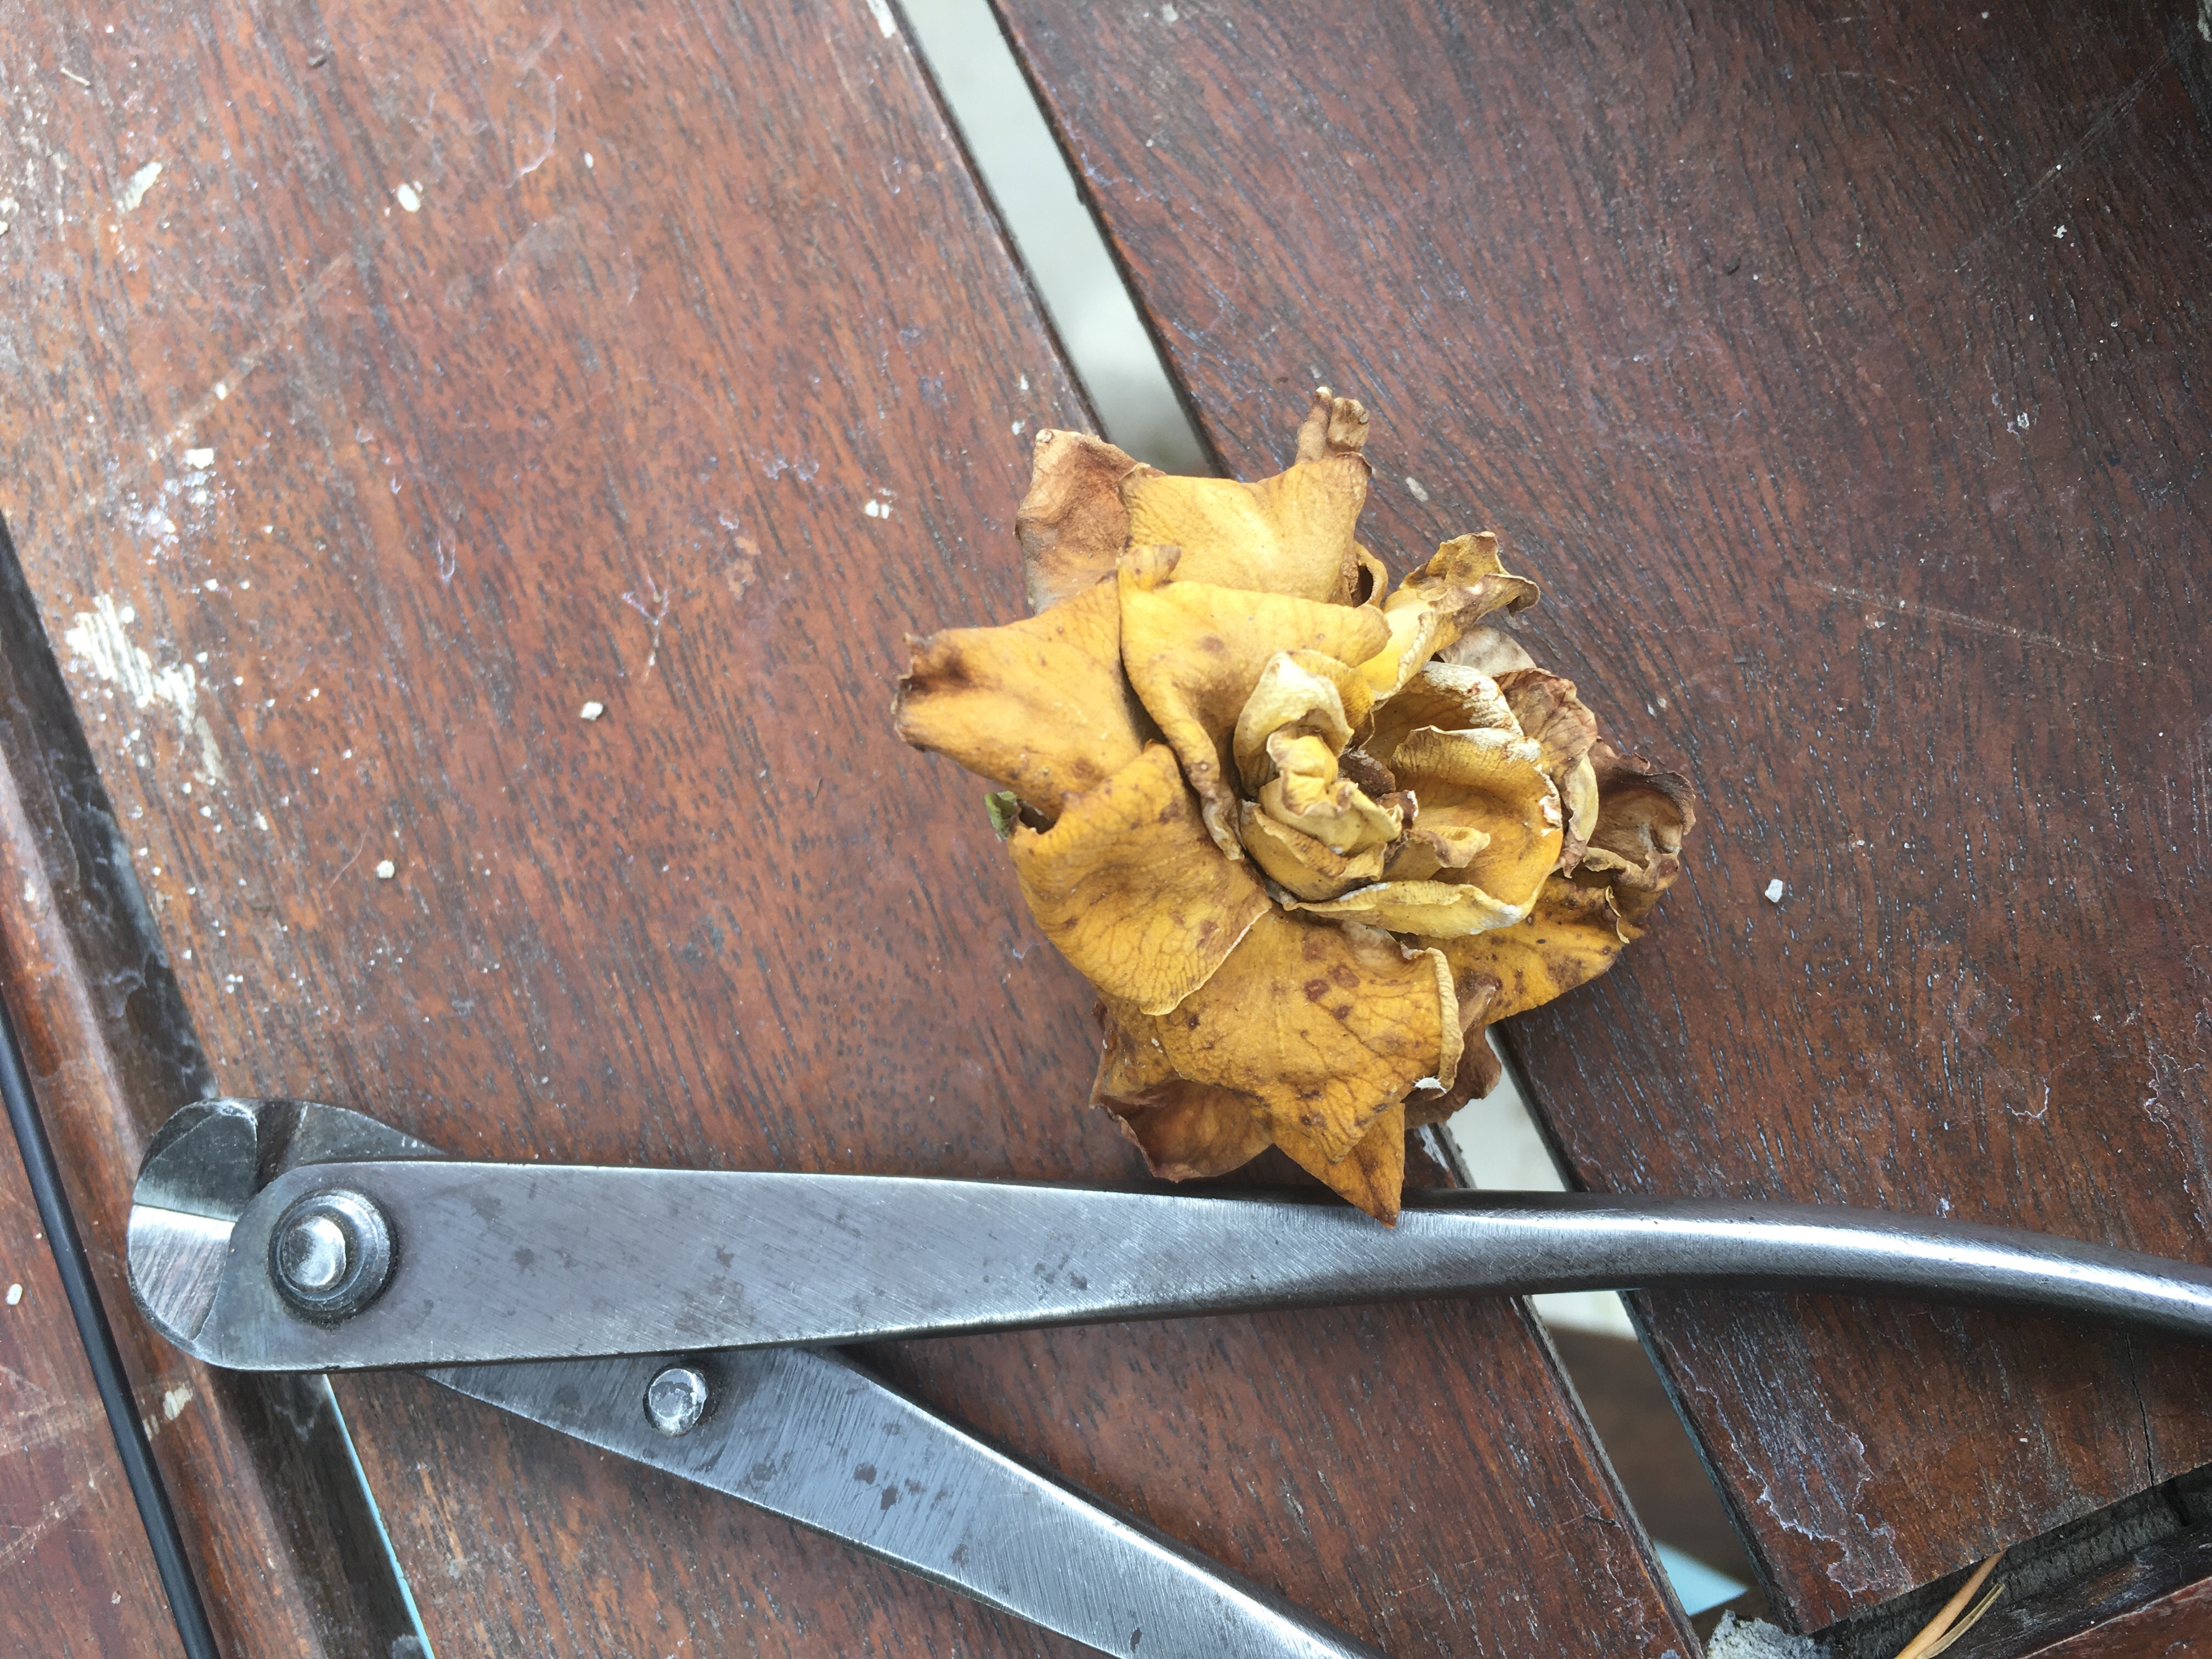
Anyway, off we went with the tree in the back of the Bonsai mobile, speculating what type of tree it is. On arrival at home, I used a plant identifying app with no succes. In the process of cutting the branches off, I found a discoloured flower which looked very much like a withered Gardenia flower. I guess it is now wait and see and do more research to find its name. During this time it will have to be kept alive.


It does have some feeder roots and after I cut the branches, left it in a bucket of water to just chill a bit and hopefully get some sap flowing. As I do not like waste, I very cheekily took some of the roots with feeder roots intact and planted that up as well. These I will treat the same way as what I do with Maple root cuttings with which we have had great success.
All is now potted up, watered and in a sheltered position. Tonight I will start with the weekly tonic of seaweed extract to help stimulate more root growth.

Below are three Maple root cuttings in development.

Please like and subscribe to this blog as I will post updates on the development of this tree.
First branch selection on large collected Camelia.
The Addiction Strikes – Collecting Bonsai Trees from Nature
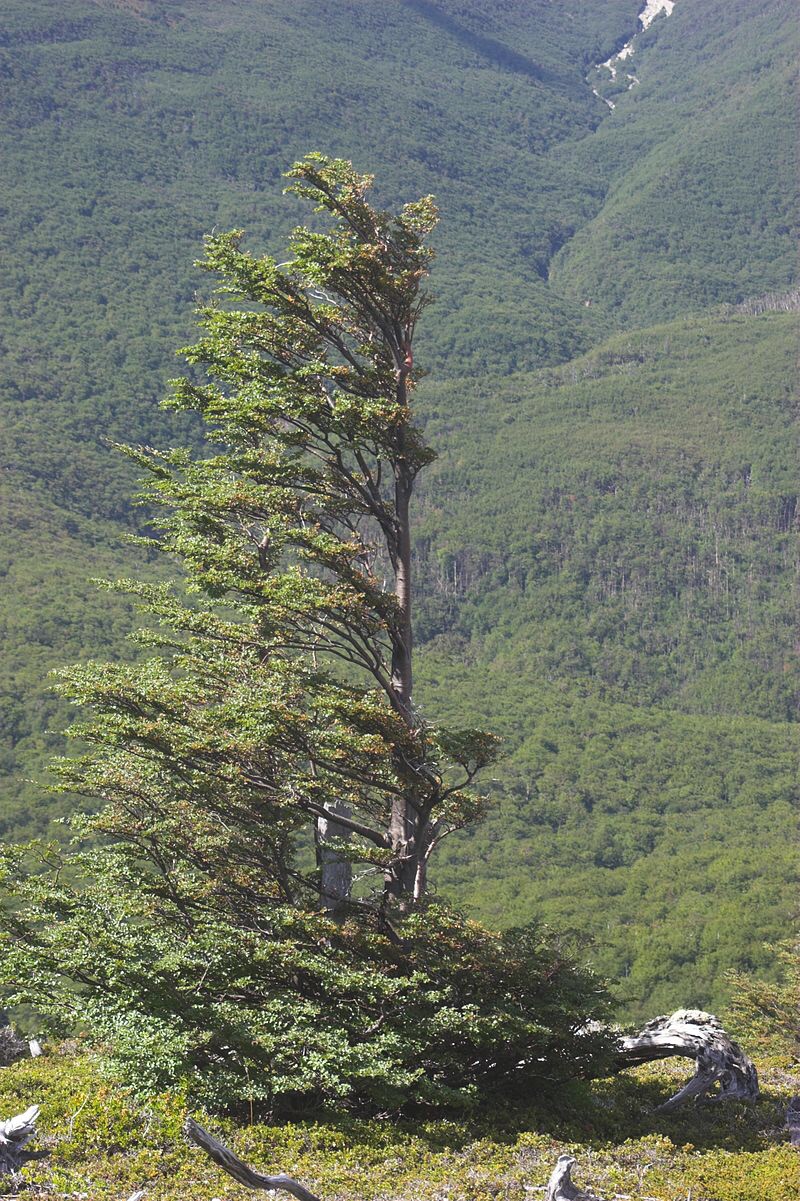
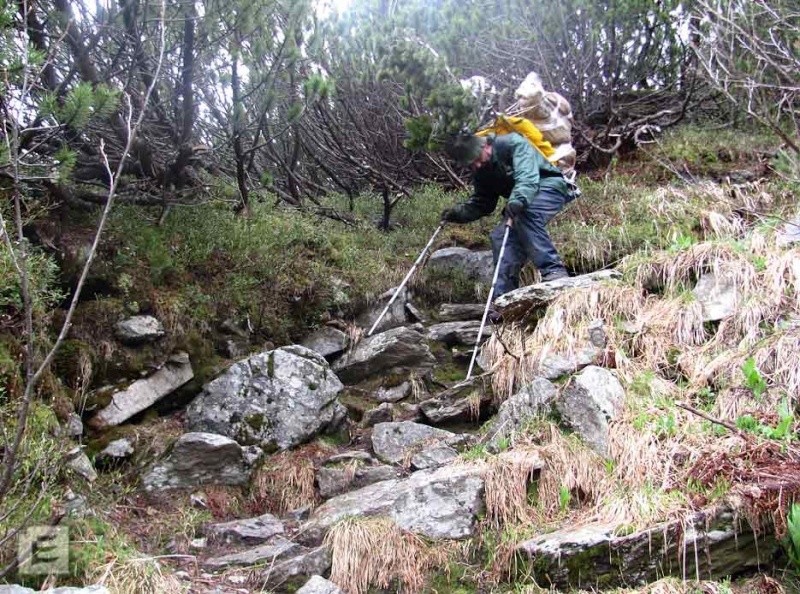
For us in the Southern hemisphere it is that time of year when Bonsai enthusiasts pack their bags, collect their tools and load up on enough supplies to go Yamadori hunting. Yes, we go crazy to get our hands on raw material that we can grow on to become aesthetically pleasing Bonsai.

The big questions related to this activity is based on safety and ethics. How do I do it safely and how do I do it ethically?
Safety always comes first. It starts with weather conditions, through to the equipment needed to keep you safe and also having a plan. If you go on your own, make sure you tell people what your plans are, where you will be and what time you will be back. If you are visiting a remote area and there is no cell coverage, then you will need a personal locator beacon.
Always make sure that you have enough food, shelter and clothing to last for three times longer than what you expect to be out. A safe way to do this is to write a list of what you will need and then use it to pack your stuff. On your return, revisit the list and update it for next time.
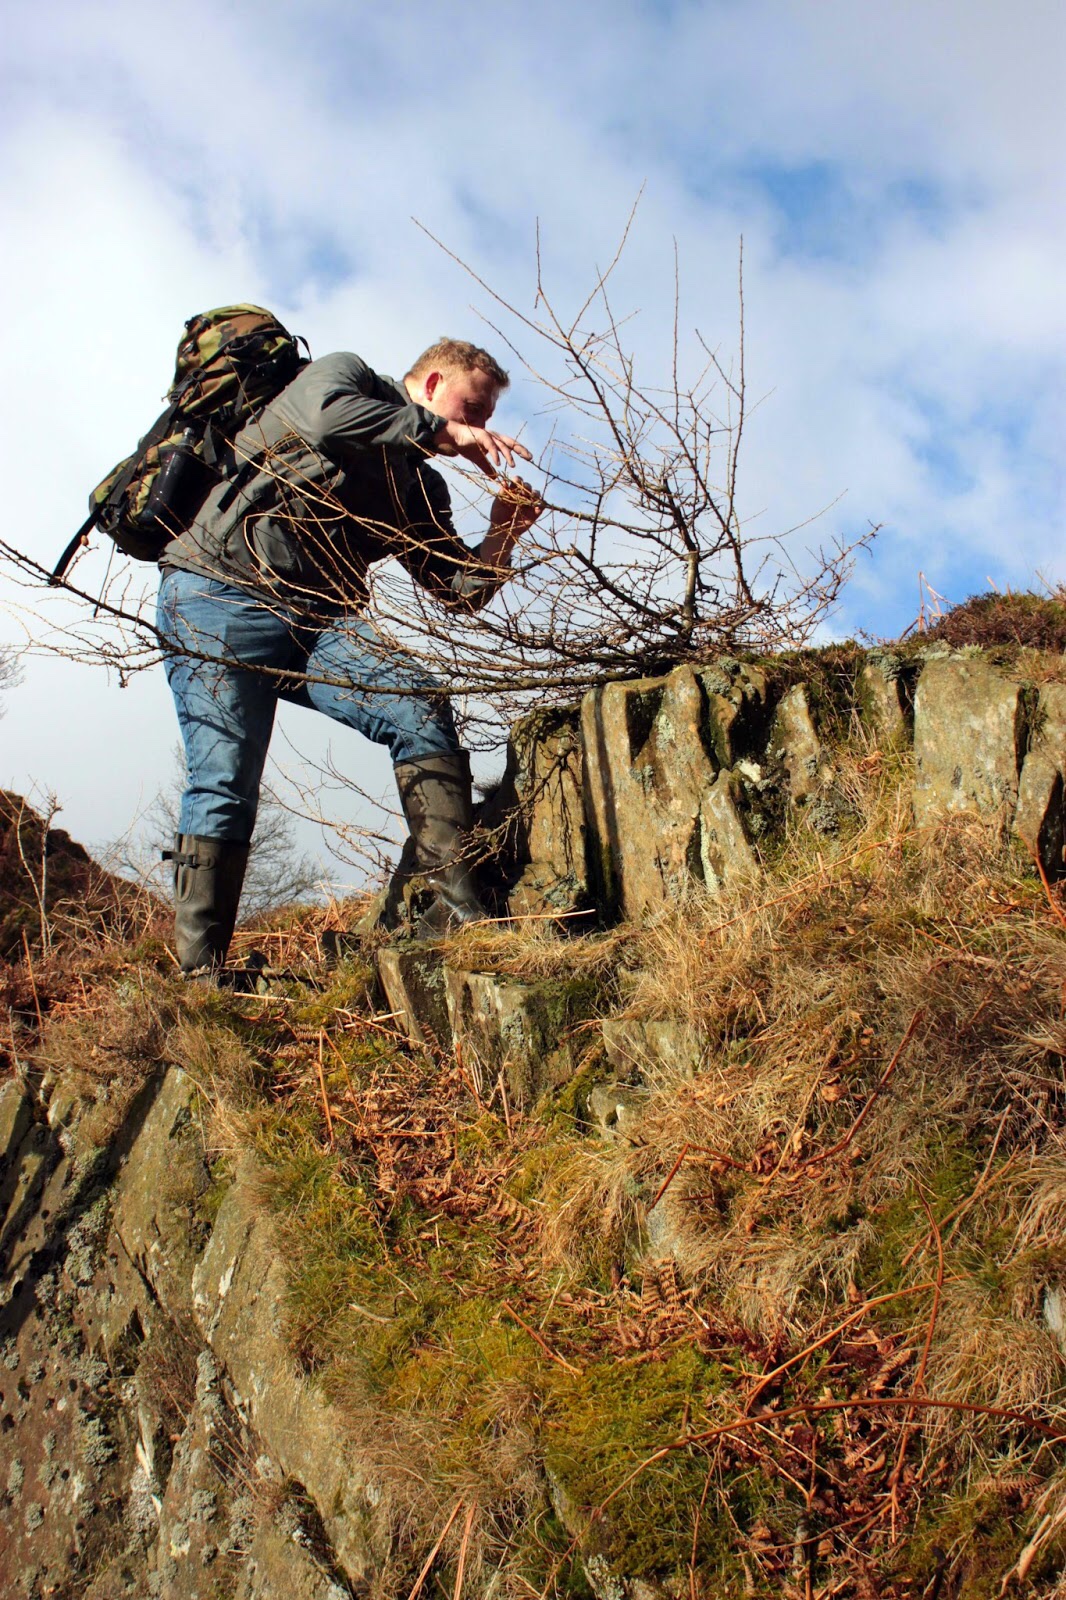

I see many people on a Bonsai hunt with very little eye, hand or feet protection when things like spades, saws and power tools like chainsaws are pulled out. Do not forget your ears when the latter starts up.


A big issue that we need to have a lot more conversations about is the ethical removal of trees from nature. It starts with permission to do so and really comes down to the survivability of the tree once lifted. There is a skill to this as well as the transport and after care of the tree. You need to know the species. Is it something you can lift and transport bare rooted or is it something that you start the preparation a year ahead of the actual removal of the tree?

My general rule is that if I am not one hundred percent sure that the tree will survive or that I do not have the skills to care for that specific specie of tree, then I leave it where it is. Not a fifty percent chance, a one hundred percent chance.
There are many You Tube videos and a lot of information available on the technical aspects of how to do this. I have always wondered about what some of these collected trees look like after a few years. Responsible collectors follow their videos and photos up with progress videos and photos. Probably because they have live trees to show for their efforts. Those are the ones that you want to look at or follow. If you never see these trees again, stay away from these people.
In conclusion, think, plan and over organise your trip. Have all the correct equipment needed and only take what you have permission for and what you can keep alive.


Guiding branches with Guy Wires
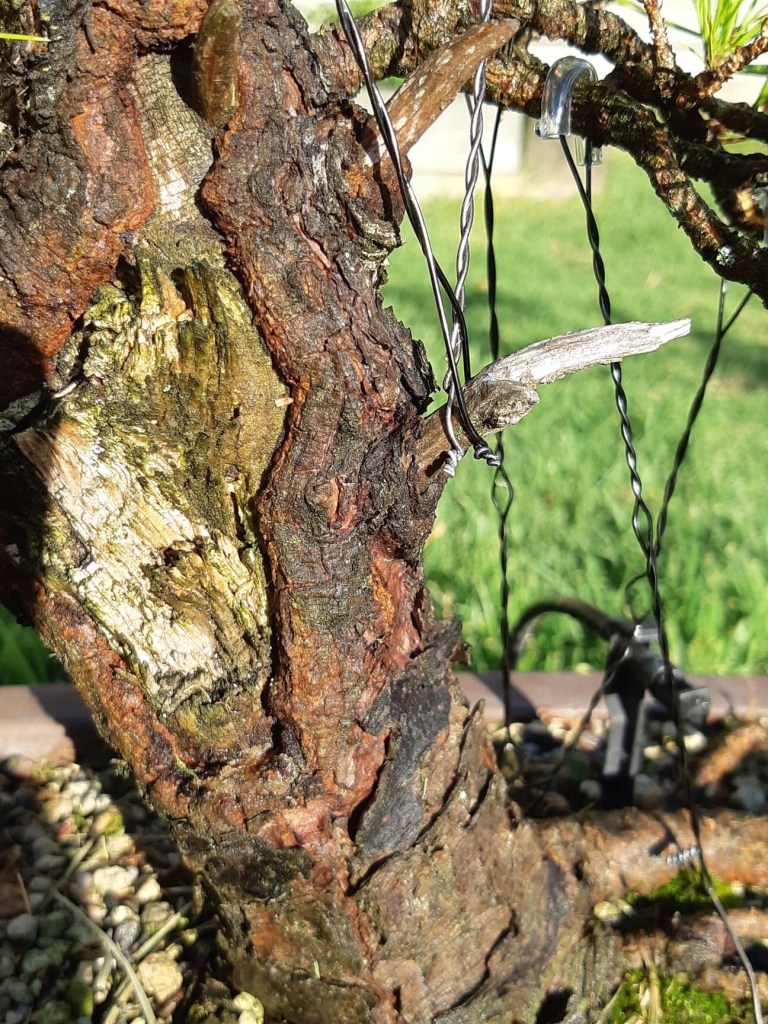
I am not sure where the word Guy wire comes from, but a wild guess is that it is from the word Guide. It is defined as a wire or cable used to stabilise something, like a mast and seeing that dictionaries and Wikipedia will not relate this to Bonsai, here is my version of it: A Guy wire is used to pull branches down and is used instead of normal Bonsai wiring due to various reasons.
My common use for it is on plants with very soft bark and more often, on older trees when I want to preserve the bark and also in cases when I do not want to cover the bark with raffia or cloth. I usually only use it to pull branches down, but it can also be used to get some shape in a branch by using more than one guy wire, pulling in different directions.
As I use aluminium wire for this task and usually a thin wire, it is important to protect the branch and the bark at the pressure point on the branch. Aquarium tubing is perfect for this task. Short lengths are used and the wire is pulled through it and then it is placed in position. The other end is then securely fastened at an anchor point.

An anchor point can be many things. If the tree is in a plastic pot, a hole through the rim of the pot is an easy way to do it. In a timber box, a screw can be used to anchor the wire. As in the example that I show here, the tree is in a ceramic Bonsai pot and a thicker wire is used around the pot through which the guy wire is then threaded and fastened securely.


Once the wire is fastened, I use a short length of wire through the two wires around a branch to wind the two wires together. This does not only has a neater appearance, it can be used to fine tune the positioning of a branch as the branch can be further pulled down by winding the wires up more.
This method definitely exerts less pressure and therefore less stress on the tree. As you use a thinner wire, it is less expensive. It is also easier to remove and once removed, the wire can still be used for other purposes, especially if it was not wound tightly.

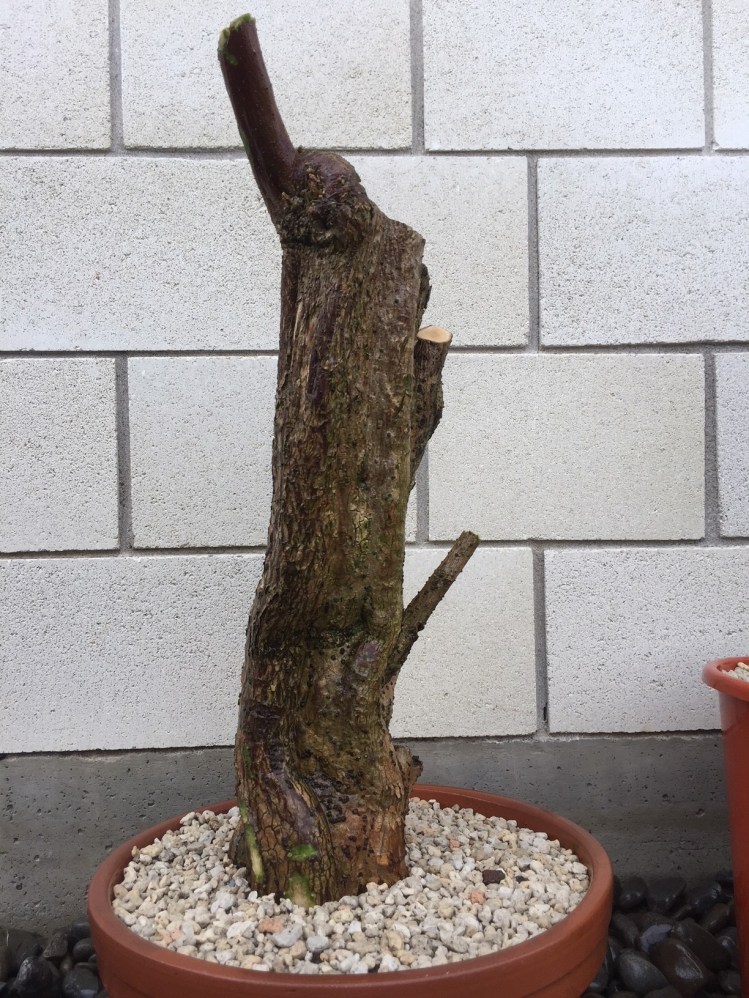
Bougainvillea: From climber to Bonsai, first steps.
A friend of mine is going to make alterations to his house which includes demolishing the garage. As my luck would have it, a relatively old Bougainvillea climber is growing on the side of the building and it was going to end up at the dump when building starts. I kindly offered to remove the plant for him. So today was the day, overcast with the odd light rain falling. Perfect conditions for the operation.

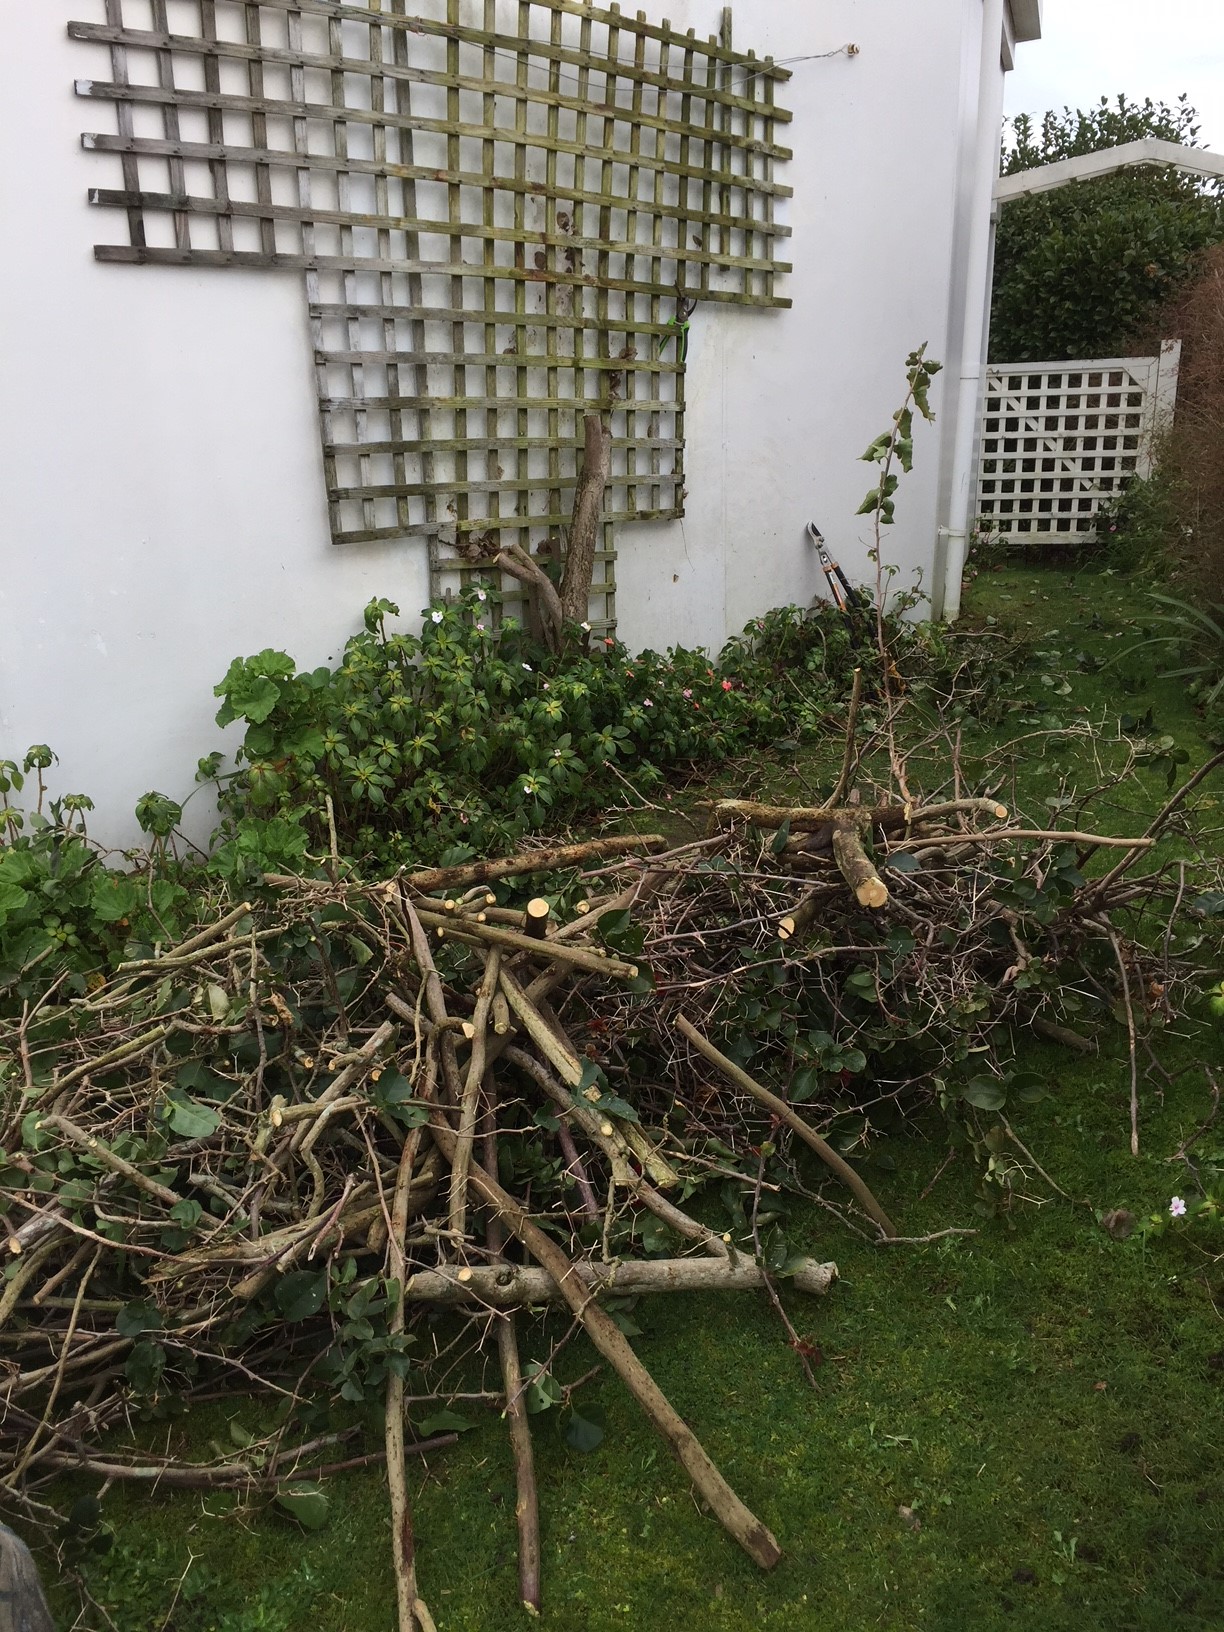
The first part of the job was to take the plant down to stump level. This took about an hour as this Bougainvillea had a lot of quite large thorns. Once that was done, the stump was wiggled and I found that it had two large roots going to either side of the plant. One of the surprises was that the wood is quite soft and this extended to the roots. The spade went right through a two-inch thick root with one go at it.


One of the roots grew underneath the building and as it was quite close to the building, I decided to pull the stump over to the front. On the one hand this was a mistake as the large root tore in two which left it with quite a large wound (was going to have one anyway due to the cut), but on the other hand, it left me with a smaller plant now separated from the larger stump. Not bad, two plants for the price of one dig.

I quickly cleared the area up and did not wrap the roots as I would normally do as it was a ten-minute drive to get home. At home, the two plants were placed in a bucket with water in which I dissolved some aspirin. Aspirin has the same active ingredient that is found in willow bark and this is said to be supporting root growth stimulation, just like hormone rooting powder.
From here I prepared two pots by adding drainage material (stones) at the bottom and then filled the rest with 1 part compost and two parts pumice. I also shortened the larger stump. More rooting hormone powder was applied, planted, watered and placed in a good, protected spot. The good old human attribute of patience will be applied while we await the outcome.


Juniper Progress.
This Juniper was lifted in June 2015 and planted in a plastic container. It came from a garden and was planted in a very sandy soil which came away during the lifting process. It was basically bare-rooted at the time which in my mind was not ideal at the time. I did bring some of the soil with me to add to the new mix with the hope that it contained some michoriza. At this stage I also removed some of the long, whippy branches with very little foliage on it to try and balance the foliage to root ratio.

From this point on it was watered and fertilised and received plenty of sun. A few branches died over the next twelve months, but plenty of new growth showed as well. All of this was of the needle type and then reverted to adult growth. The tree was also planted into a Bonsai pot at which time the roots were reduced a bit.


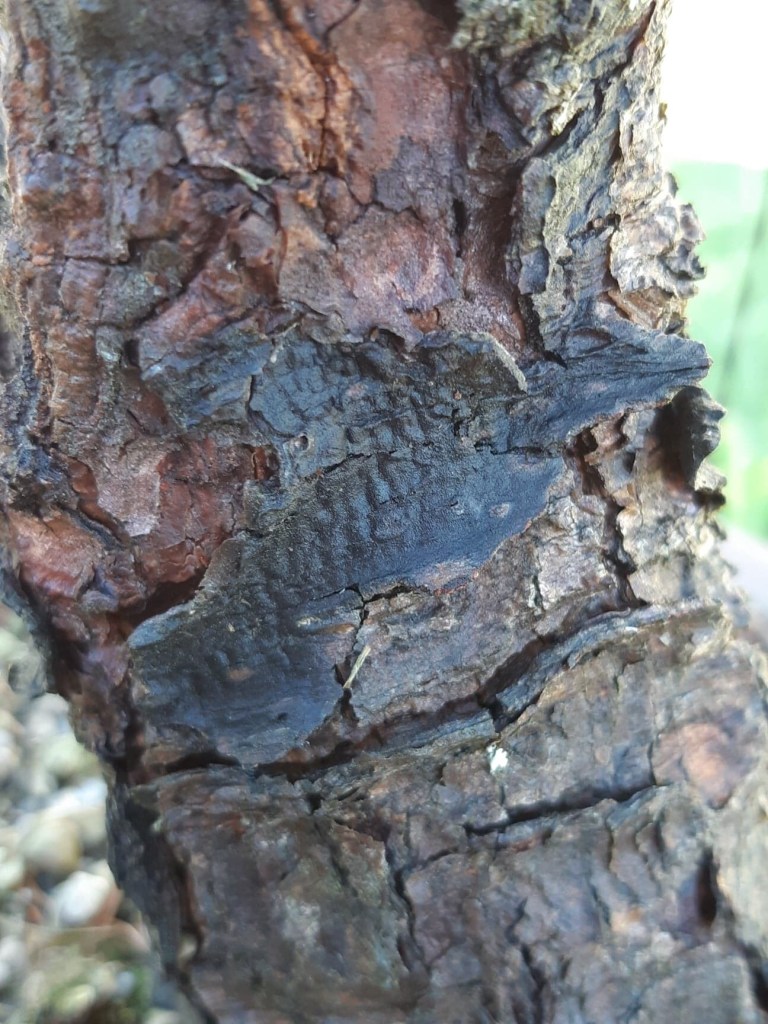
I had to move my trees three in the last six months. First from a colder, wetter part of New Zealand to an almost subtropical climate. The first place was a temporary place while we were shifting our household, then to a rental until we shifted into our own house three months later. Eighteen months after the lifting (January 2018) it was time for its first styling. Deadwood was created on the cut branches and then the wiring started. This took about six hours with not more than two hours done per day. I find it is best to start at the bottom of the tree and then work towards the apex of the tree. I have just used aluminium wire and varies from 1mm thickness to 4mm thickness. Quite a few guy wires were used to pull larger branches down. I use plastic tubing to protect the branches. Due to a few harsh bends, light cracks appeared and these were sealed with cut paste.

Now it is time to let it rest. Water and fertilise, keep an eye on the wire to prevent it from cutting in give it plenty of sun. It could be show ready in about three years. The foliage pads must mature and I have left a bit of new growth on the main branch from where another branch or two can be formed to fill some gaps.


Some of the Jin are too long, but I will leave it as it is for now. It is better to shorten them later. It is not that simple to make deadwood longer later. Lime Sulphur will also be applied later after some carving, burning and light sanding.

