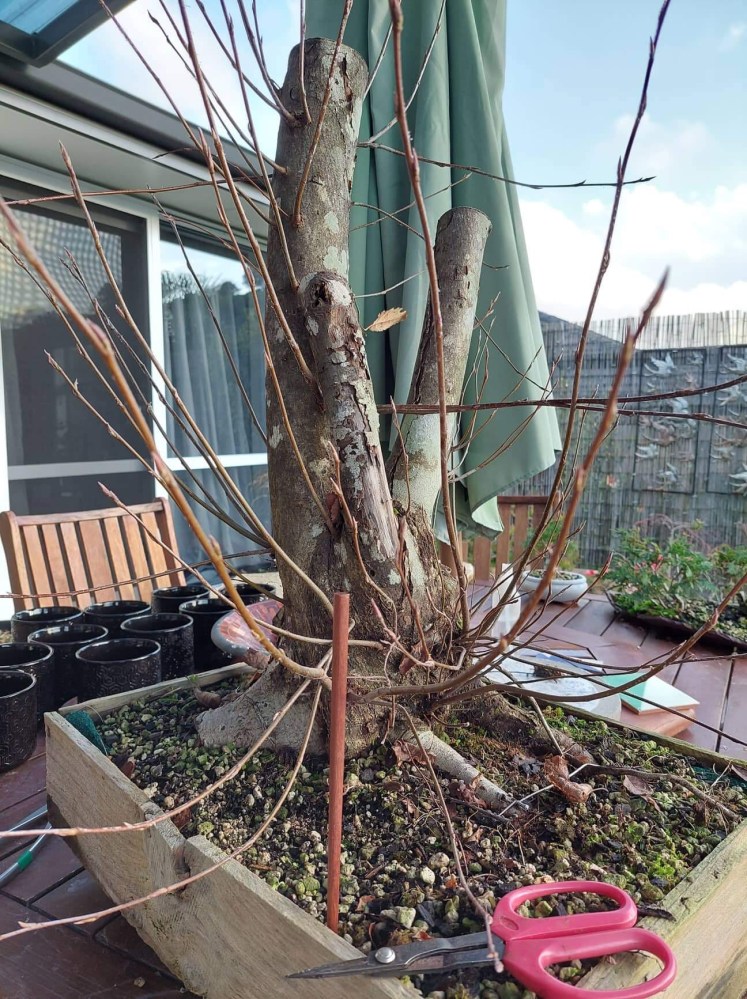
Winter provides good opportunities to do structural work on deciduous Bonsai trees. Sap flow is low, no leaves means you can see what you are doing and wiring can set branches before Spring growth starts.

This Cherry tree was collected about a year ago and was just a trunk, in this case a triple trunk at collection. The original tree was about four metres high and in a forrest which means it was quite lanky with no branches towards the bottom. One year later and it has put on a lot of new growth and the fine root development is spectacular.
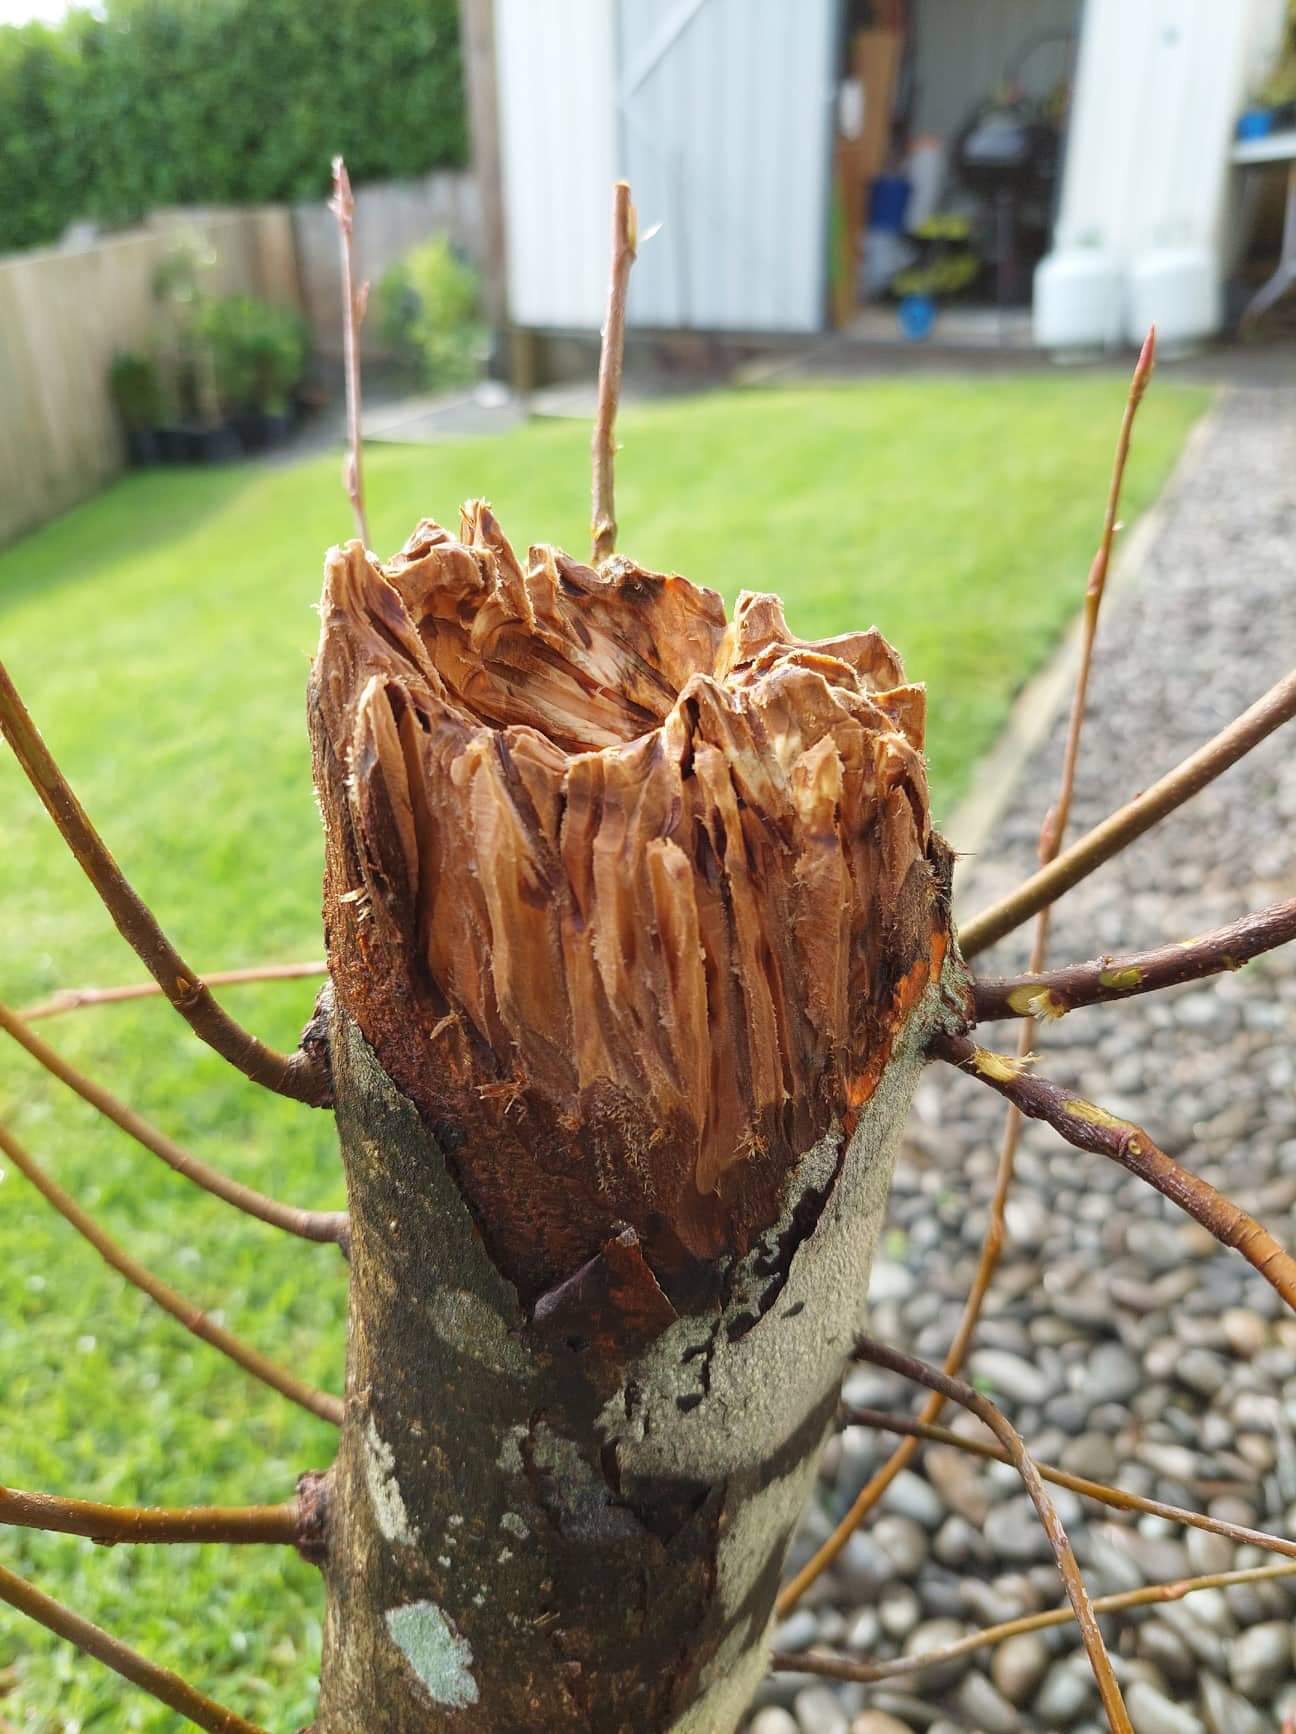
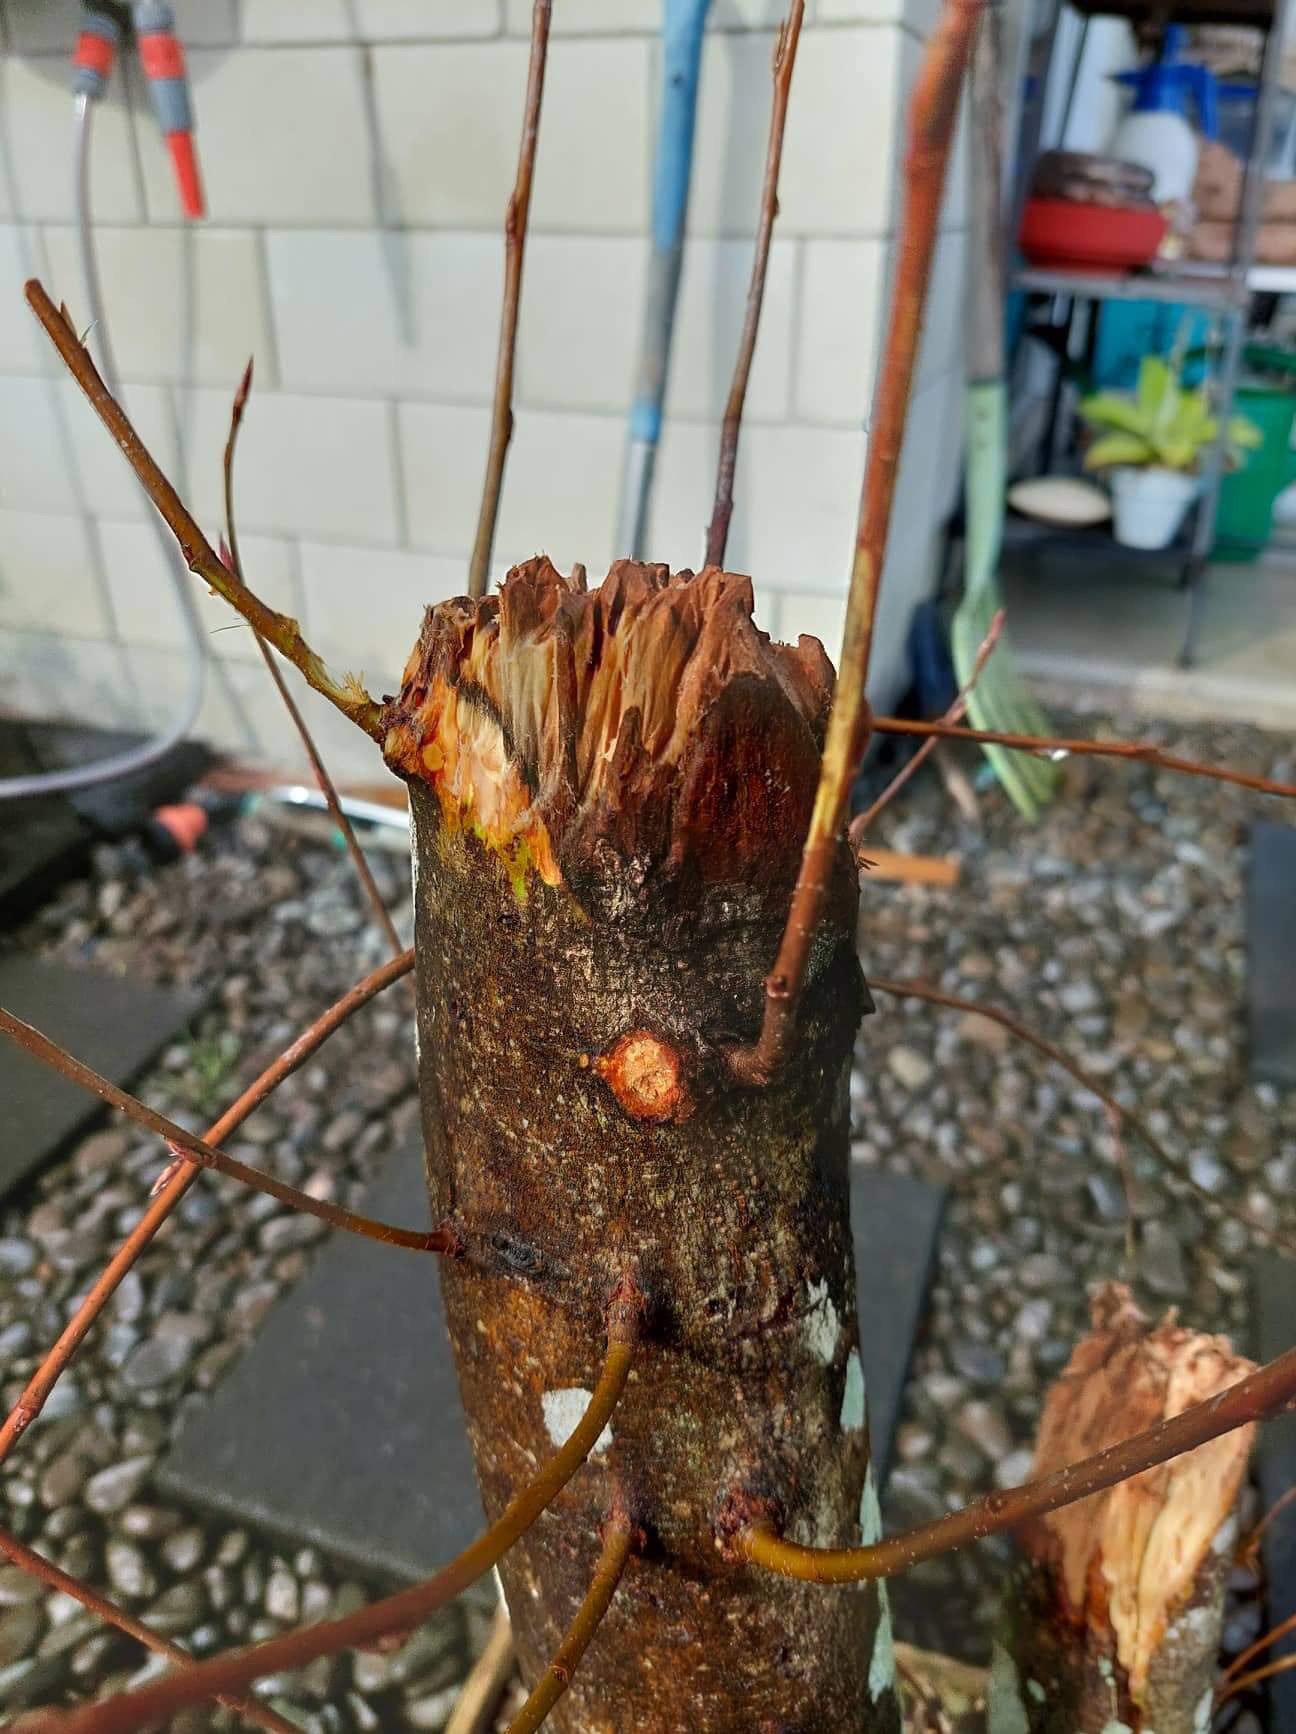
It has three quite large scars on the end of each trunk and then also a very big one on a chopped root. The middle trunk is dead and has been at collection already. This trunk was rotten and easy to just break to shorten it. As the root scar was going to be large, it was decided to have that at the back.


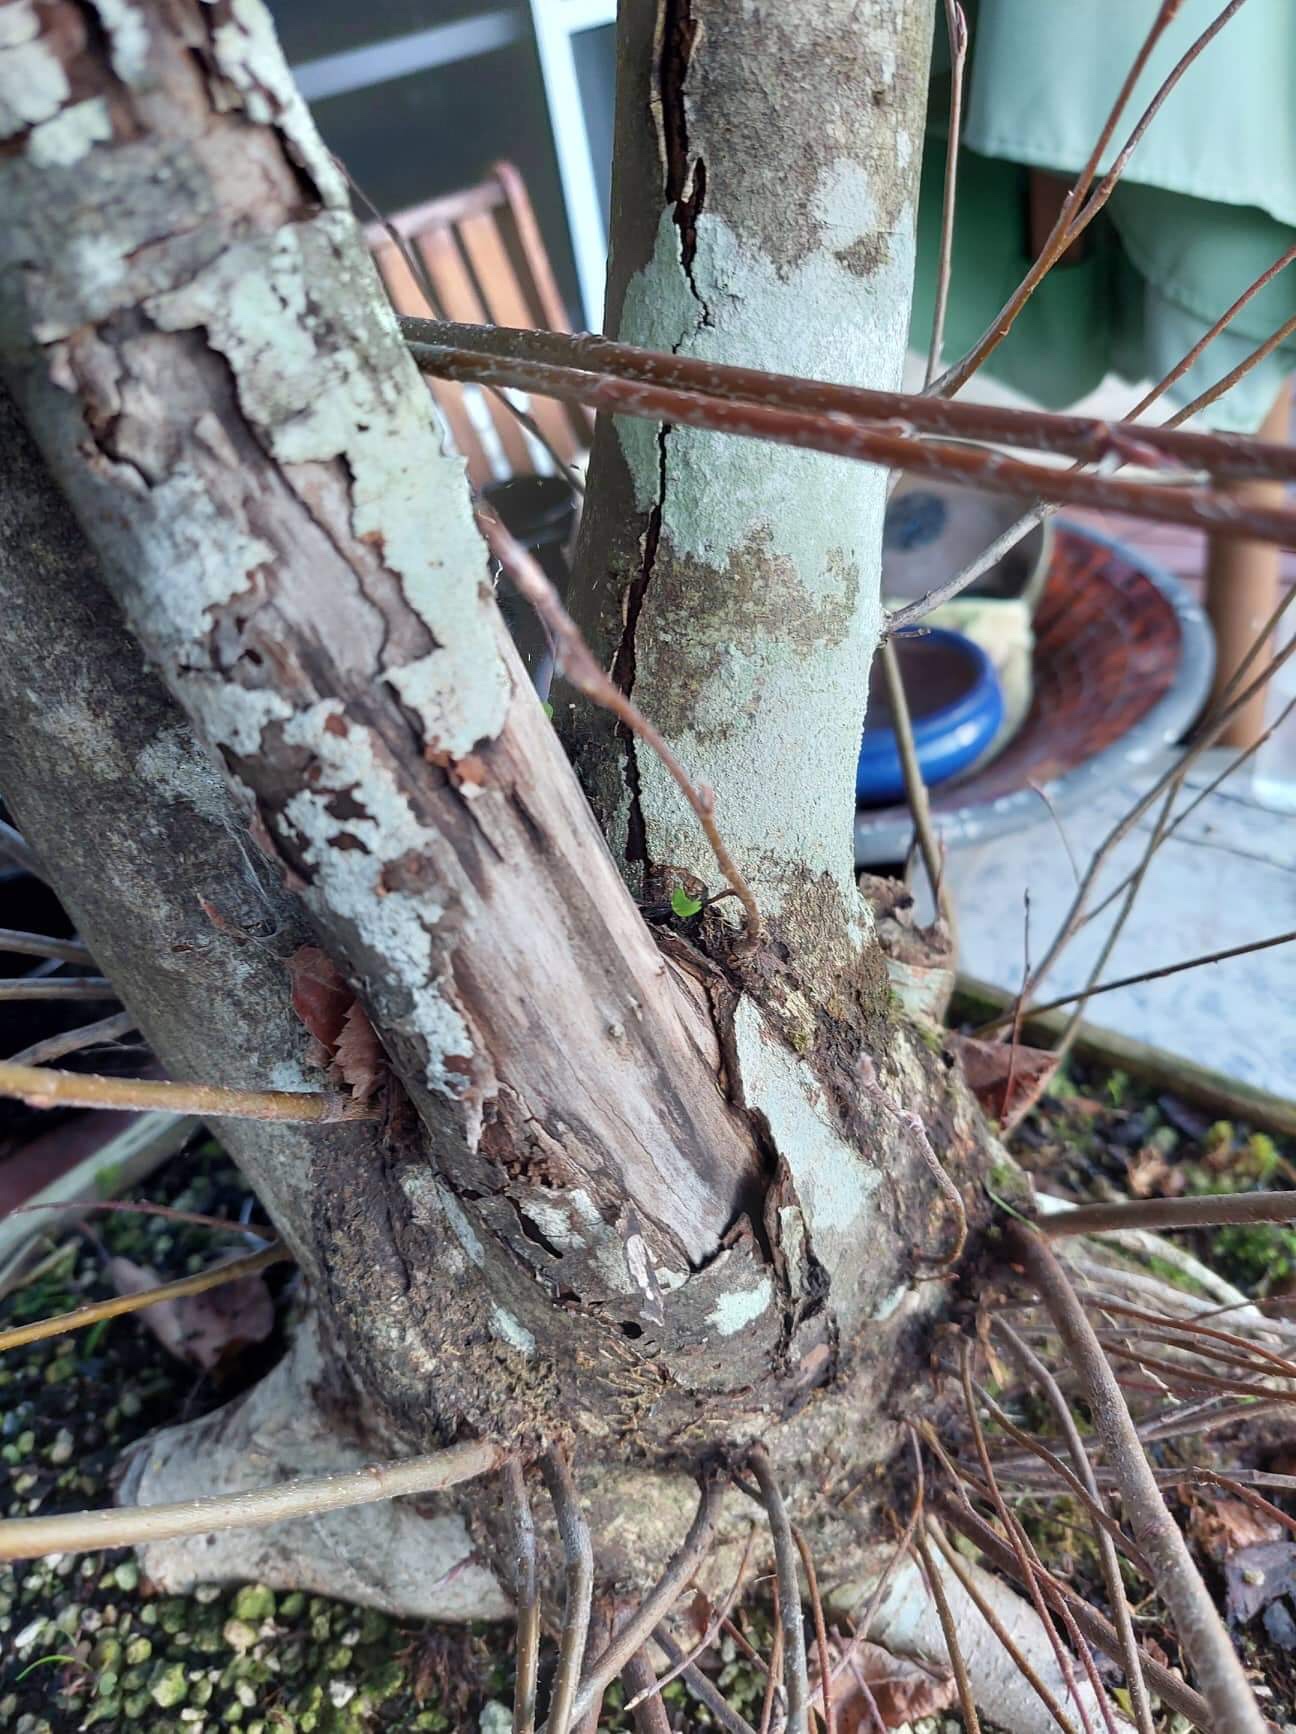

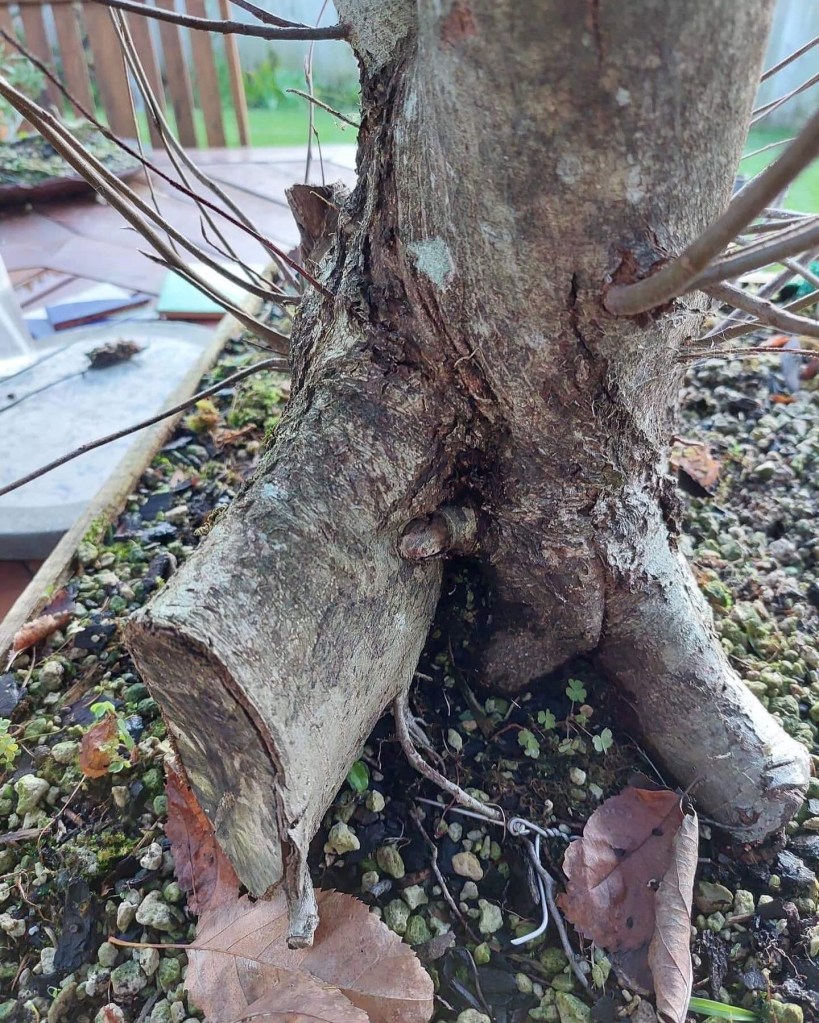
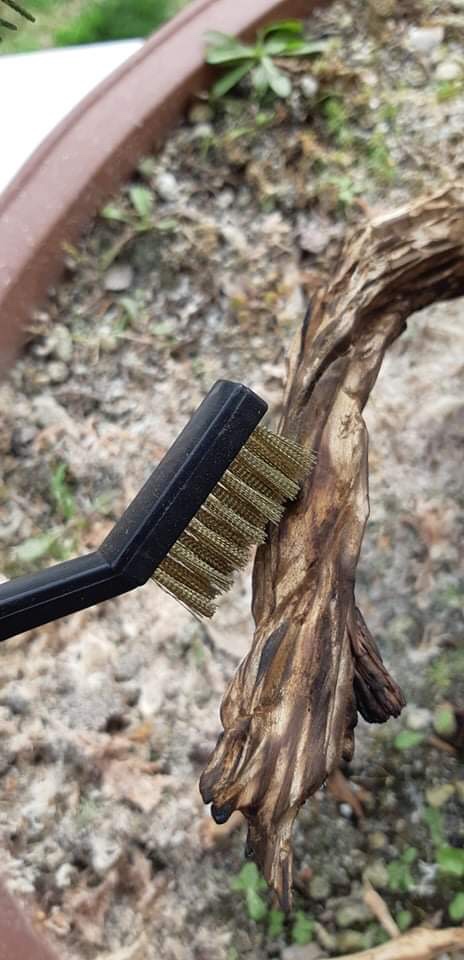
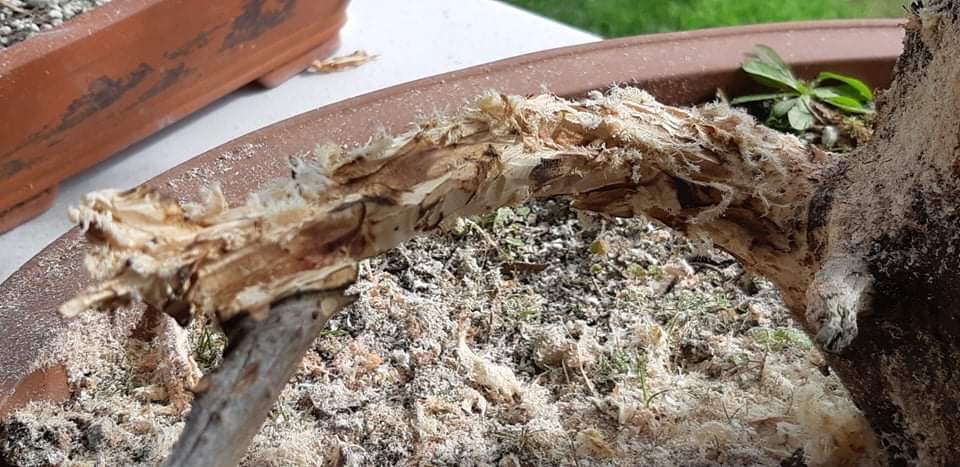
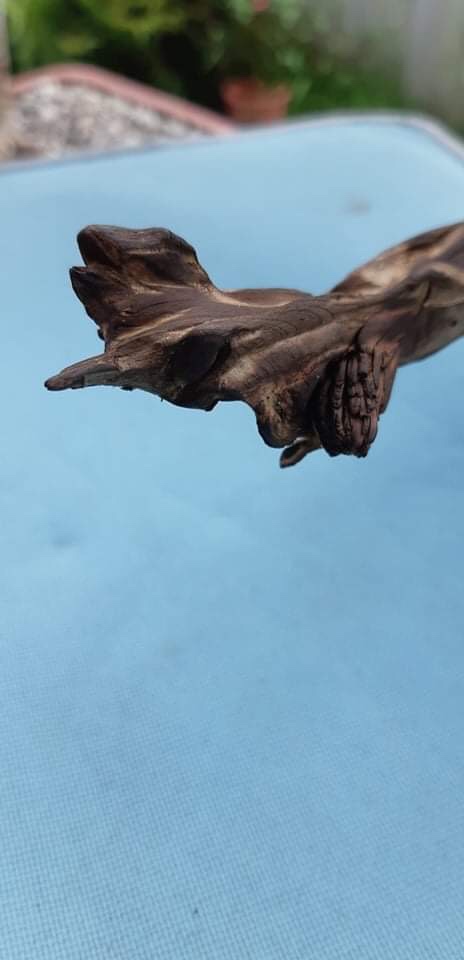
Once the front was established, extra branches were removed and a few at the top were shortened. All branches crossing the main trunks or too low down on the trunks were removed. The same happened where two new branches grew from the same place or they were just too close to each other. A few branches were in a 50/50 situation and these were left for now to be decided on later. Always start by removing large parts first. In this case it was mainly the root which was removed with a reciprocal saw and then the larger bit on the die grinder was used to set the first grooves by also creating some taper. This was then followed up by ever decreasing sizes of bits and once everything was carved, a wire brush and then a nylon brush was used to clean and polish the carvings. By polish I mean brushing vigorously to remove fine threads and fibres left over from the carving. I usually use a blow torch to help with this action, but in this case it was decided to not use the torch.

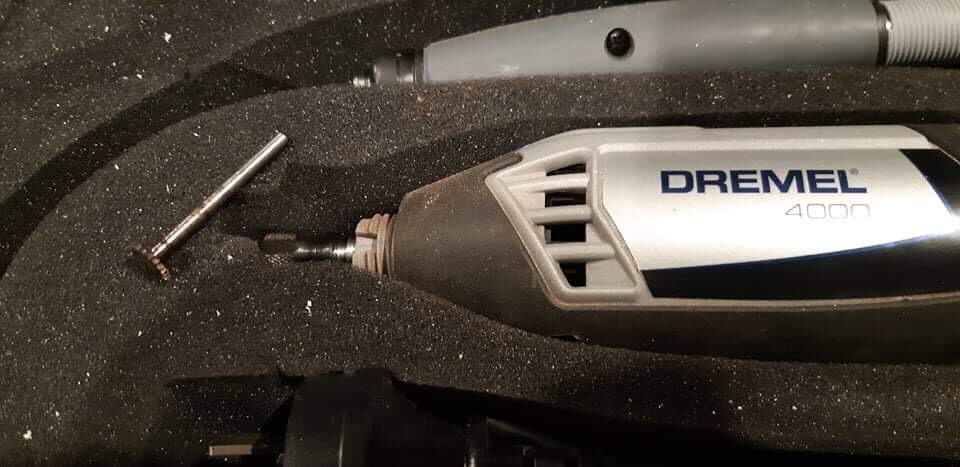
Once this phase was completed, the carving started. This was a three hour operation using different sized carving bits with both a Dremel 4000 as well as a trusty old die grinder.


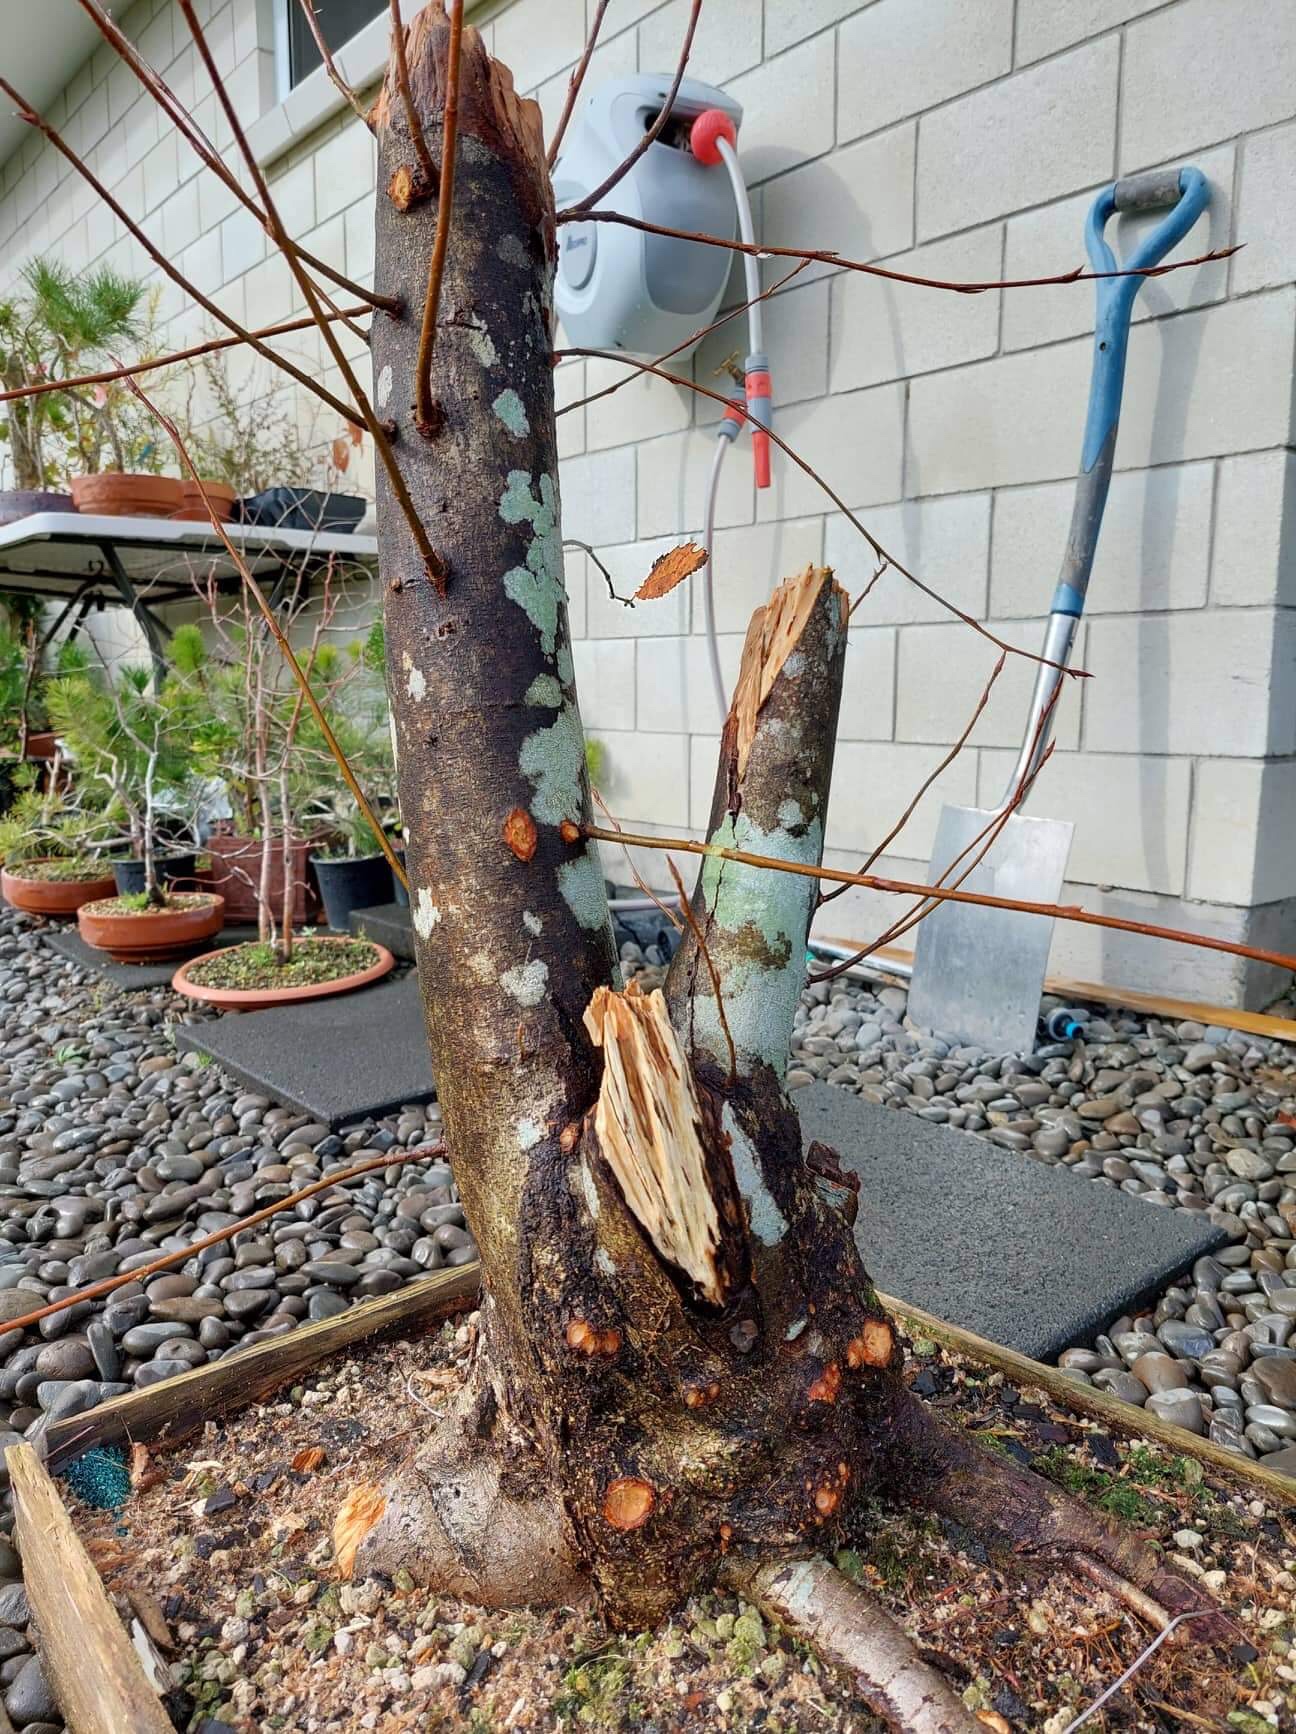
The last step was now to apply wire and set the branches. A few more branches were removed and it was also decided to plant the tree on an angle leaning forward a bit more once Spring sets in. This will be a naturalistic looking tree with a large and rounded top with the shorter trunk carrying the lower branches on the left hand side. There are still a couple of branches that will probably be removed, but that will come later depending on further development. An example of this are the two branches that looks as if they are coming of the front of the main trunk about a third from the top.
Now it will rest and as soon as the buds swell a fertilisation program will start and a sharp eye be kept on the wire as it will cut in quickly as the tree grows. Watch this space for updates.

Subscribing to this blog will ensure you see the progress of this tree over the years to come.