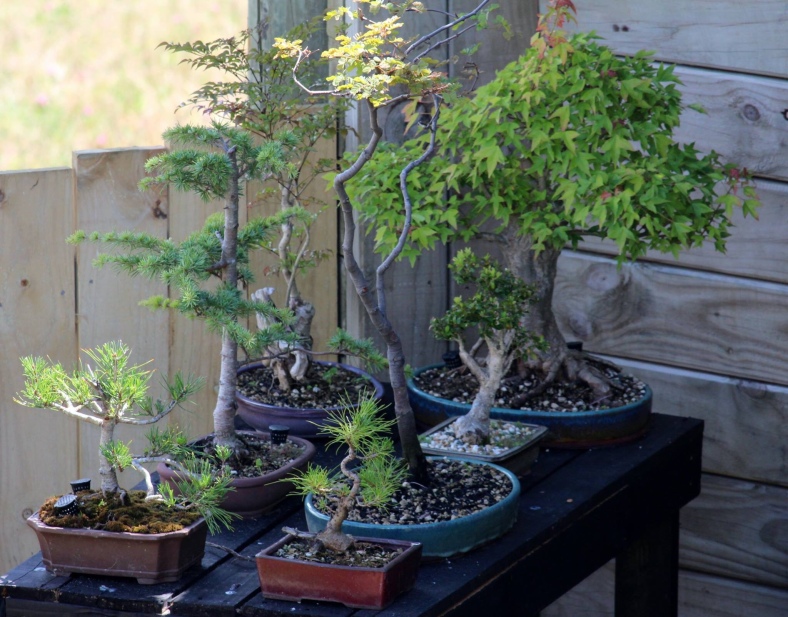
Beginner’s Series: Make a start

You are now bitten by the bug and you are well on your way to addiction and now you want to design, bend, shape, cut, wire and do all the other things to expand your growing collection. Yes, there is a lot of art to it, but you can get far by following a few basic steps. I call it my Bonsai Beginner’s Curriculum and have done many workshops based on these basic seven steps. It works well on nursery material as well as field lifted trees which have been planted and allowed to rest for at least a year. Here we go with the seven steps.

Nursery stock

Step 1: Find the front of the tree. This includes looking at the trunk flare / root zone (nebari). You want the widest and most interesting part to face the front. The second part to this step is to find the best front showing the flow or movement of the main trunk line. Hopefully the best nebari view and trunk line is the same side, if not, make a decision based on the best of the two elements.

Step 2: Clean the main trunk. This includes getting rid of all unwanted growth. It could be removing one or more branches reducing the bar branch effect. Also remove branches pointing to the front in especially the bottom third of the trunk and branches crossing the trunk. At this stage remove all growth in the crotches of the main trunk and primary branches.

Step 3: Set the main trunk. If you are lucky, the movement of the trunk will be great and you have nothing to do. This is rarely the case. Use wire to set the shape. There are other more advanced strategies and methods that can be used. If you are using guy wires, it is best to wire the branches first as the wires sometimes get in the way of further work.

Thick wire can be used to bend this trunk.

Step 4: Select the main branches. You have already looked at this during step 2. What you now need to do is to look at the positioning of branches. The historical pattern is to have one to the one side, then to the other side and then one growing backwards. Repeat as you move up the trunk line. Nature and practicality does not always give this to you on a platter and this is where the artistic side of Bonsai kicks in. Also make sure that you do not have branches growing from the inside curve of a bend.

Step 5: Clean the rest of the tree by removing all growth from the axils / crotches of all branches. Remove the rest of the unwanted growth and especially spindly growth. At this point it is important to note that once you remove all leaves / needles from coniferous plants, it is highly likely that the bare branch will die. Perfect for Jin (more advanced technique).

Step 6: Set the main branches. Use wire on the branch or guy wires. Wiring technique is also slightly more advanced and will follow in a future blog or video. Ensure that there is movement in the branches (left, right, up and down). This is an easy way to bring leaves / growth closer to the main trunk on spindly growth.

Step 7: Create the apex. The apex is the top of the tree and plays a major role in determining the flow of a tree. Older trees show a more rounded apex form and this is what you want to recreate by either pruning or wiring the branches into that position.

Crotches are clean and branches set by using guy wires.

By now you should have a design roughly resembling a pre-Bonsai tree. After-care is the next important step. My advice is to not pot the tree into a Bonsai pot at this stage. If you have removed a lot of growth, the tree will be stressed and the last thing it needs now is to have its roots interfered with. Rather just place it in a sheltered position with no harsh afternoon sun. Water regularly and fertilise the tree to encourage health and good growth. Potting can be done in Spring or for certain species, Autumn could be suitable as well.

Keep an eye out for further articles in the Beginner’s series. If you subscribe to this blog, you will not miss any of those.

If you need one on one tuition, have a look at the subscriptions page on this website.

Bonsai knowledge and skills resources – How do we learn?

Read as much as you can.

I recently saw a few posts on social media where people new to Bonsai asked for advice and also for good sources of reliable information. The “reliable information” made me think even more. Most of this happens in the internet and as mentioned, on social media. In a lot of cases the credentials of the people answering these questions cannot be easily established and one of the things that really get to me is that people give advice without establishing where the person asking the question is from. I have recently moved 500km north on the North Island of New Zealand and now know that even a relatively short distance like that makes for a very different climate and a complete rethink of when to do what with my trees.

Join a club or two or three.

So, where and what are the best places and people to go to. My personal philosophy on this is that you should use as many resources as possible. One of the answers amongst a whole host of really good ones out of a discussion of which club to join (think this was in Australia), was that one must be weary of clubs as there is usually a dominant teacher there with set ideas and that one should actually just watch You Tube videos. Nothing wrong with the videos, but the person went further to mention one specific series of videos, again with one dominant teacher. No change then.

By all means, join a club. It is a very good thing to do. As a matter of fact, join more than one. Supplement this with watching a variety of videos, there are millions on line. The emphasis here is on the variety. Out of this, always relate it back to what you already know, where your knowledge and skills come from and how that relates to your trees, your philosophy and your climate. This reflection part is to me the most important phase of learning. Digest all of the information that you have and take what suits your situation. Books, whether in digital format or printed (still my favourite) should be part of this learning. Attend conventions, workshops and demonstrations. This is probably where you will learn most.

Many online videos exist.

This learning journey never stops and if you are exposed to a “sensei” who does not learn anymore him- or herself, run as far away and as fast as you can. Bonsai is the ultimate lifelong learning exercise.

My Bonsai Test

I love watching Bonsai demonstrations, whether it be live or on You Tube. The quick transformations, the inspiration, the magnificent material that these artists work with, it is pure drama, pure theatre.

I do that as well. Pluck the odd tree out of a field or hunt for suitable nursery material to test my skills and knowledge and then compare my design outcomes with the artists who I follow or are exposed to. This is very satisfying and keeps on inspiring me and as said, tests my abilities.

This however is not my real test, my real challenge. My real Everest is the daily grind. The seasonal grind. Yes, those tasks that must be performed to keep your trees healthy and thriving. The weeding, the feeding, the watering, the wire on and the wire off. Especially the latter. Maintaining pots, tools, irrigation system and weather protection. Being able to do all of this is the real challenge, the real test.

It is therefor important to see it all as one. The not so nice work as well as the inspirational stuff. Hey, is that not life. The good days and the bad days. Look at the big picture, that is the reality.

Weeping Bonsai Trees – NZBA Convention Demonstration and Talk

I was asked to demonstrate at the recent 2019 New Zealand Bonsai Association National Show and Convention. I decided to talk about Weeping or Pendulant trees as these trees are quite scarce in New Zealand at show level. There was only one weeping style tree in the National Show, a native Kowhai tree.

The interesting thing is that many people spoke to me afterwards to tell me about their weeping Bonsai trees and even about going to have another look at taking cuttings from Willow trees, probably the easiest of trees for this style.

Below is a video of the presentation that I used. I started off by talking about the biochemistry and the role of geotropism (movement or growth caused by gravity) and the effect of that on auxins in the tree to allow branches to grow downwards. Next was a few slides of weeping trees in nature to show the most important principle of building an upwards growing structure first before you look at the weeping parts of the tree. This was followed by slides of relatively well-developed weeping style Bonsai trees.

I also showed a Willow tree from a cutting, a nursery sourced weeping Beech tree and another nursery sourced weeping Bottlebrush. I talked about wiring the main structure and then also the use of guy wires and objects to hang off the branches to pull the branches downwards. It also included examples of fishing line with weights attached and even the humble clothing peg to act as weight to help gravity do its thing.