

Semi-cascade Juniper Bonsai


One of the fastest way to get a Bonsai collection going is to find material at your local nursery to develop over time into a stunning Bonsai. Yes, it takes time, but still beats starting from seeds or cuttings. Although My private collection mainly consist of mature trees, I regularly still work on anything from cuttings to nursery material. The main reason for this is to generate stock for my wife’s fledgling Bonsai shop.

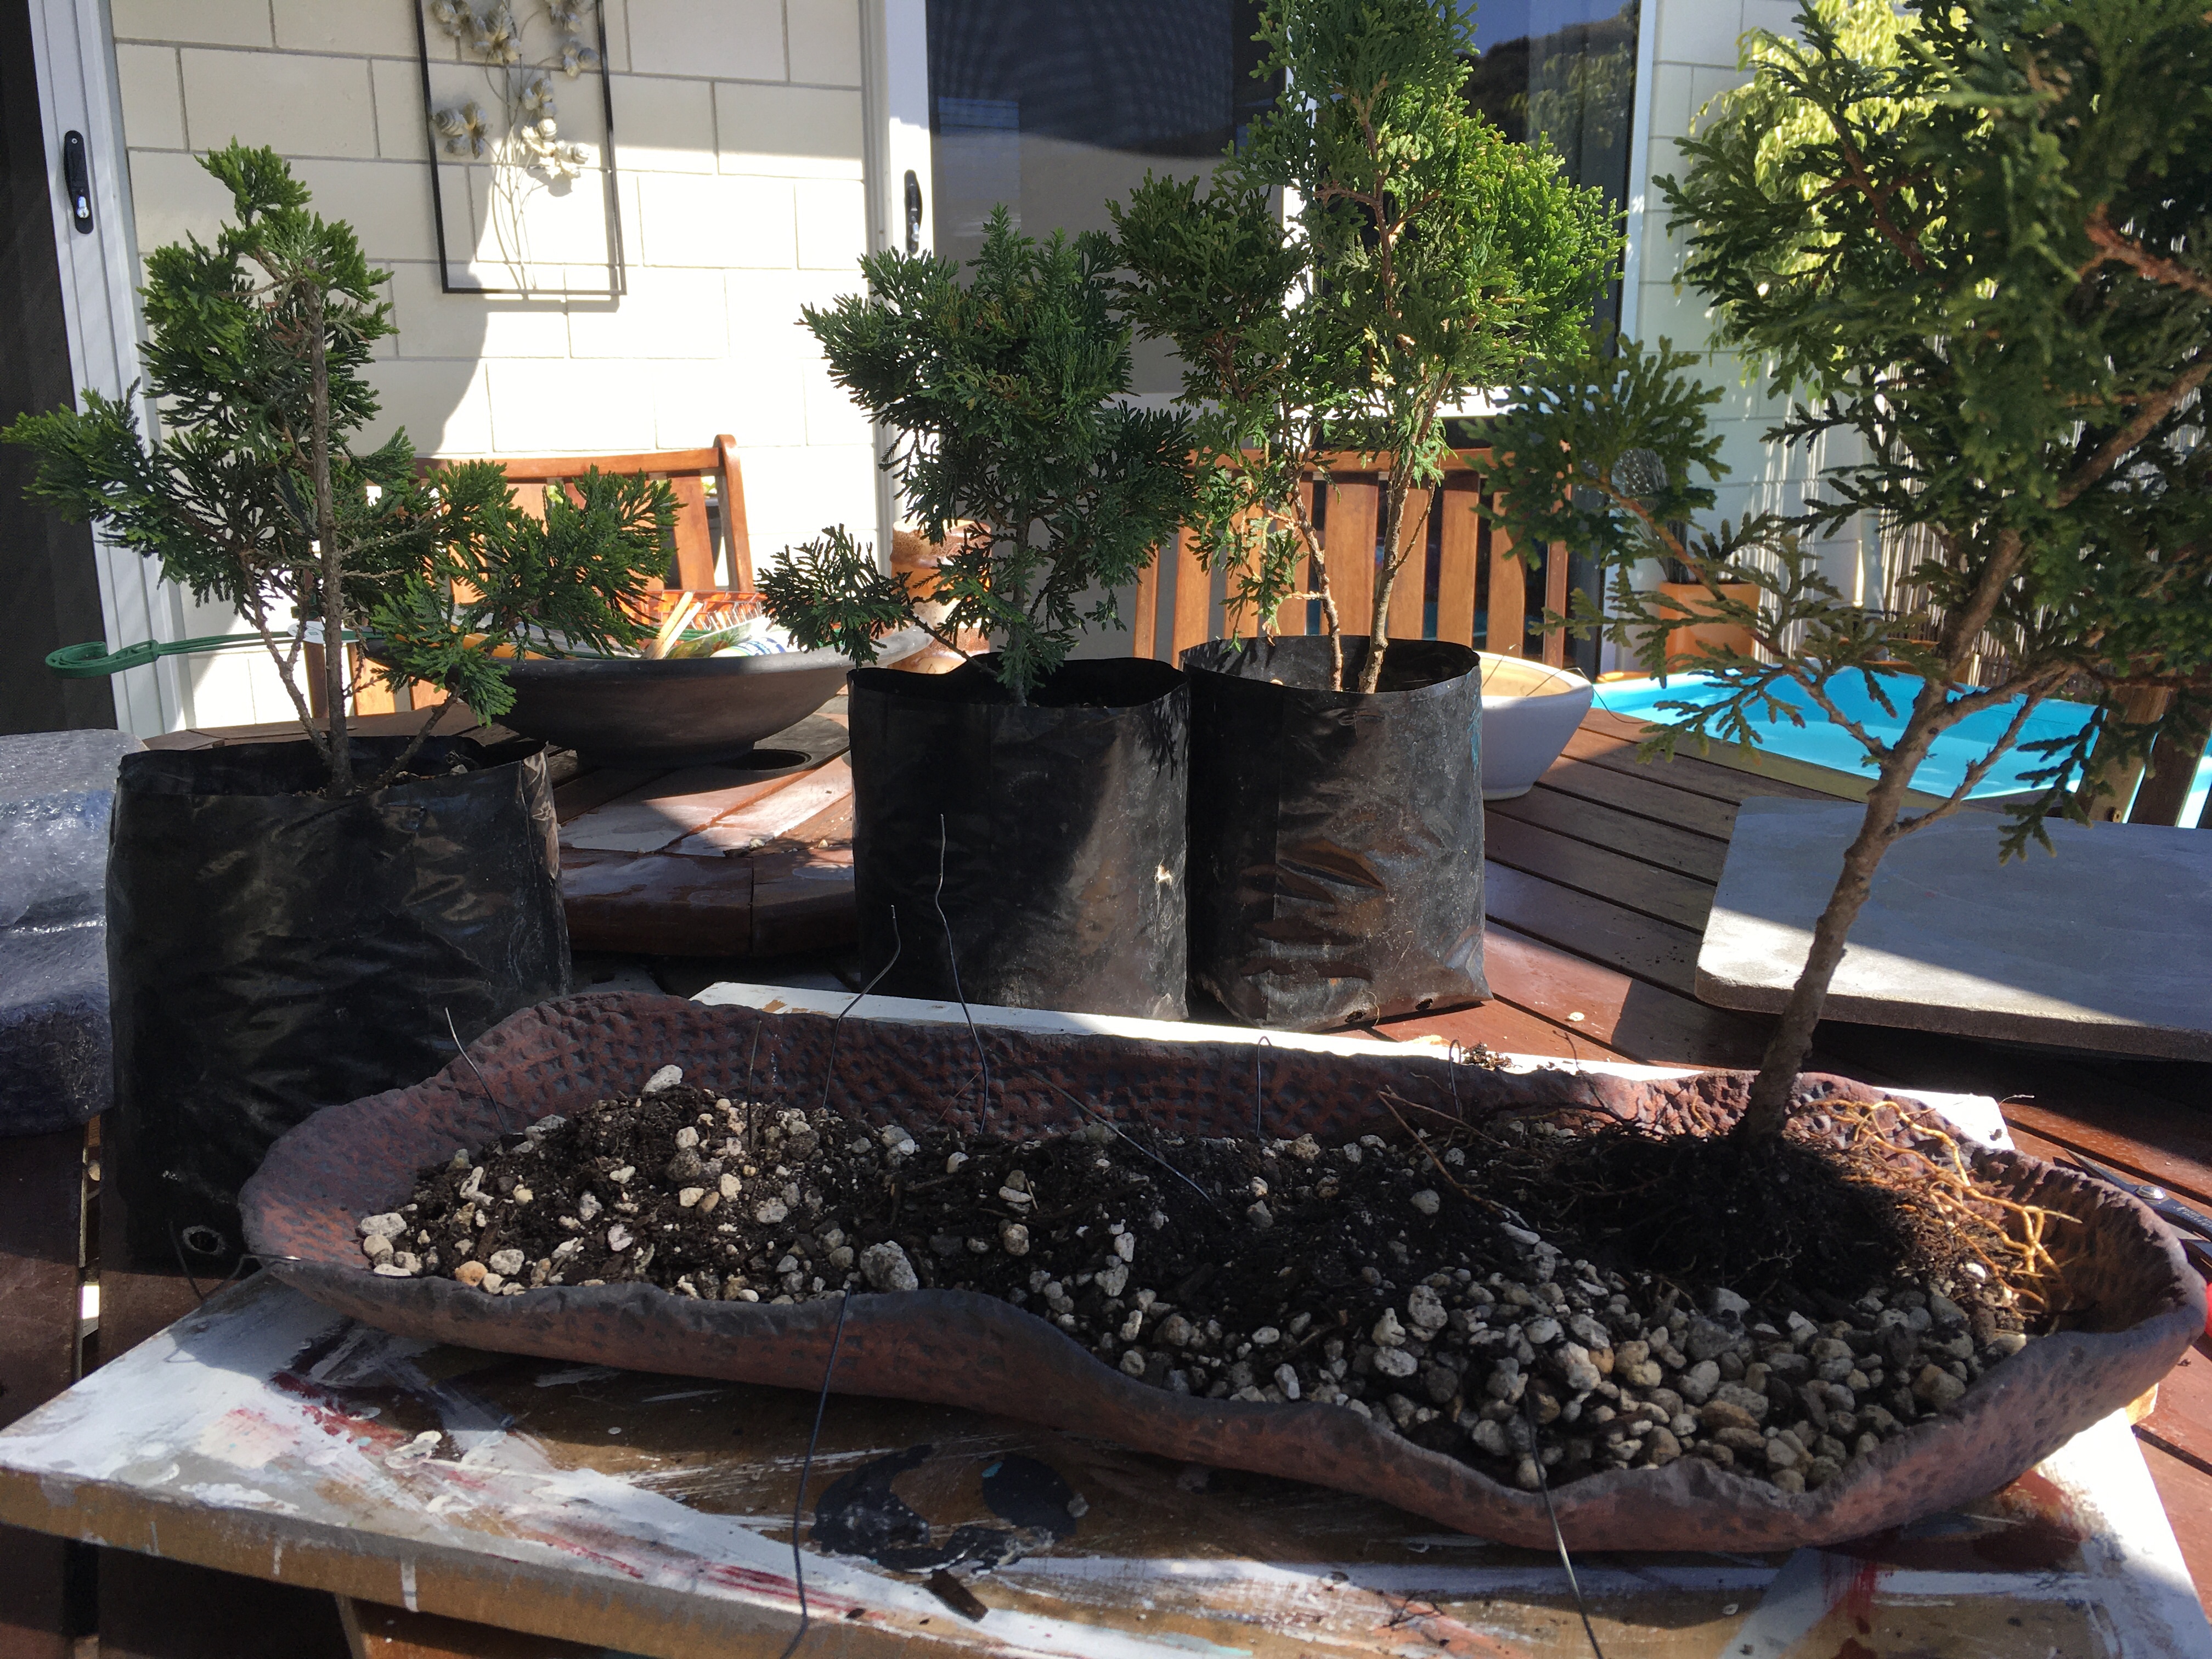

Yesterday I bought this Juniper from our local Bunnings (hardware store for those outside of Australia and New Zealand). As luck would have it, I just recently saw a mature Juniper on Instagram with a slanting main branch and a smaller branch following the contour of the main branch. Another coincidence is that I recently went on a Dolphin watching trip on Guardian, the boat used by Dolphin Seafaris in Tauranga, New Zealand. Where does this fit, you may ask. Well, there were a lot of baby Dolphins with their mothers, swimming in close proximity of the mother and mimicking what they do. It might also have to do with the fact that they suckle on mommy dolphin twenty times per hour! Need to be close for that.

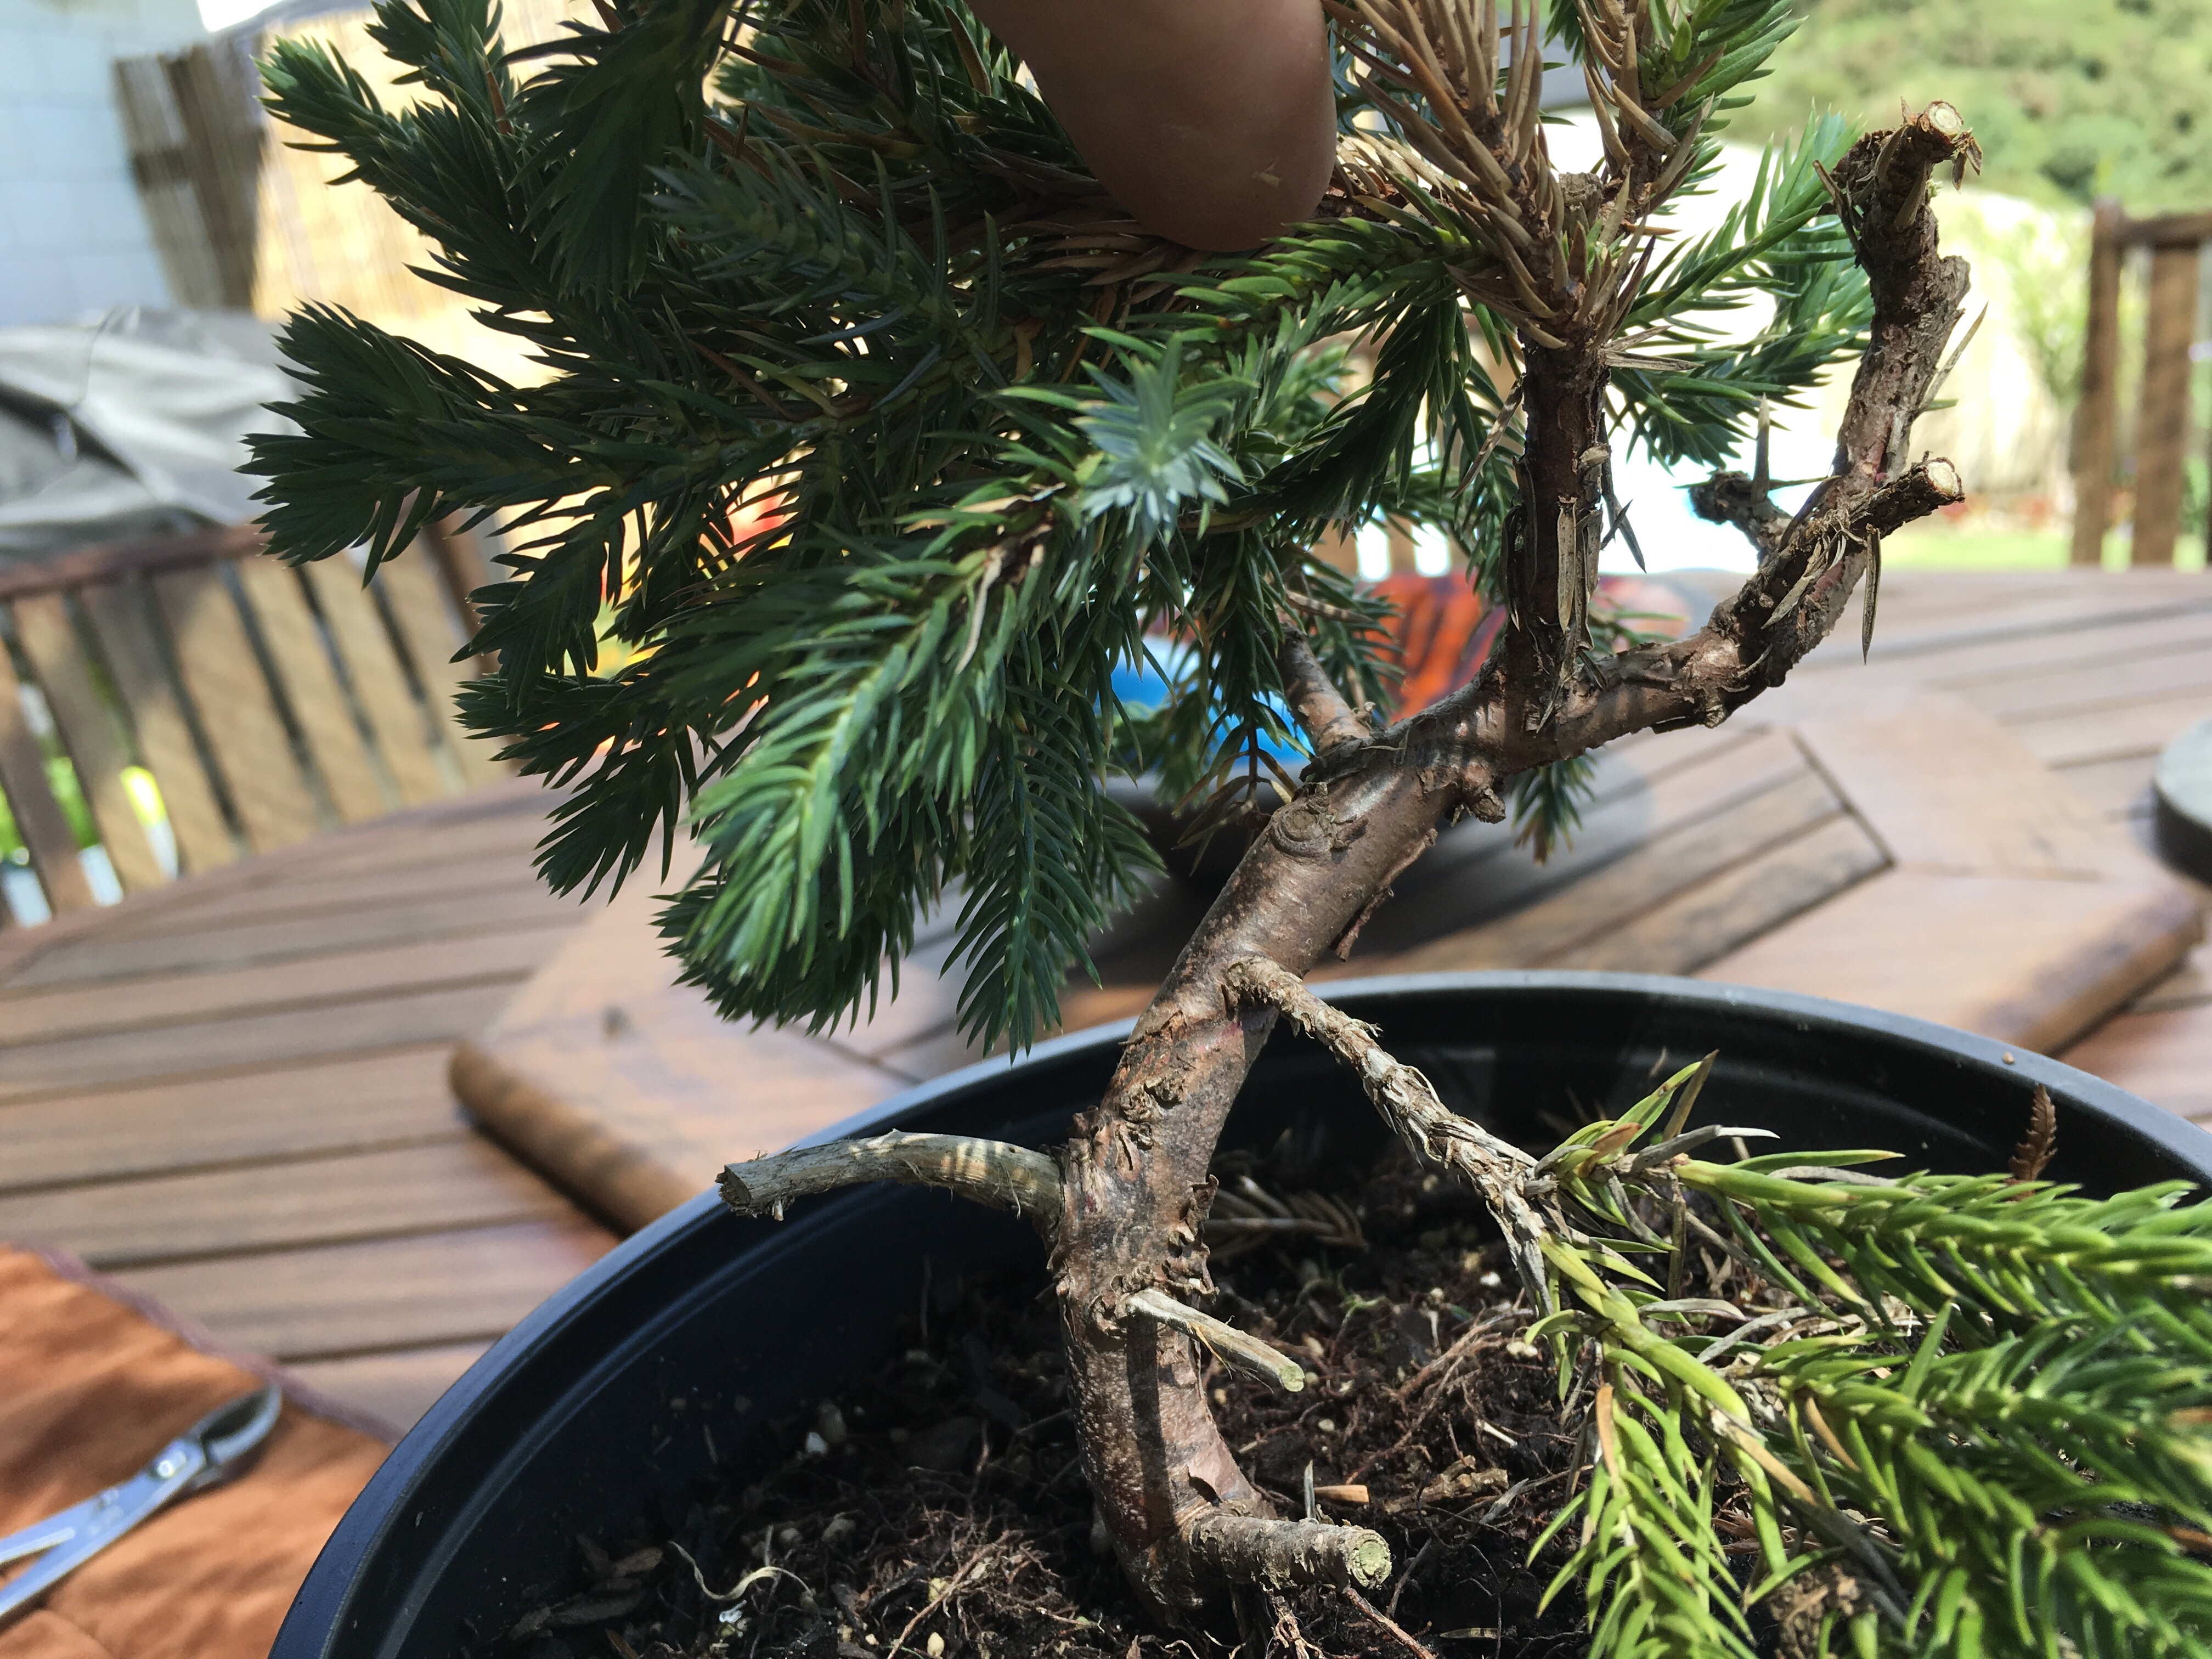
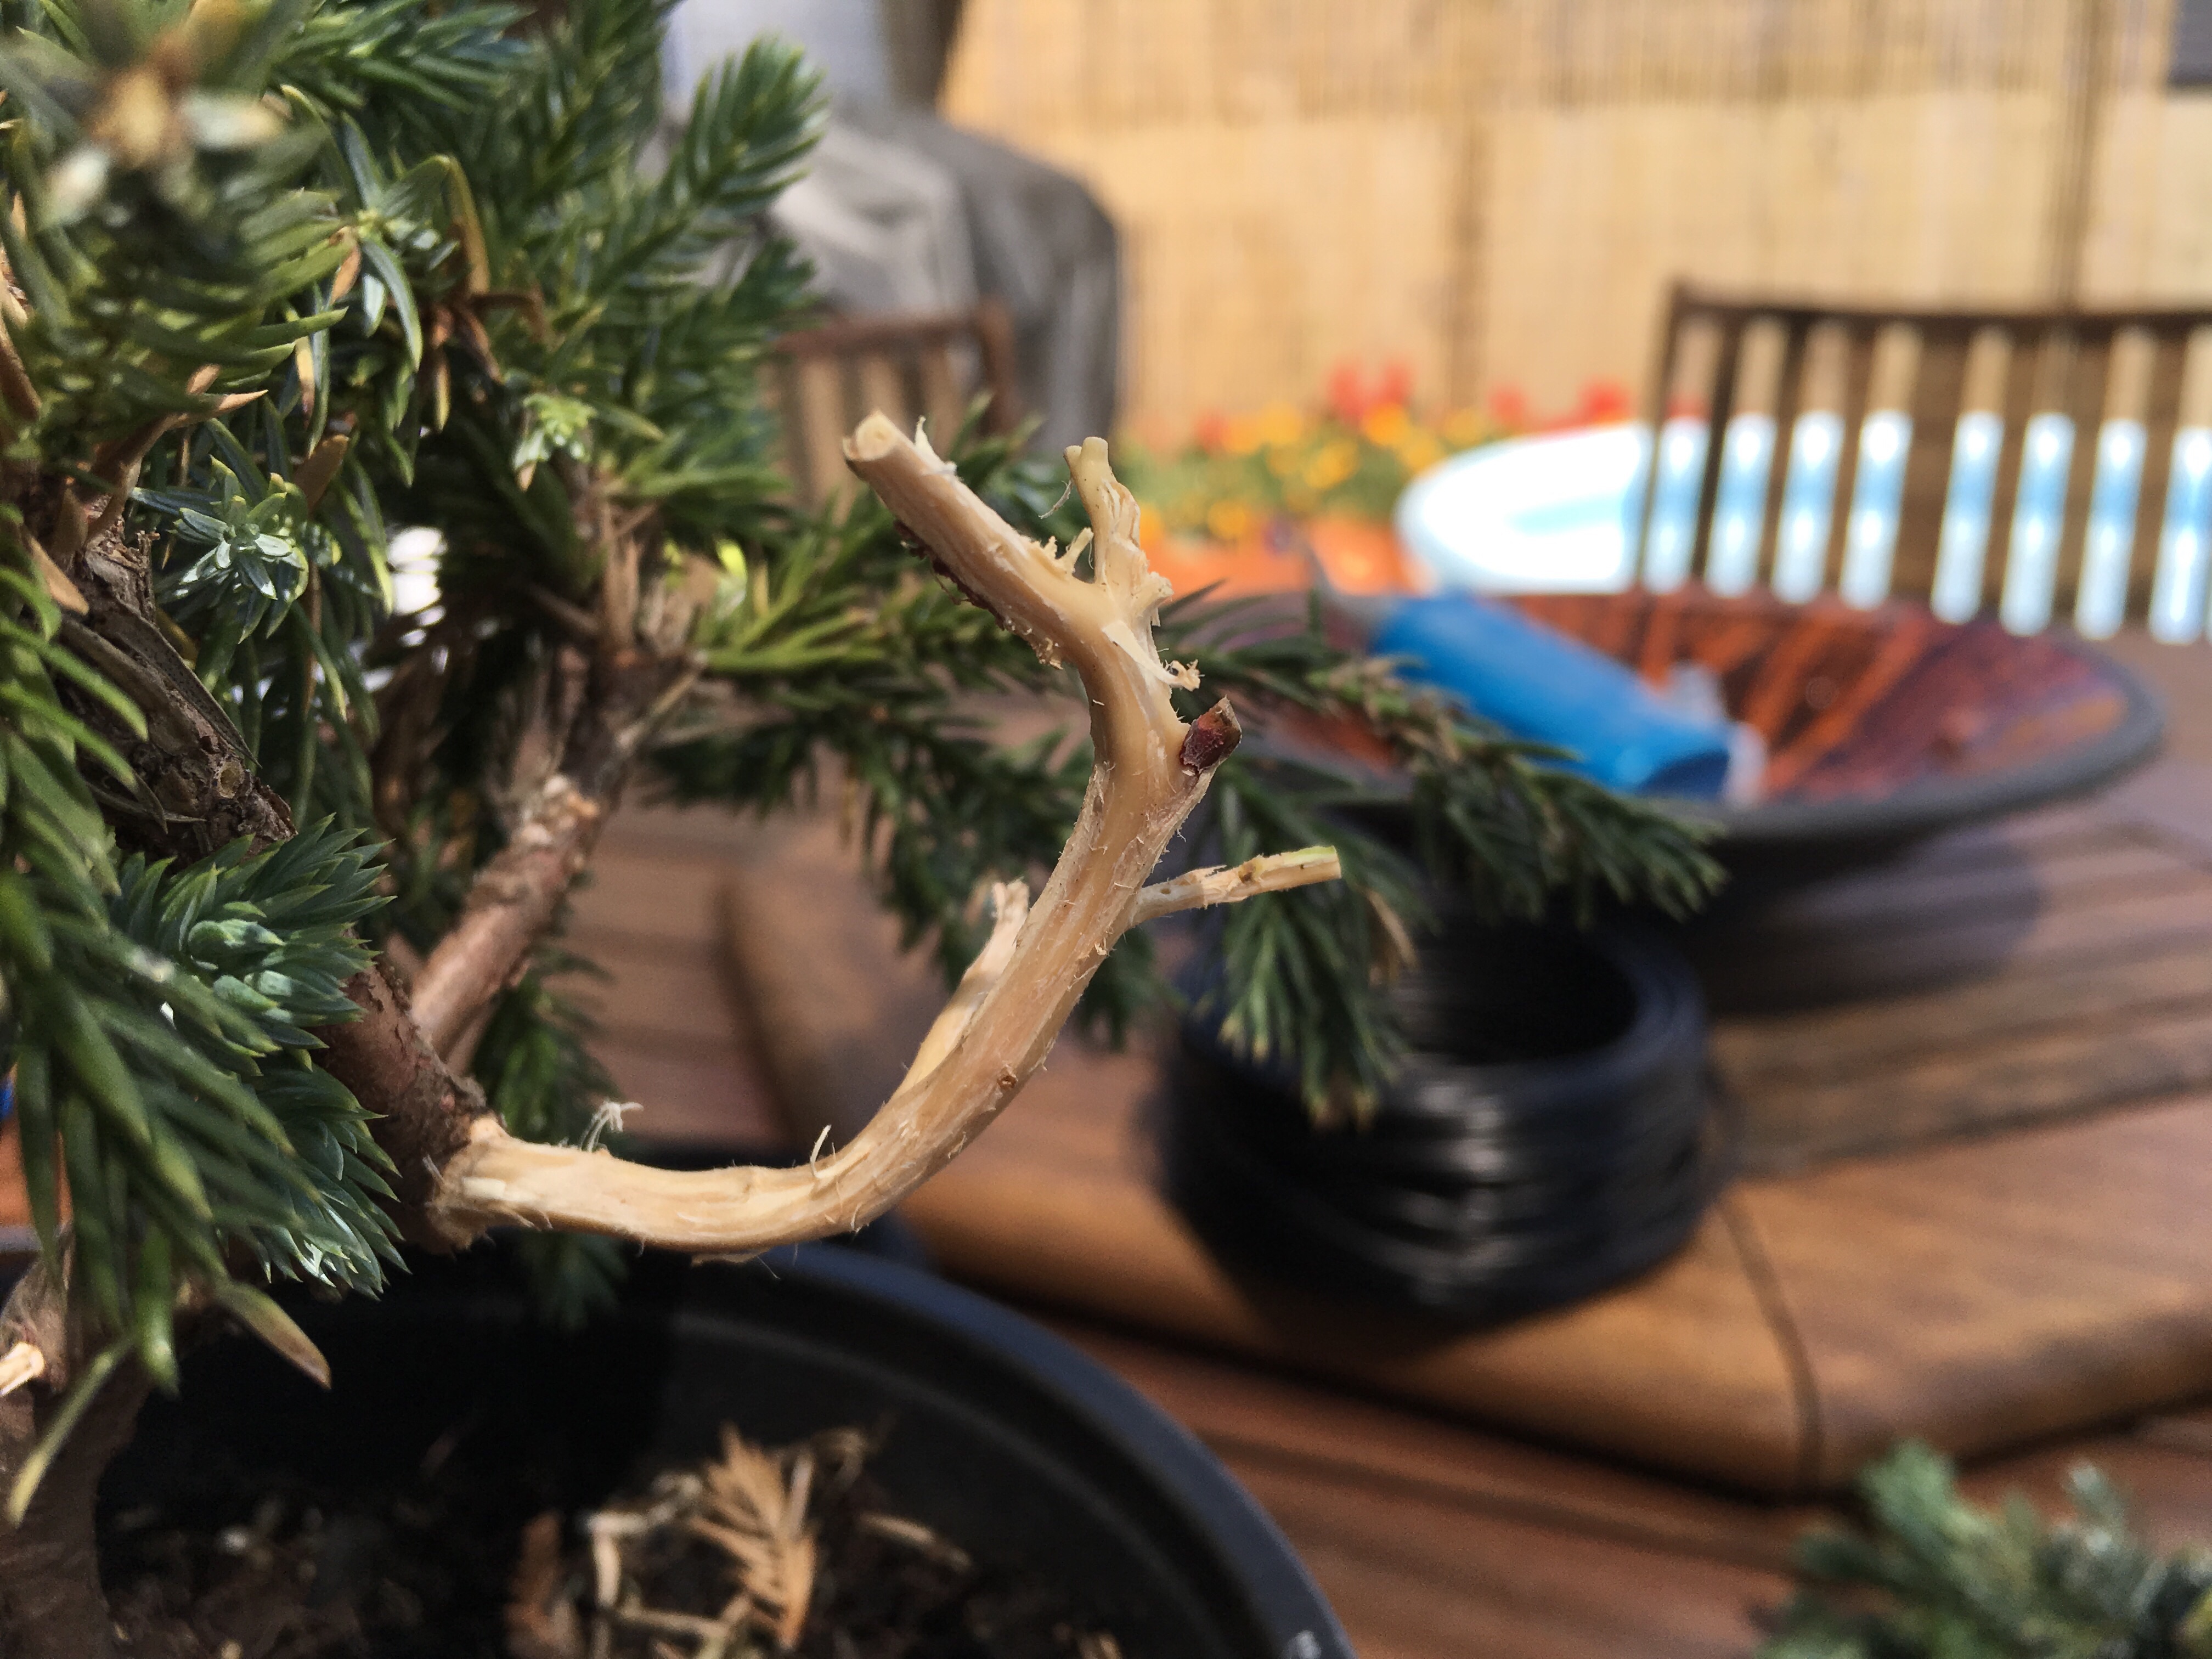
The first task is to clean the tree up as selecting the front was a given with the shape I wanted it to have. The clean up consists of removing unnecessary branches, just one in this case, and then all the growth pointing to the bottom and on top of the branches. It also includes cleaning the crotches between the main branches and the lateral ones. It just makes it a lot easier to apply wire.

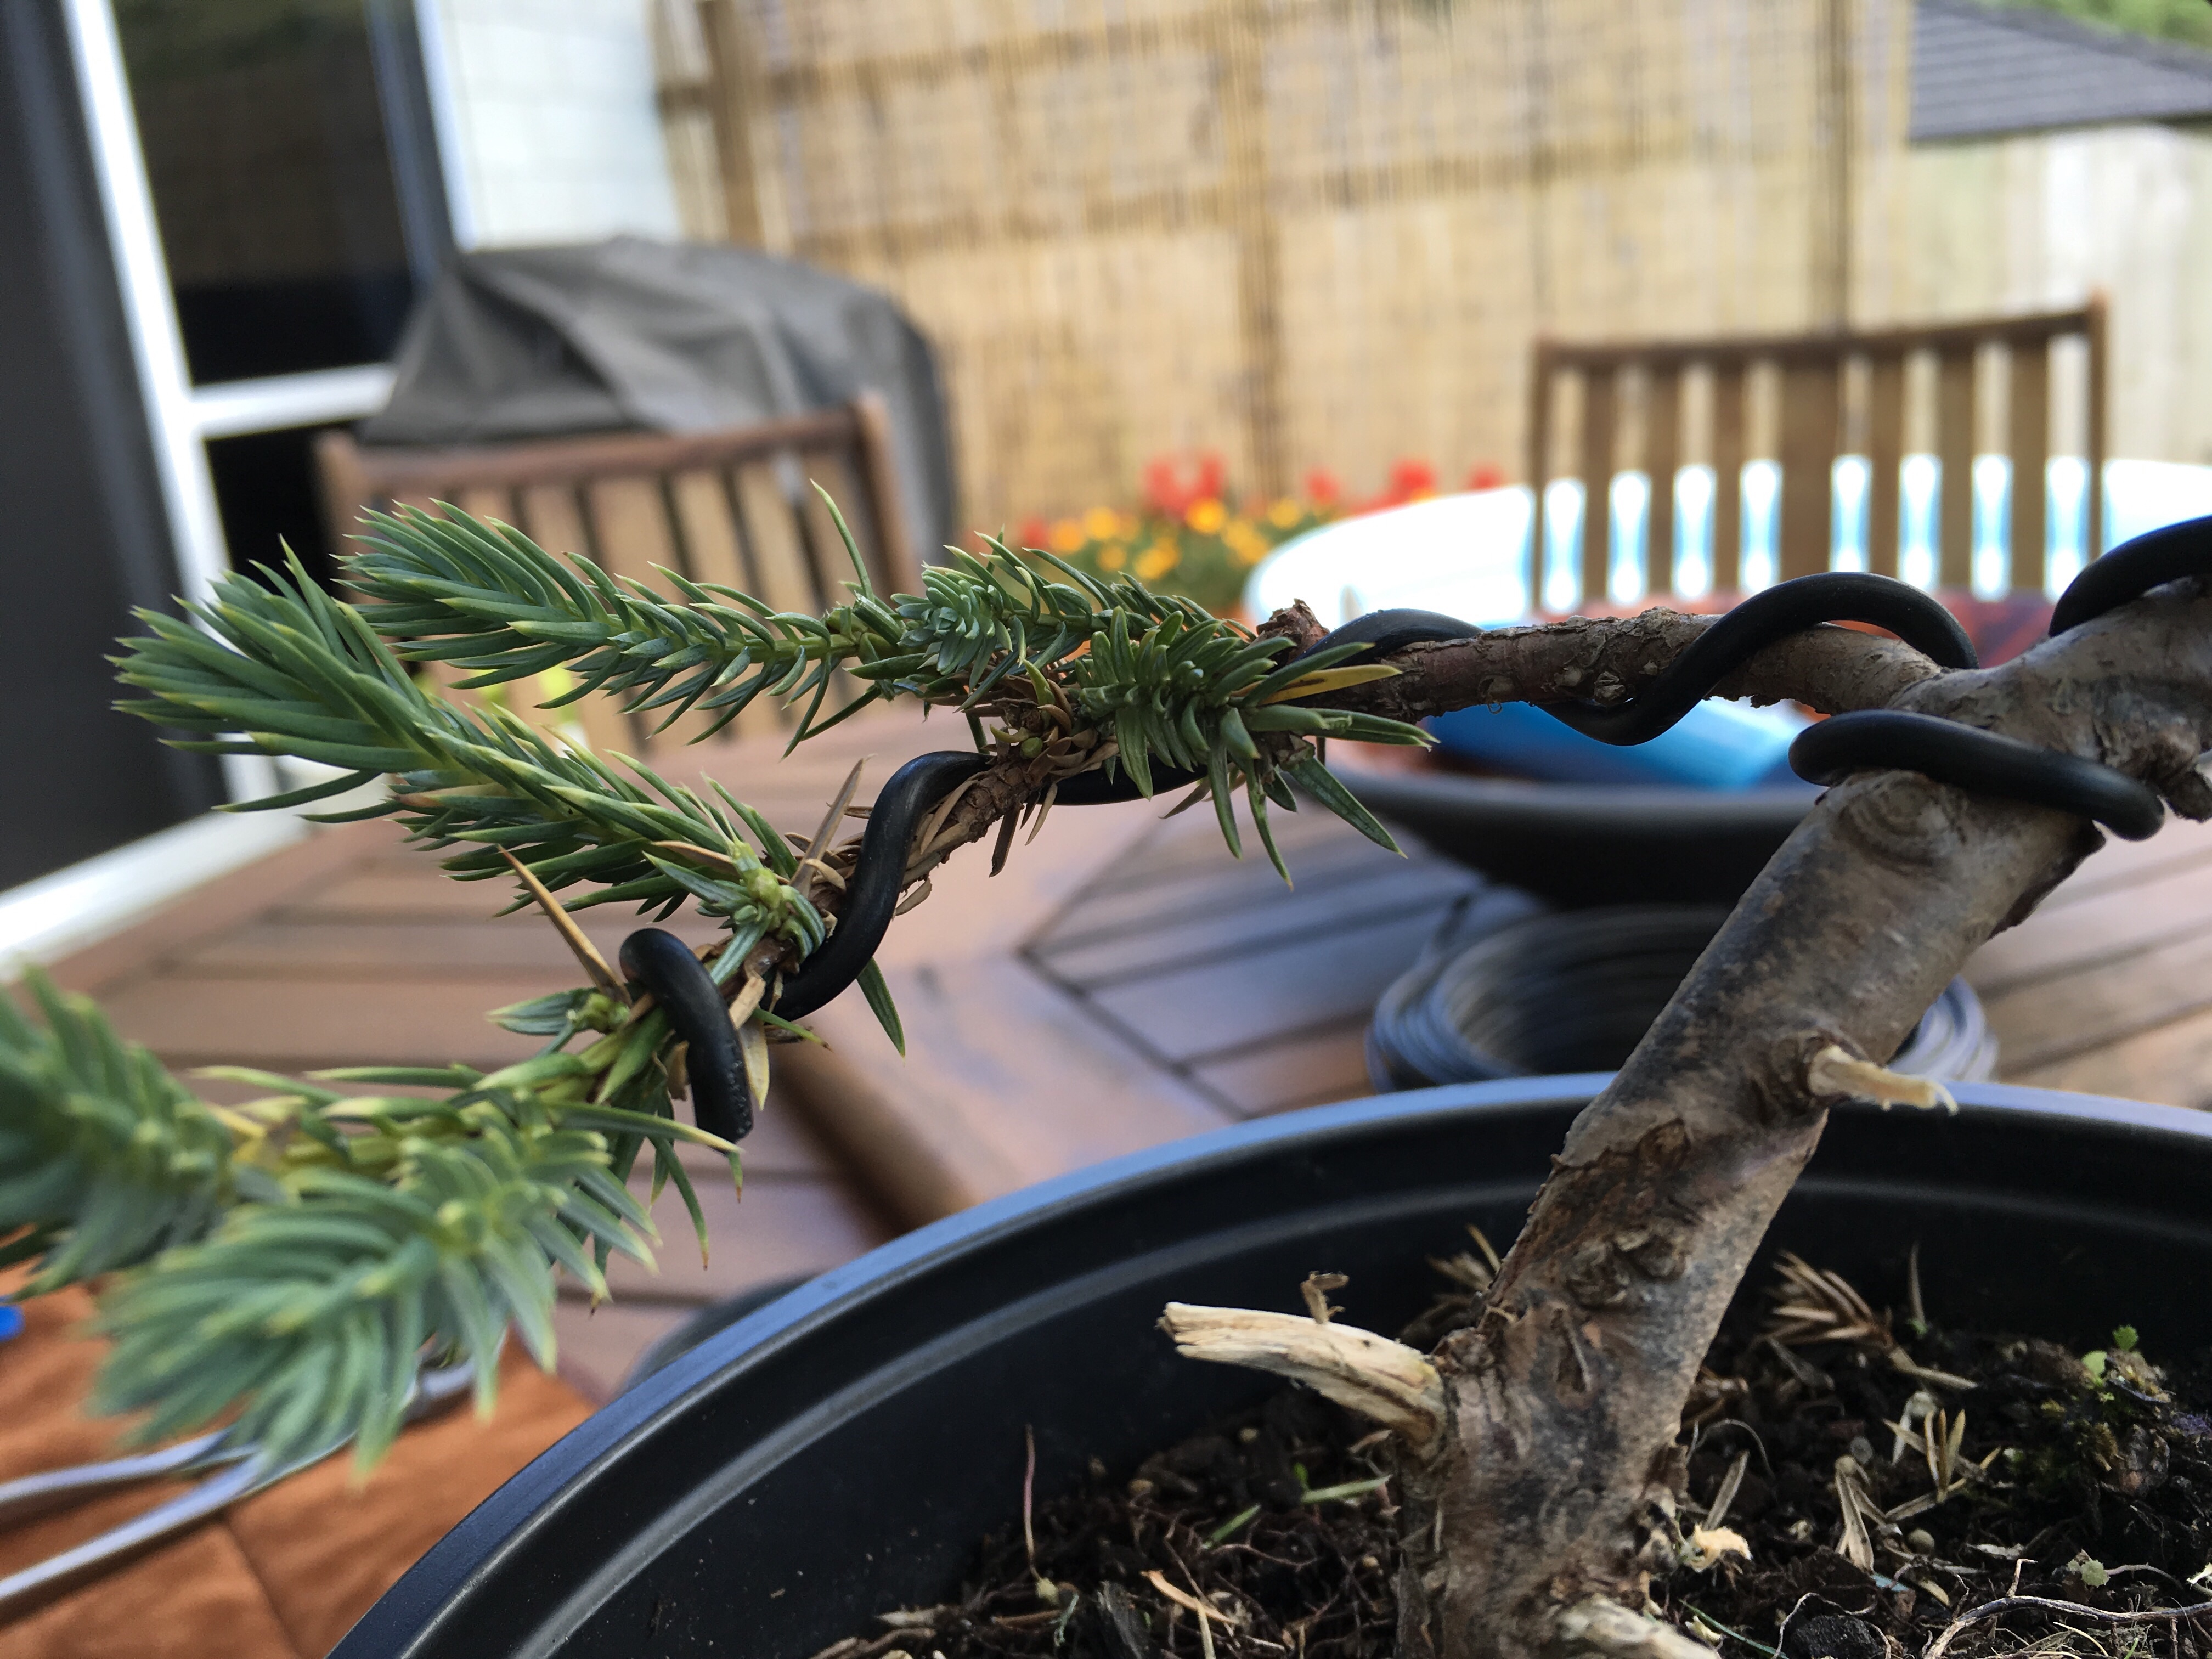
Then the wiring starts. The same gauge wire was used on both branches as the smaller one also needed to be twisted and bend around to follow the main branch line. You cannot just bend it over as the leaves will have their undersides on top then. It needs a twist as well.


The final product. The main slanting branch represents the mother Dolphin and the smaller one the baby Dolphin. There is my memory of the Dolphin watching trip now captured in a starter Bonsai. Now for it to rest, watered, fertilized and kept out of harsh climate conditions.

Watch this space to see the updates, further development and potting) and also follow us on Bonsaiplace on Facebook as well as Instagram.

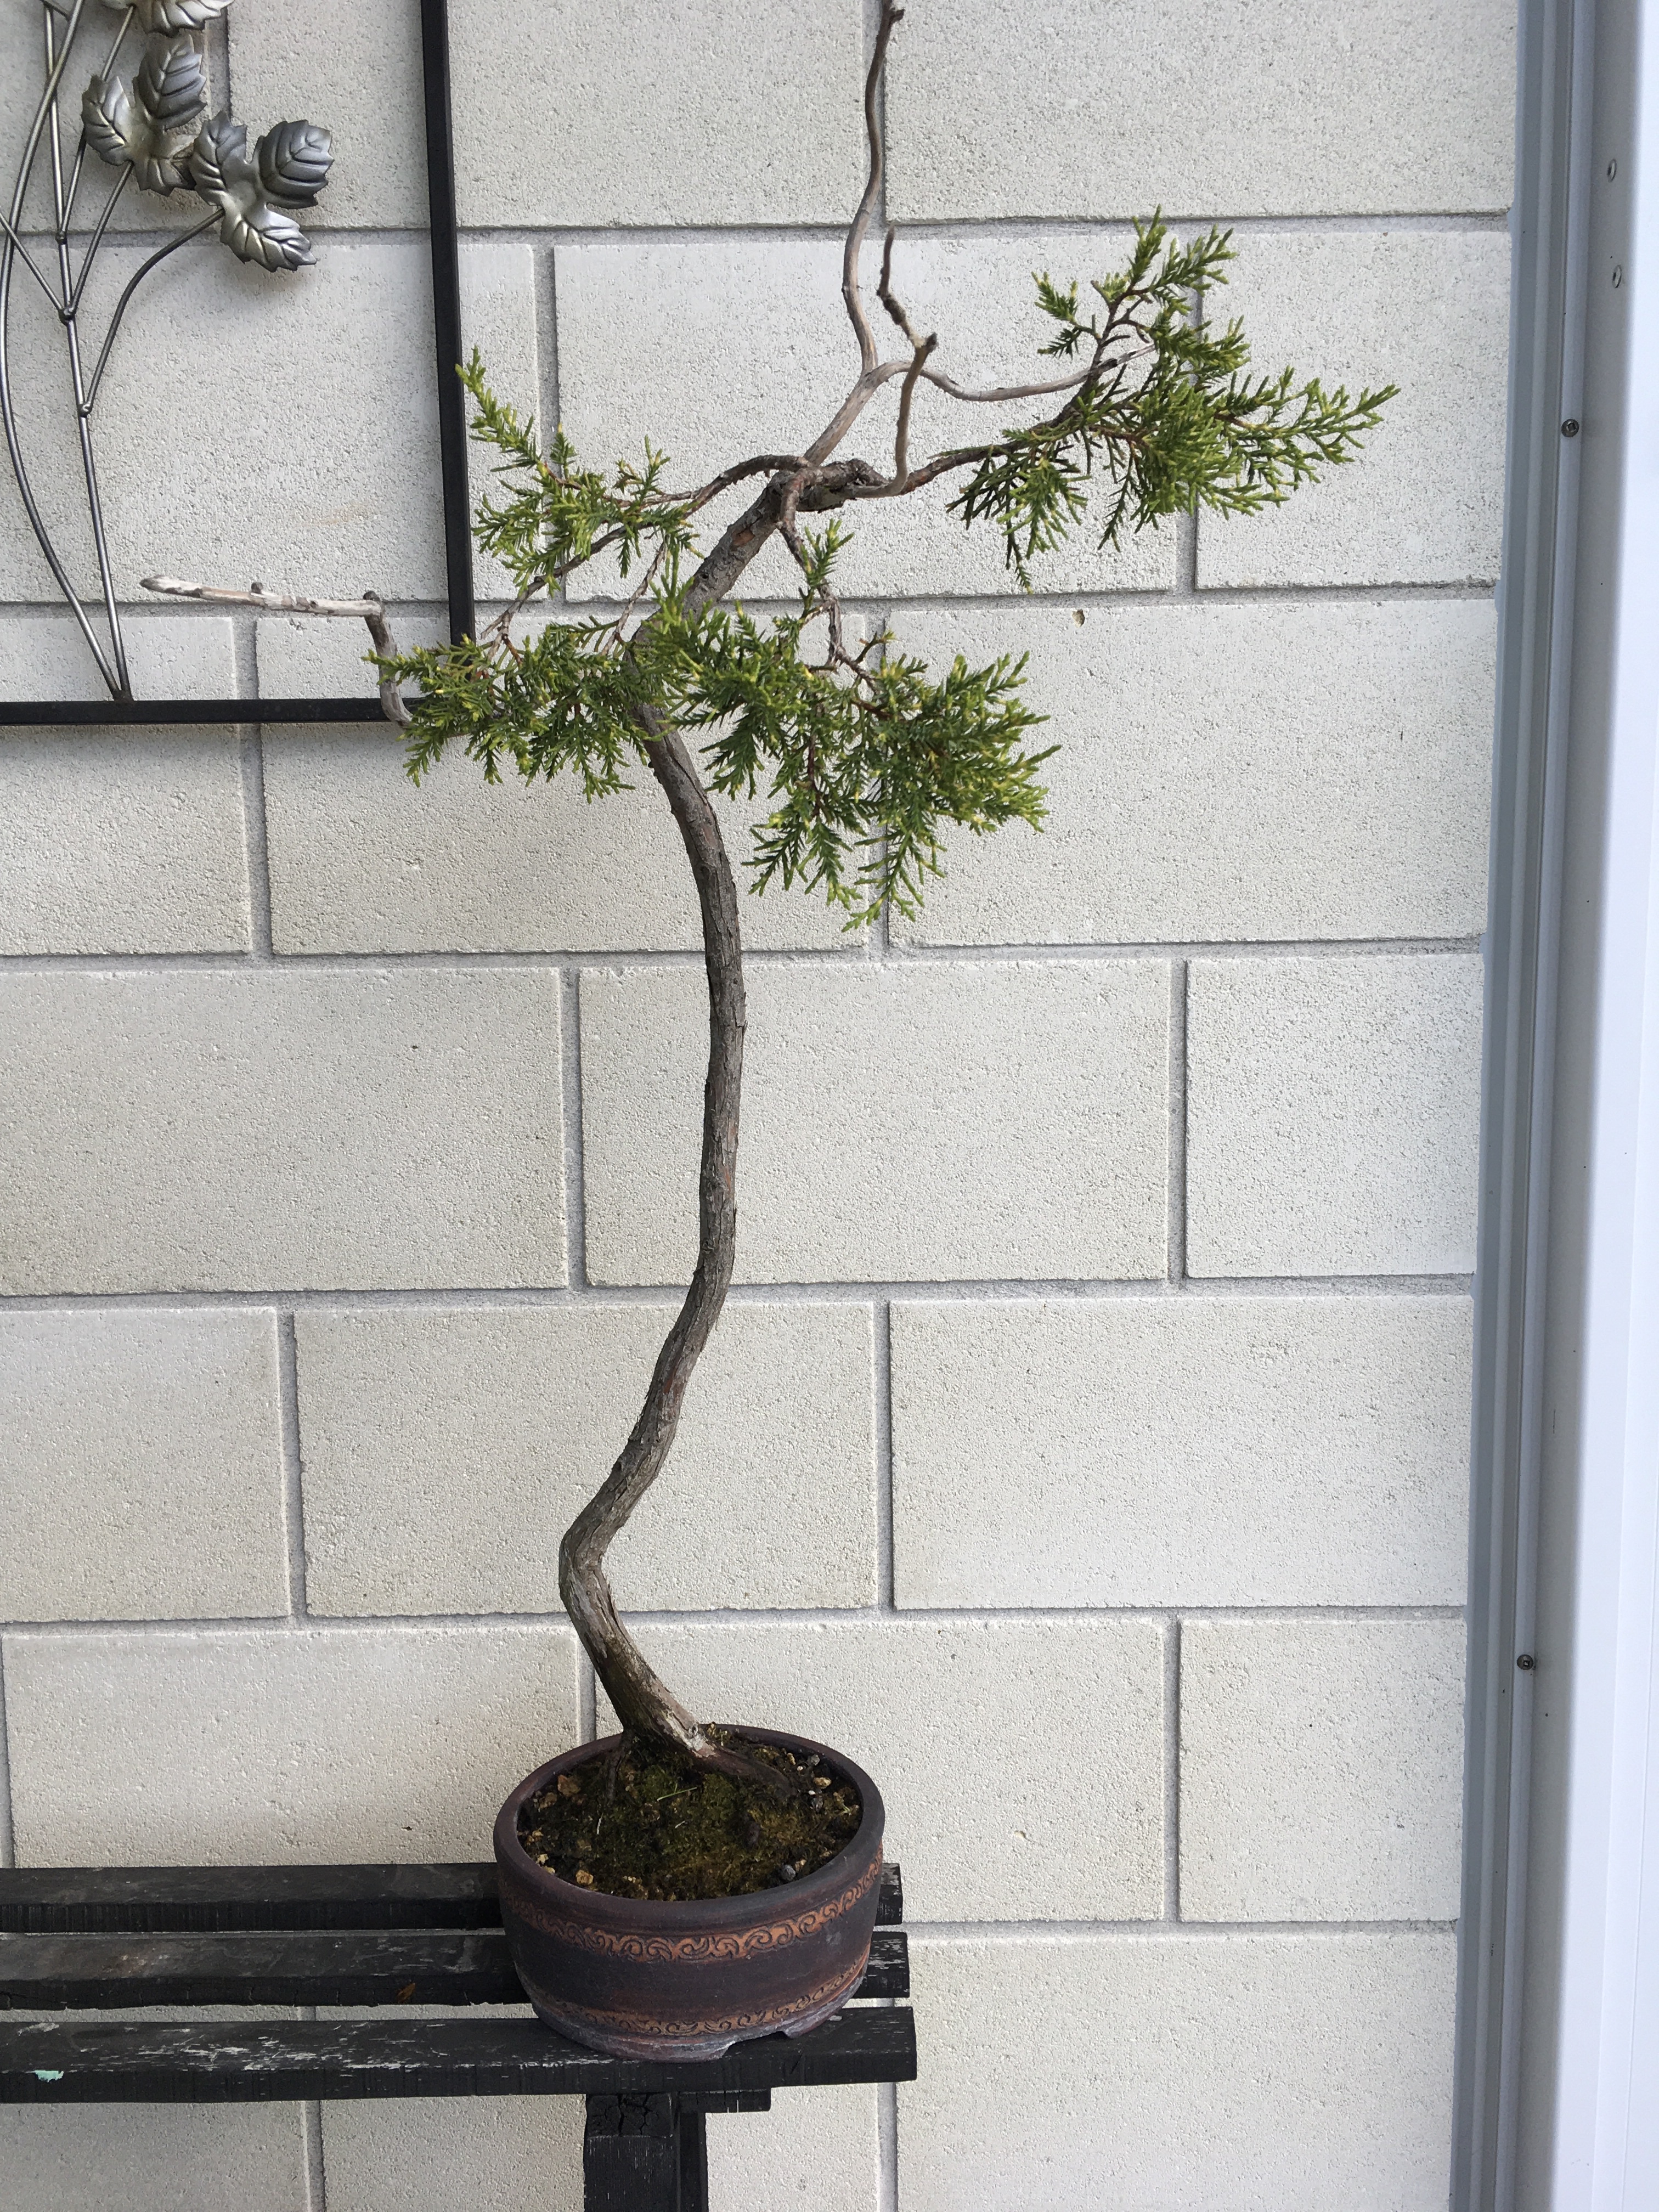
This Literati style Juniper came into my collection as a very neglected, half of the branches dead and under nourished tree.
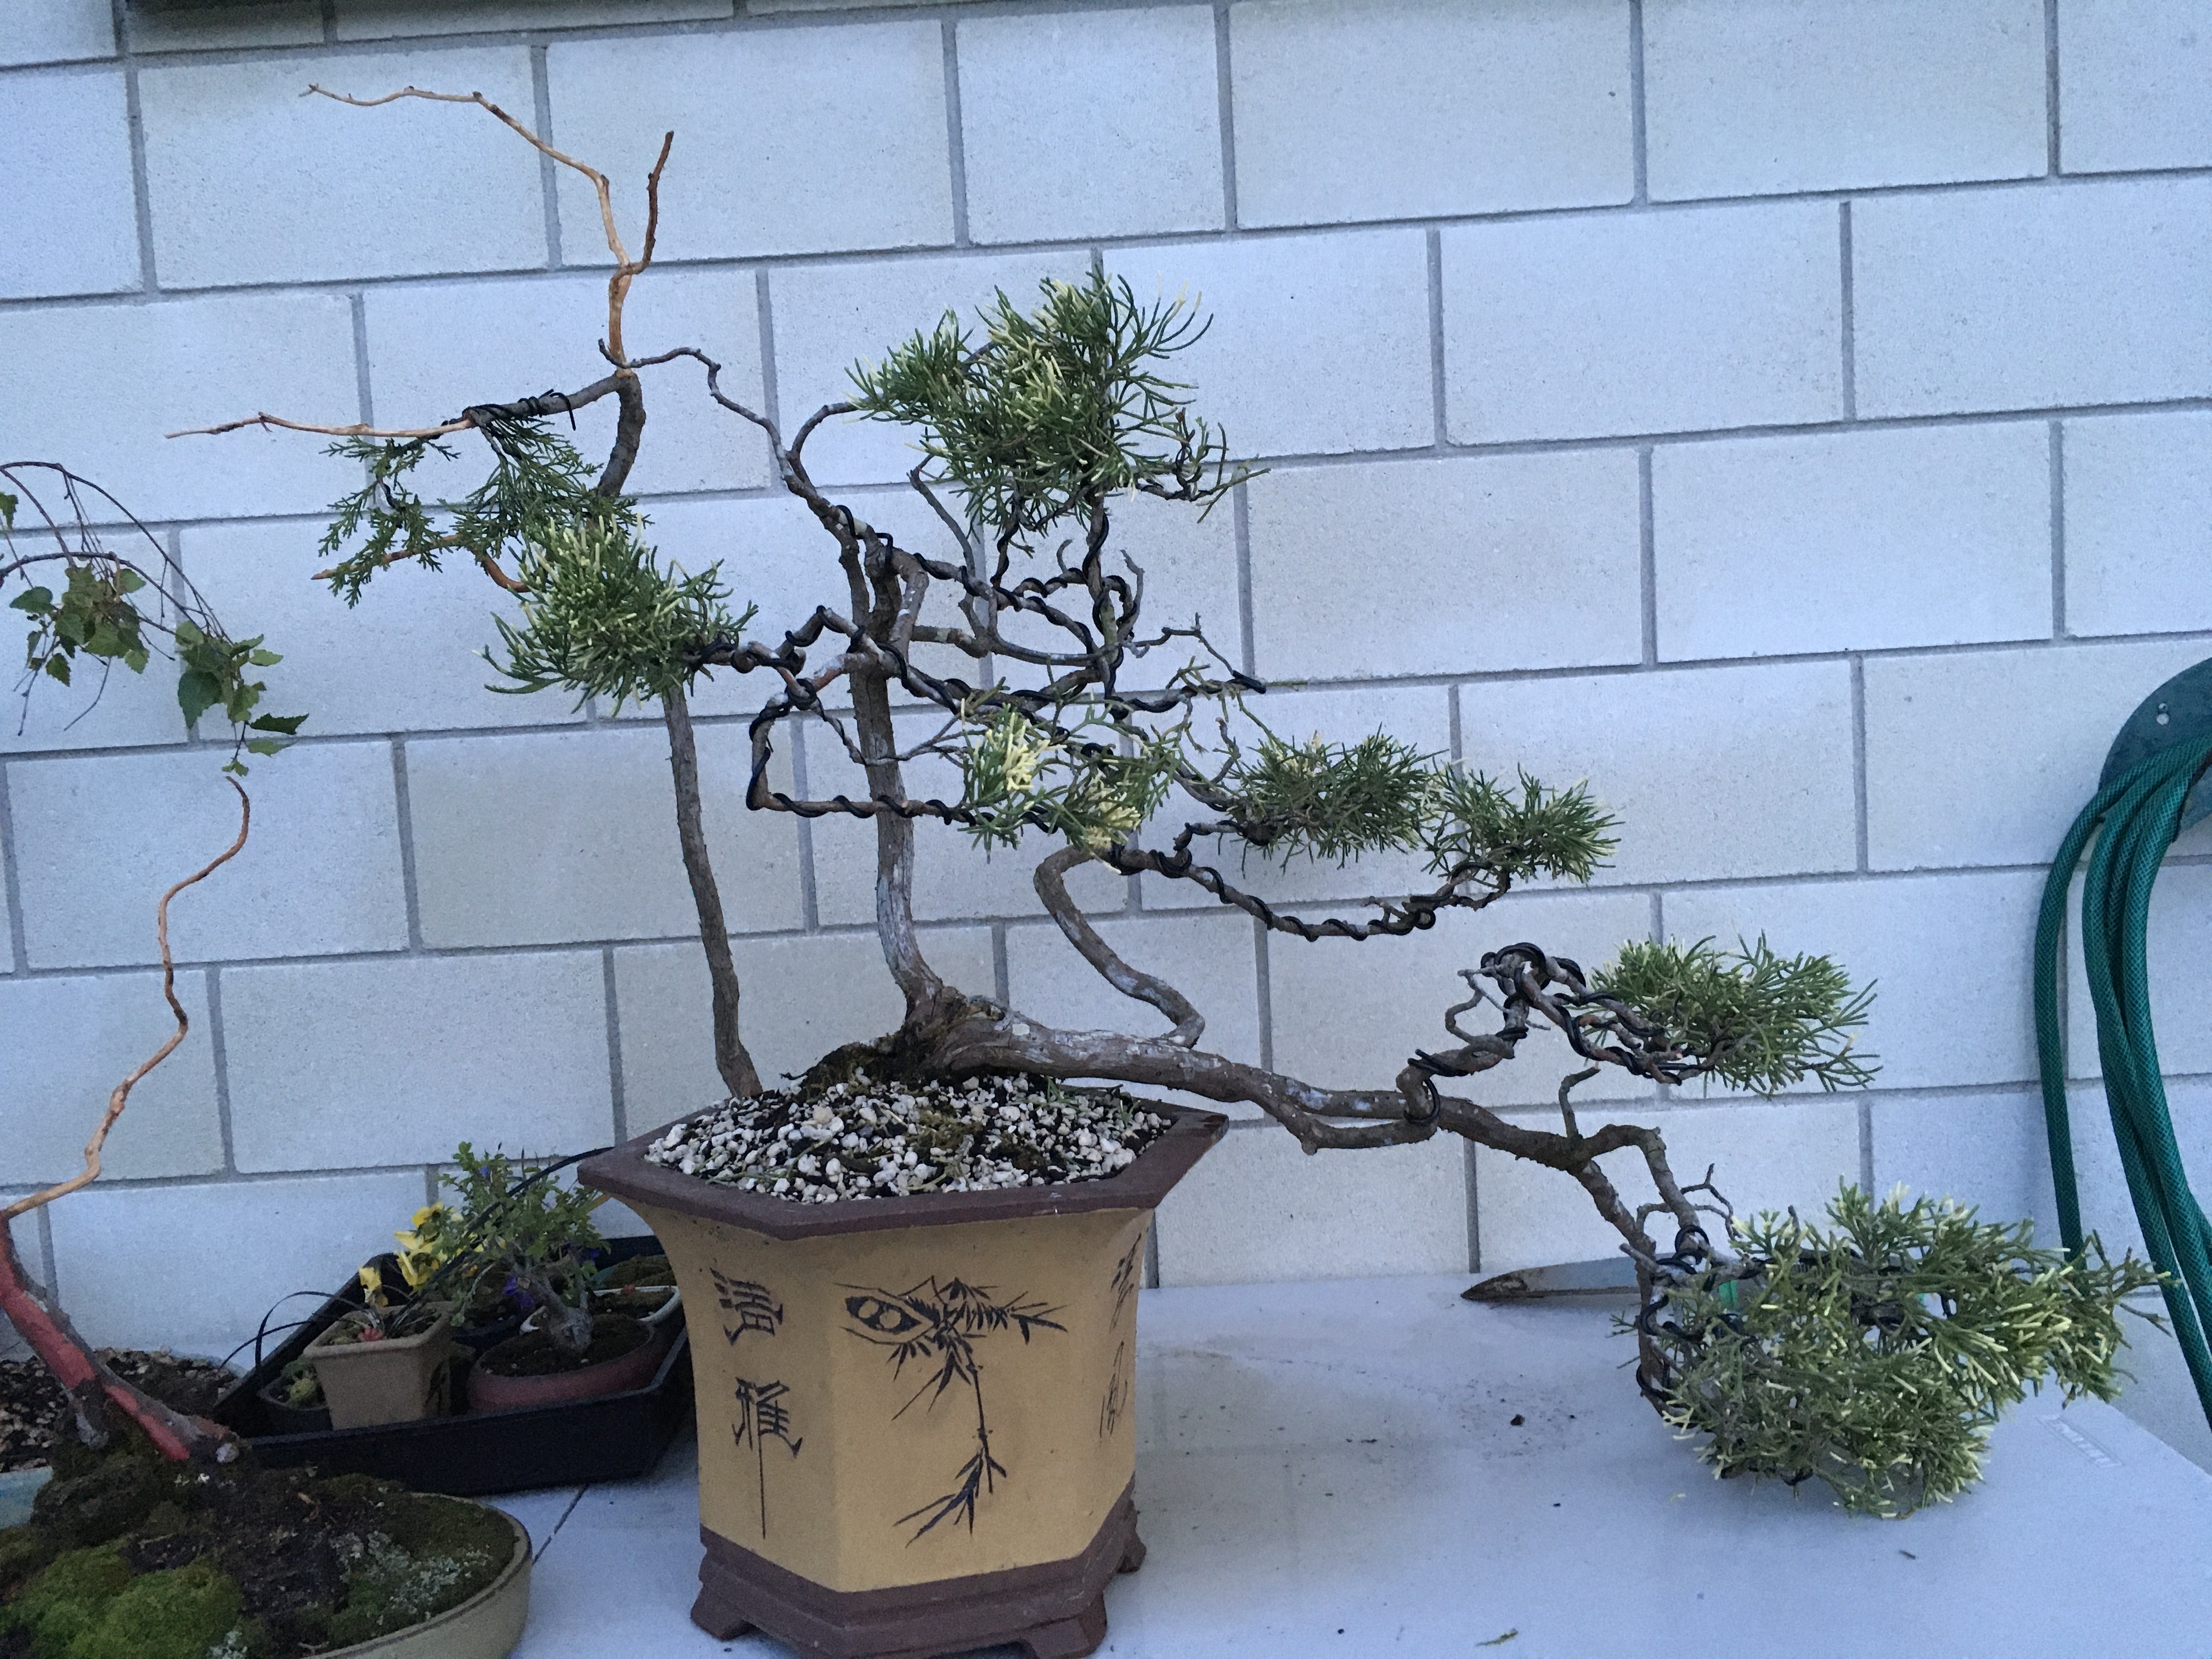
Today it was time to get some wiring done through to the growth points. The previous and first wiring from me was just on the main branches to set them. As can be seen, the branches that were dead or with no hope of recovery were all jinned and these branches will be refined with sanding paper and lime sulphur later on.
The living branches, only three of them have responded nicely with new growth and these are kept in tact at this stage to get as much energy as possible to the green and new growth. This tree only received liquid fertiliser in the form of a marine plant / kelp conditioner with one dose of a granular feed, balanced NPK.
Here are some of the before photos


This type of work is quite light and I only used two thicknesses of aluminium wire and a wire cutter for this job. The coffee is not really optional, but I did have the mandatory glass of wine just before this job with a meal.


These are the after photos:


This tree will now rest and carry on with its fortnightly application of liquid food. This is applied over the leaves as well as the soil.

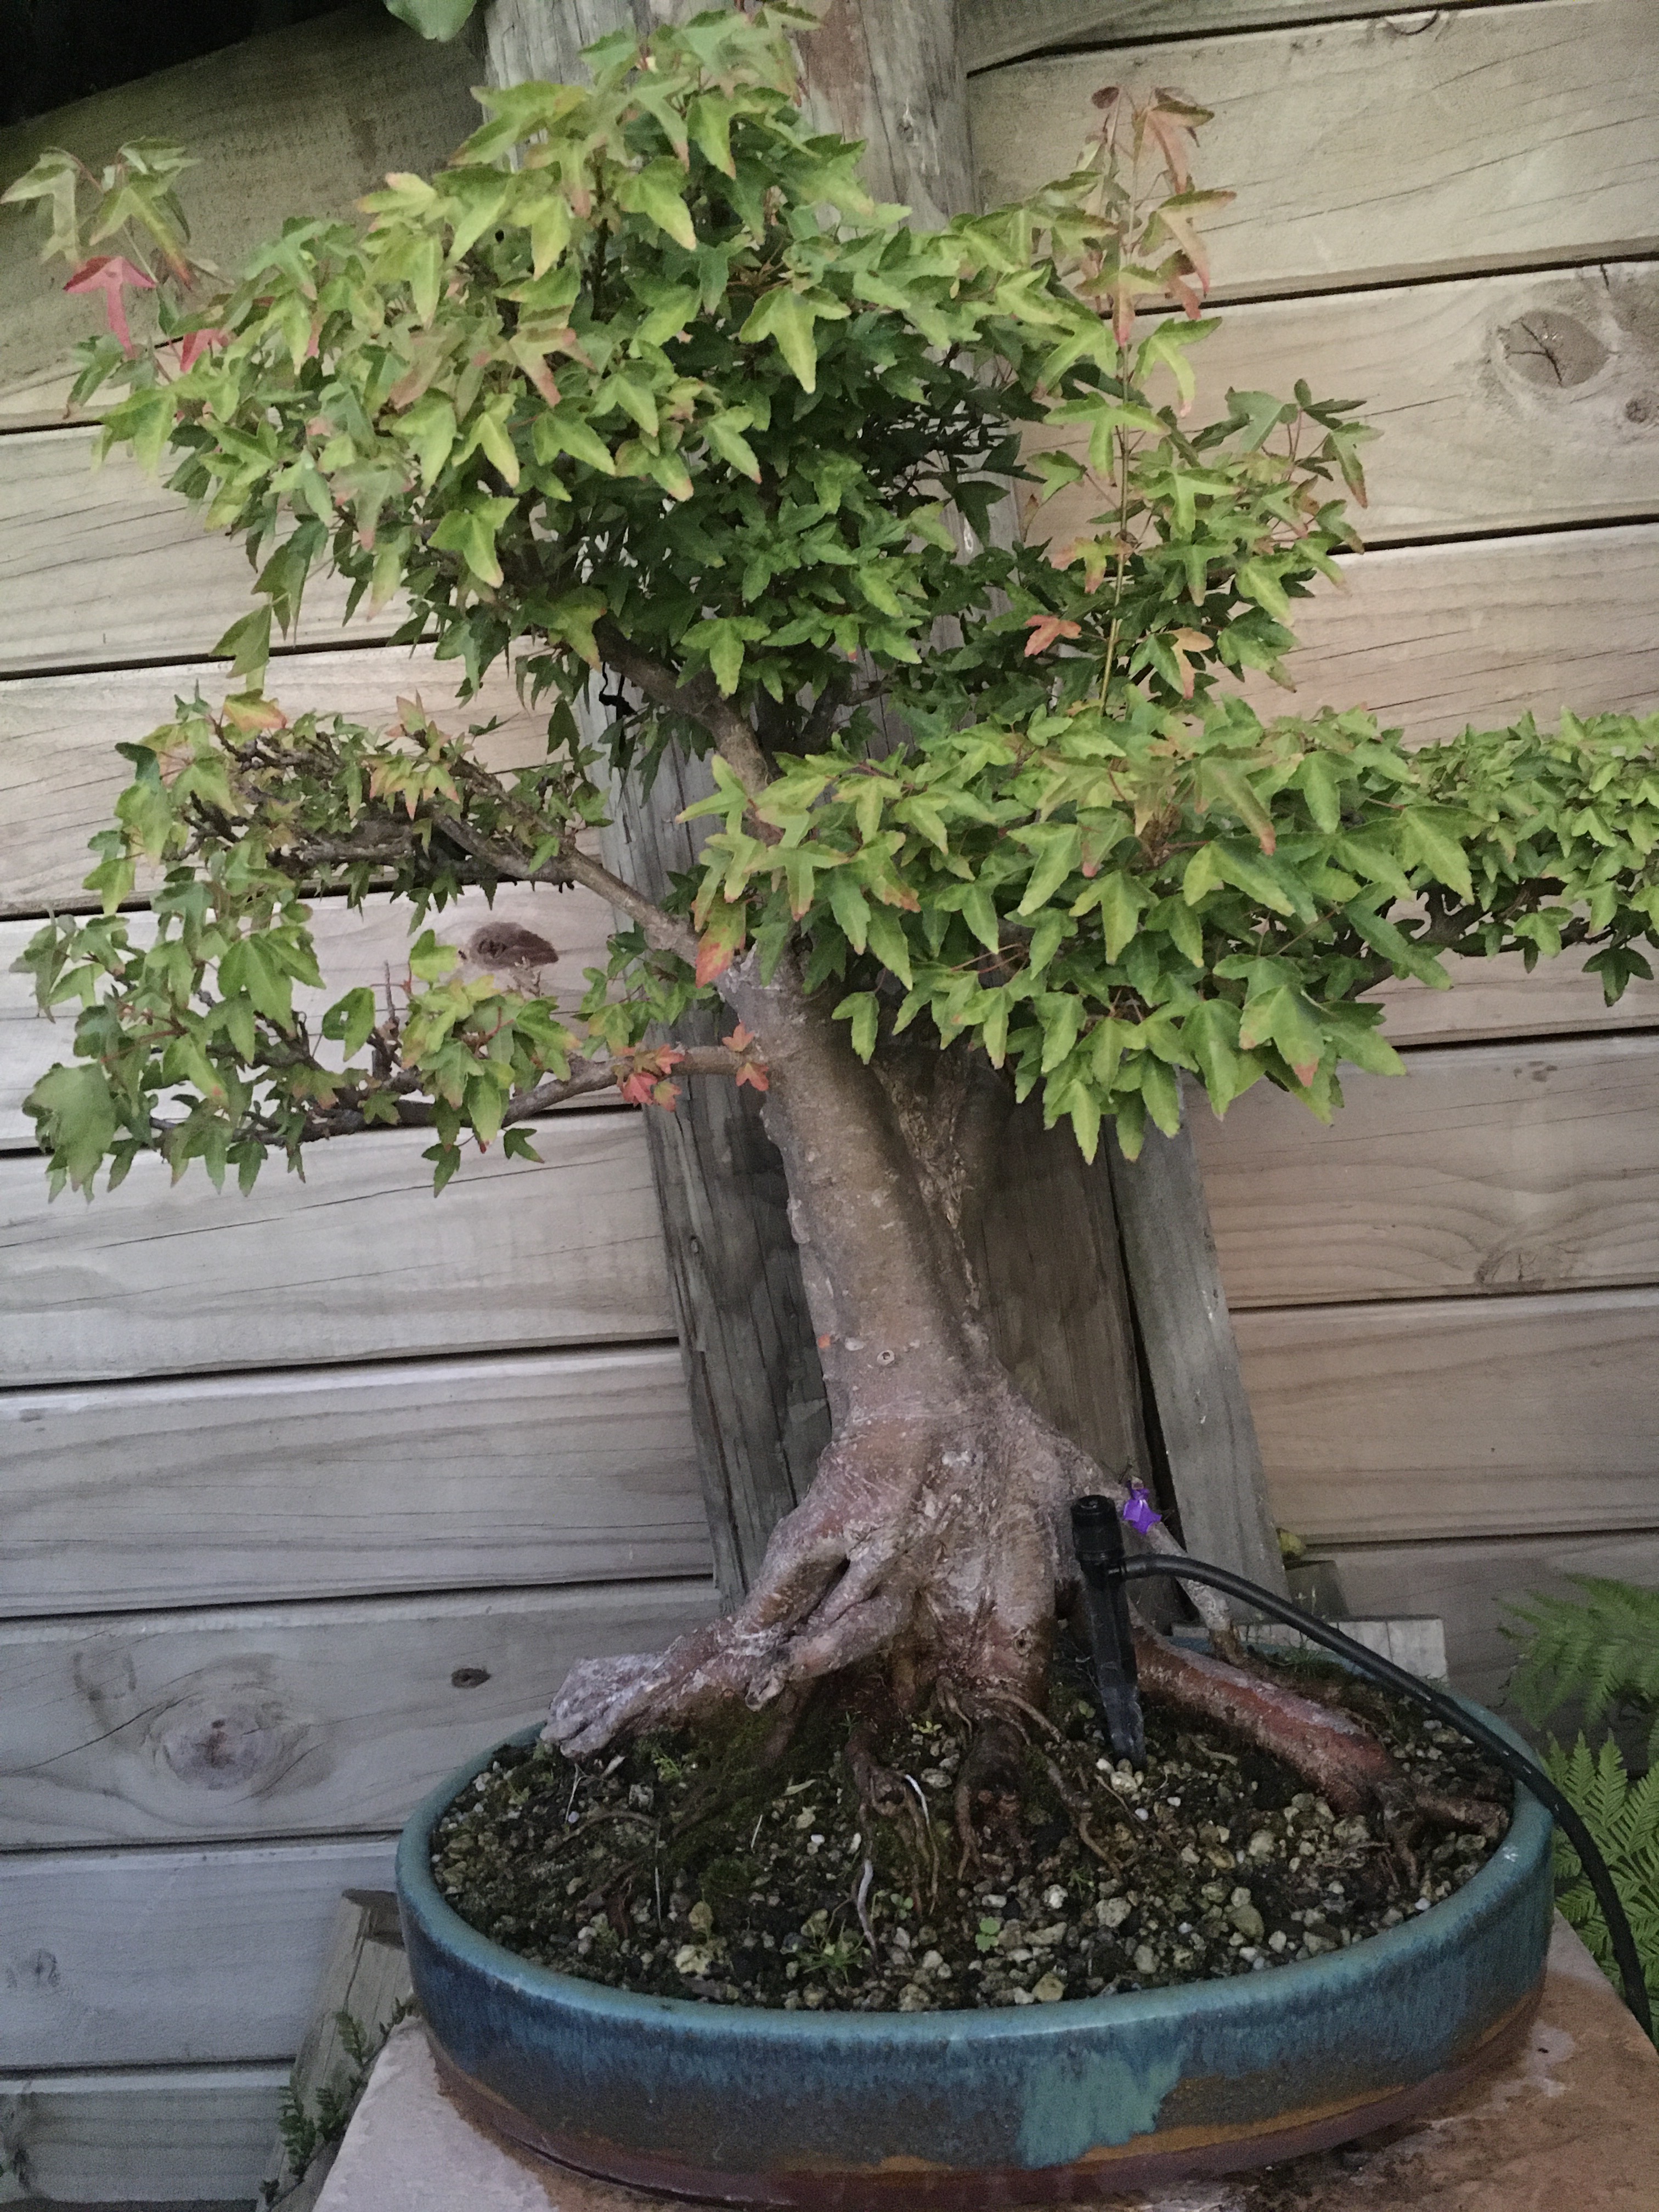
I have recently been privileged to get hold of a few older trees that has not had a lot of care and maintenance done on them. They came from an older person whose health is not that great and he cannot look after the trees that well anymore.

Just a plant in a pot. Some of the character is there, but growth is leggy and not well maintained.
While studying the trees I had this overwhelming feeling of responsibility that came to sit on me and I realised that I now have to look after these trees better than the trees that I have cultivated from scratch. Why this feeling? I have been part of many discussions and even said it to many people in audiences wherever I go, that Bonsai is something that we get to enjoy now, but that we also start something for the next generation. I now realise that when it lands on the next generation, it comes with a burden, but it is a positive one. We are just caretakers of the Bonsai trees coming through our hands right now. It is part of our journey just as we are part of the tree’s journey.
You are privileged to receive a tree from the previous generation and you inherit with it, a responsibility to support that tree for the next generation. And on the cycle goes. All privilege comes with responsibility and this is no different when it comes to Bonsai. Is it more than just looking after your own trees? Yes, I do think so. The tree comes with a history, a story, and you might not be aware of this as I certainly have no idea what this looks like for my new (old) trees. That does not matter as we are lucky in that some of this history is told by the tree itself.
The roots will tell you how it has been struggling to hold on to the ground and how it searched for water and food. The bark, the angle of the branches, the presence of jin and shari and what it looks like, are all parts of this story being told. It is now my job to ensure that this tree’s story can still be told and then when it goes off to the next generation that my contribution to the life story of the tree is visible and seamlessly integrates with the tree’s existing story. This is privilege and this is responsibility.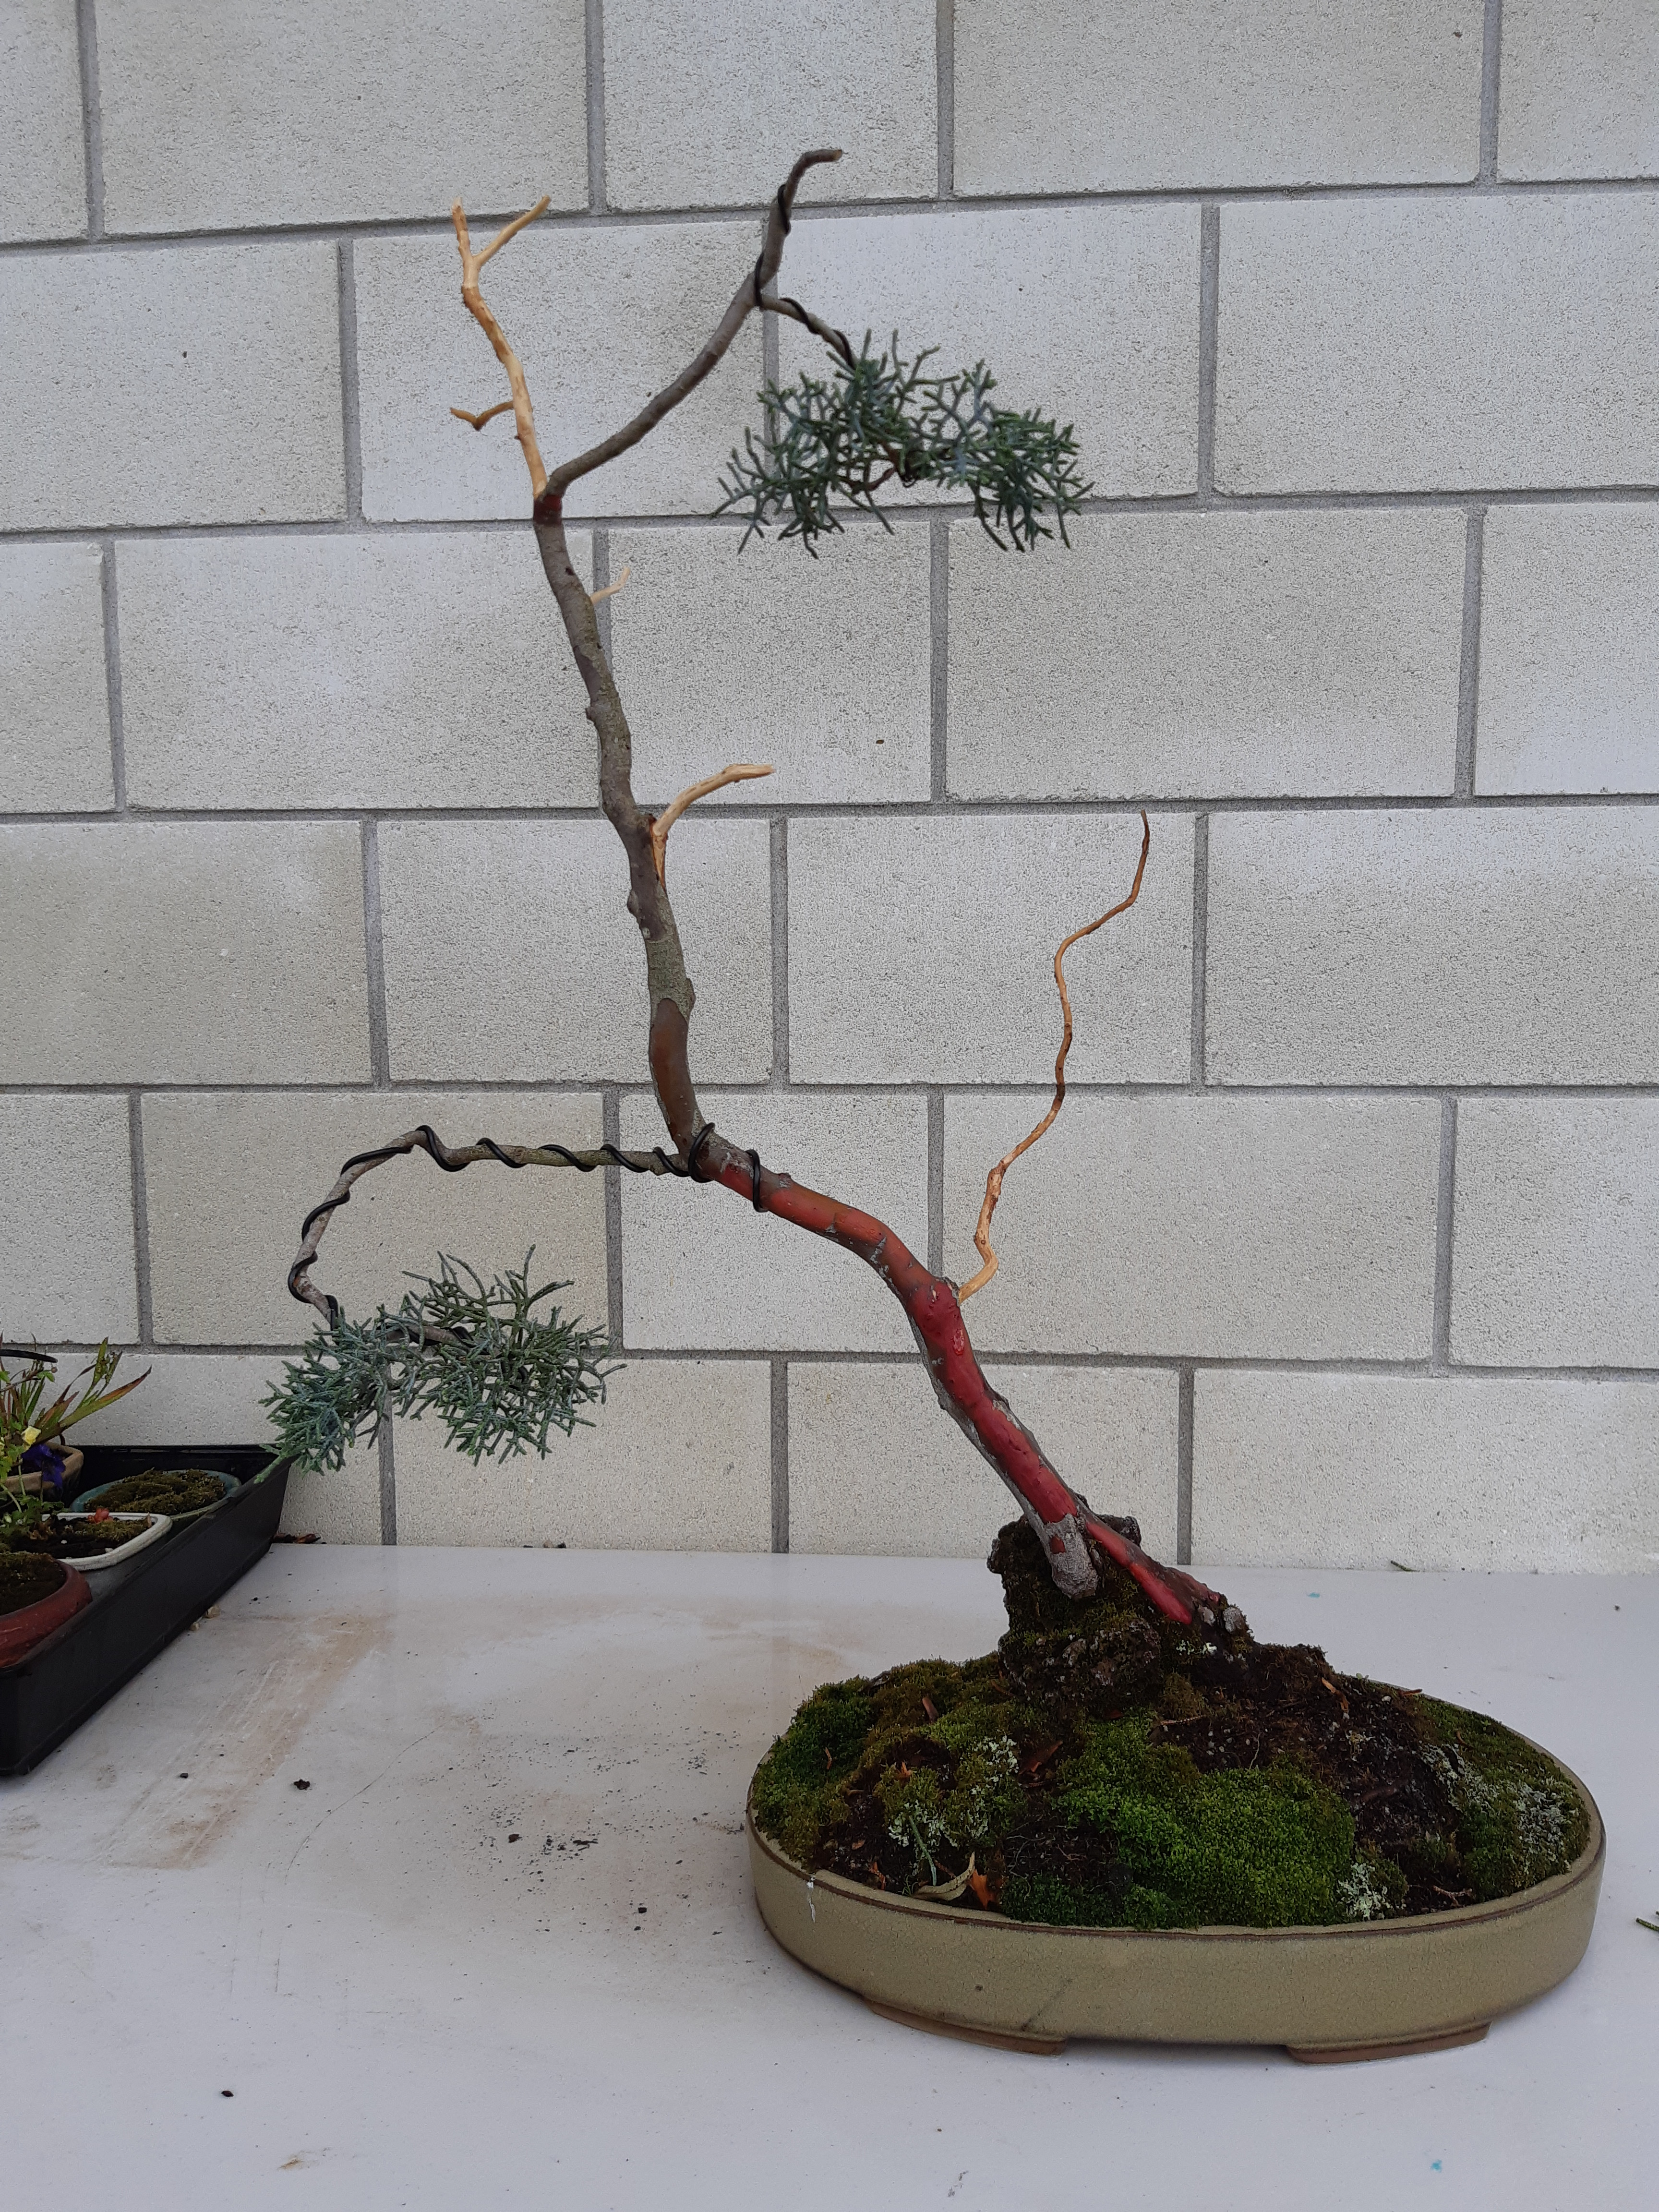

Lime Sulphur is usually used in the Horticulture industry to control scale insects, moss, lichen and fungal diseases on plants. It can be used for all of these issues when it comes to Bonsai. A use that is not listed on the container is to whiten deadwood / Jin.

As always, safety comes first when you use any chemical. In this case, it is not just the smell (rotten eggs comes to mind), but also the fact that this chemical is corrosive. It is a good idea to wear gloves and to protect your eyes. Wash your hands very well afterwards and keep your hands away from your face.
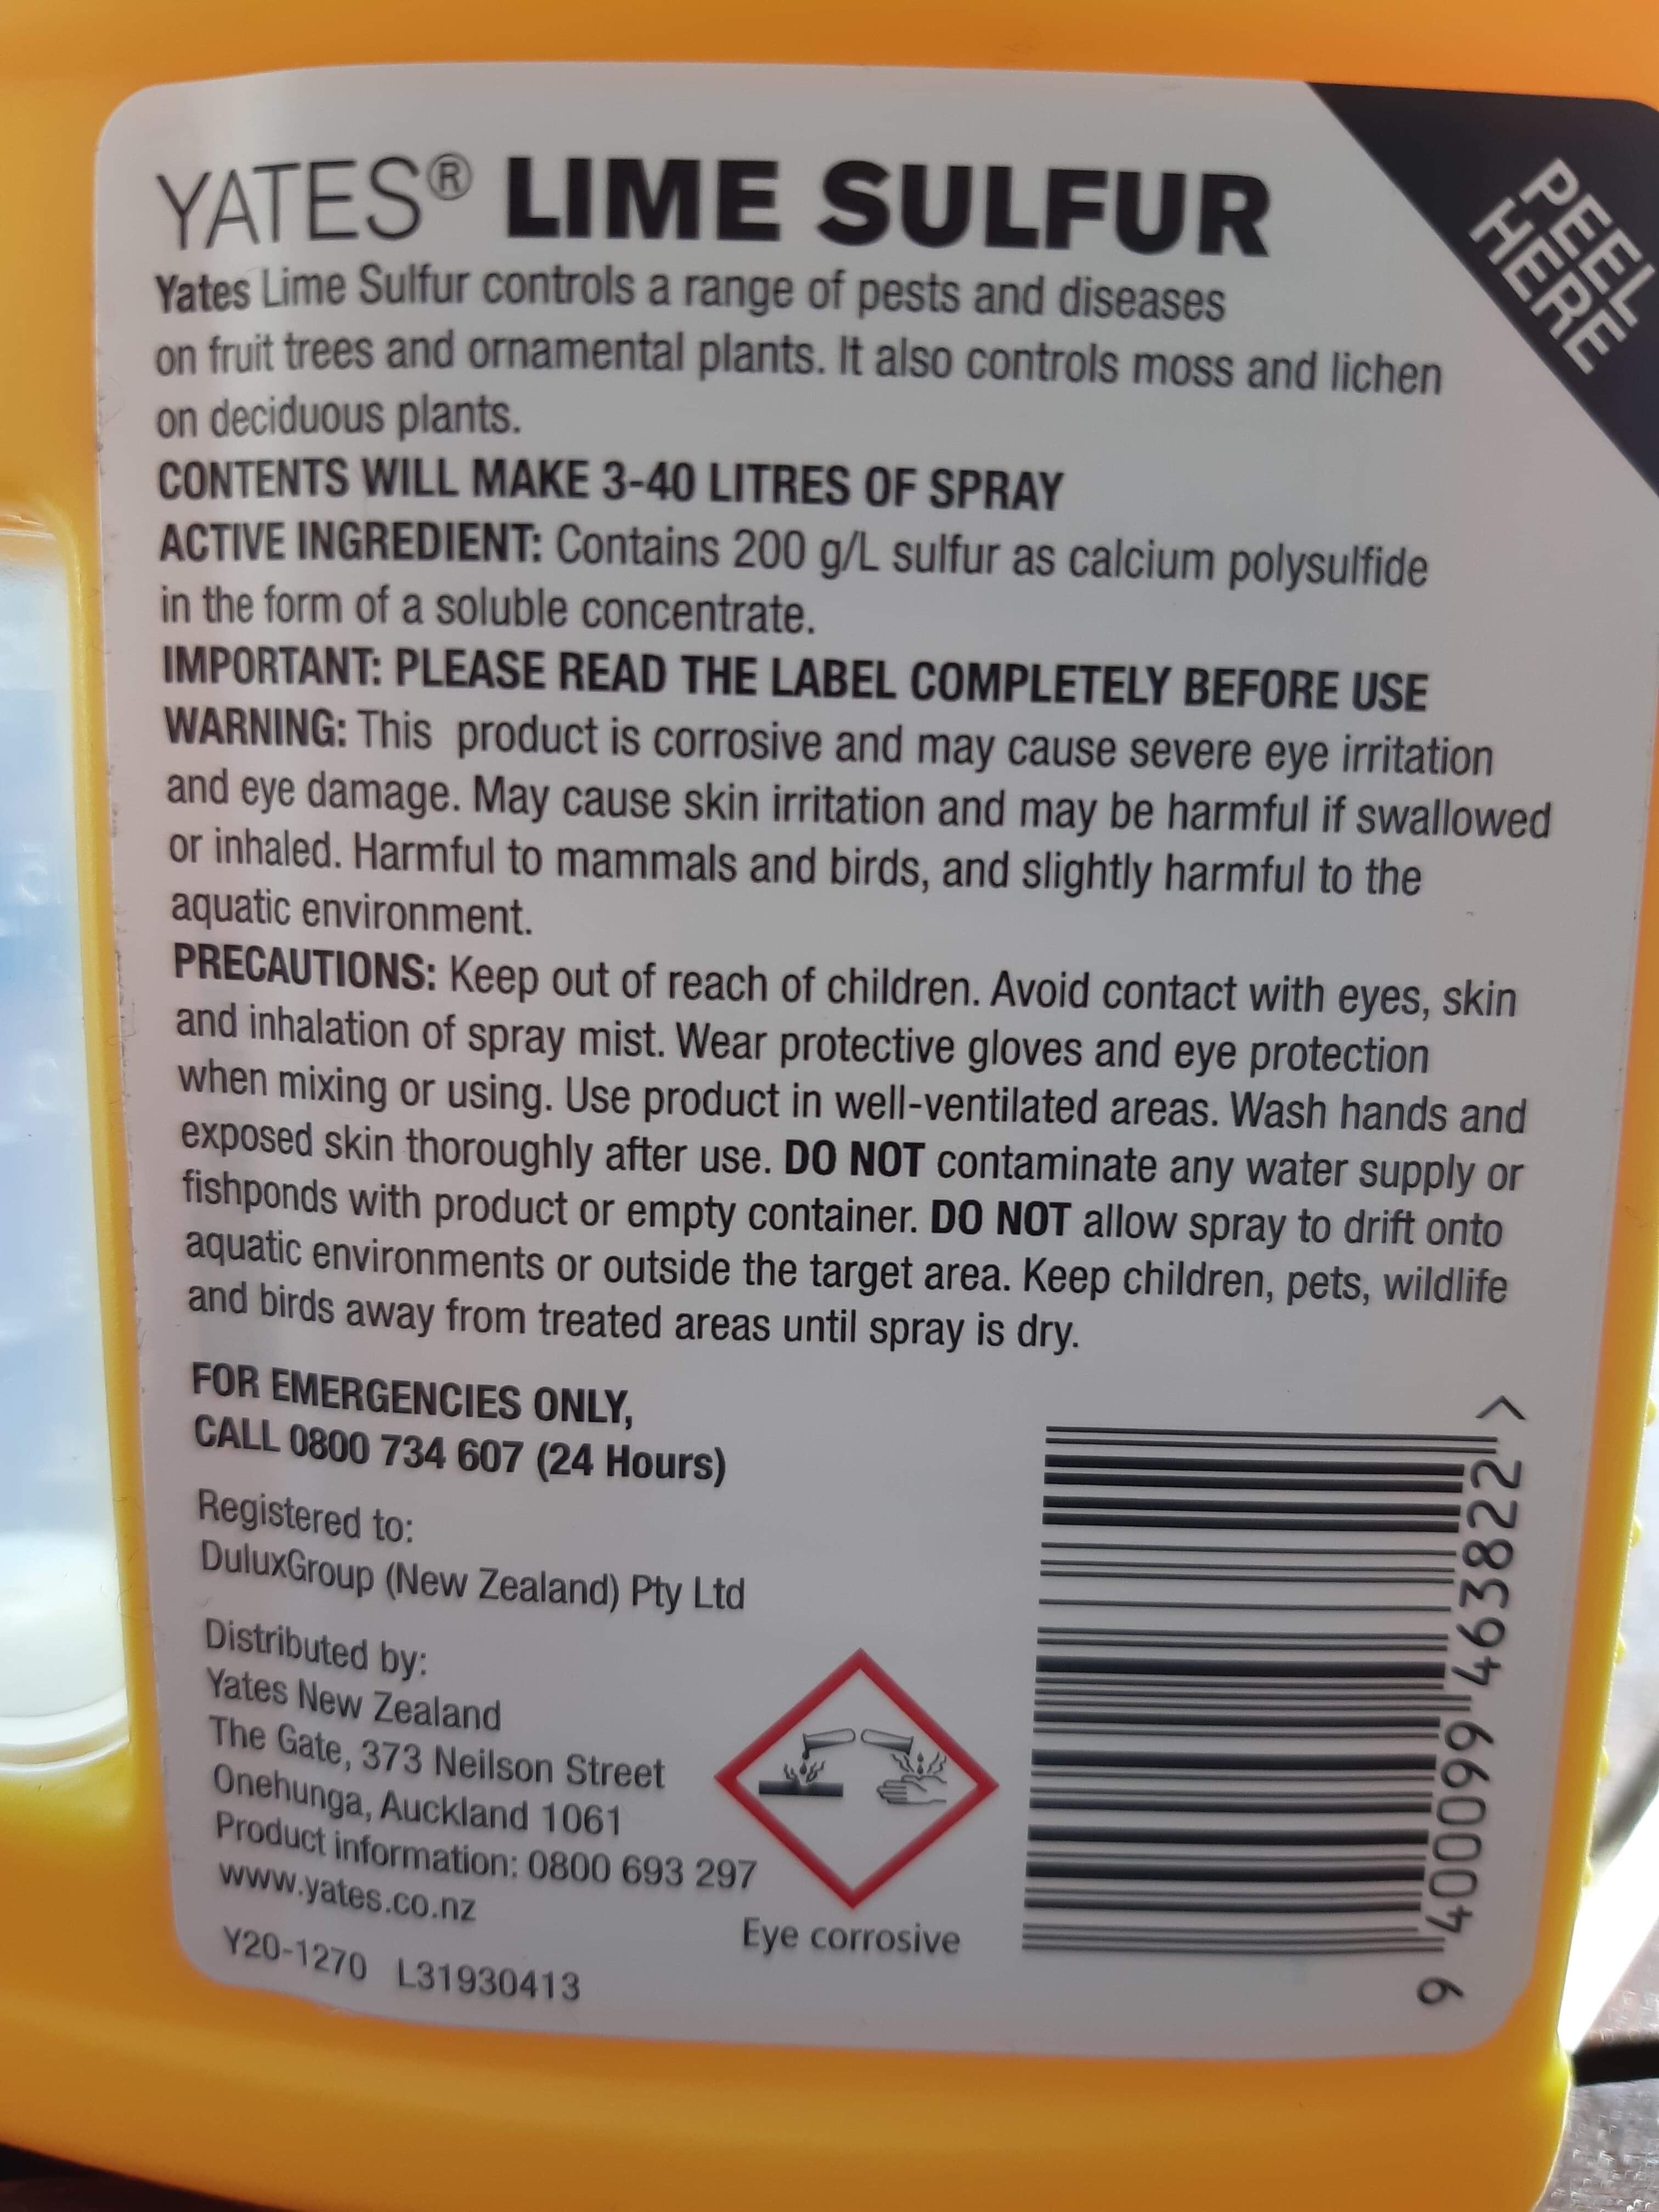
Follow the instructions on the container for all uses. As said, the whitening of deadwood is not listed as a normal use of lime sulphur. One thing to keep in mind is to also protect the soil surface from lime sulphur dripping or being spilt on the surface. Remember, this chemical is also used to kill moss! You do not want to kill of your lush green carpet covering the soil surface. I usually use plastic wrap for this purpose.
I dilute the lime sulphur 50/50 with water and I do this in a plastic or paper cup as it is easier to just throw it away afterwards than trying to clean it and getting rid of the smell. I also use a 12mm brush for most applications, but can go smaller or larger depending on the size of the job.
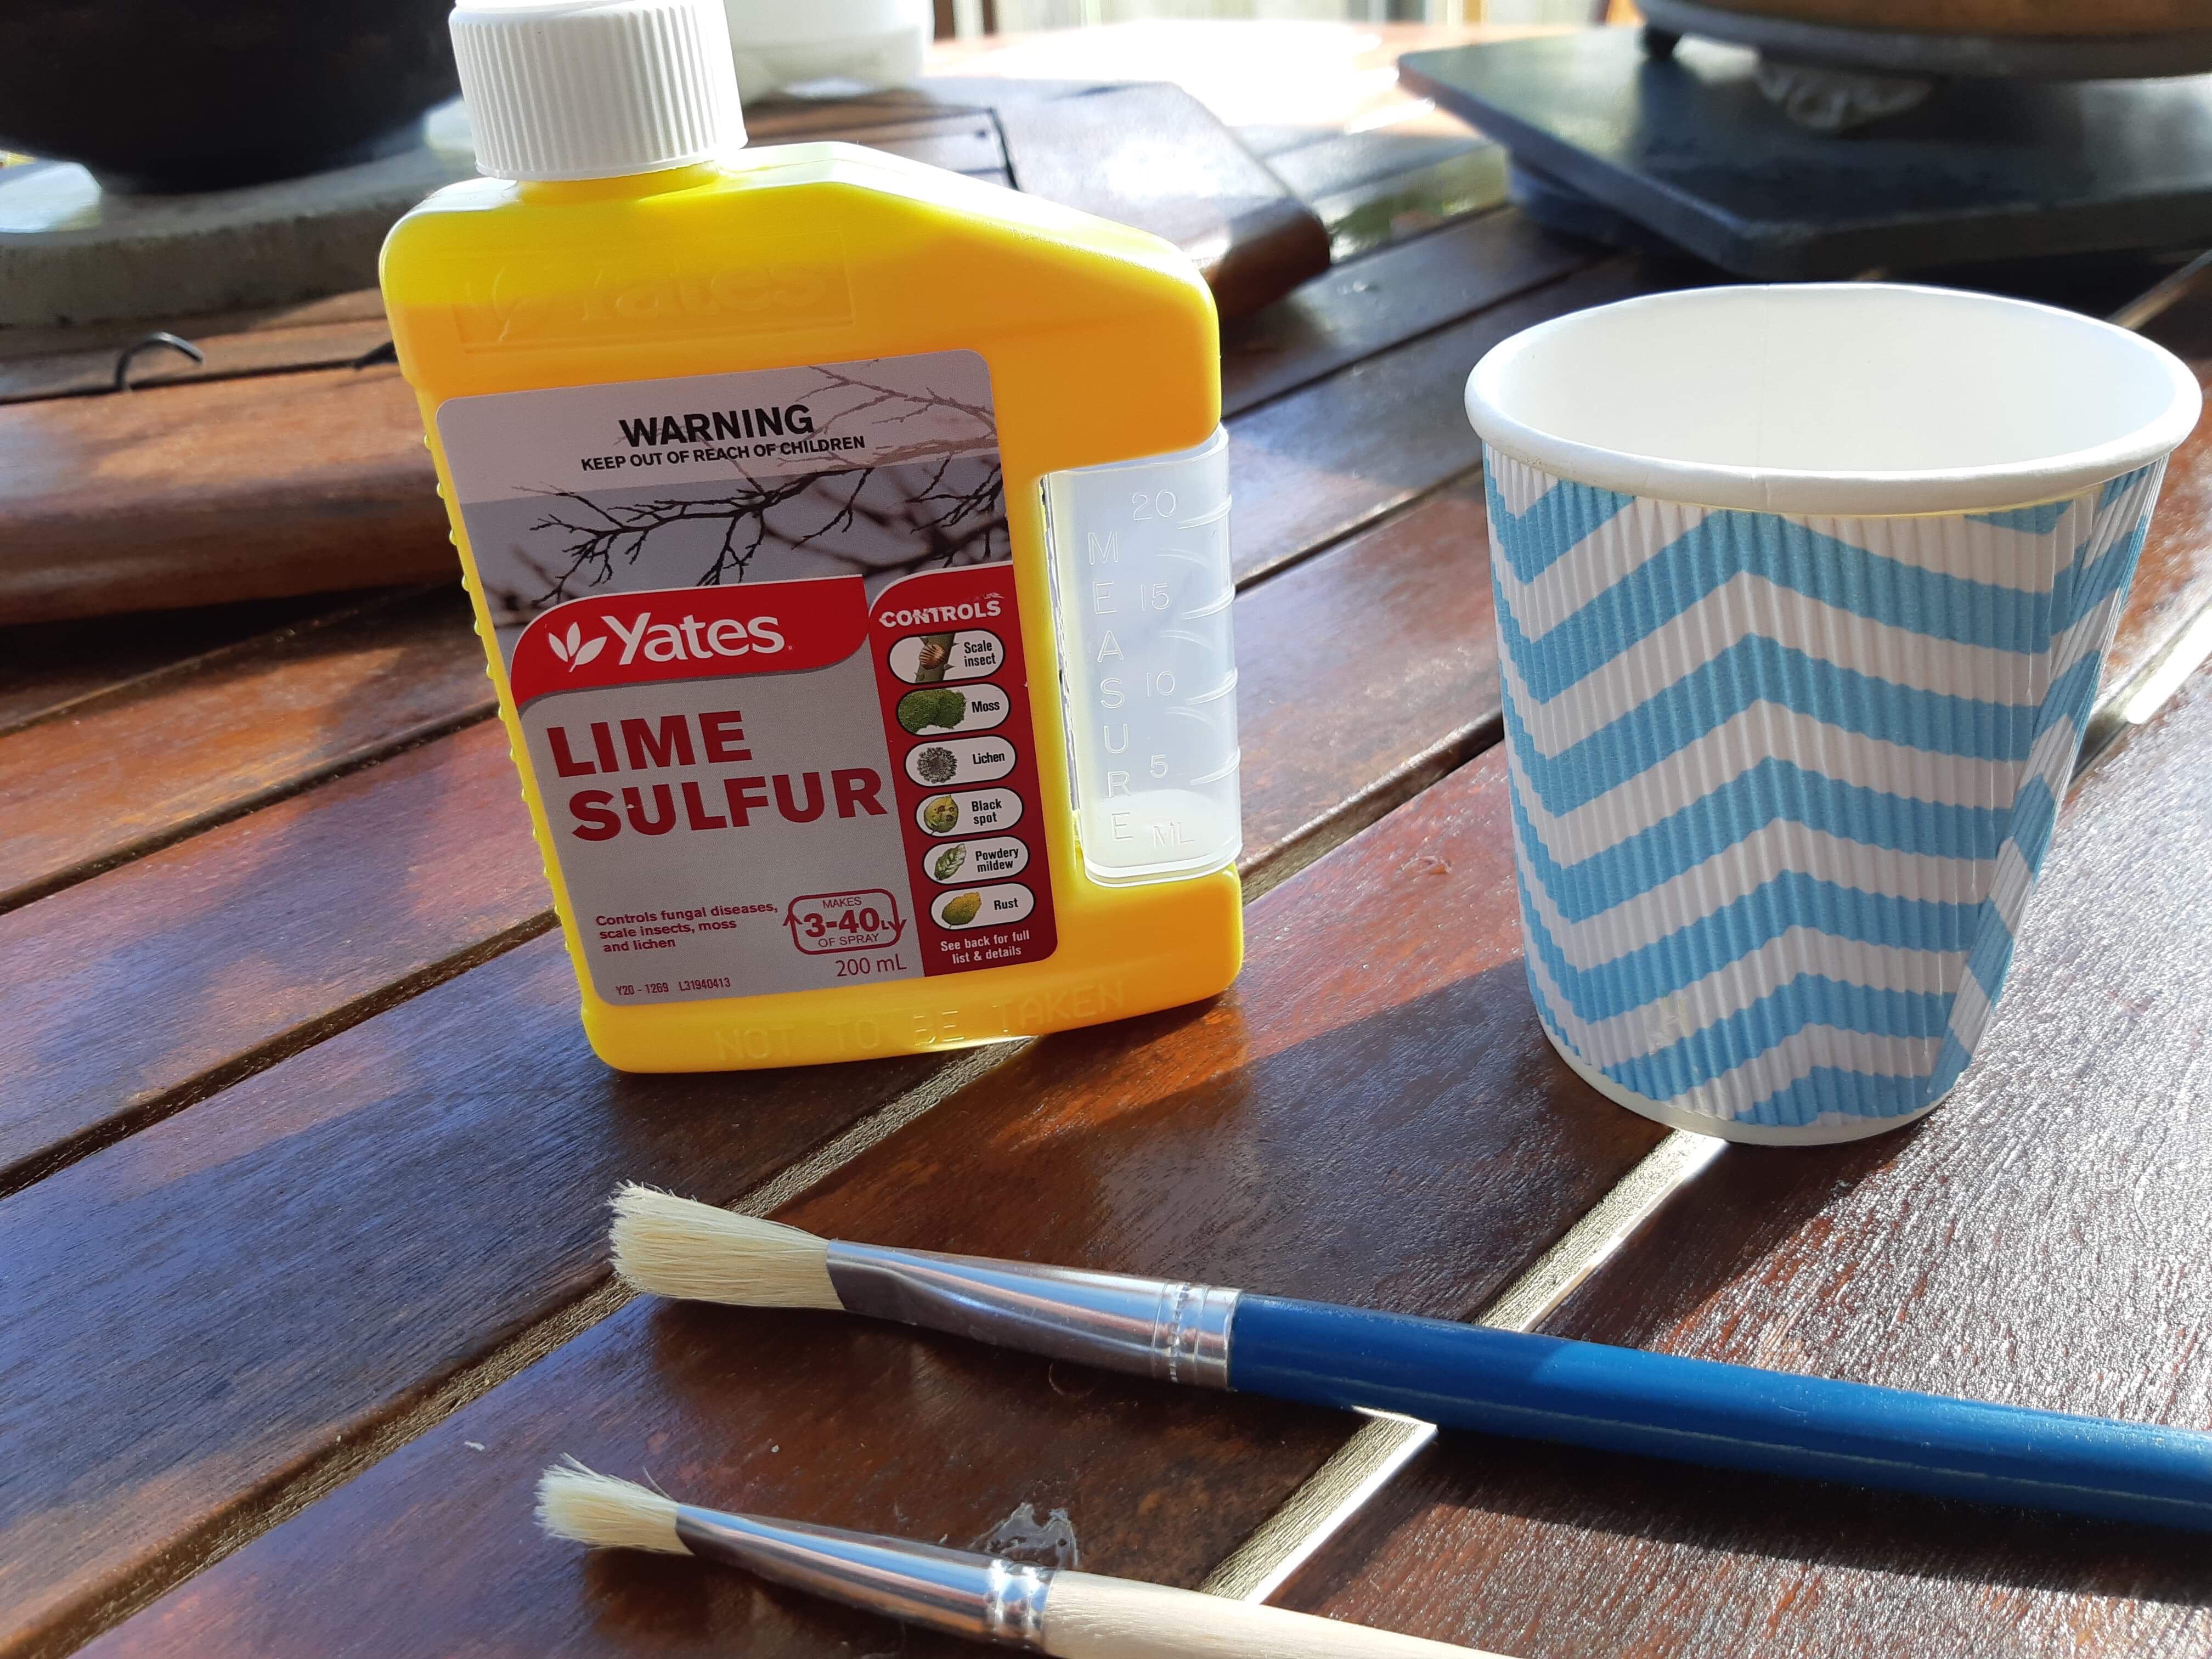
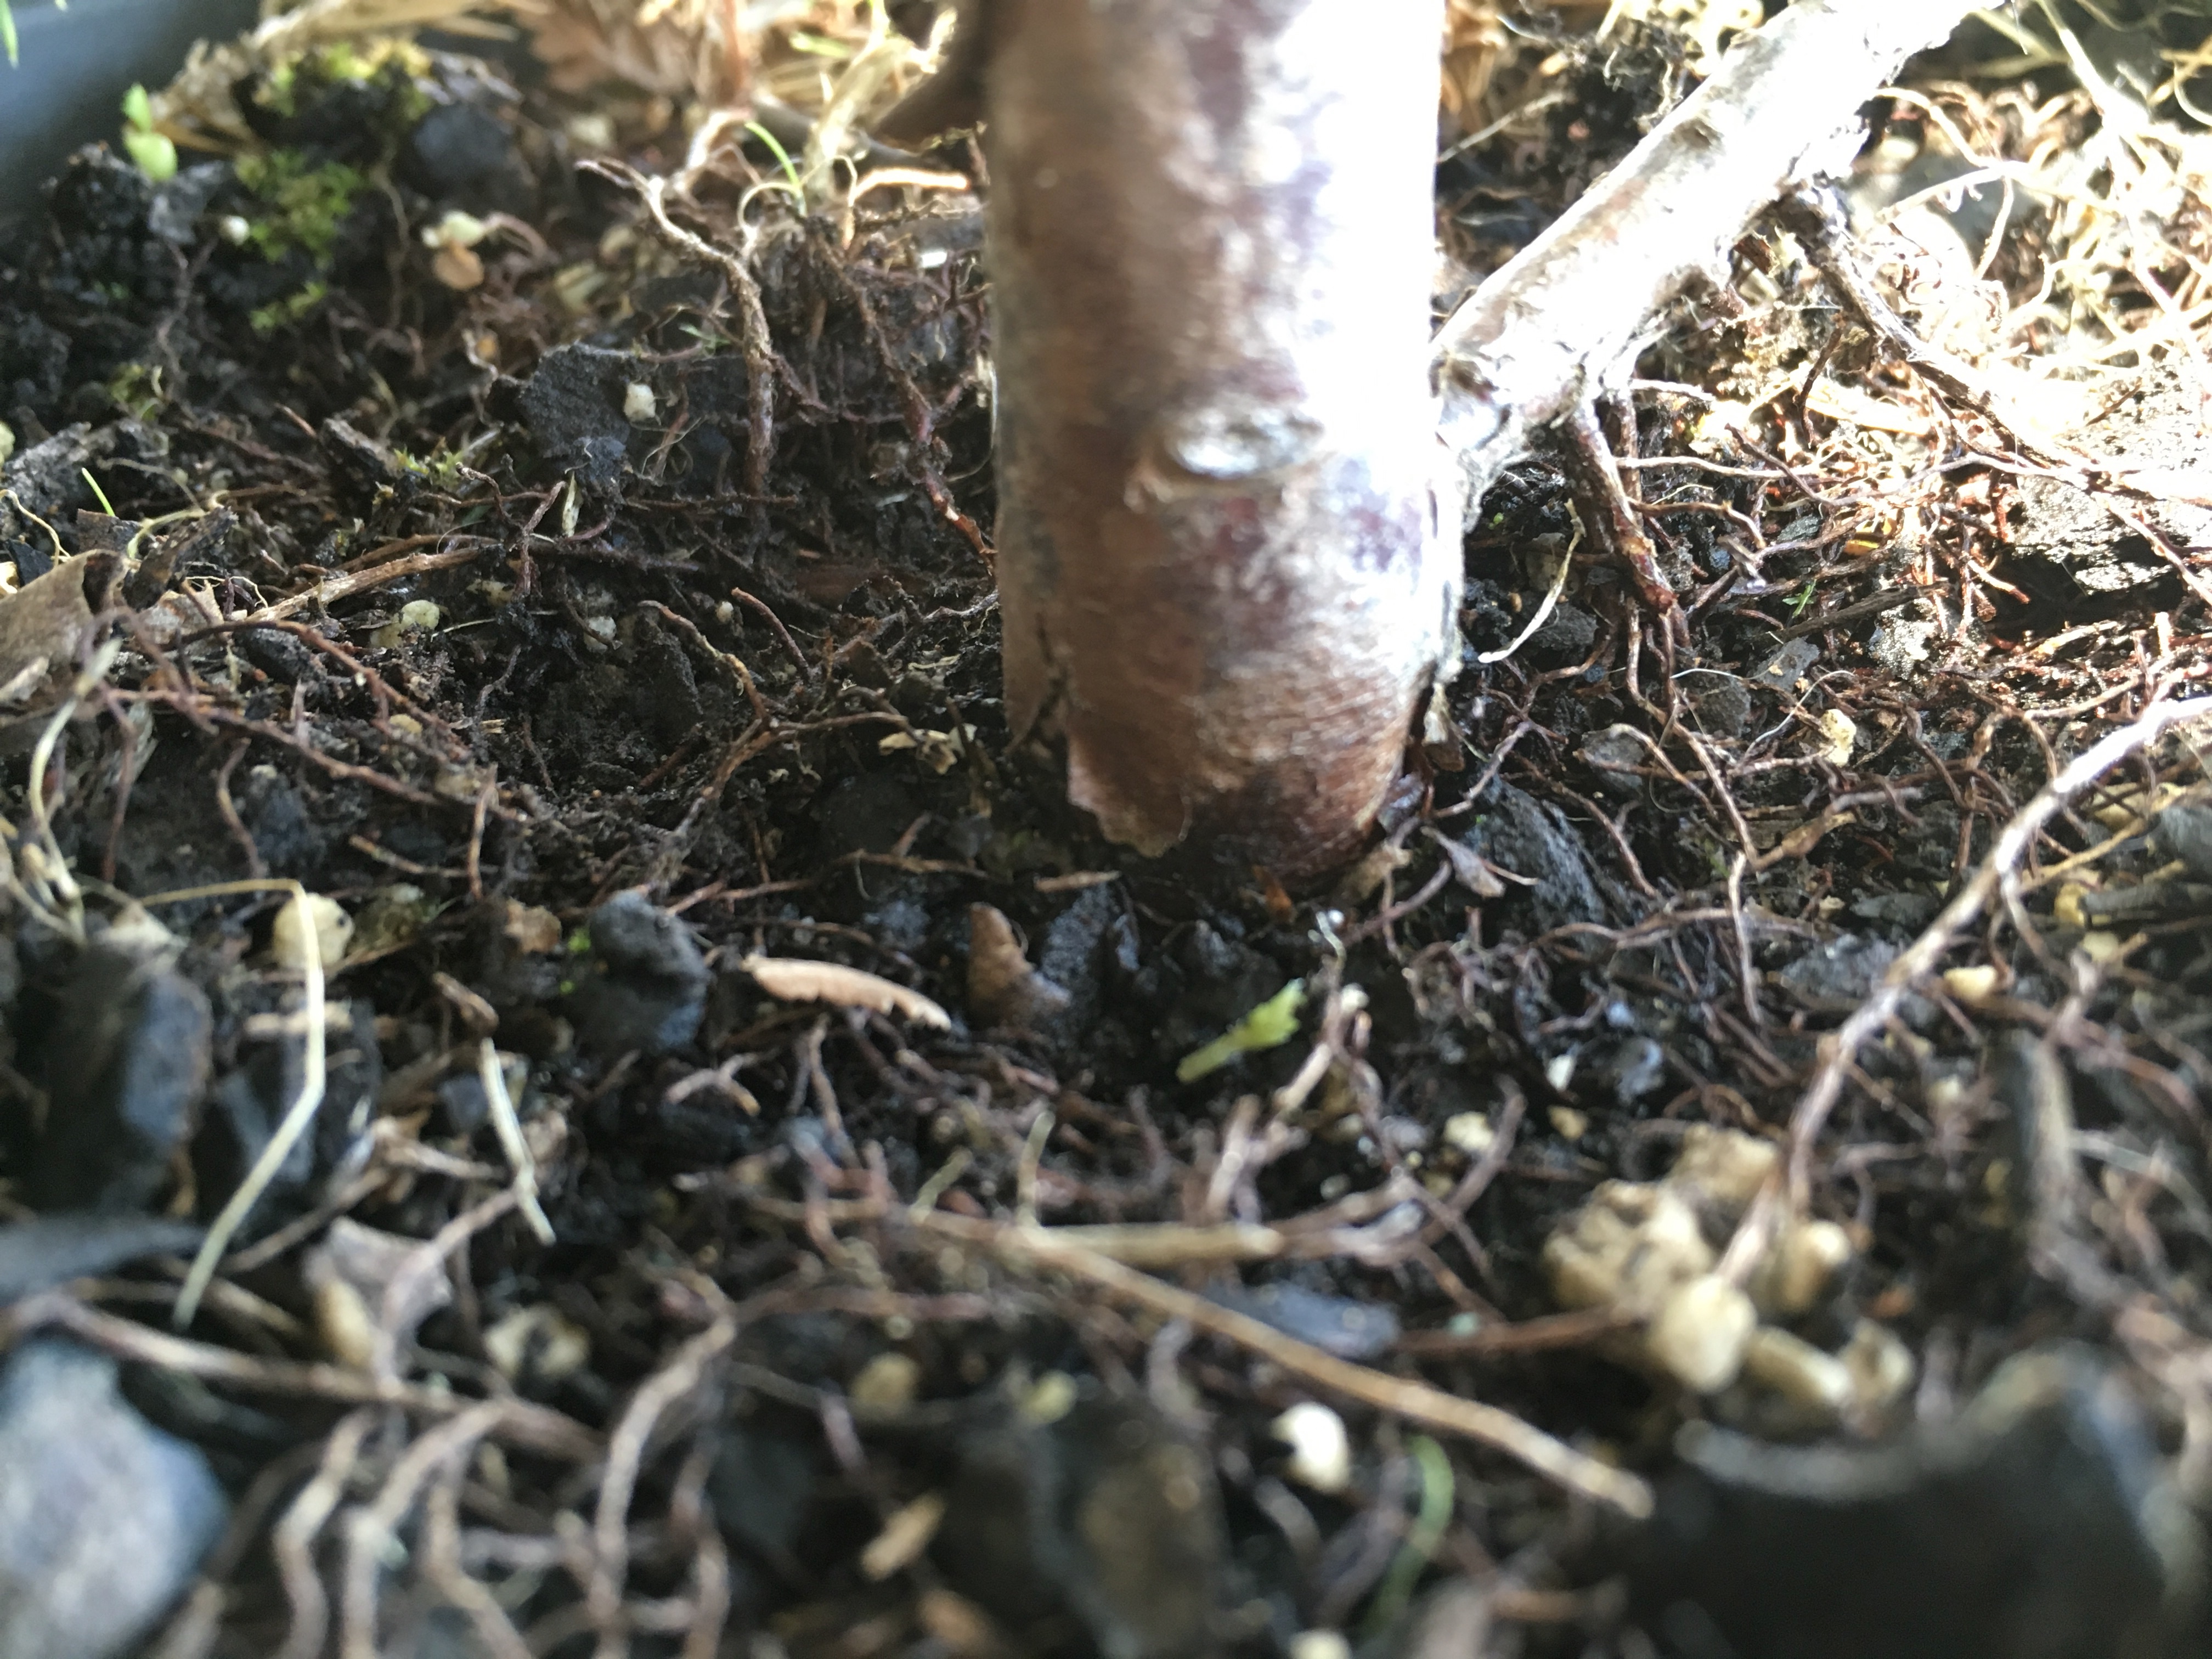
I also find it easier to apply if I slightly wet the surface of the deadwood. The Juniper that I worked on here had a bit of rot at the bottom where the tree meets the soil surface. This was cleaned well and the lime sulphur was liberally applied here. The chemical protects the wood against rot by acting as a preservative.

After application, clean the brushes well and get rid of the container. Wash your hands and allow the lime sulphur to dry and work its magic on the tree.
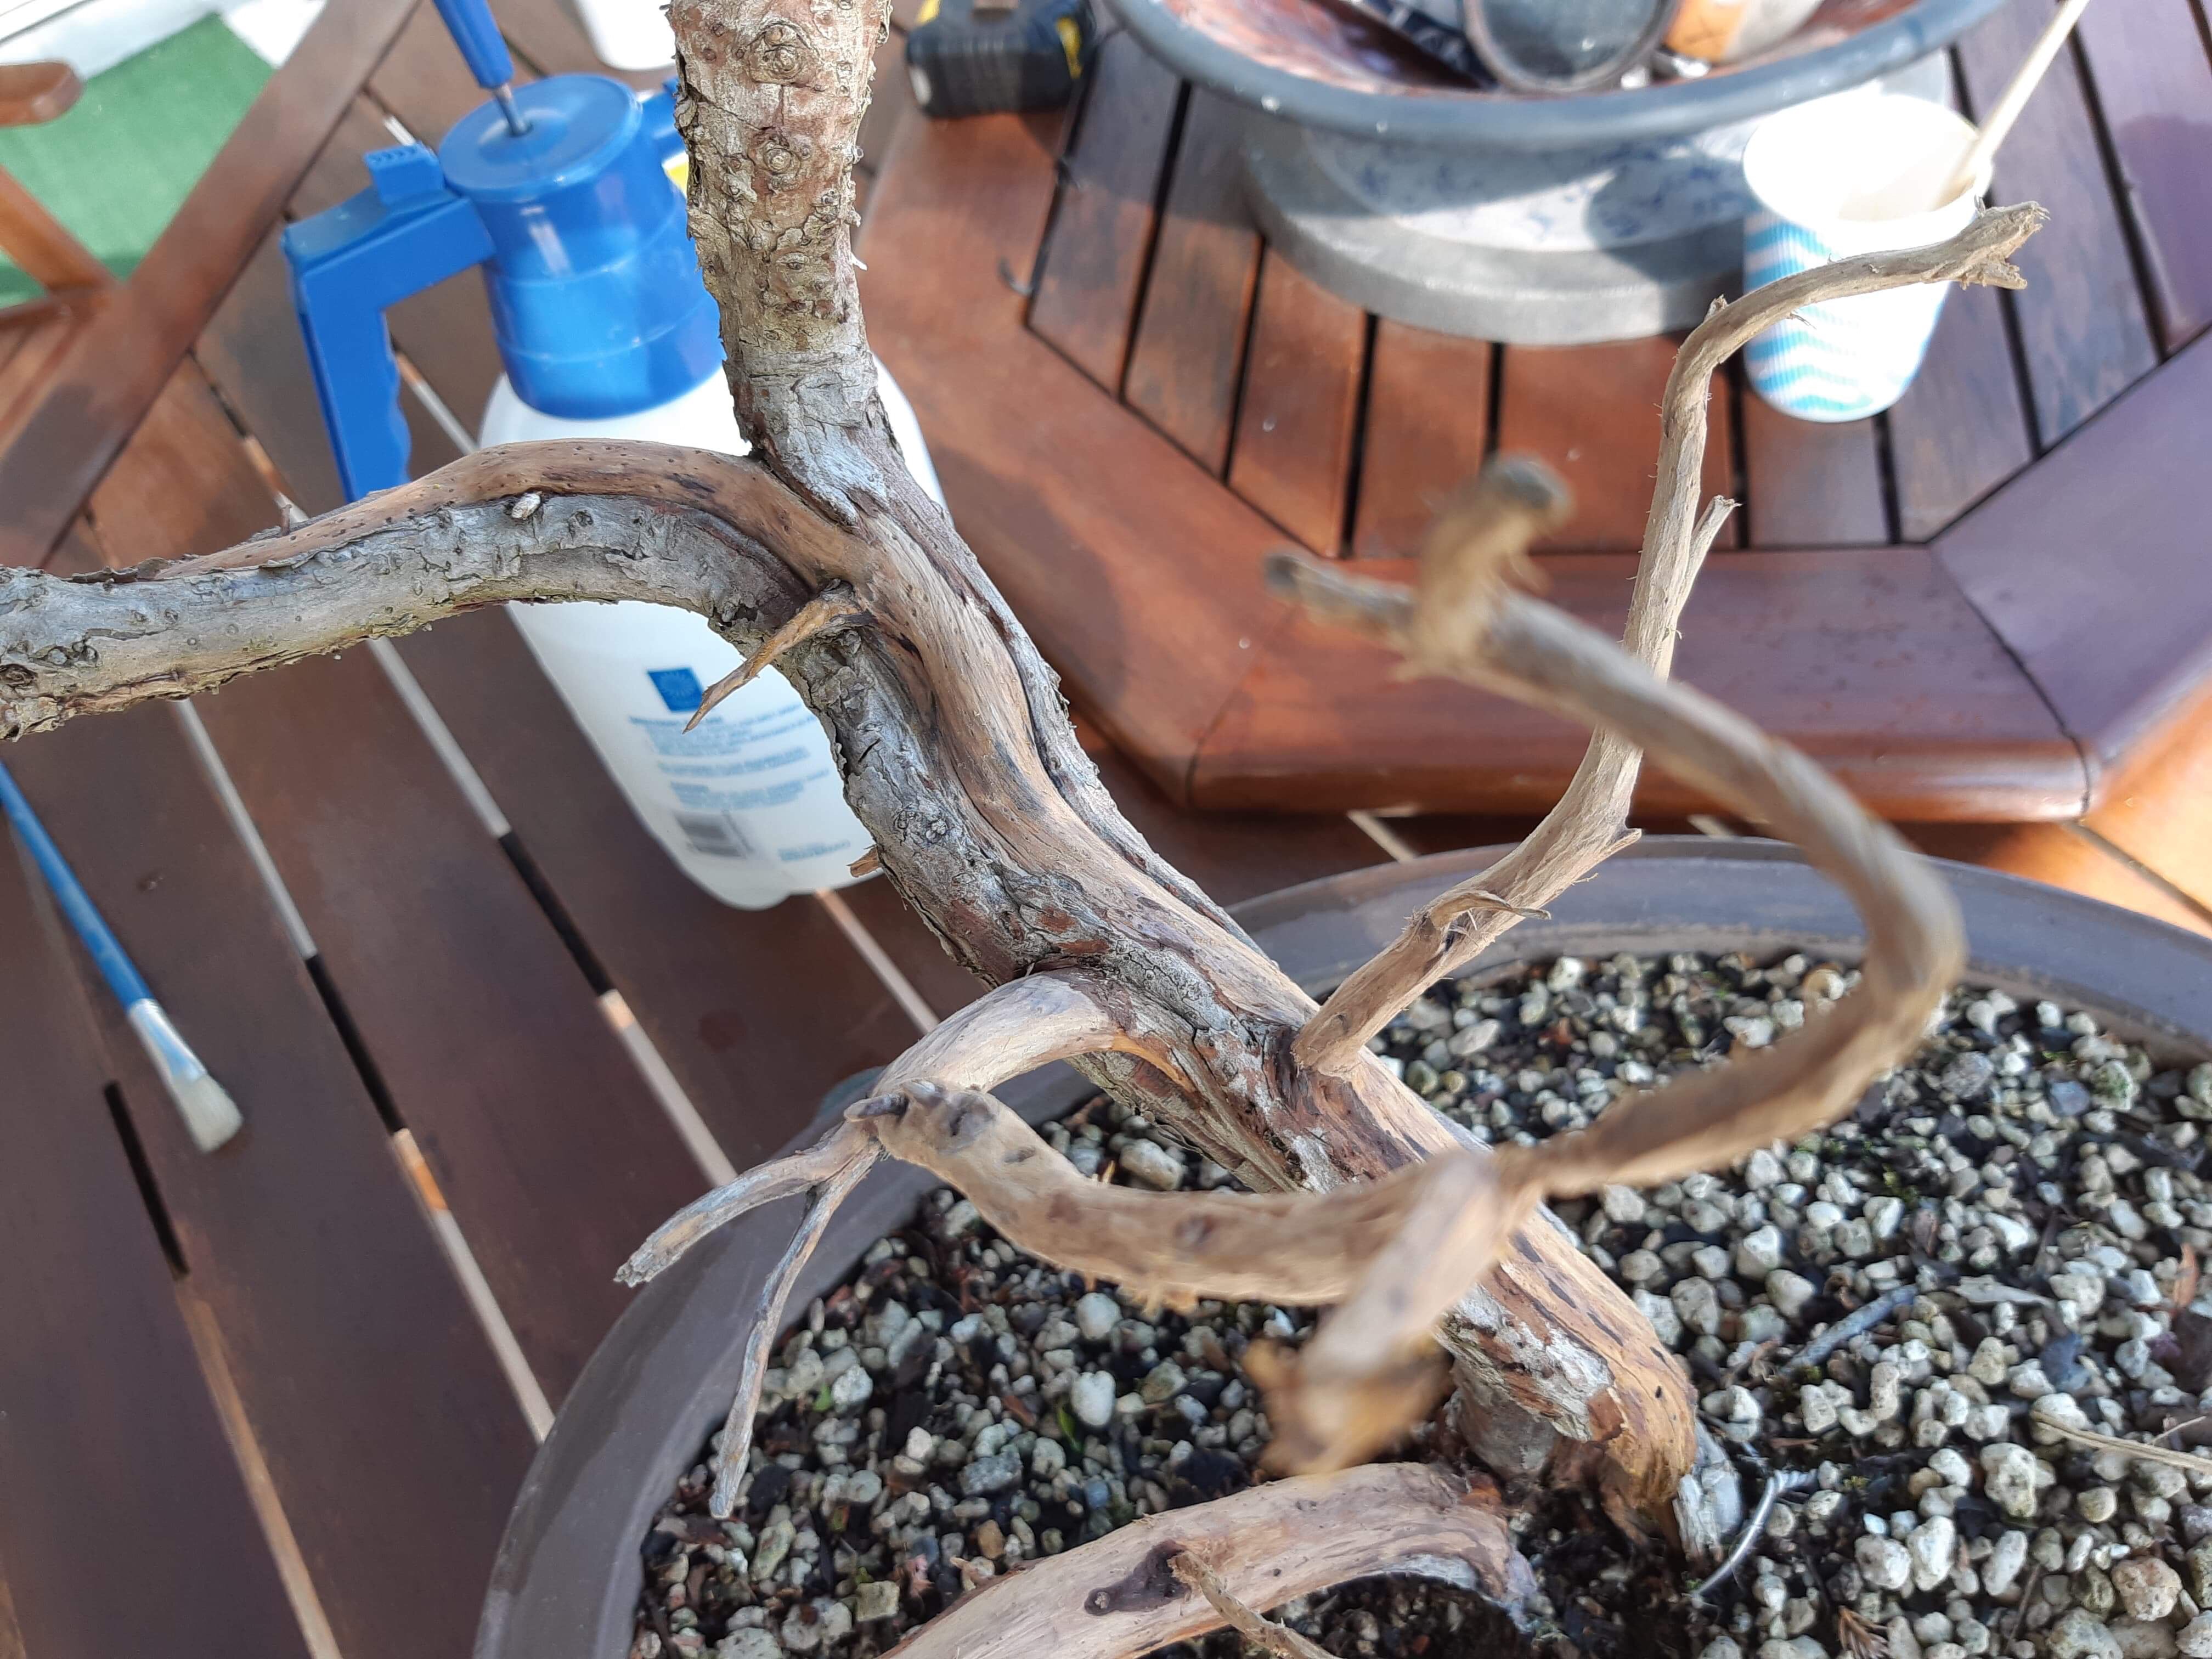

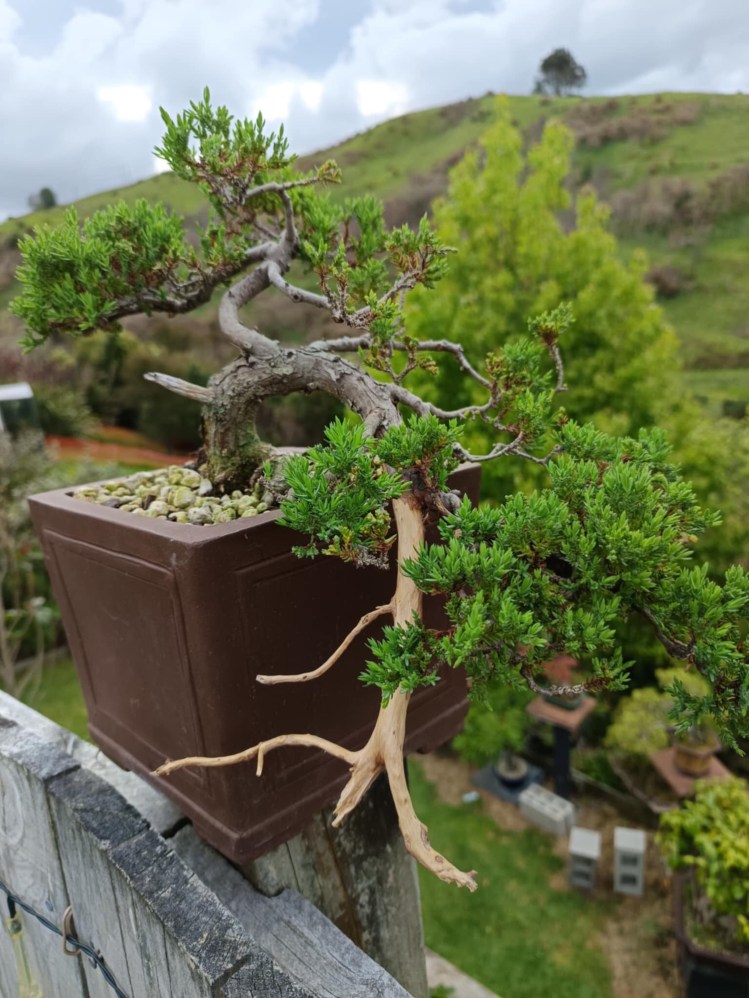
This Juniper was dug from a friend’s garden two years ago and it struggled to get to grips with life in a pot. The main reason could be that there is quite a bit of rot at the base of the tree and the live vein is quite narrow at that point. The main focus was to strengthen the roots through Proper soil maintenance, fertilising and having a disciplined approach to watering.

After a previous blog post I was inspired to design a Fukinagashi or windswept Bonsai tree. https://bonsaiplace.net/2019/04/21/fukinagashi-windswept-bonsai-style/
As most of the branches were leaning towards the left, it was an easy decision to let the flow all go to that side. A few more weak branches were cut and jinned. This job took about two hours with the help of a knife and a Dremel. The tree was left overnight and lime sulphur applied the following day.

Wiring was applied on the right hand side to enable those branches to be twisted to the left. The tree will now rest and be planted in a very shallow slab, tapering to the left as well. The base will be planted to the far right of the pot. Until then, fertiliser will be applied and the tree will be placed in full sun to maximise growth. Fine wiring will come later during winter. I do believe in little bits more often, rather than doing a lot of work in one go and risking the health of the tree.

It is very common to see a photo of a seedling or small nursery stock on social media with the following comment: “I am new to Bonsai, please help with advice”. Where to start? What the follows is a number of people writing one liners or a bit more with a genuine interest to help.
I have been demonstrating and teaching Bonsai now for many years and am following what I think is a logical series of steps to enable the new Bonsai enthusiast to work towards a specific goal. It is almost paint by numbers, but in the absence of knowledge and skills, it is the best way to get the basics across in a short period of time. Here are the steps:
Each of these steps require a lot of knowledge to get to the end result. This is part of the conversation as the design unfolds. Small nursery material can take up to three hours to style with a new enthusiast in a workshop situation. The hands-on work takes only about thirty minutes to complete, but the explanations and answering of questions, in my mind the most important part, takes up a lot of time.
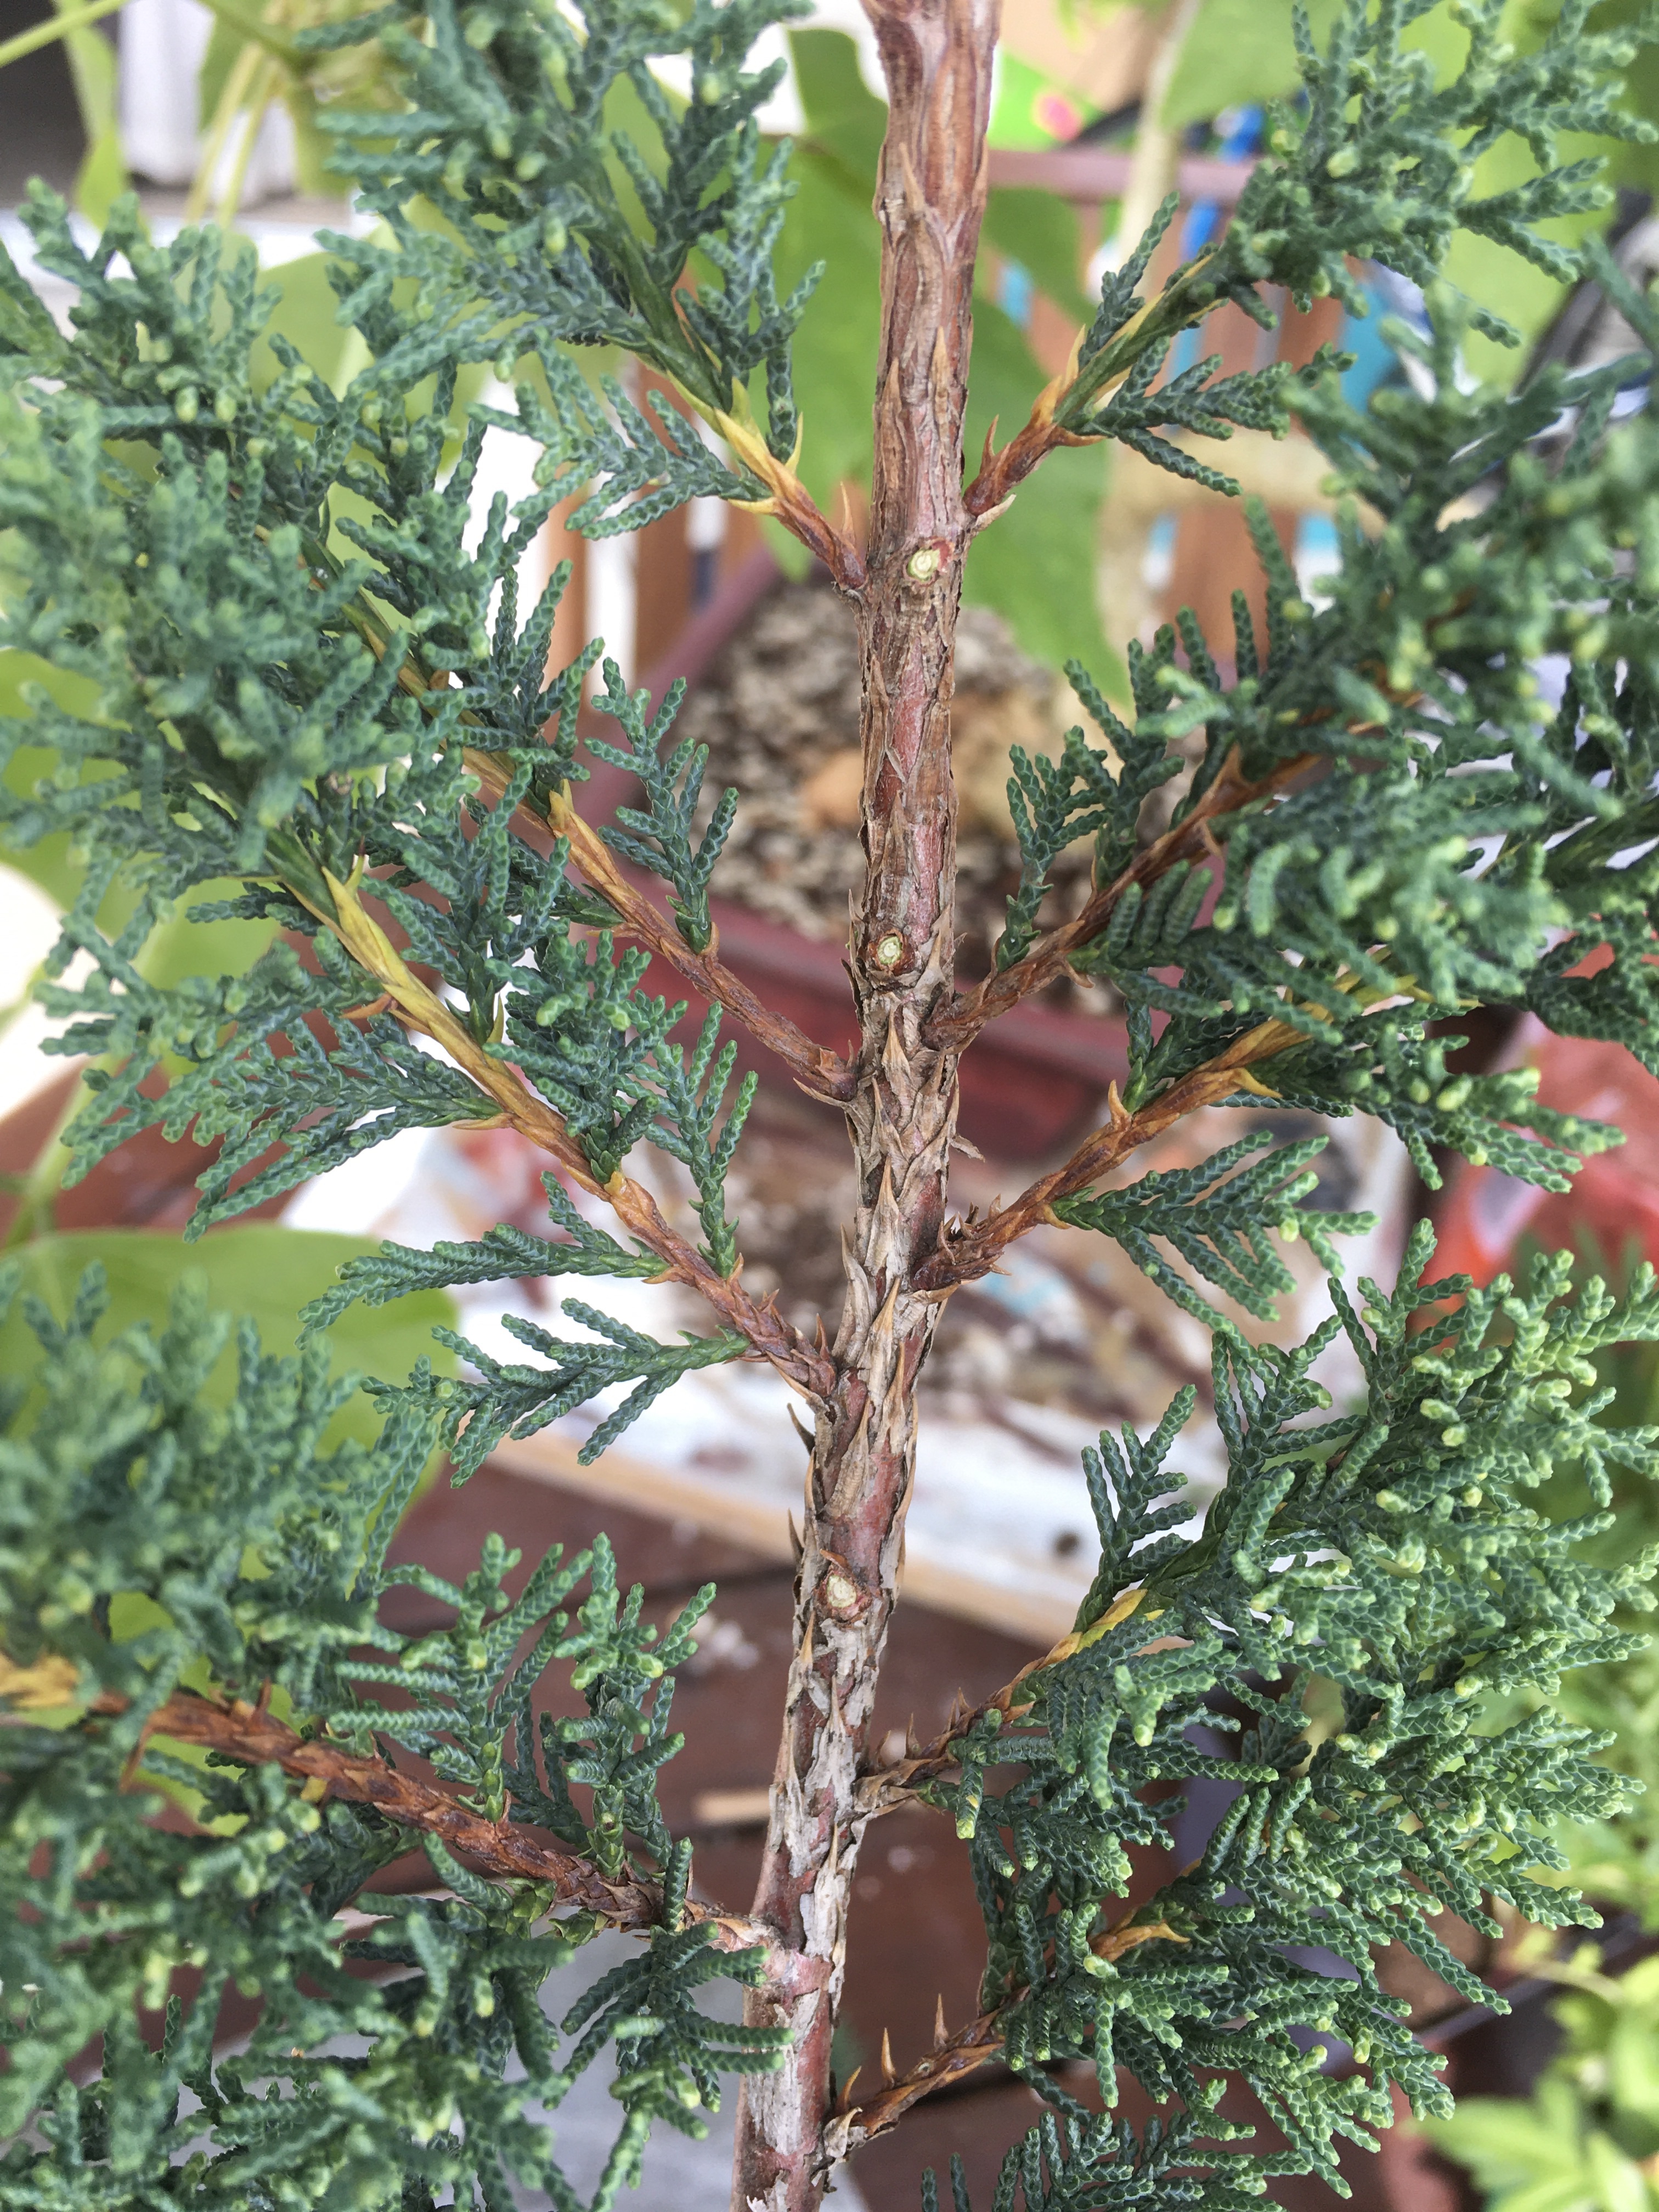
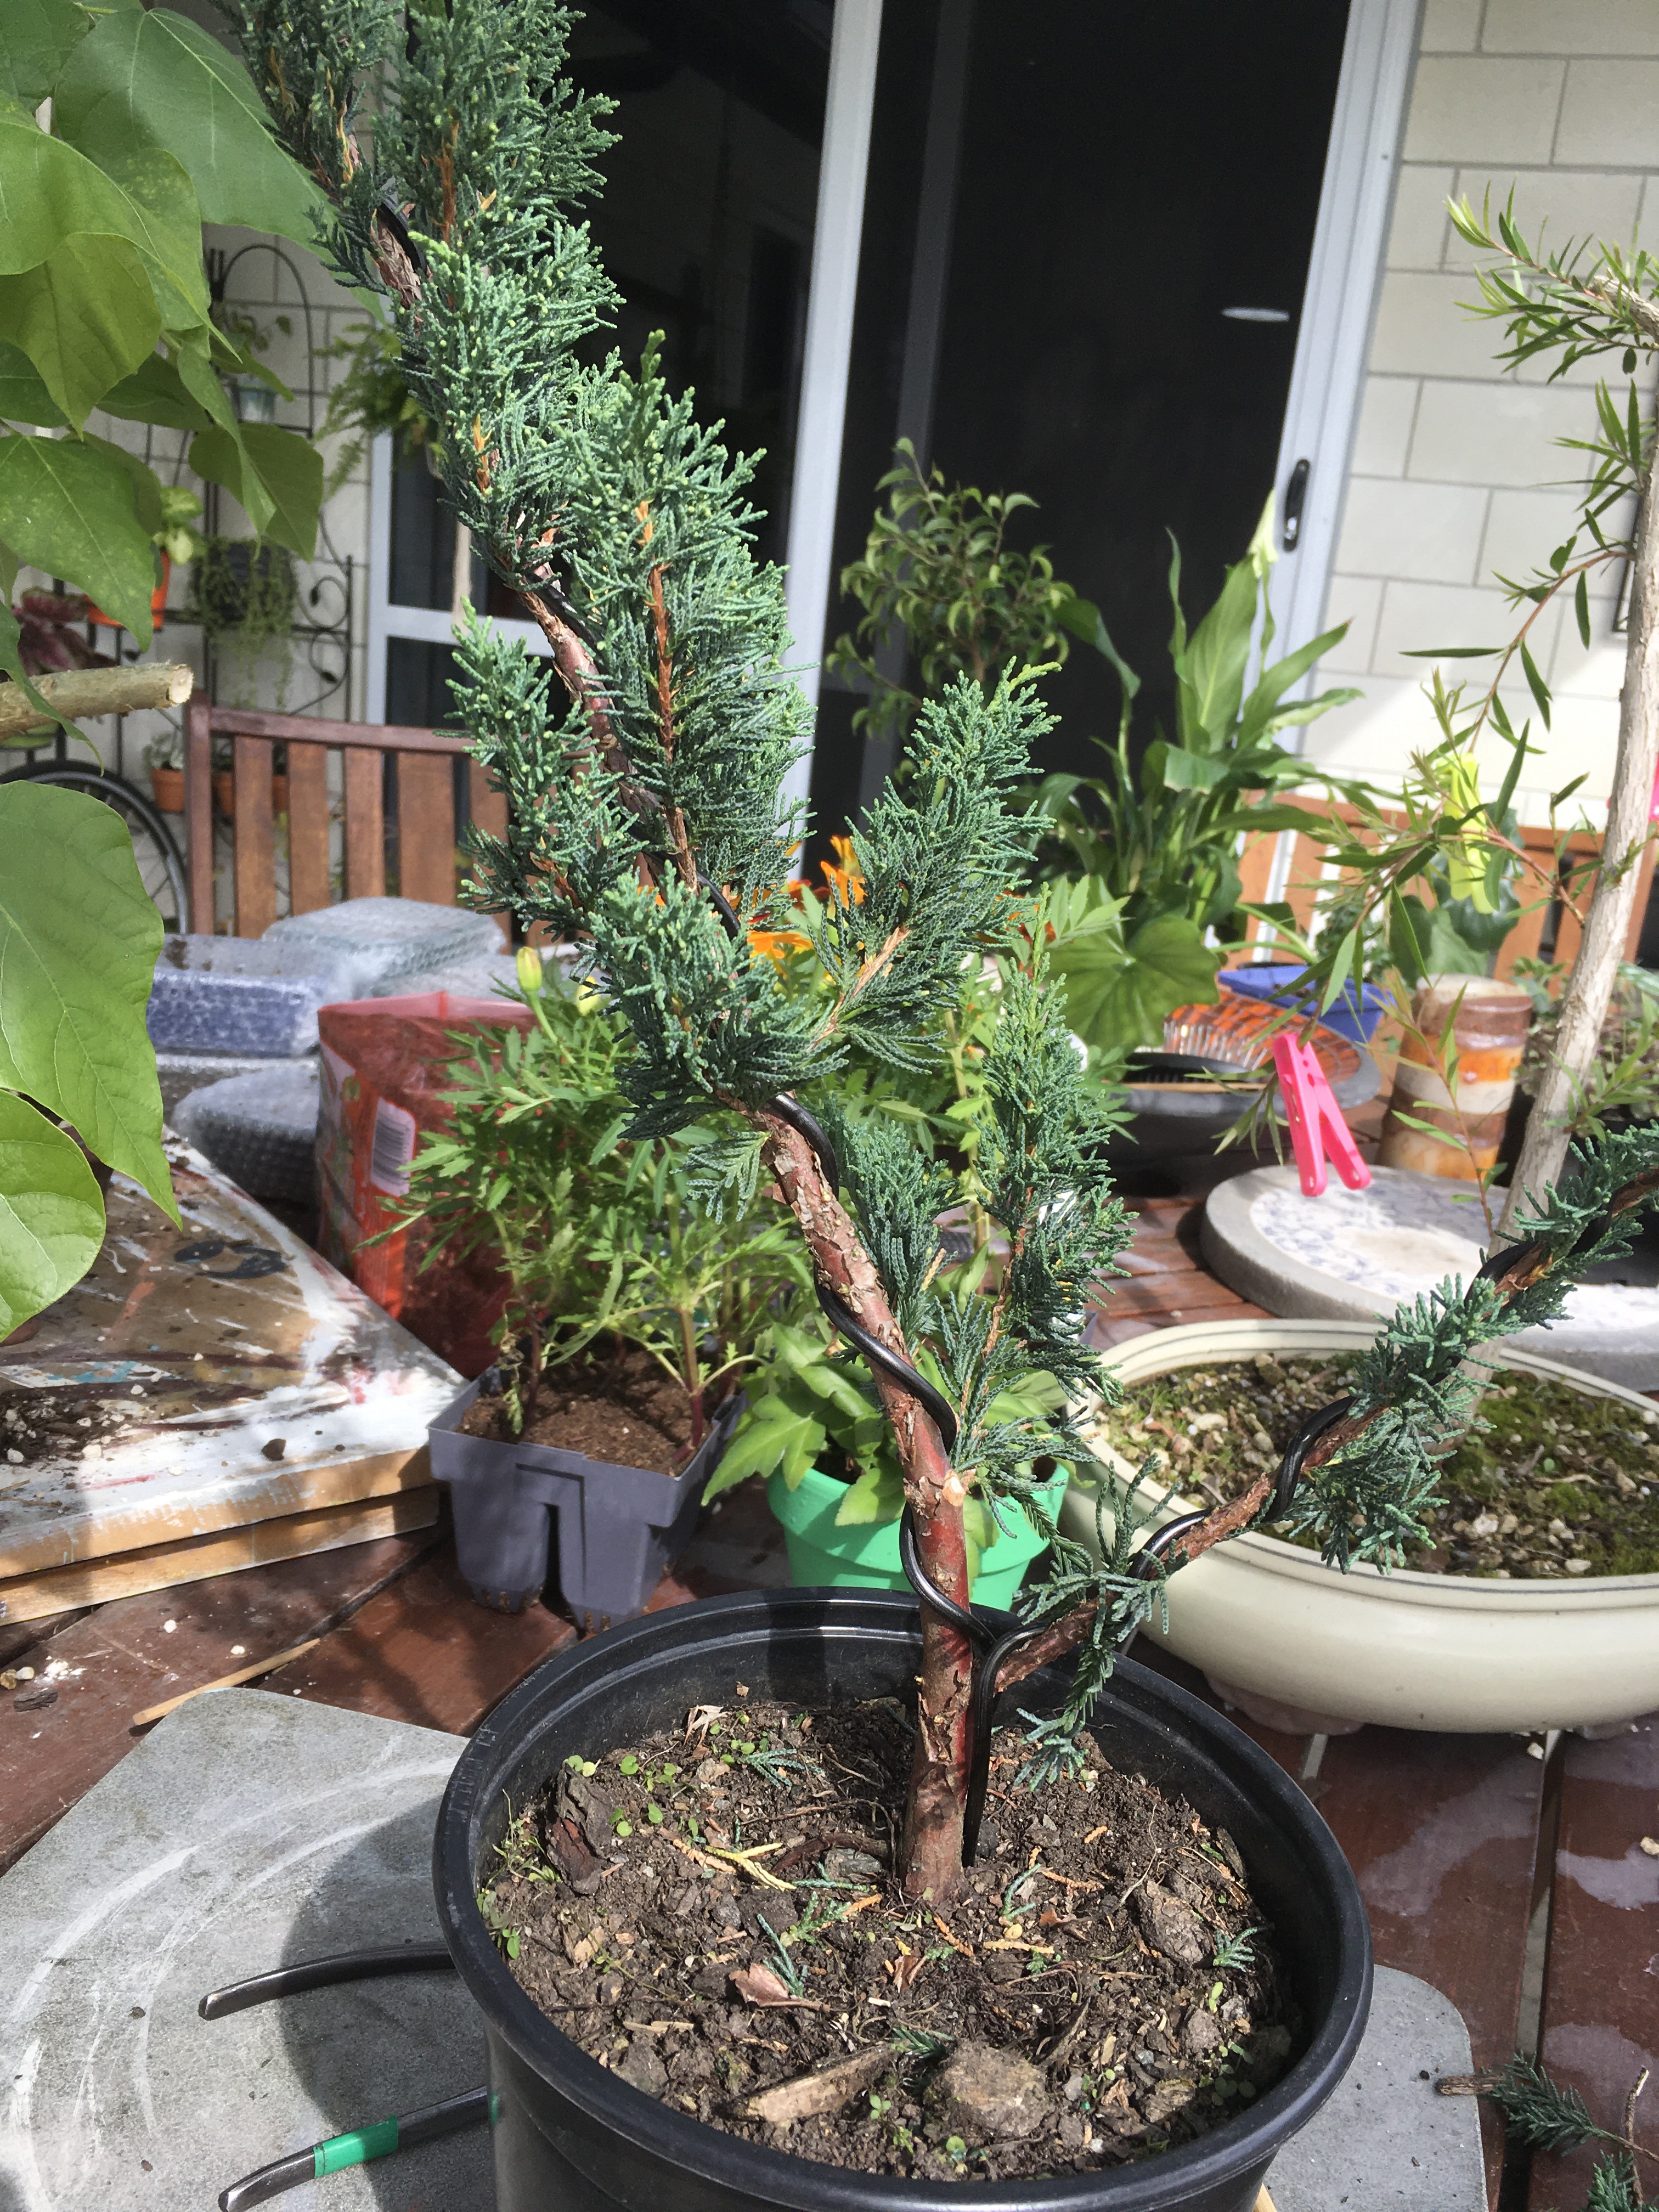
This Juniper is nursery stock and is 20cm high from the top of the soil. It has been standing around here for a year or so and received very little attention.
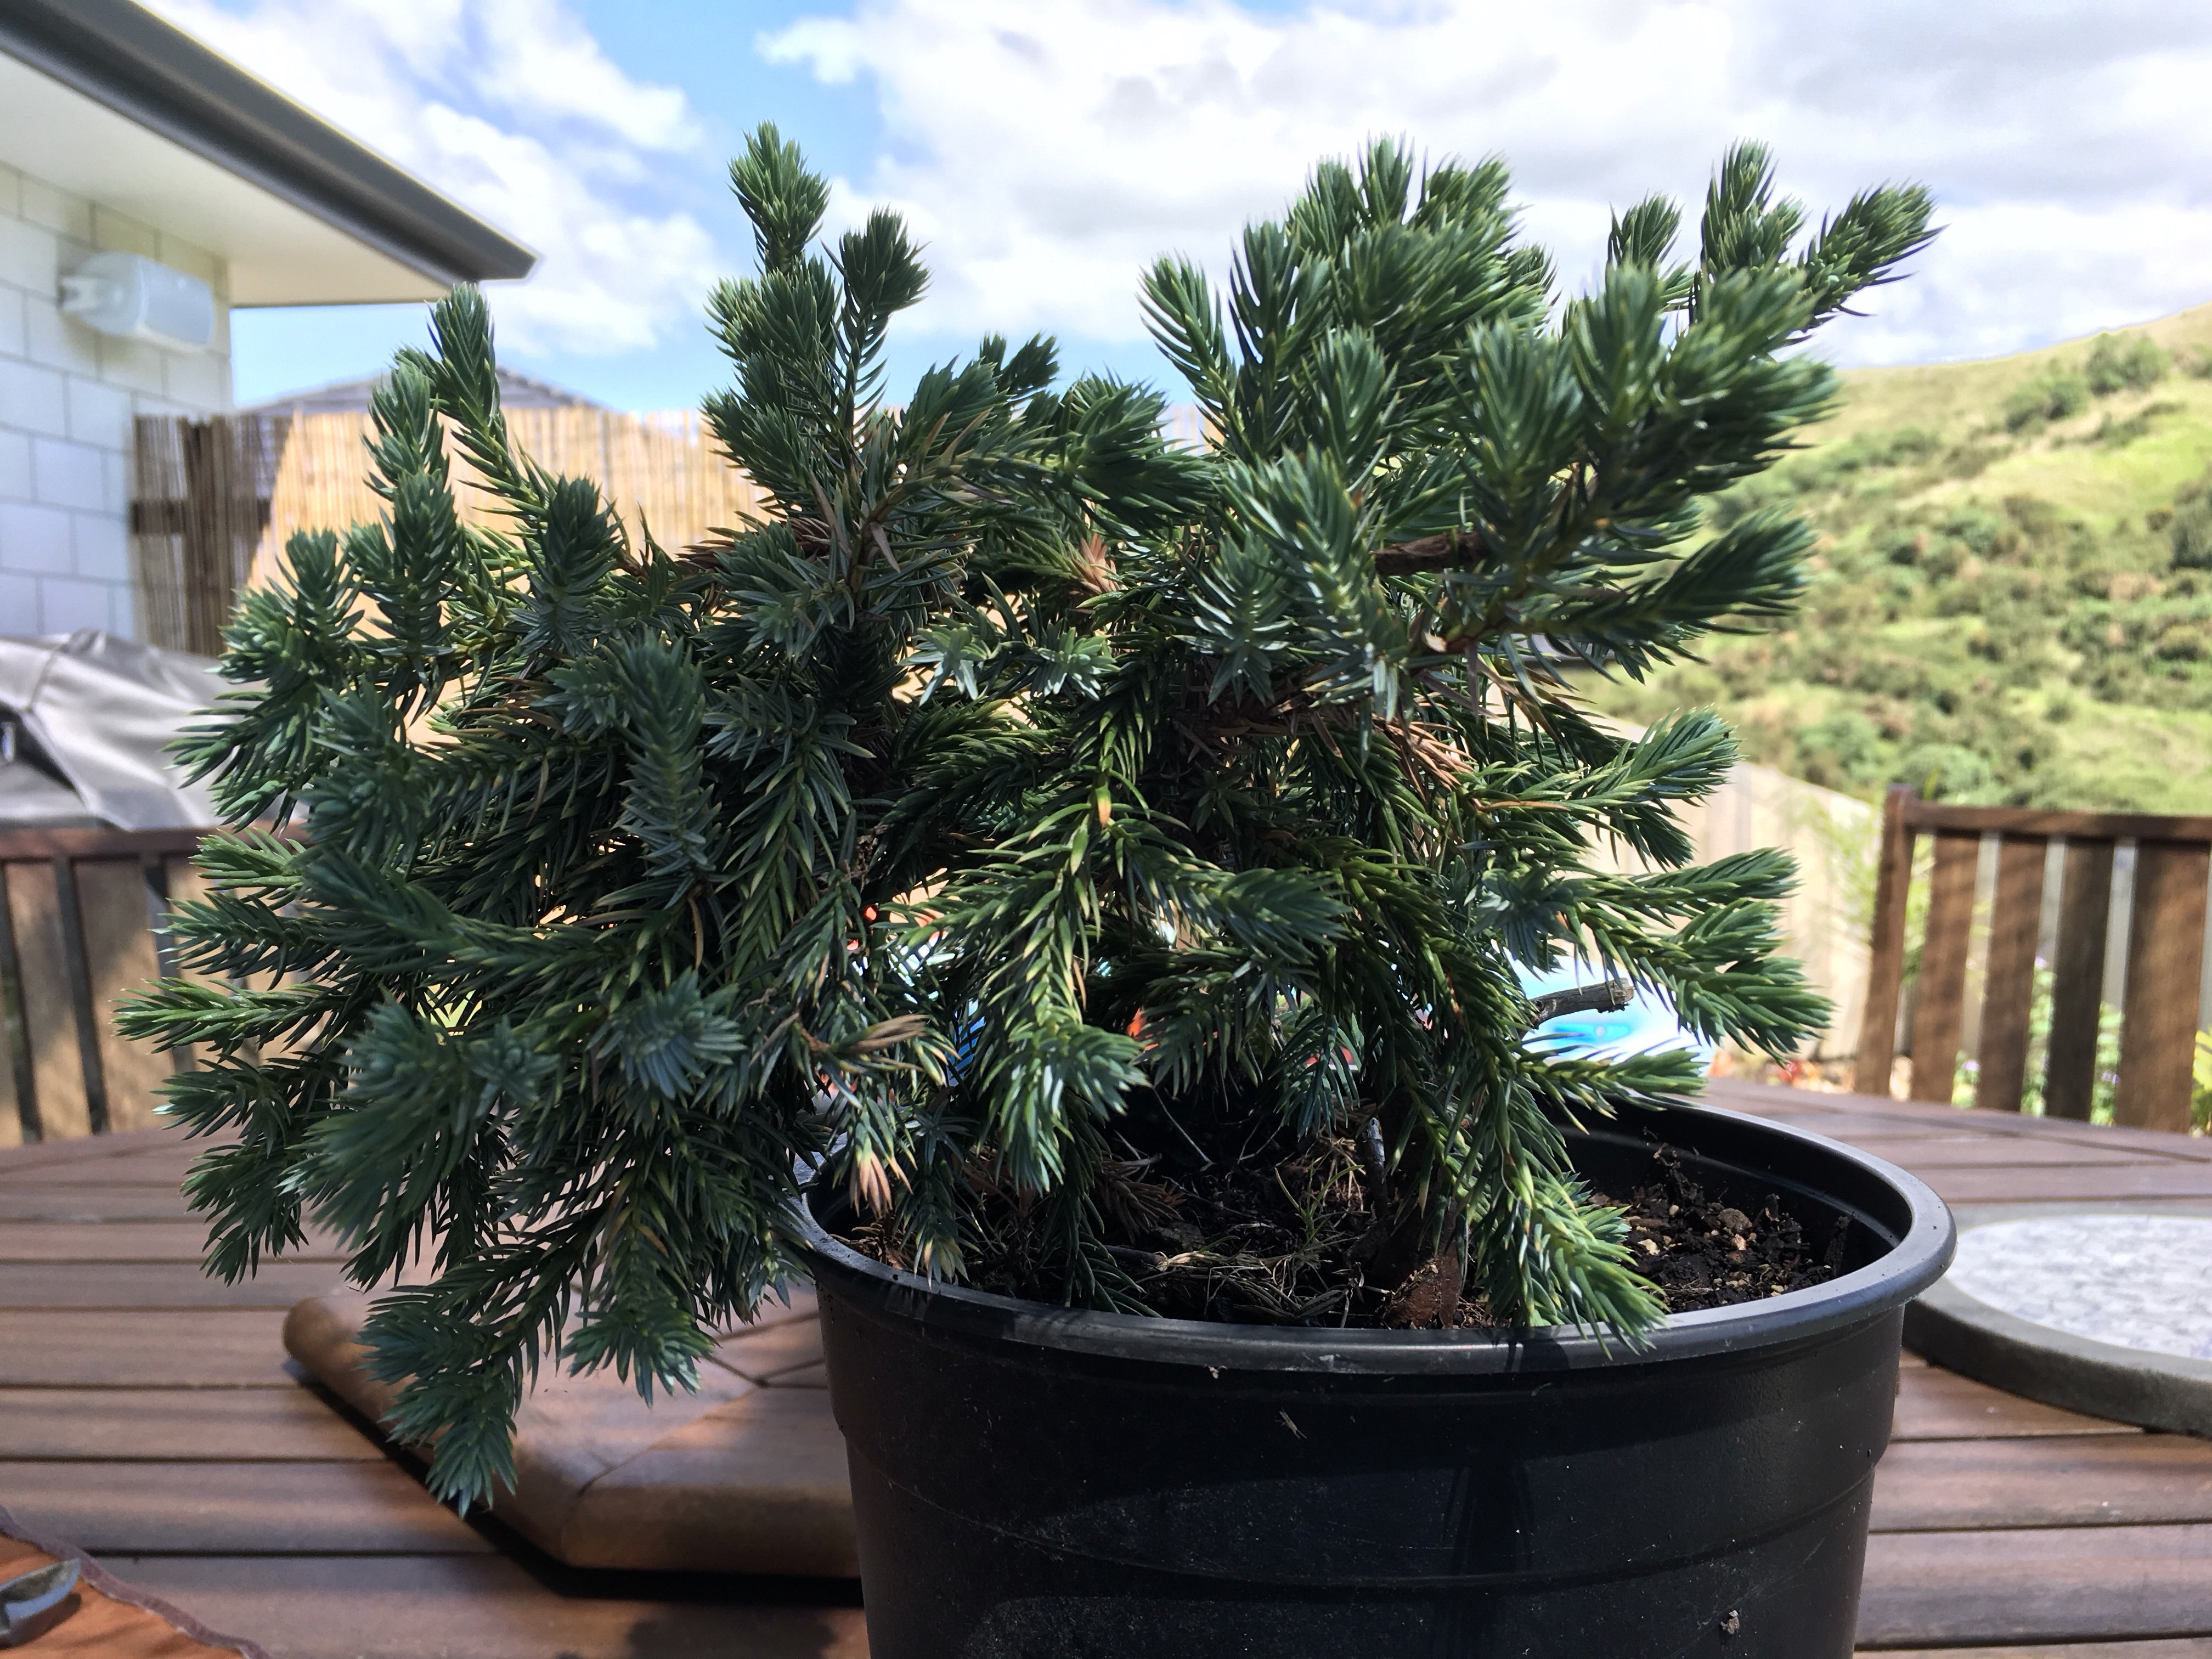
The first step is to scrape some of the soil away to see if there are any prominent, larger roots that can help to make a decision about the front / viewing side of the tree. In this case it only contained a whole lot of fine fibrous roots.
It is therefore now up to the trunk line to give an indication of what could be a possible front. For newcomers, we usually look for good movement and flow.

Once the best angle is determined to show things like flow and movement as well as taper or interesting features, it is marked and excess branches and foliage can be removed to reveal the trunk line. The conversation at this stage will include things like removing branches growing from the same height, branches on inside curves and crossing branches.
Some of the branches are identified as possible deadwood branches and these are kept a bit longer. Bark is then removed.

All of these steps have cleared the path for the trunk to be wired. Just the basic of wiring is explained and demonstrated at this stage as this skill is seen as a bit more advanced for a newbie. I think it is important to allow the person to start on their wiring pathway as it is an integral part of Bonsai design. As said, we stick to the basics at this point. It is more important to talk about design and flow at this point.

The branches can now be wired.

The next step is to place the branches in position while a conversation about safe bending takes place. Overall tree health is emphasized at all times. Once the placement is done, excess foliage, especially those growing downwards or upwards is removed. The concept of foliage pads is also touched upon. I find it is important to at this stage point things out like depth (back branches) and negative space. These are all explored ta more advanced workshops.

The last part of the workshop is focused on future growth, the role on foliage in feeding the plant (photosynthesis) and then the very important aftercare of the tree. Protection of small buds and the removal of older foliage as the tree buds over the next few months is discussed as well as feeding requirements and protection over the next month or so.
Potting, root management, carving, severe bending and more advanced wiring techniques are all part of more advanced techniques to be covered at advanced workshops.
This Juniper was lifted in June 2015 and planted in a plastic container. It came from a garden and was planted in a very sandy soil which came away during the lifting process. It was basically bare-rooted at the time which in my mind was not ideal at the time. I did bring some of the soil with me to add to the new mix with the hope that it contained some michoriza. At this stage I also removed some of the long, whippy branches with very little foliage on it to try and balance the foliage to root ratio.

From this point on it was watered and fertilised and received plenty of sun. A few branches died over the next twelve months, but plenty of new growth showed as well. All of this was of the needle type and then reverted to adult growth. The tree was also planted into a Bonsai pot at which time the roots were reduced a bit.


I had to move my trees three in the last six months. First from a colder, wetter part of New Zealand to an almost subtropical climate. The first place was a temporary place while we were shifting our household, then to a rental until we shifted into our own house three months later. Eighteen months after the lifting (January 2018) it was time for its first styling. Deadwood was created on the cut branches and then the wiring started. This took about six hours with not more than two hours done per day. I find it is best to start at the bottom of the tree and then work towards the apex of the tree. I have just used aluminium wire and varies from 1mm thickness to 4mm thickness. Quite a few guy wires were used to pull larger branches down. I use plastic tubing to protect the branches. Due to a few harsh bends, light cracks appeared and these were sealed with cut paste.

Now it is time to let it rest. Water and fertilise, keep an eye on the wire to prevent it from cutting in give it plenty of sun. It could be show ready in about three years. The foliage pads must mature and I have left a bit of new growth on the main branch from where another branch or two can be formed to fill some gaps.


Conifers make up a large percentage of most Bonsai collections across the world. To me, one of the difficult things with conifers, is to identify the tree to the correct species level. The reason for this could be that my early Bonsai education was on broadleaves and not so much on conifers. Conifers as a large group are identified by the fact that they do not flower, but in the place of this, they produce cones that contain the seeds. This makes them part of the Gymnosperm taxa, along with ginkgo and cycads. These are some of the oldest known plants in nature.
It is not that difficult to identify conifers to genus level, as this can be done mainly on leaf type and shape. Here follows my take on what this looks like (An arrow points to the next table for that category).
|
Conifers |
||
|
Cupressaceae Have scale-like or awl-like shaped leaves. |
Pinaceae
Have needle-like leaves
|
Taxus Have leaves that are flat and feather-like in arrangement and shape. |
| Junipers and Thuja | Pines, Spruce, Fir and Douglas fir |
Yews |


|
Cupressaceae family Leaves are scale-like or awl-like. Fruit is a berry-like cone with scales fused together |
|
| Leaves are scale-like or awl-shaped. The foliage is arranged around the branch, rather than flattened and cones are berry-like with scales pressed together.
Juniper (Juniperus) |
The leaves are small, scale-like and pressed to the stem. The foliage is flattened and plate-like in appearance. The cones are berry-like with thick scales.
Thuja (Arborvitae) |


|
Pinaceae family Leaves are needle-like |
||
Single needles.
↓ |
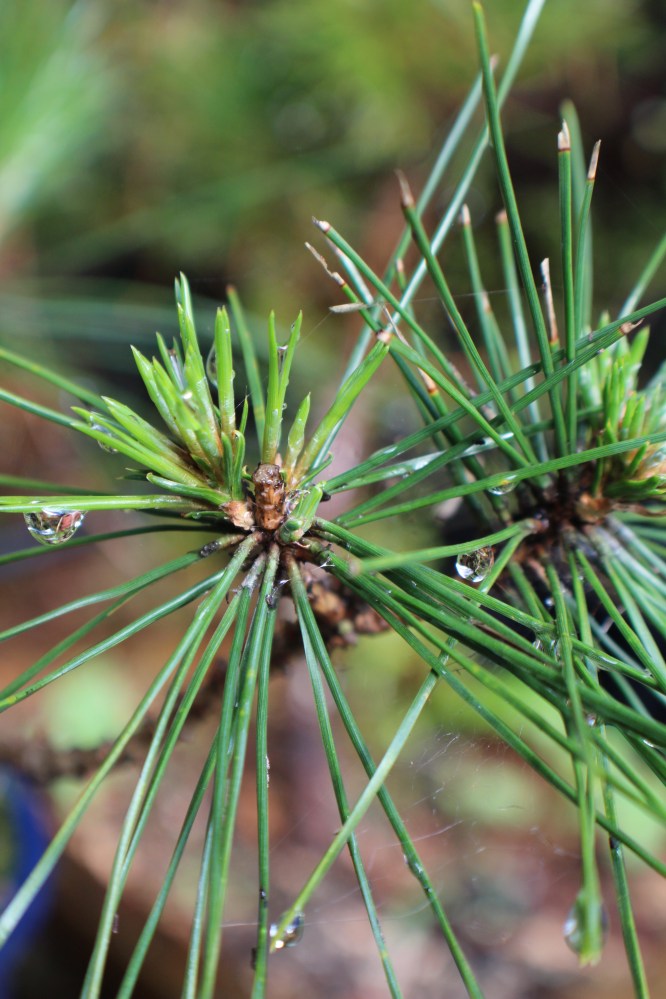
Needles sheathed at the base in bundles of two to five. Cones have thick scales and are woody with swollen tips.
Pine (Pinus) |
Short needles in tufts of ten or more and could be deciduous.
Larch (Larix) |


Needles are flat in cross-section and quite flexible.
↓ |
The needles are square in cross-section and quite stiff.
Spruce (Picea) |

Spruce
| The needles leave an oval leaf scar and the bud tips are pointed. The cones have a three-pronged lobed tongue-like bract that extend out beyond the scales.
Douglas Fir (Pseudotsuga menziesii) |
The needles leave a round leave-scar and the bud tips are roundish. The cones grow upright on the branch and usually breaks apart before falling off completely.
Fir (Abies) |


From here the classification can be further refined to identify the specific conifer to species level. This will come in a future blog.
