Committing a Crime in the name of Bonsai Art.

I was confronted with this Mugo Pine and had no idea what to do with it. The two bar branches at the bottom is ugly and the two arms going up from there does not lean itself to any of the Bonsai styles that I know of.

After many days, weeks and months of staring at it from different angles, I one day was working on a small Japanese White Pine that is planted in a crescent shaped pot and a new idea came to me. To do this, many Bonsai “rules” must be broken and the tree put at risk due to a lot of material being removed. This is a calculated risk. More about that later. Here is the culprit in all its former glory.

What to do with it?

The decision was made to remove the one thick branch on the one side and create a two inch long Jin out of it.

The Jin on the right.

Then the other branch was stripped and Jinned as well.

One short Jin and one long Jin.

This longer Jin is now wired up and bent in the shape of a crescent, the same as what a crescent shaped pot would look like.

Now the only branch that is left is shaped to represent an informal upright style Bonsai tree with a loop in what is now the trunk to get the height correct.

The end product for now.

Aftercare and the future: the tree will now be placed in a sheltered spot and remain there for at least a year. Fertilisation, watering, checking on the wire and weeding is the most excitement this tree will see for a long time. When the time is right, the wire will be removed and the Jin will be further developed. That will just be some detail work, inclusive of using fine carving tools, torching it and lime sulphur treatment. The tree will also go into a Bonsai pot once the growth is strong.

I mentioned taking calculated risks earlier. It really comes down to mitigating the risks by thinking through each risk and finding a way to minimise the risk. These include not potting anytime soon which means no root work at this time, sealing all the wounds and keeping the tree out of wind and harsh sunlight. Extensive wiring took place and this is mitigated by placing guy wires in places to support the harder wiring as to take some of the load off. Guy wires are attached to the wire on the branches / Jin and not on the branches itself. Now, let’s pray.

The shorter Jin that will undergo further development.

Guy Wires for Old Bonsai Maples

Someone recently asked about the use of guy wires in Bonsai. I find that guy wires are particularly useful when used on older Maple trees.

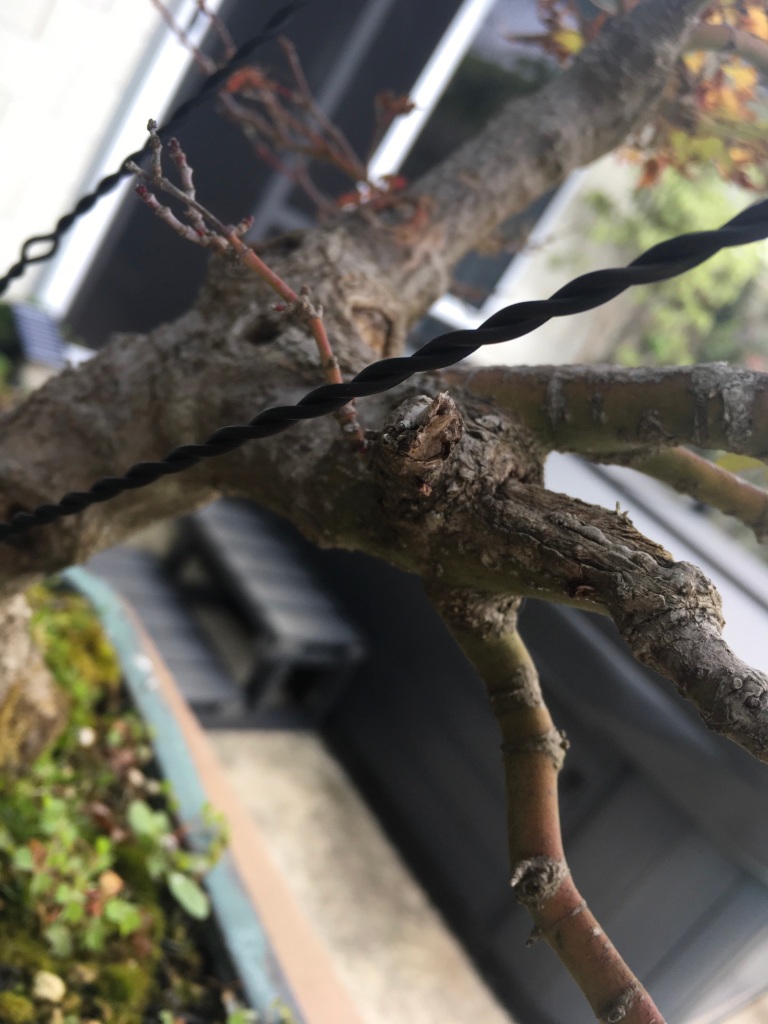
The branches are very brittle and not flexible at all (the older ones). The tree in the photos is a prime examples of this. Two branches were lost over the last few years trying to set the branches with wire directly applied to the branches. The first photo below has a little stump just under the wire (middle) where one of these branches, which just happened to be critical in filling the back of the tree, broke while bending.

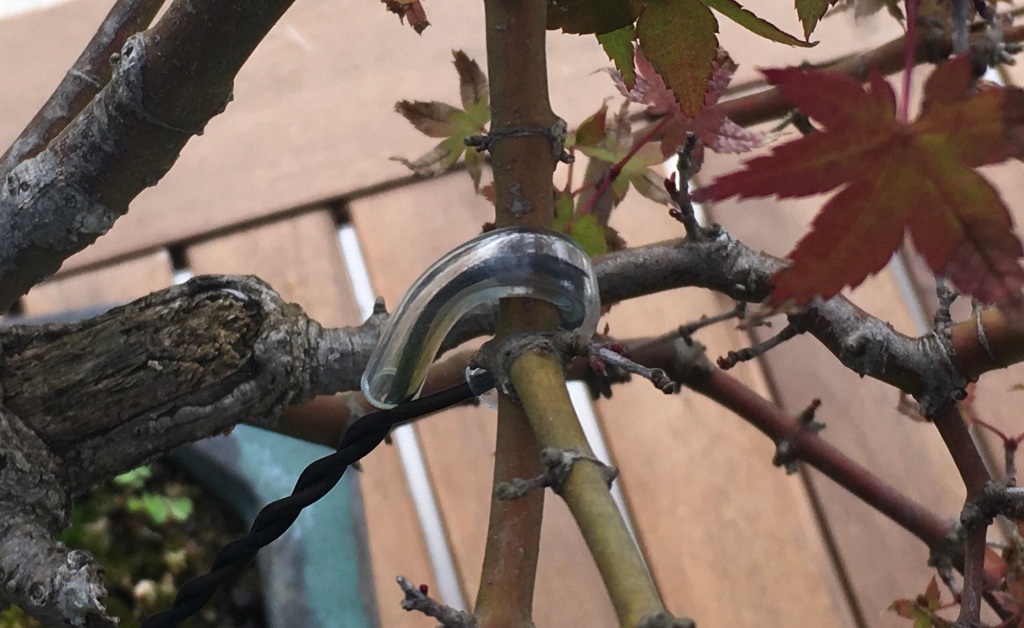
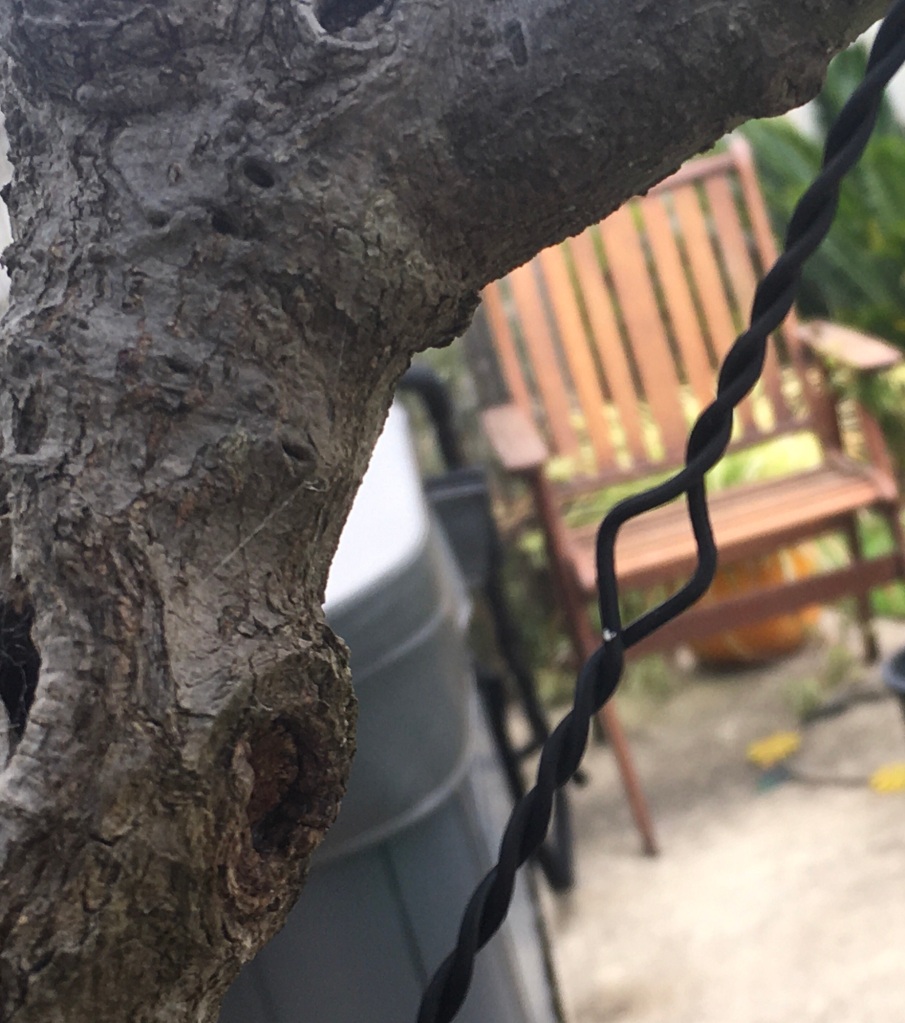
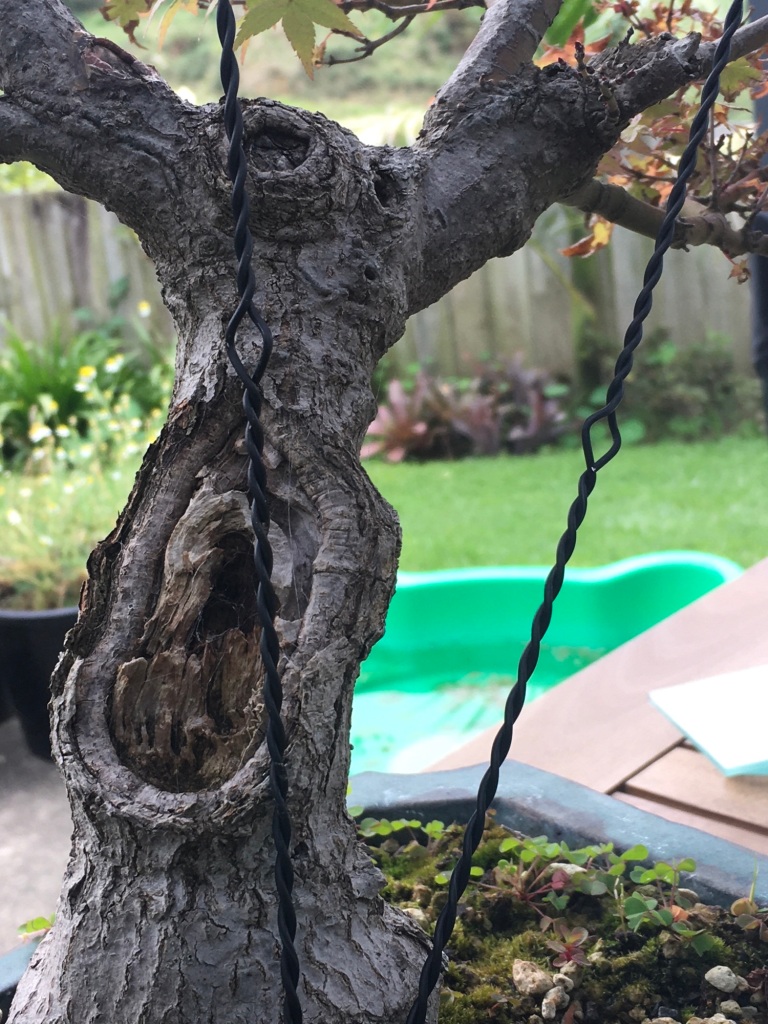
I apply a guy wire if I need to pull a branch down or sideways on these brittle branches. A screw is placed at the bottom of the trunk, preferably under soil level or as close as possible to it. The hole left once removed will close quickly.

The important thing is to set or twist the wire over time. The tree in the photos had two turns per day over five days to get the branch where it is suppose to be.

It is important to use some sort of protection on Maple branches as a naked wire will cut in. There is an article at http://www.bonsaiplace.net that has more details on the use of guy wires.

Literati Juniper work

This Literati style Juniper came into my collection as a very neglected, half of the branches dead and under nourished tree.

Today it was time to get some wiring done through to the growth points. The previous and first wiring from me was just on the main branches to set them. As can be seen, the branches that were dead or with no hope of recovery were all jinned and these branches will be refined with sanding paper and lime sulphur later on.

The living branches, only three of them have responded nicely with new growth and these are kept in tact at this stage to get as much energy as possible to the green and new growth. This tree only received liquid fertiliser in the form of a marine plant / kelp conditioner with one dose of a granular feed, balanced NPK.

Here are some of the before photos

This type of work is quite light and I only used two thicknesses of aluminium wire and a wire cutter for this job. The coffee is not really optional, but I did have the mandatory glass of wine just before this job with a meal.

These are the after photos:

This tree will now rest and carry on with its fortnightly application of liquid food. This is applied over the leaves as well as the soil.