Lockdown Bonsai work.

We were supposed to have aBonsai Society meeting today, which would have been the first one in a long time. Last night at 9pm, a change in alert levels was announced which means that where we live, social distancing is in place and as the venue is quite small, not the best for safety in the current Covid climate. That was called off.

I had this tree that I wanted to work on at the meeting. Basically just a clean up job and then lots of wiring to set the foliage pads. It is a Pine tree and in the twin-trunk style. Here is the before photo.

Before the wiring commenced.

And here is the tree after the pads were set.

Cleaning, Jin work, wiring and branches set. Pity some of the three-dimensionality disappears in these photos. Maybe I just need to get my photography sorted.

Please like and subscribe to this blog as I will post updates on this tree.

My Bonsai Test

I love watching Bonsai demonstrations, whether it be live or on You Tube. The quick transformations, the inspiration, the magnificent material that these artists work with, it is pure drama, pure theatre.

I do that as well. Pluck the odd tree out of a field or hunt for suitable nursery material to test my skills and knowledge and then compare my design outcomes with the artists who I follow or are exposed to. This is very satisfying and keeps on inspiring me and as said, tests my abilities.

This however is not my real test, my real challenge. My real Everest is the daily grind. The seasonal grind. Yes, those tasks that must be performed to keep your trees healthy and thriving. The weeding, the feeding, the watering, the wire on and the wire off. Especially the latter. Maintaining pots, tools, irrigation system and weather protection. Being able to do all of this is the real challenge, the real test.

It is therefor important to see it all as one. The not so nice work as well as the inspirational stuff. Hey, is that not life. The good days and the bad days. Look at the big picture, that is the reality.

The Bonsai Tree Journey – Our Roles

I have recently been privileged to get hold of a few older trees that has not had a lot of care and maintenance done on them. They came from an older person whose health is not that great and he cannot look after the trees that well anymore.

Just a plant in a pot. Some of the character is there, but growth is leggy and not well maintained.

Restyled as a semi-cascade to show more of the character. Jin and Shari still to be added. The stick on the left with the Jin protruding at the top is a different tree.

While studying the trees I had this overwhelming feeling of responsibility that came to sit on me and I realised that I now have to look after these trees better than the trees that I have cultivated from scratch. Why this feeling? I have been part of many discussions and even said it to many people in audiences wherever I go, that Bonsai is something that we get to enjoy now, but that we also start something for the next generation. I now realise that when it lands on the next generation, it comes with a burden, but it is a positive one. We are just caretakers of the Bonsai trees coming through our hands right now. It is part of our journey just as we are part of the tree’s journey.

You are privileged to receive a tree from the previous generation and you inherit with it, a responsibility to support that tree for the next generation. And on the cycle goes. All privilege comes with responsibility and this is no different when it comes to Bonsai. Is it more than just looking after your own trees? Yes, I do think so. The tree comes with a history, a story, and you might not be aware of this as I certainly have no idea what this looks like for my new (old) trees. That does not matter as we are lucky in that some of this history is told by the tree itself.

The roots will tell you how it has been struggling to hold on to the ground and how it searched for water and food. The bark, the angle of the branches, the presence of jin and shari and what it looks like, are all parts of this story being told. It is now my job to ensure that this tree’s story can still be told and then when it goes off to the next generation that my contribution to the life story of the tree is visible and seamlessly integrates with the tree’s existing story. This is privilege and this is responsibility.

There were only two living branches and the rest of its story will be told as a Literati.

Accept this responsibility, carry it and enjoy it!

Simplicity is the goal in every art.

I do believe that there are concepts in any art form that are universal. With that believe, I also explore other art forms for inspiration, ideas and motivation as well as skills and knowledge. I have recently embarked on trying to improve my photography skills as I am notoriously bad at it. In the process of reading up on this topic, I stumbled upon this statement:

“Ultimately, simplicity is the goal in every art, and achieving simplicity is one of the hardest things to do. Yet it is easily the most essential.”

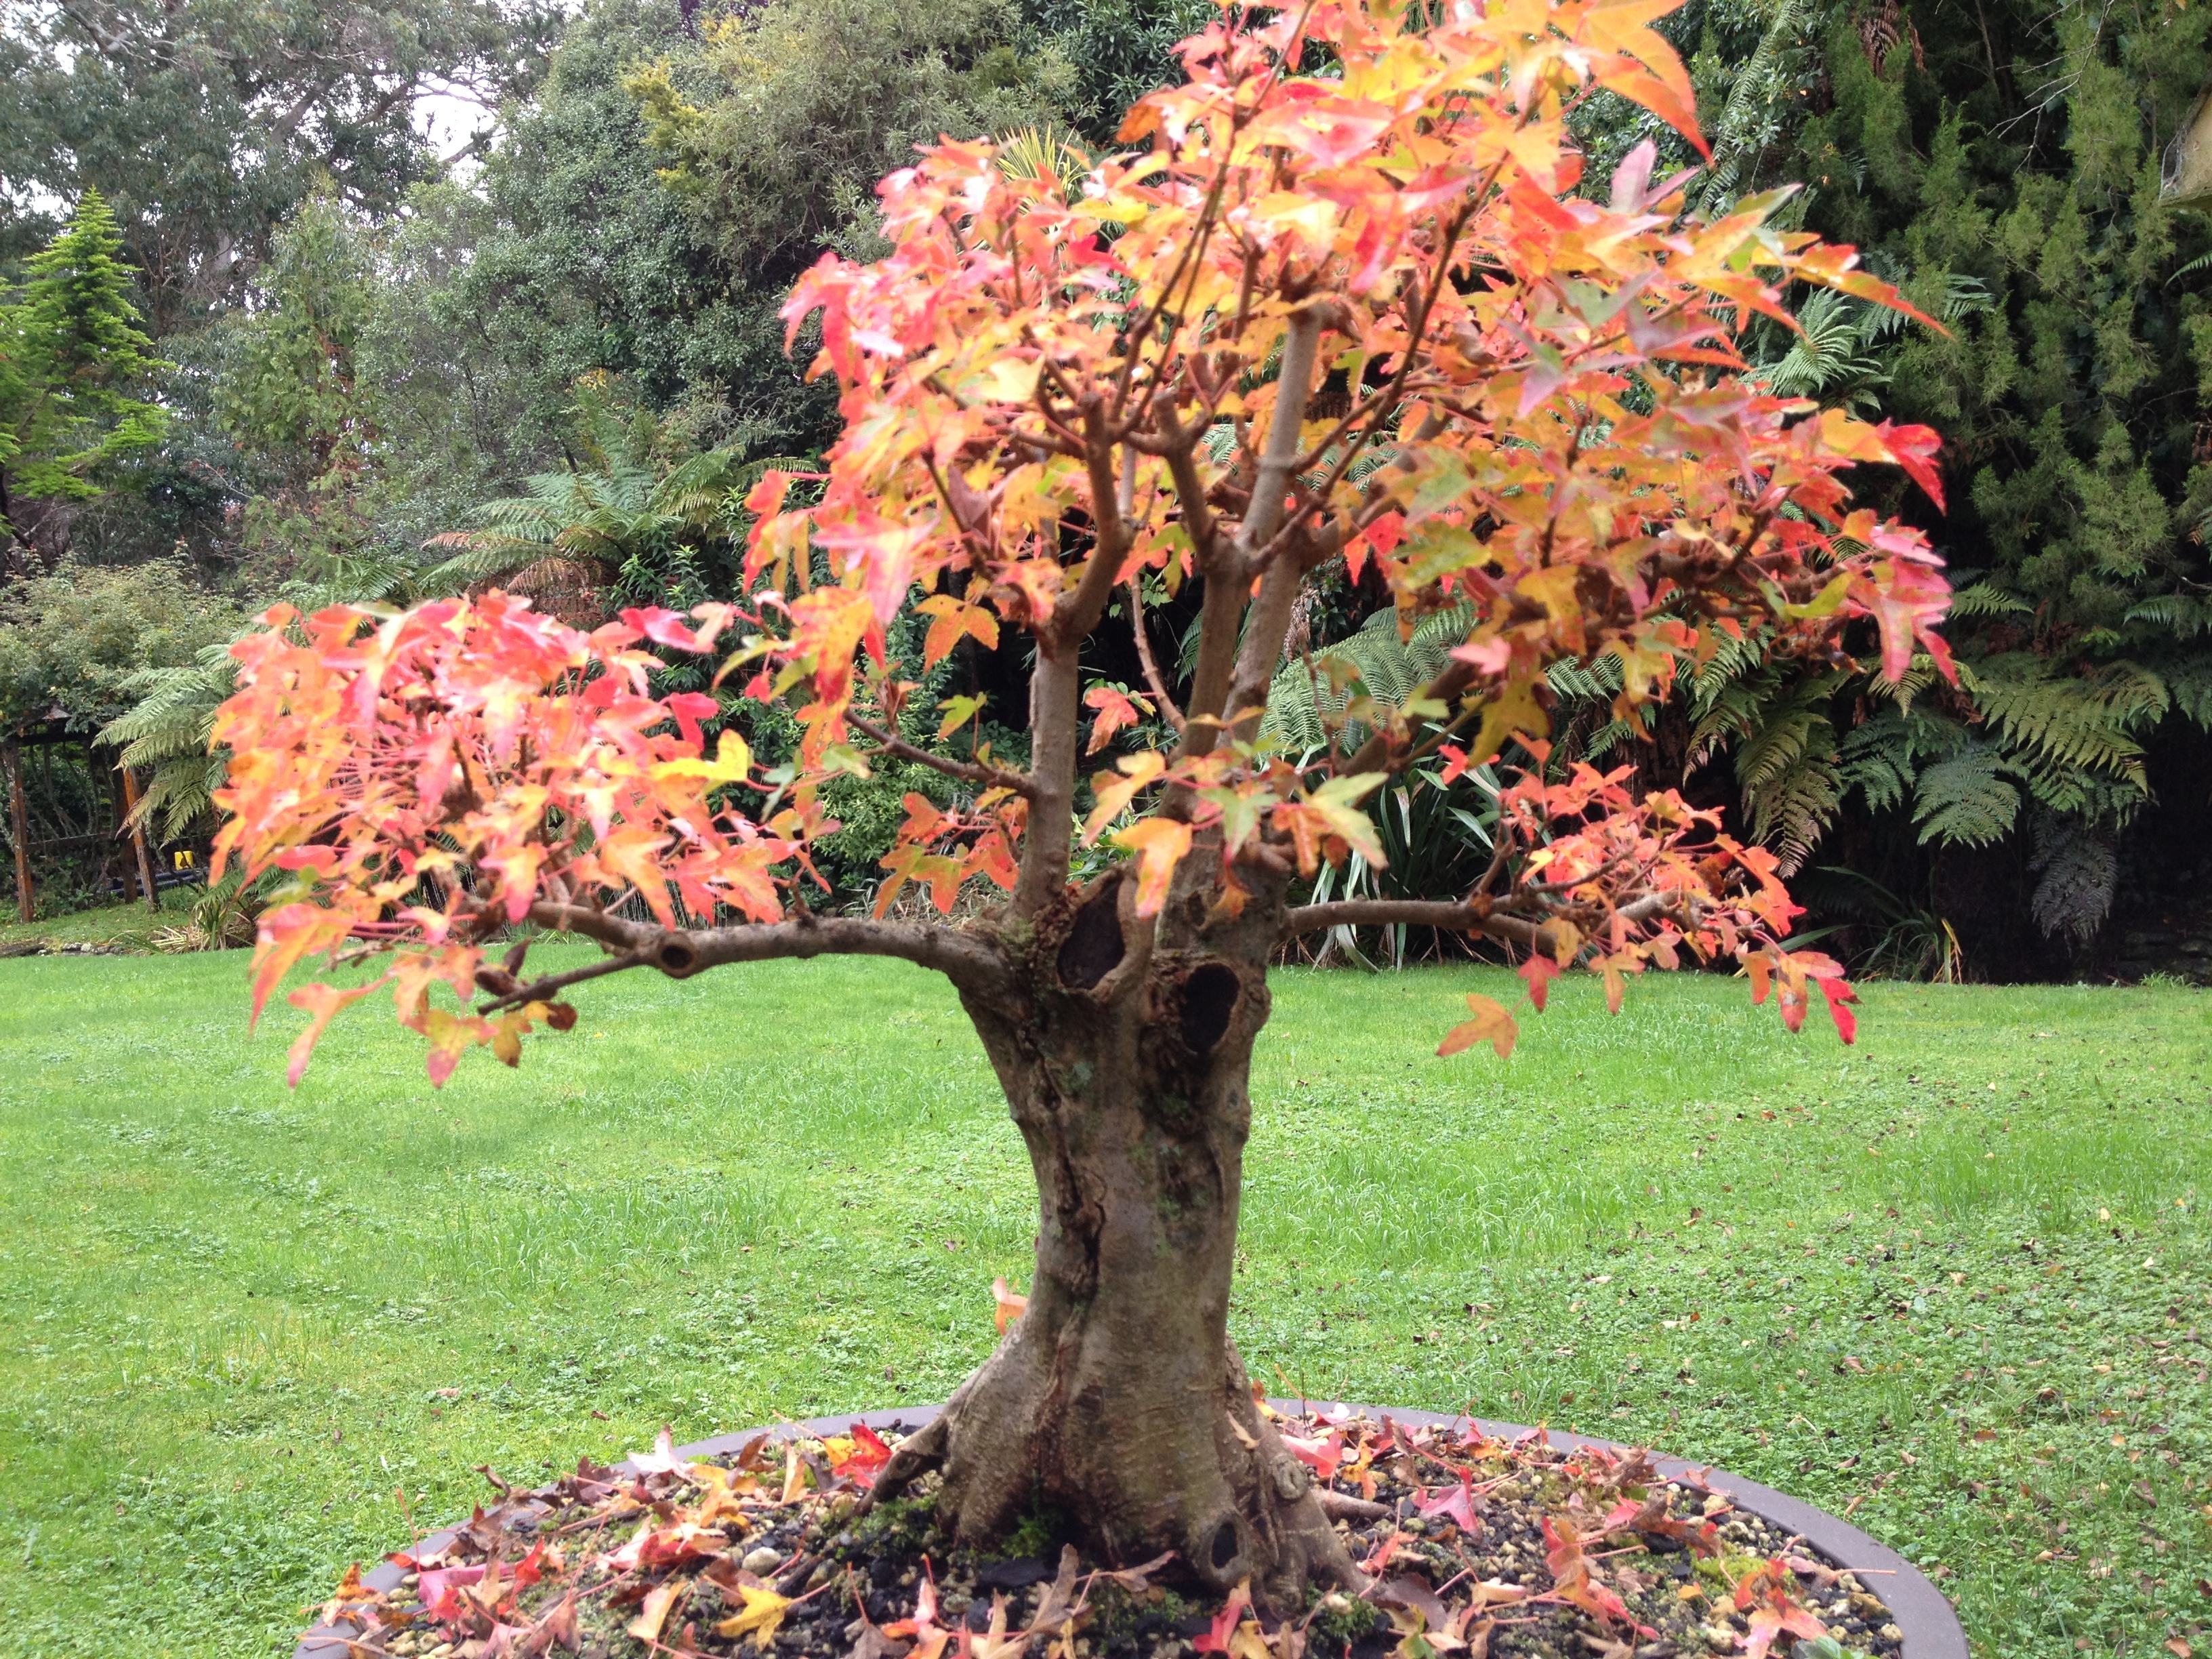
What does this mean for Bonsai? Bonsai in its simplest form is a tree in a pot that resembles an old tree in nature. That then probably takes us back to the original design concepts as proposed by Chinese and Japanese scholars and masters from the beginning to today. My own opinion is that the strictness of the original, especially Japanese rules, have been watered down over the years as Bonsai art started to spread to other parts of the world since World War II. Western ideas of what art looks like and what it should be as the individual philosophies of artists as well as the type of Bonsai material that they can work on has shaped this over time.

Simplicity can also refer to the horticultural side of keeping trees alive. It comes down to water, nutrients, climate, inclusive of light requirements. Yes, it is that simple, but take any one of these for granted and you end up with a deteriorating or dead tree.

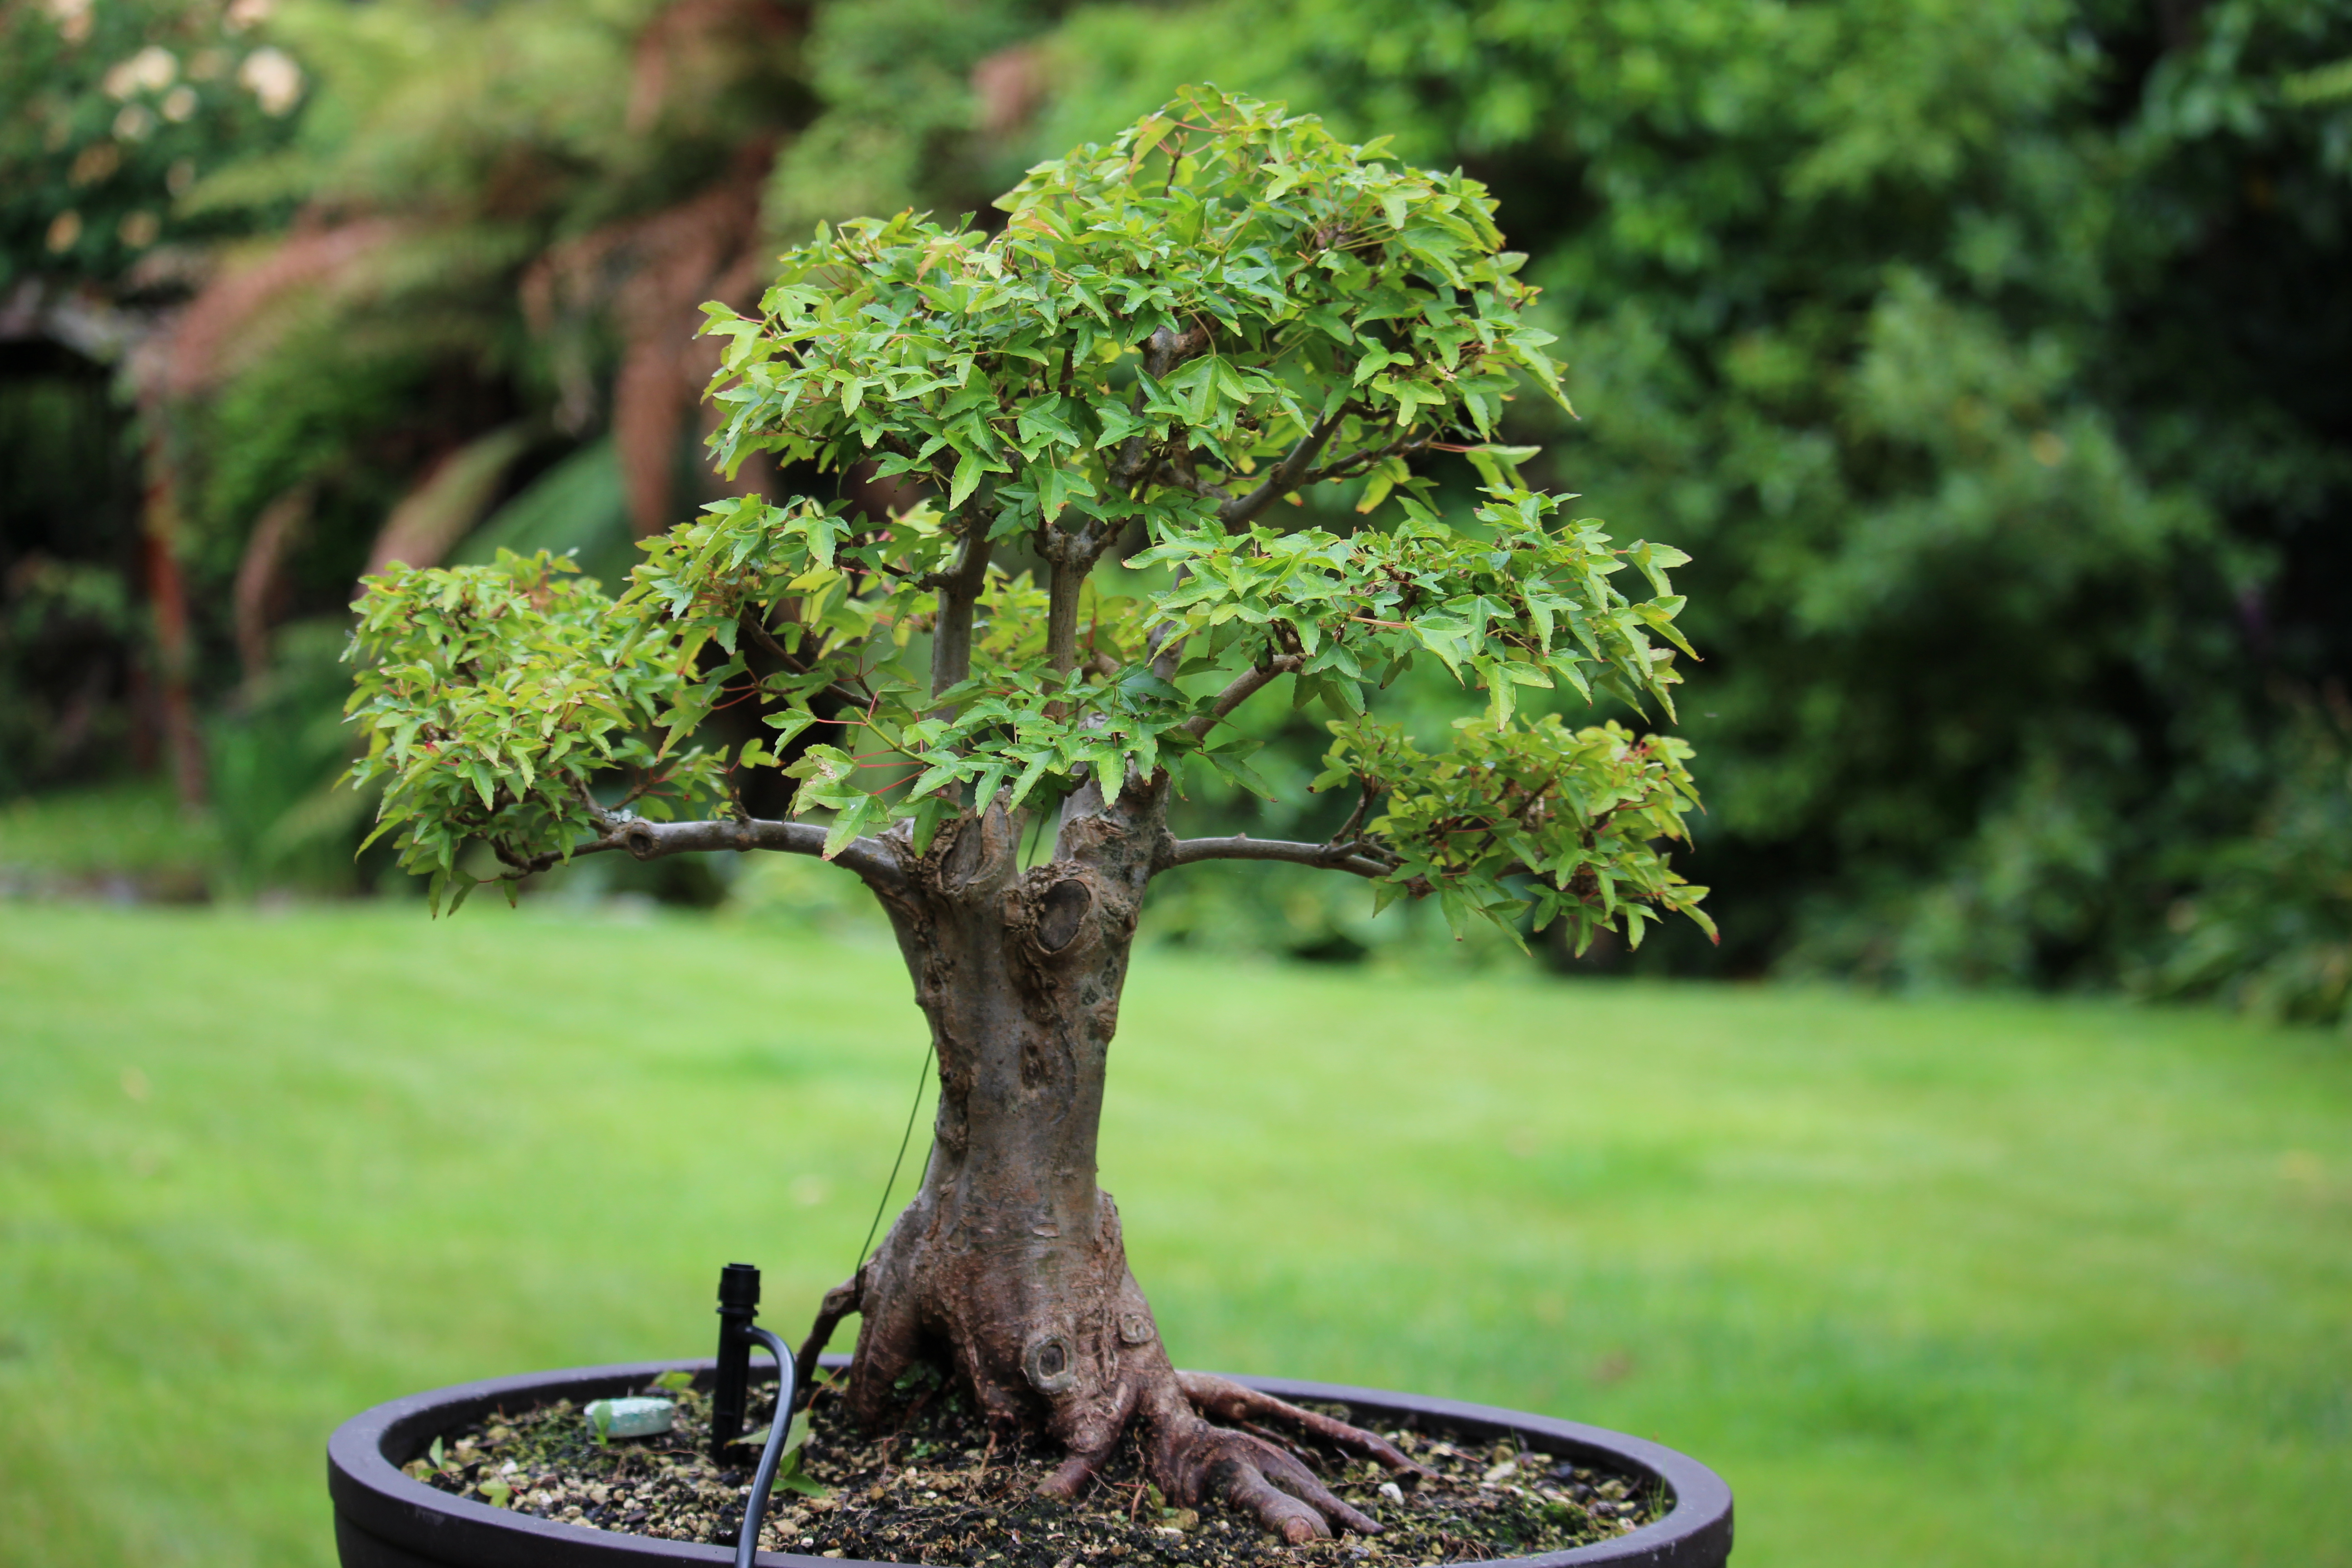
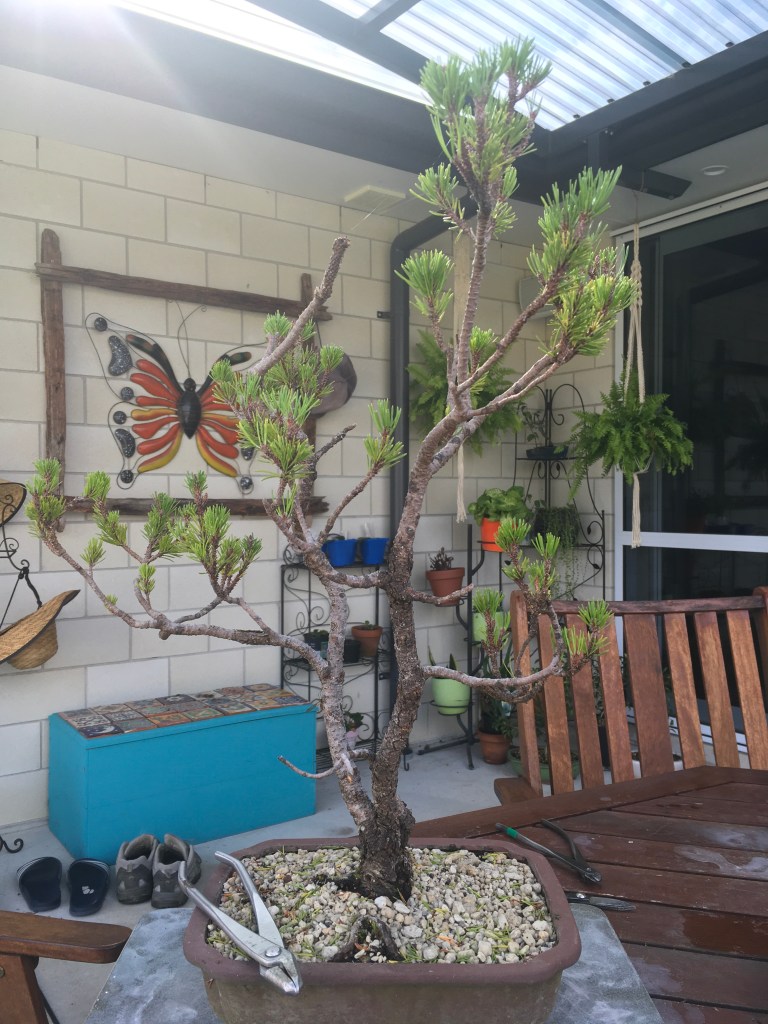
From a design perspective it is important to know something about the different styles or forms of Bonsai and by then adhering to the style “rules” in its purist form, simplicity in design will be shown. Part of this is to follow the basic shape and growth pattern of the original tree if it comes from nature or has been in a pot for a long time. Radically changing the shape or form of a tree away from its natural flow, can not only stress the tree, but also lead to a quite complicated design that might need constant maintenance or interference to keep it in that shape. This means that the tree is kept under stress for a longer period of time.

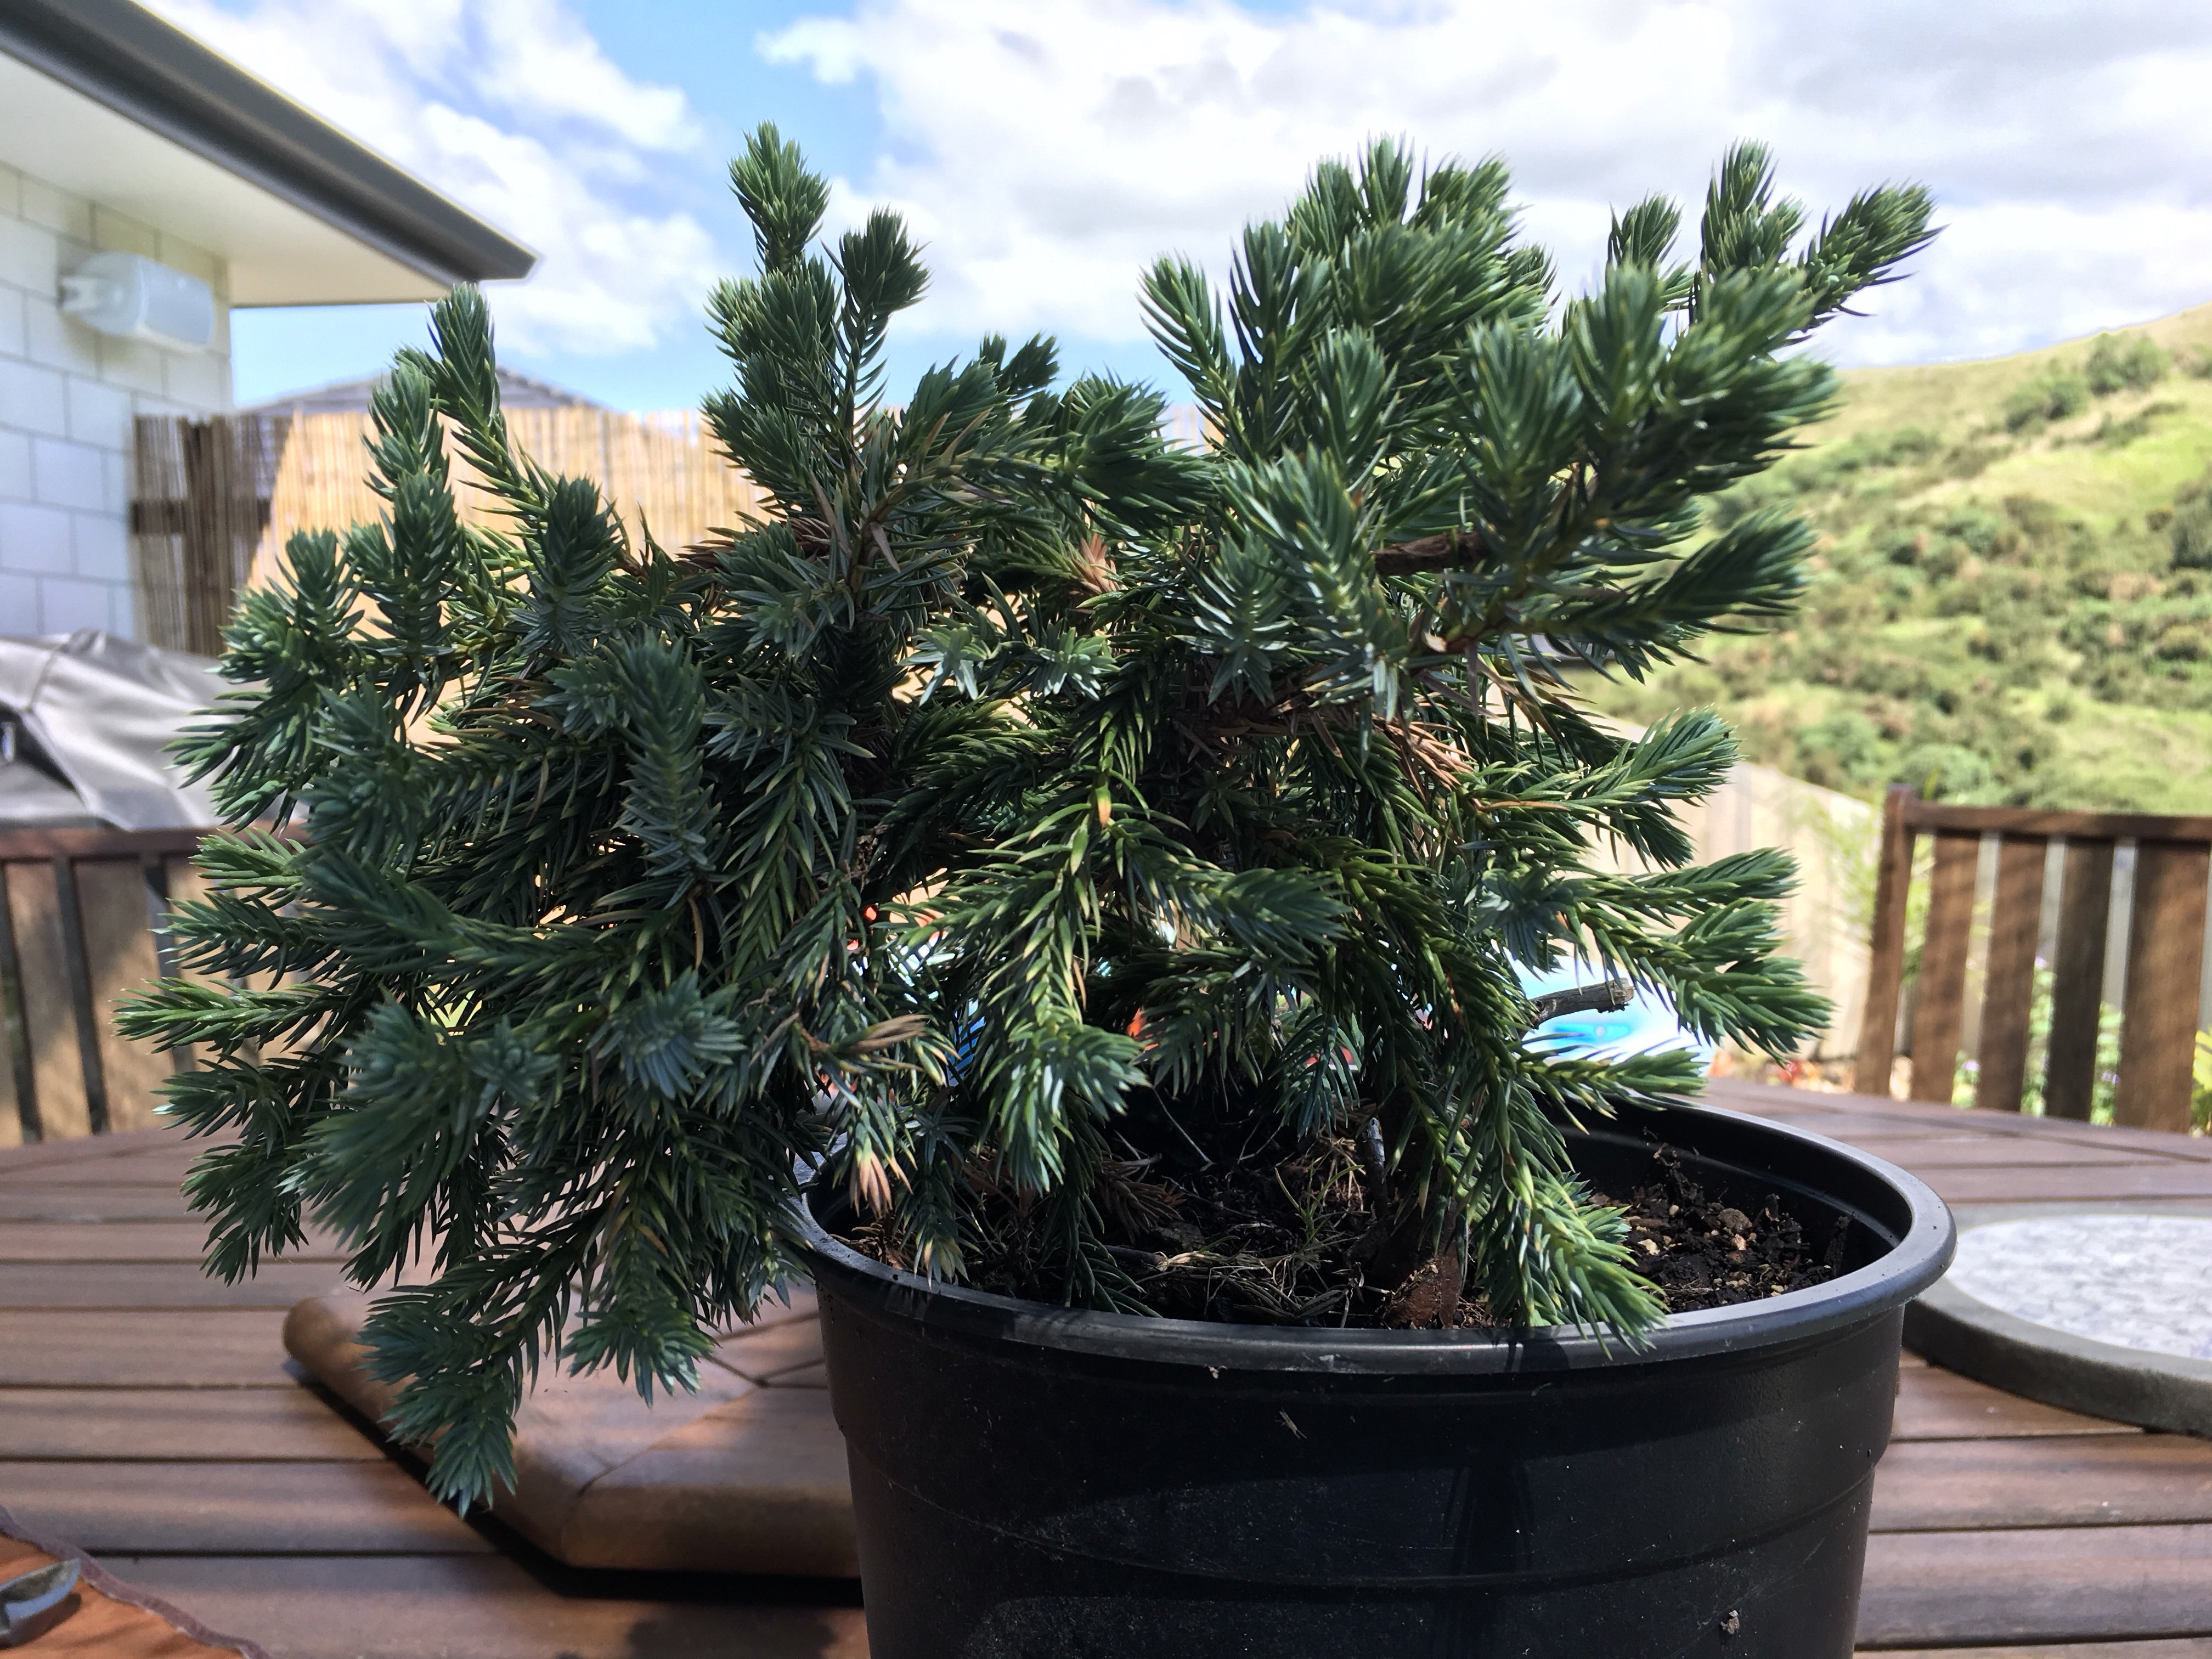
A tree that does not show these characteristics or one that can be shaped from seedling or cutting stage will be easier to shape and still adhere to the concept of simplicity. What does this look like?

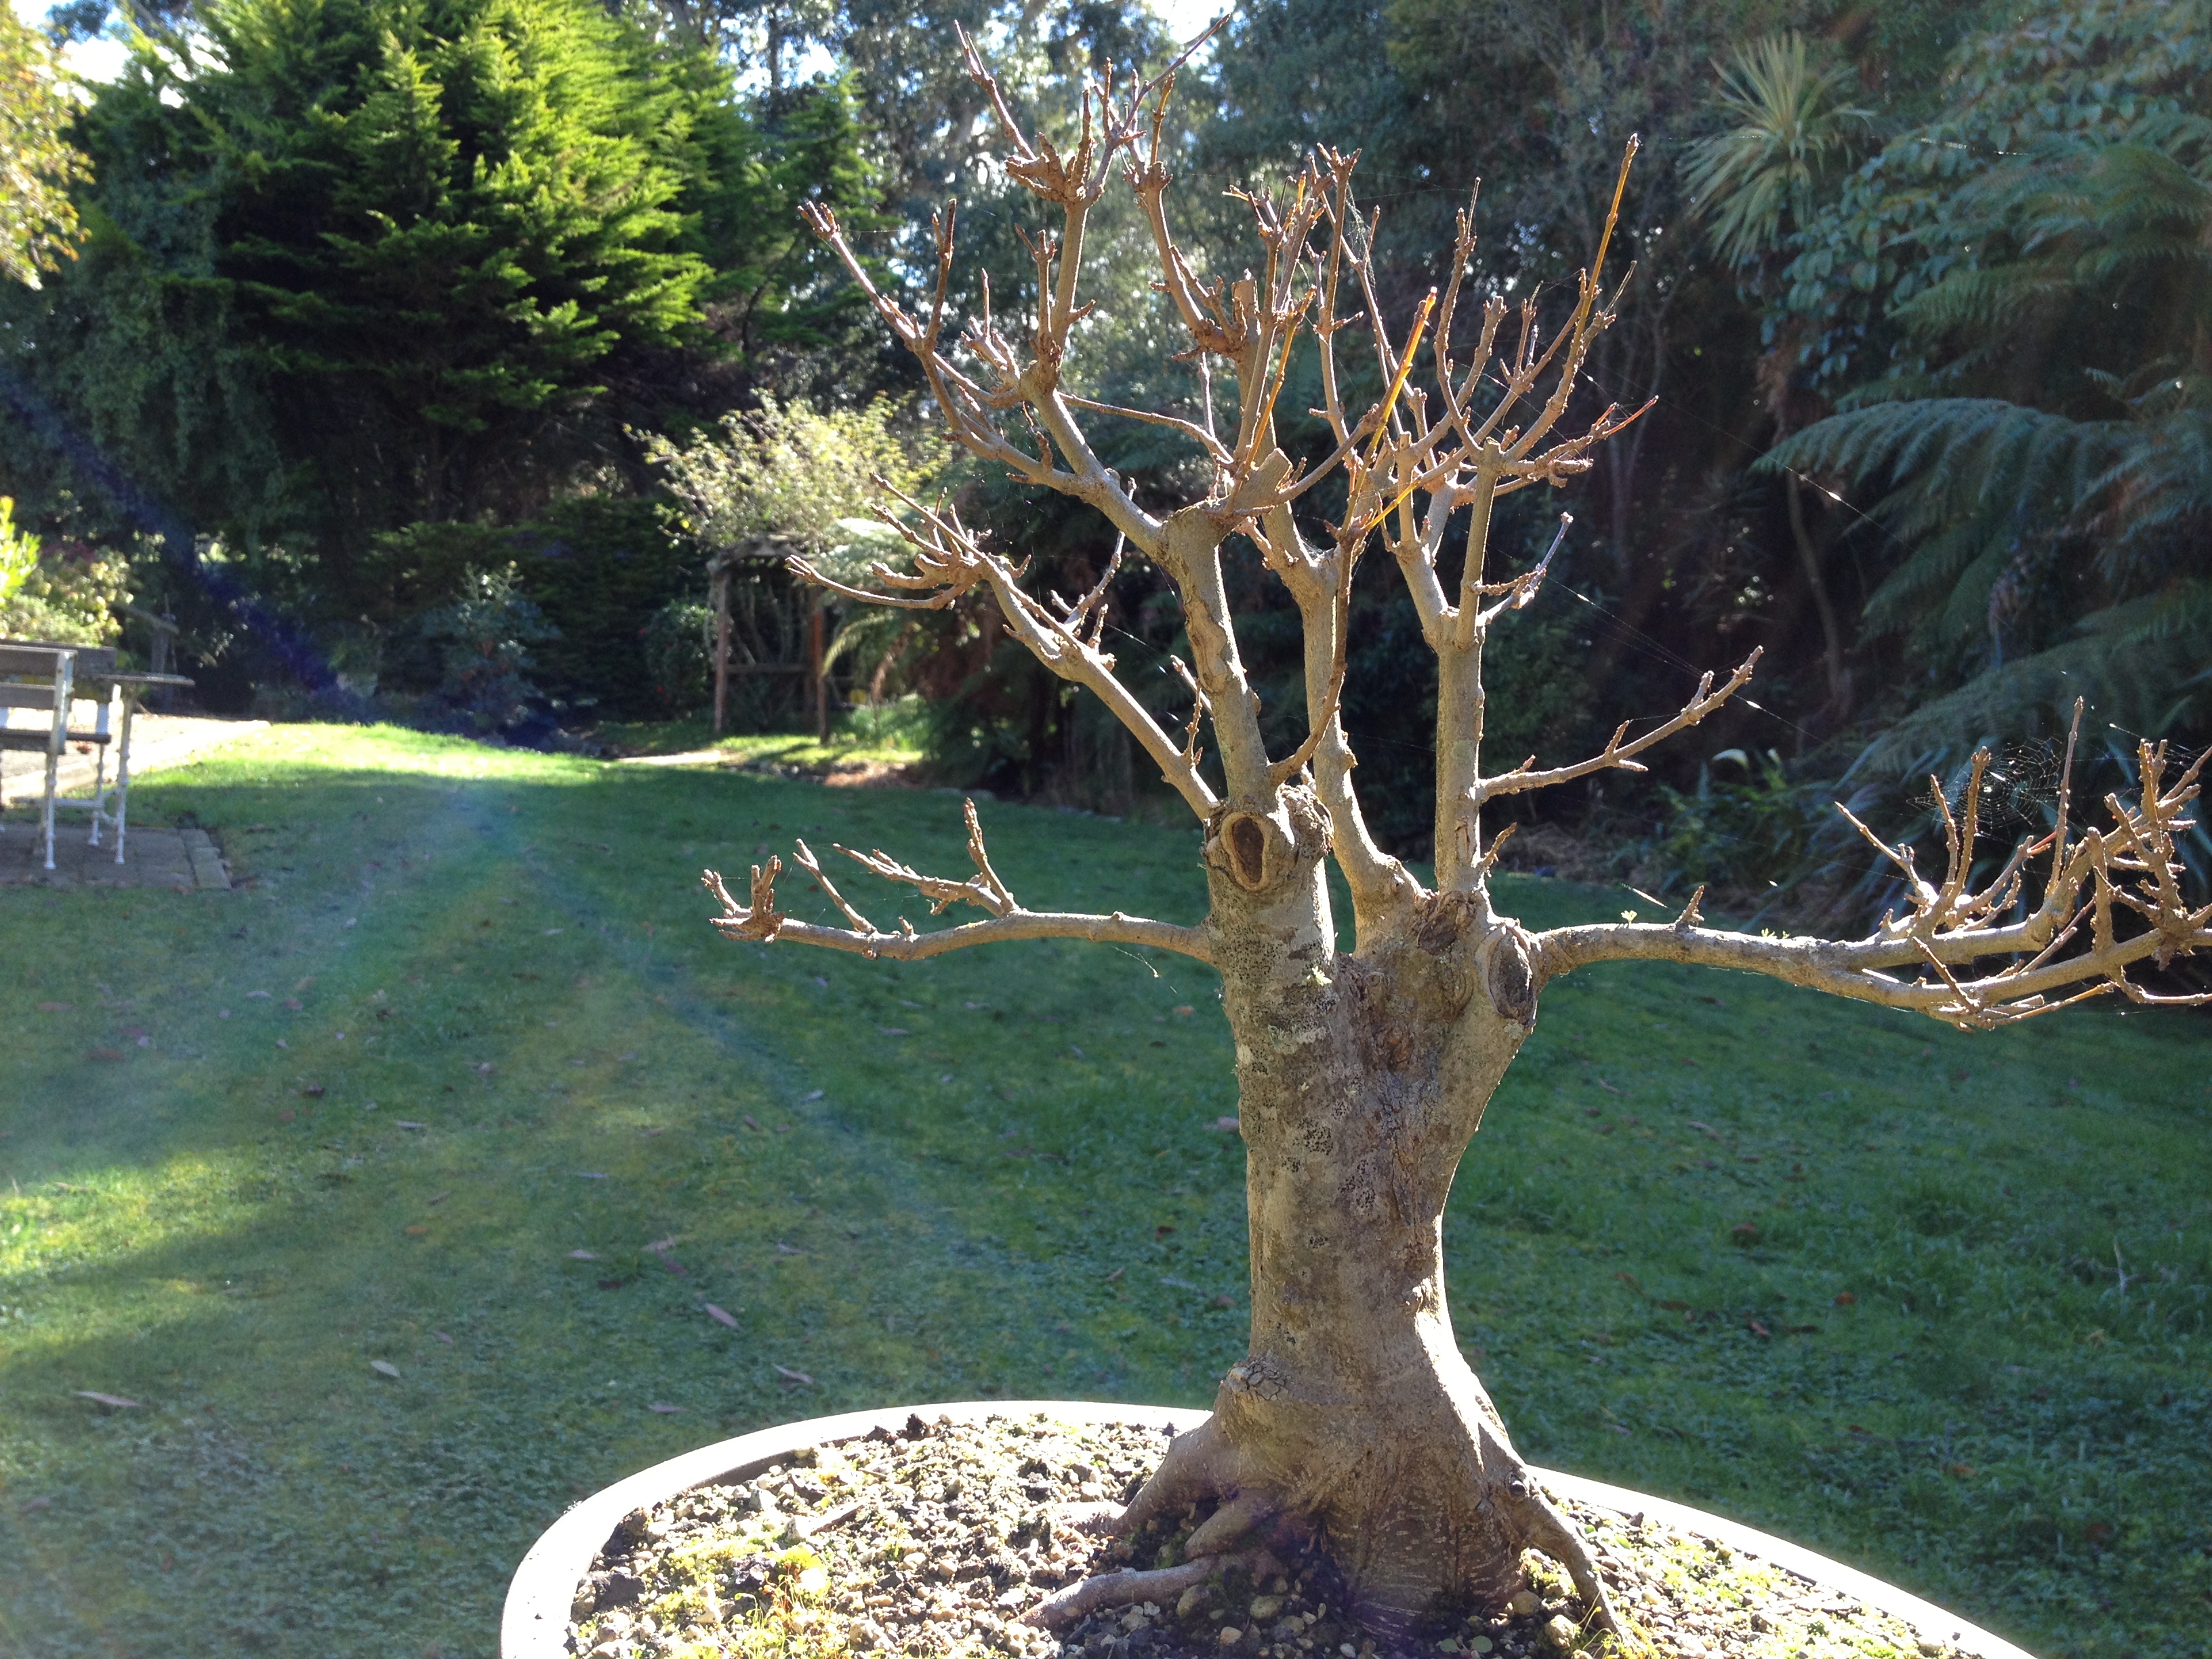
  • Establish a flared, radial root system growing from a wider buttress and is exposed at soil level.
  • From here a gradually tapering trunk will grow depending on the style.
  • The first branches will start about a third of the trunk height from the soil and will alternatively grow on two sides of the trunk with every third one to wards the back.
  • These branches will gradually become shorter and thinner as you move towards the top or apex of the tree.
  • The apex could be in-line with the nebari or base of the trunk.
  • Finer branches are grouped to allow the leaves or needles to form “foliage clouds”.
  • Empty spaces or the spaces between the branches will balance the tree to form a whole or one unit to look at.

That is bonsai design at its simplest or most basic. We do know that it is never that simple. Branches do not necessarily grow in that pattern and nature sometimes play cruel tricks on plants (this could be great for Bonsai) to alter growth patterns and directions. This is where the artist comes in and it leads to a second quote from a photography resource:

“Photography is not looking, it is feeling. If you cannot feel what you are looking at, then you are never going to get others to feel anything when they look at your pictures.”

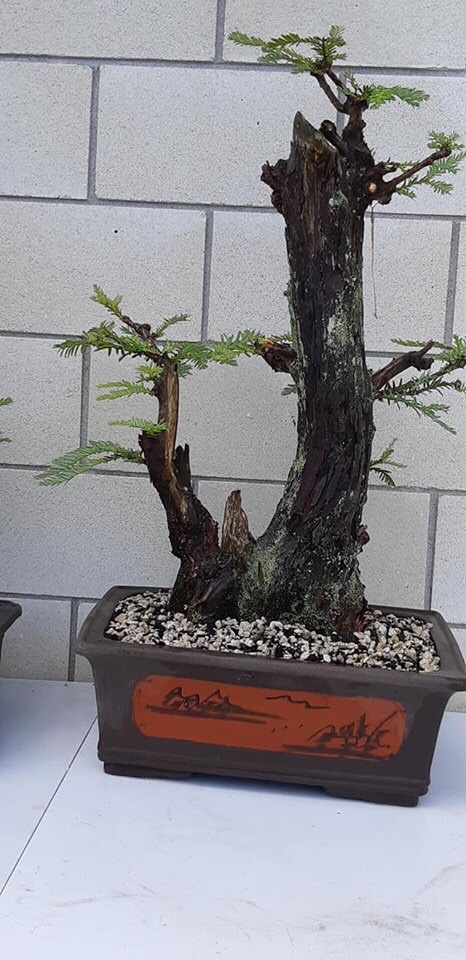
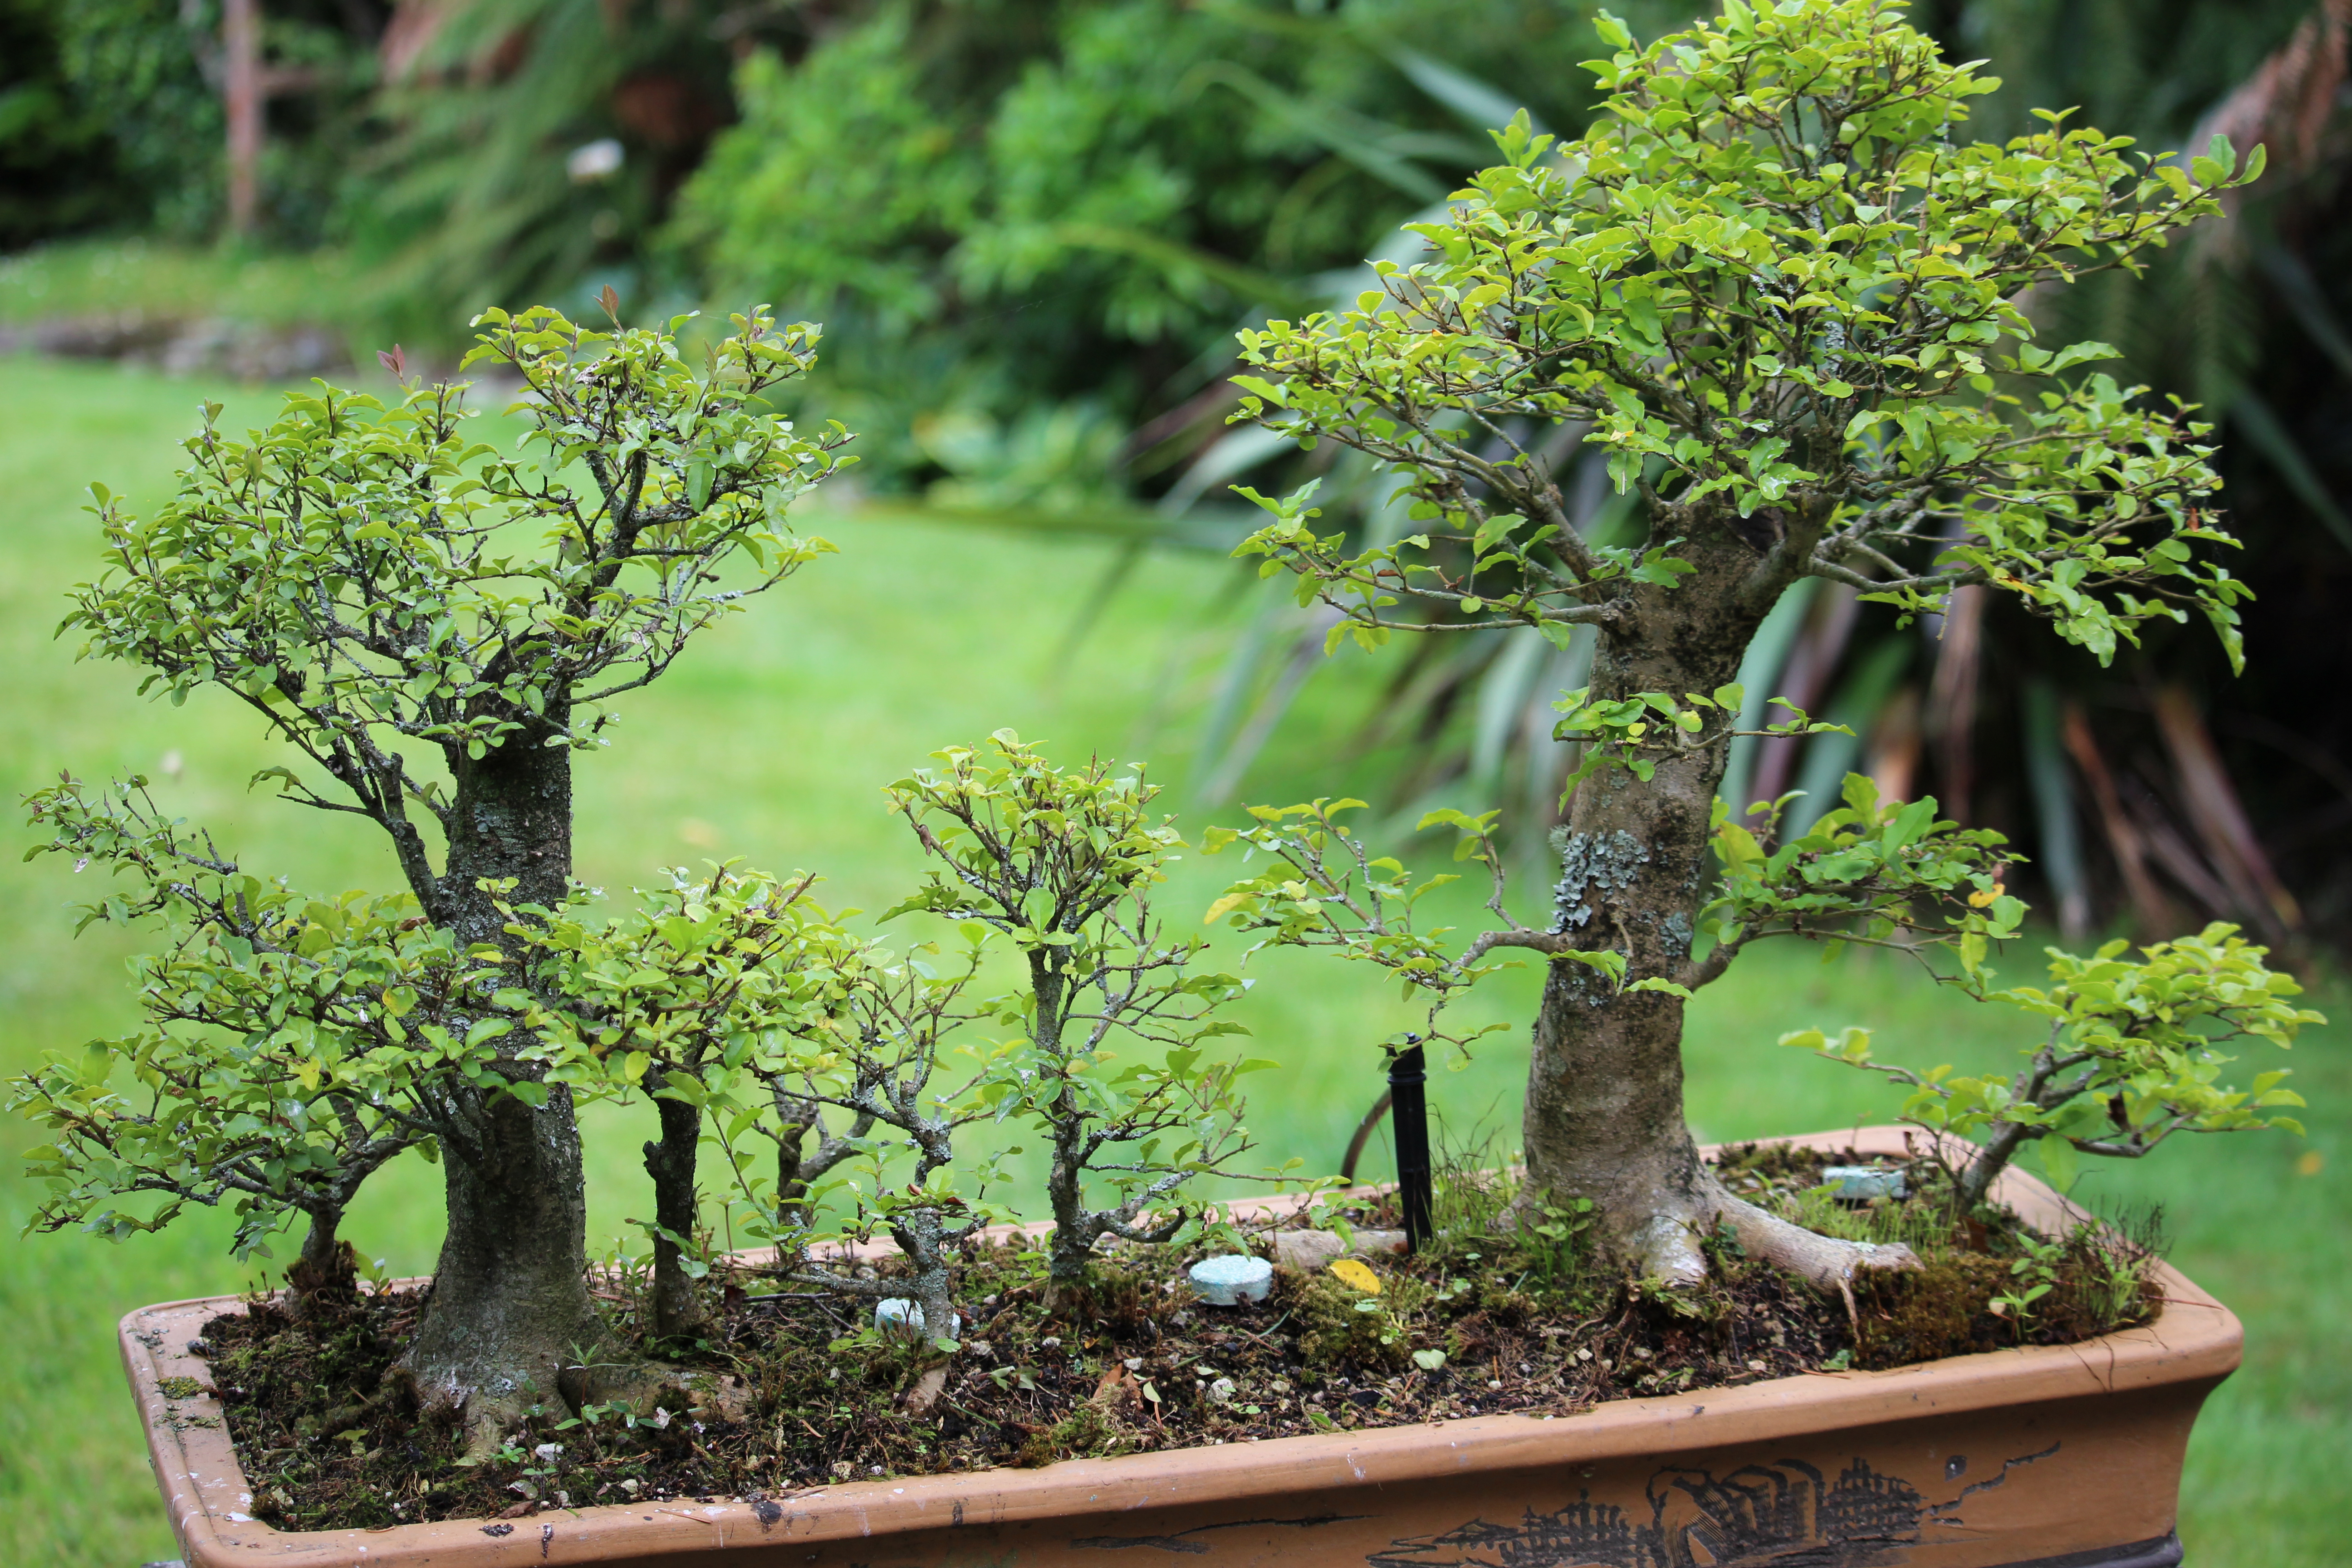
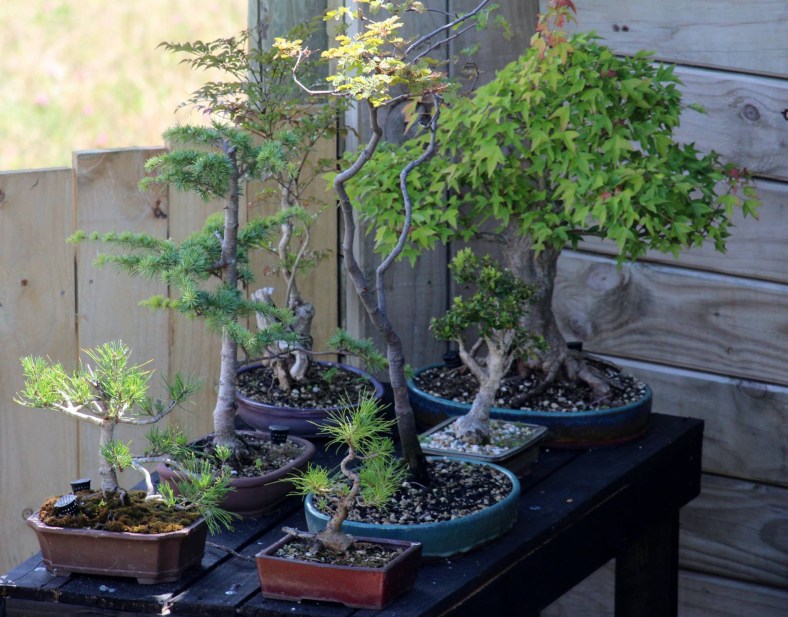
I am not too concerned about what other people think of my trees. I need to be moved or have an emotional reaction to a tree for it to make impact. I also do believe that it is this, the fact that a Bonsai tree can invoke a feeling, an emotional reaction, that makes it art. I also do believe that it is usually the simplicity in a design or form that triggers the higher emotion. Less is more. Wabi-sabi. Literati. The emotion of a trees that looks old, feels old, shows character, fits its pot and as a whole make you stand still and study it, is a piece of art.

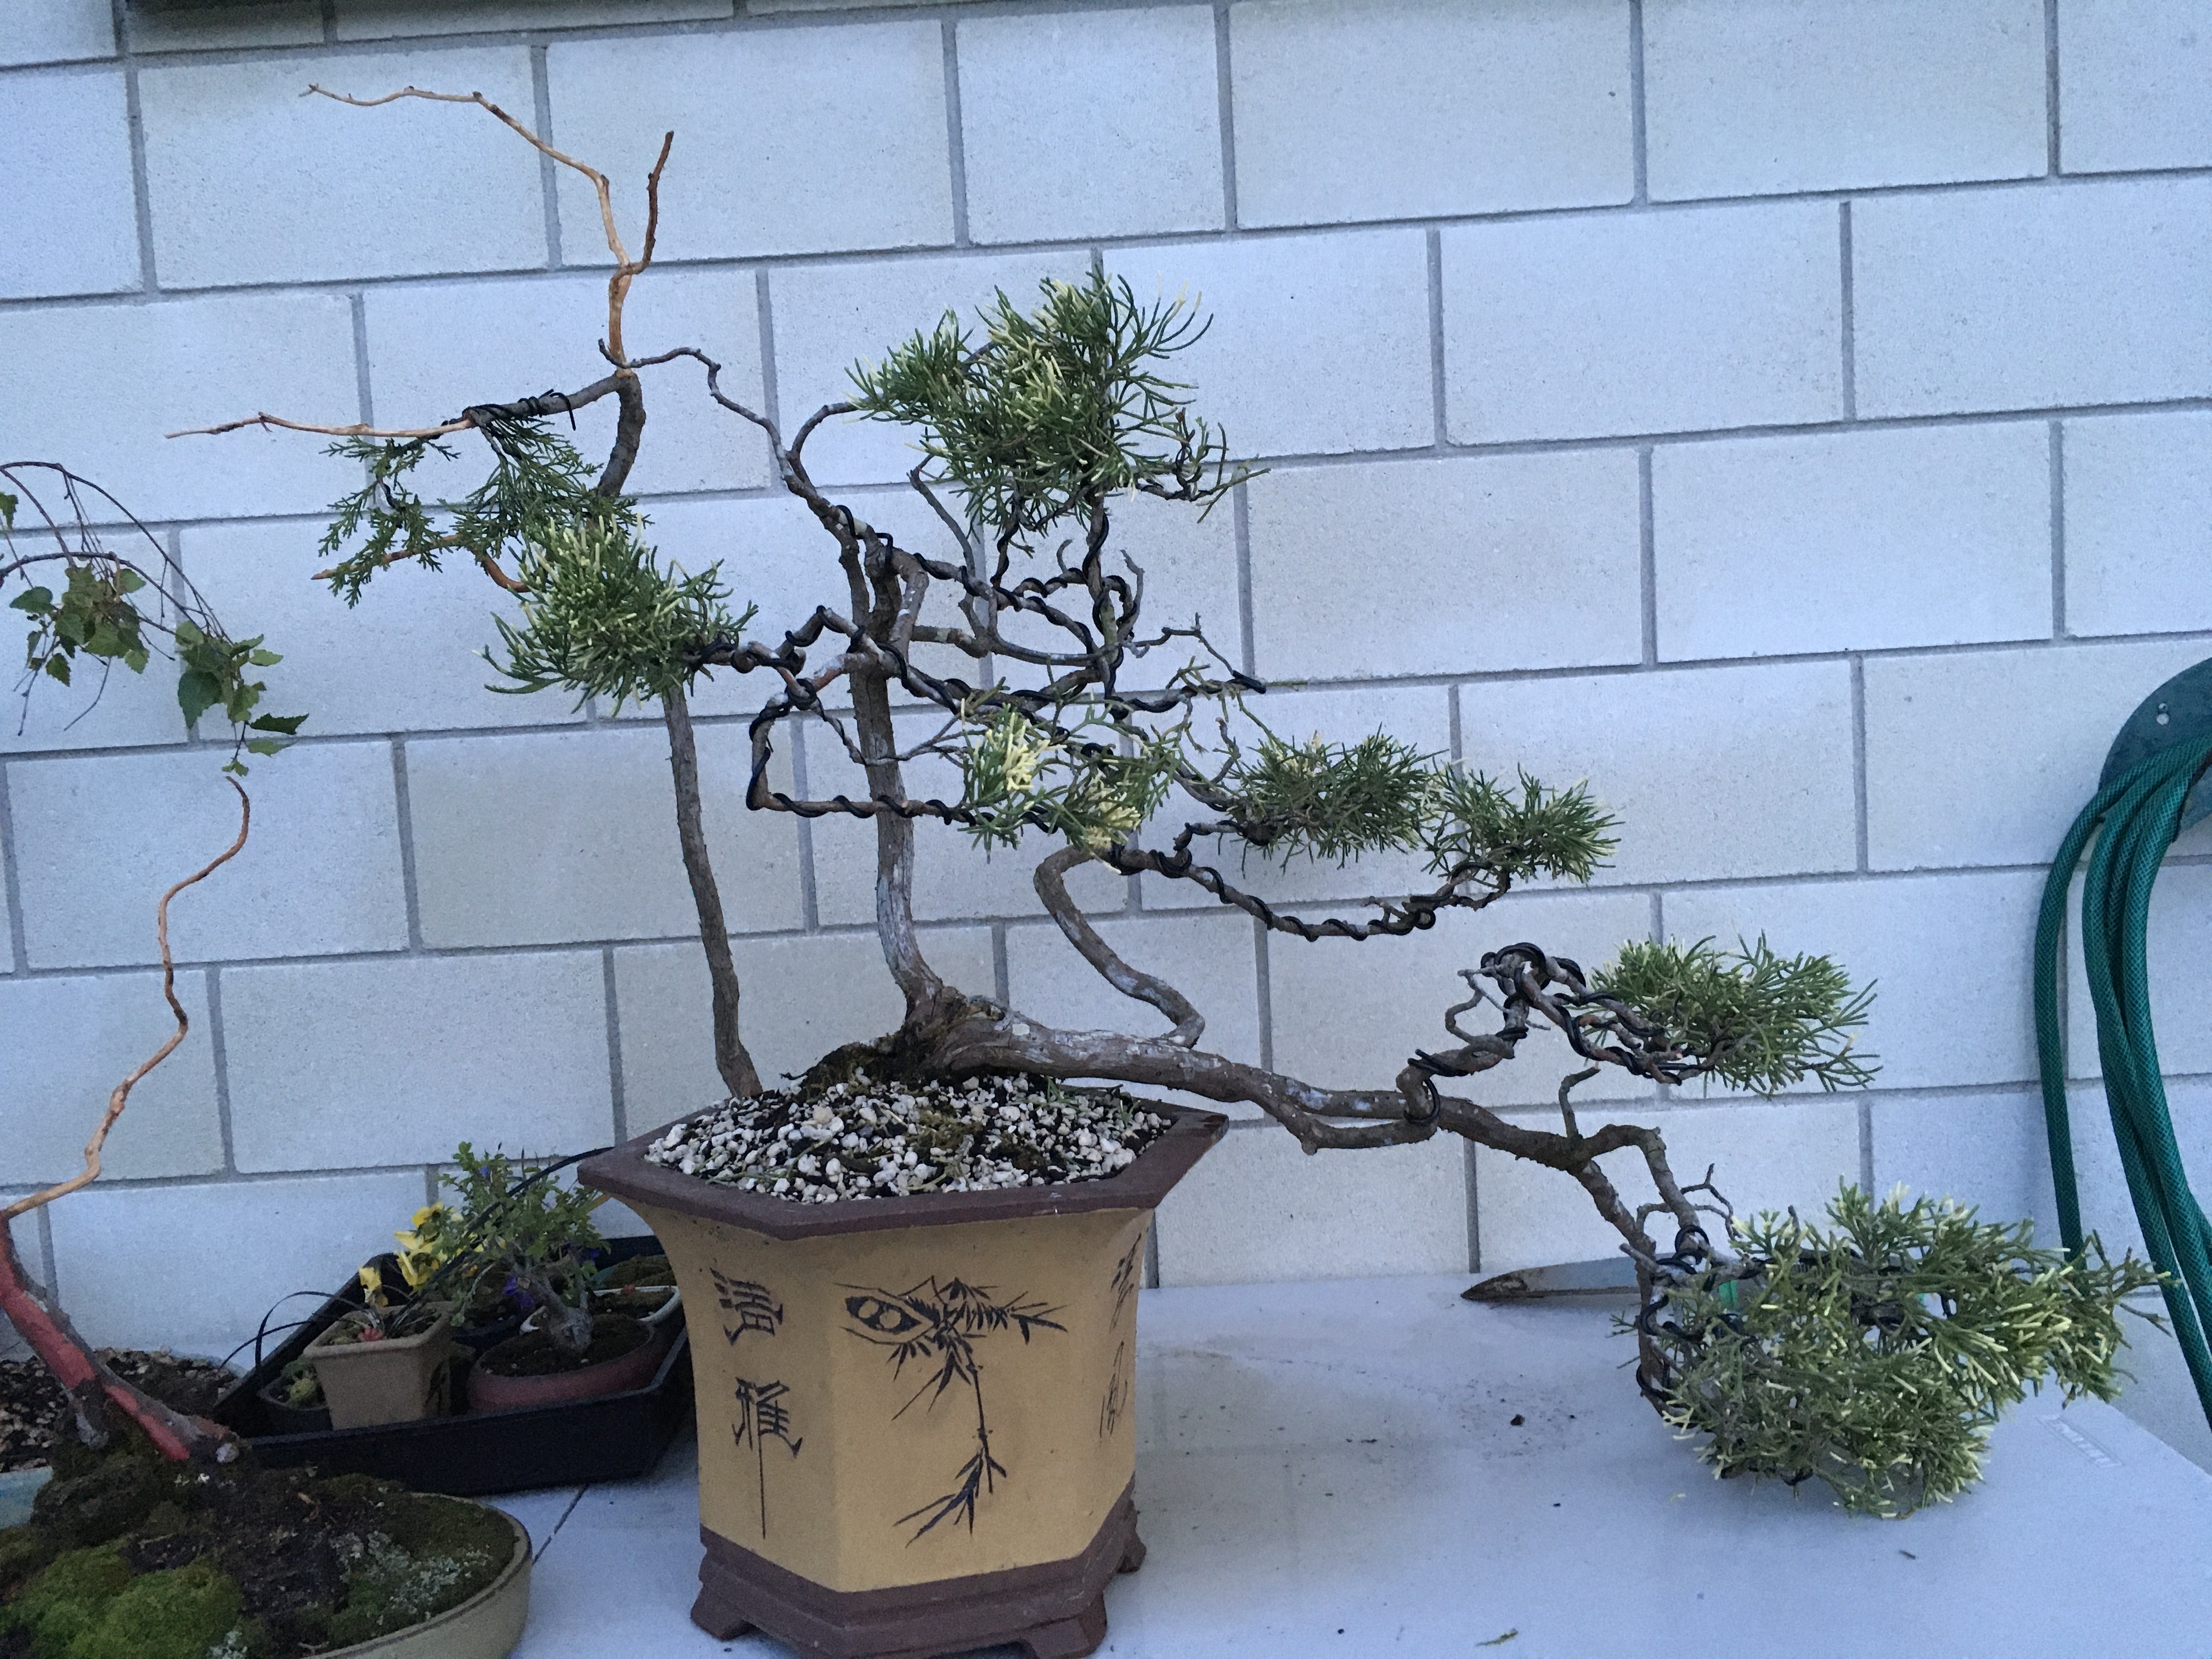
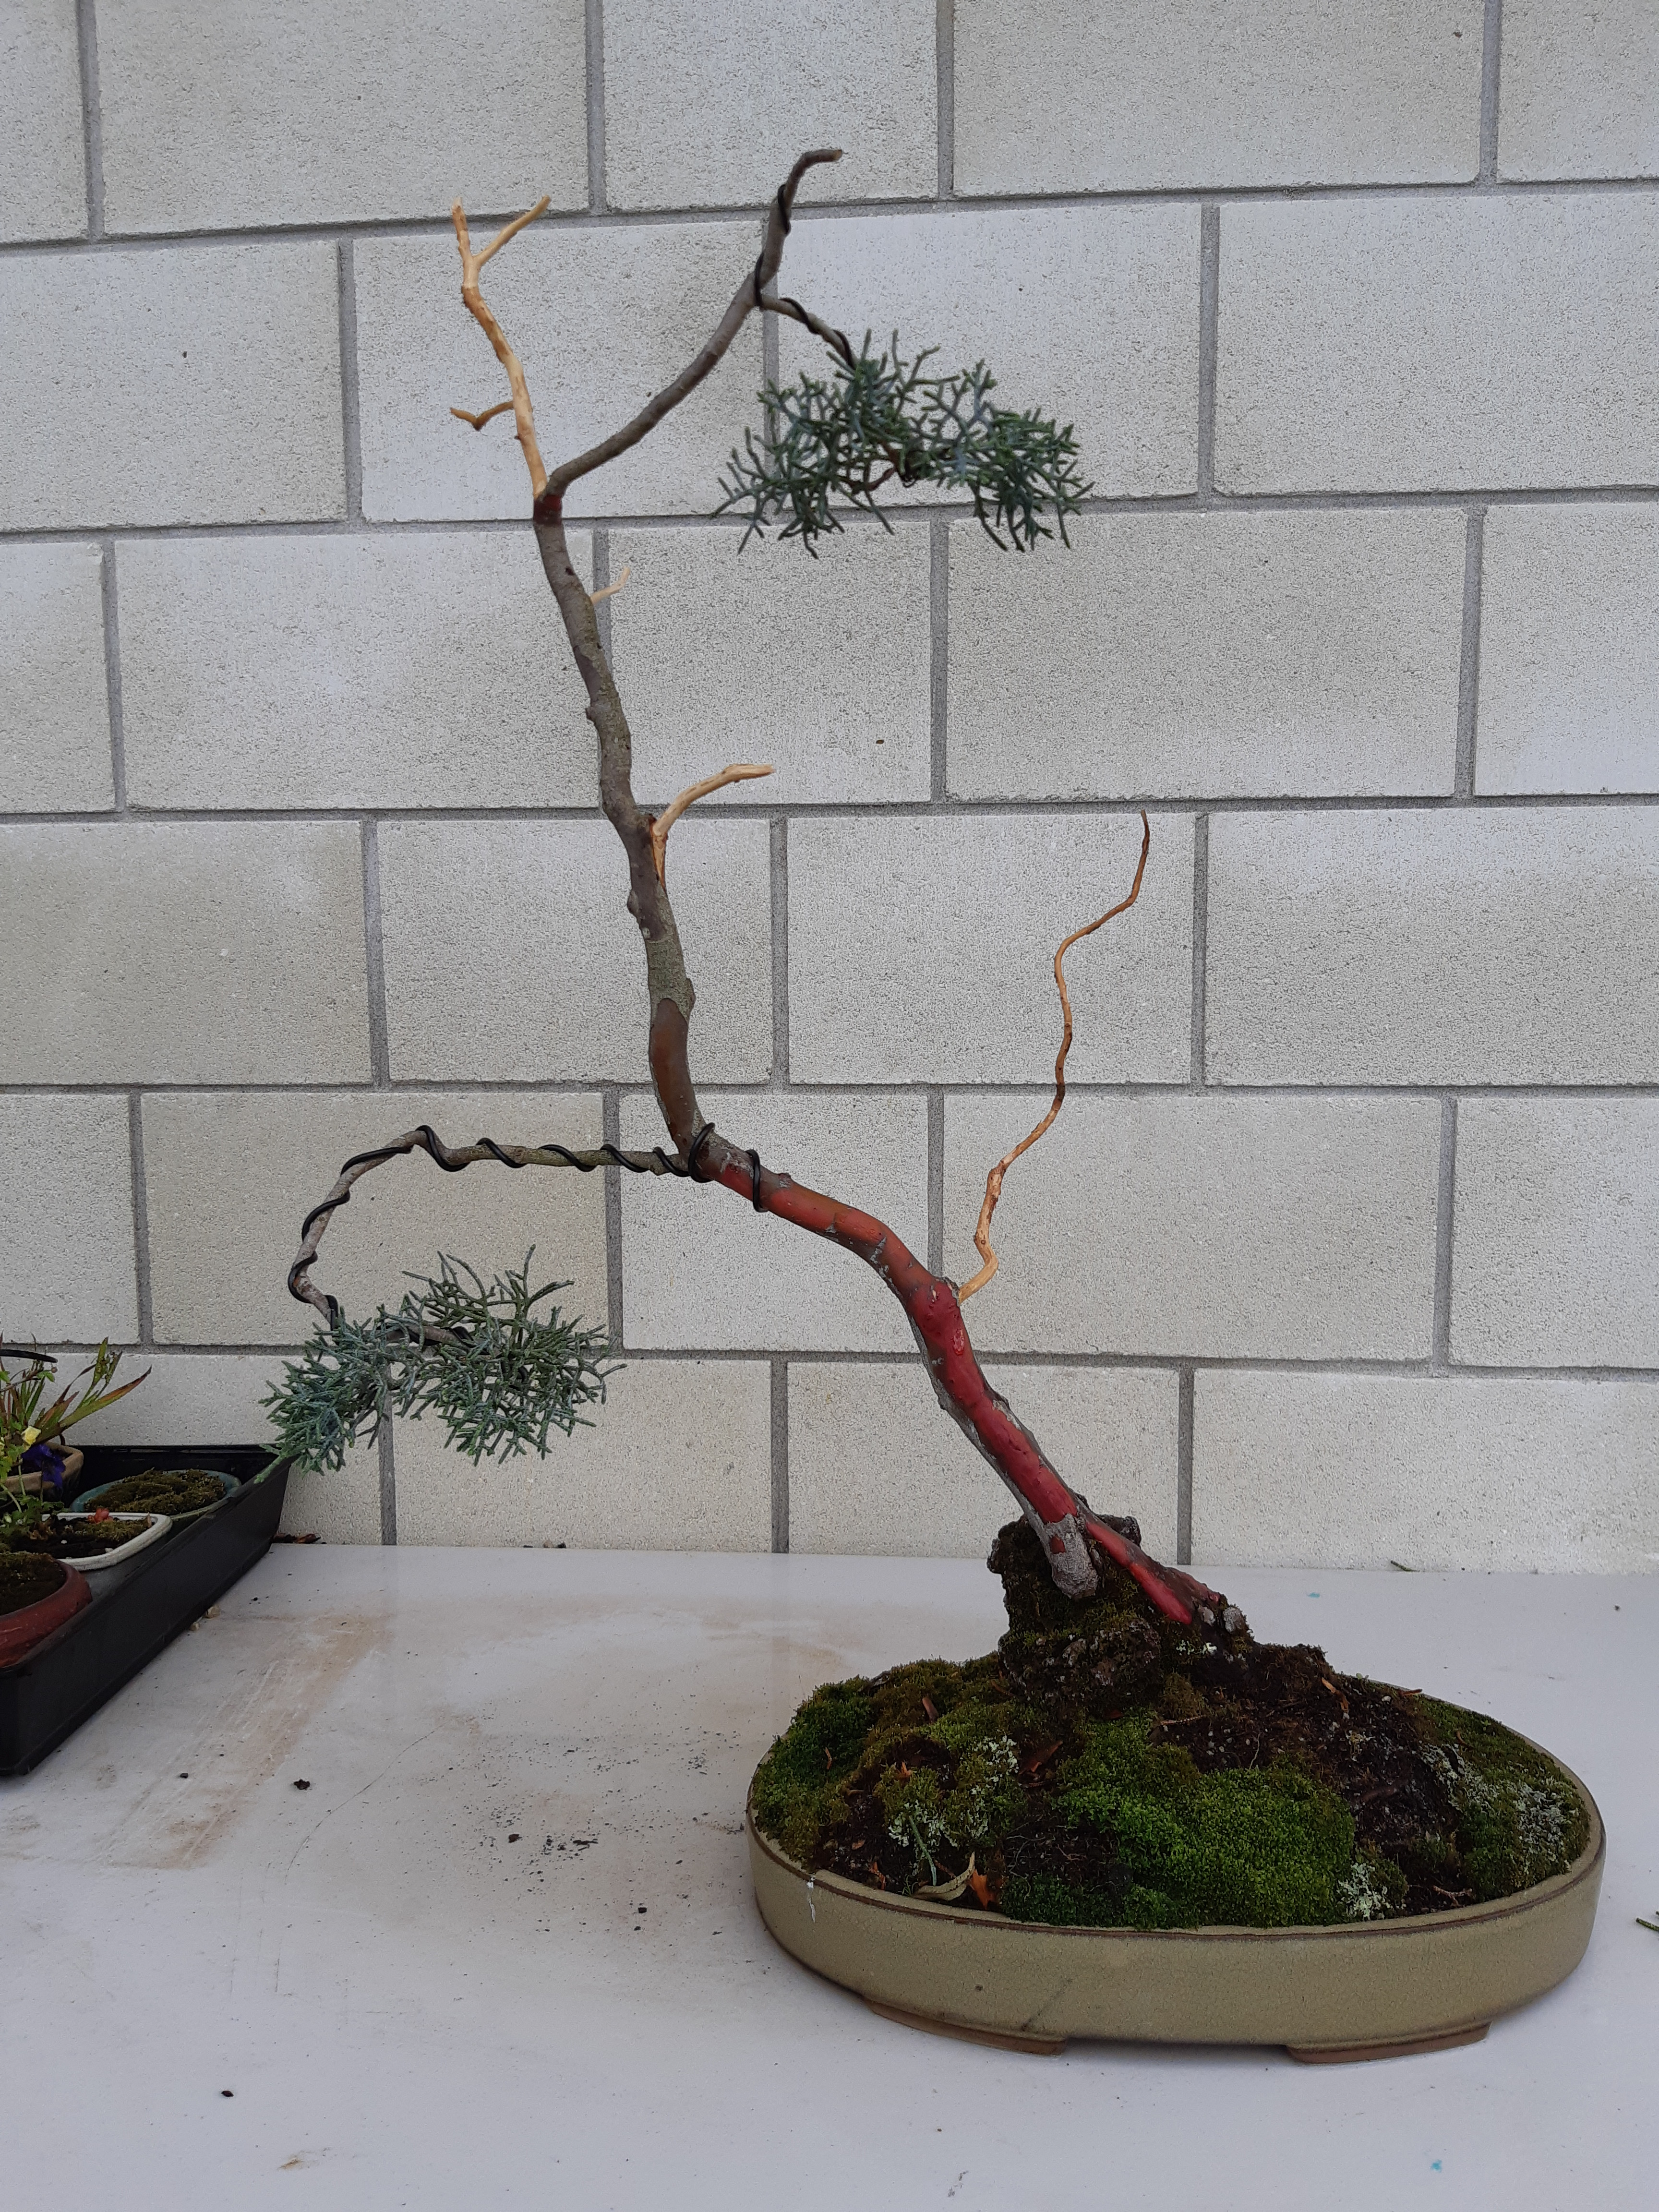
A lot of very complicated designs, excruciating bending, very heavy wire and at times heavy machinery (not really, just power tools), are used to get a tree to look like a Bonsai tree. Is this part of our instant generation? It has its place under the right conditions. I just wonder whether going back to the original simplistic view of Bonsai, the pure meaning behind the art form and taking a longer view or approach to the development of the tree, might not stir a stronger emotional reaction and make more people fall in love (also known as addiction) with this pure, simple and very rich art form.

What do you think?

Newbie Bonsai Help.

It is very common to see a photo of a seedling or small nursery stock on social media with the following comment: “I am new to Bonsai, please help with advice”. Where to start? What the follows is a number of people writing one liners or a bit more with a genuine interest to help.

I have been demonstrating and teaching Bonsai now for many years and am following what I think is a logical series of steps to enable the new Bonsai enthusiast to work towards a specific goal. It is almost paint by numbers, but in the absence of knowledge and skills, it is the best way to get the basics across in a short period of time. Here are the steps:

  • Unearth the topsoil to look at surface roots.
  • Determine the front of the tree.
  • Decide on a natural flow of the trunk dependent on the style envisaged.
  • Decide which branches / side shoots to keep.
  • Remove excess branches and foliage.
  • Some of these can be selected for deadwood (jin).
  • Create Jin.
  • Wire main trunk if required.
  • Bend trunk to desired shape.
  • Wire branches into position.
  • Clean hanging foliage up.

Each of these steps require a lot of knowledge to get to the end result. This is part of the conversation as the design unfolds. Small nursery material can take up to three hours to style with a new enthusiast in a workshop situation. The hands-on work takes only about thirty minutes to complete, but the explanations and answering of questions, in my mind the most important part, takes up a lot of time.

This Juniper is nursery stock and is 20cm high from the top of the soil. It has been standing around here for a year or so and received very little attention.

The first step is to scrape some of the soil away to see if there are any prominent, larger roots that can help to make a decision about the front / viewing side of the tree. In this case it only contained a whole lot of fine fibrous roots.

It is therefore now up to the trunk line to give an indication of what could be a possible front. For newcomers, we usually look for good movement and flow.

Once the best angle is determined to show things like flow and movement as well as taper or interesting features, it is marked and excess branches and foliage can be removed to reveal the trunk line. The conversation at this stage will include things like removing branches growing from the same height, branches on inside curves and crossing branches.

Some of the branches are identified as possible deadwood branches and these are kept a bit longer. Bark is then removed.

All of these steps have cleared the path for the trunk to be wired. Just the basic of wiring is explained and demonstrated at this stage as this skill is seen as a bit more advanced for a newbie. I think it is important to allow the person to start on their wiring pathway as it is an integral part of Bonsai design. As said, we stick to the basics at this point. It is more important to talk about design and flow at this point.

The branches can now be wired.

The next step is to place the branches in position while a conversation about safe bending takes place. Overall tree health is emphasized at all times. Once the placement is done, excess foliage, especially those growing downwards or upwards is removed. The concept of foliage pads is also touched upon. I find it is important to at this stage point things out like depth (back branches) and negative space. These are all explored ta more advanced workshops.

The last part of the workshop is focused on future growth, the role on foliage in feeding the plant (photosynthesis) and then the very important aftercare of the tree. Protection of small buds and the removal of older foliage as the tree buds over the next few months is discussed as well as feeding requirements and protection over the next month or so.

Potting, root management, carving, severe bending and more advanced wiring techniques are all part of more advanced techniques to be covered at advanced workshops.

Juniper Progress.

This Juniper was lifted in June 2015 and planted in a plastic container. It came from a garden and was planted in a very sandy soil which came away during the lifting process. It was basically bare-rooted at the time which in my mind was not ideal at the time. I did bring some of the soil with me to add to the new mix with the hope that it contained some michoriza. At this stage I also removed some of the long, whippy branches with very little foliage on it to try and balance the foliage to root ratio.

From this point on it was watered and fertilised and received plenty of sun. A few branches died over the next twelve months, but plenty of new growth showed as well. All of this was of the needle type and then reverted to adult growth. The tree was also planted into a Bonsai pot at which time the roots were reduced a bit.

I had to move my trees three in the last six months. First from a colder, wetter part of New Zealand to an almost subtropical climate. The first place was a temporary place while we were shifting our household, then to a rental until we shifted into our own house three months later. Eighteen months after the lifting (January 2018) it was time for its first styling. Deadwood was created on the cut branches and then the wiring started. This took about six hours with not more than two hours done per day. I find it is best to start at the bottom of the tree and then work towards the apex of the tree. I have just used aluminium wire and varies from 1mm thickness to 4mm thickness. Quite a few guy wires were used to pull larger branches down. I use plastic tubing to protect the branches. Due to a few harsh bends, light cracks appeared and these were sealed with cut paste.

Now it is time to let it rest. Water and fertilise, keep an eye on the wire to prevent it from cutting in give it plenty of sun. It could be show ready in about three years. The foliage pads must mature and I have left a bit of new growth on the main branch from where another branch or two can be formed to fill some gaps.

Some of the Jin are too long, but I will leave it as it is for now. It is better to shorten them later. It is not that simple to make deadwood longer later. Lime Sulphur will also be applied later after some carving, burning and light sanding.

I like to study my trees from the top as I used to style very flat trees in the past. Probably because I look at too many trees in photos. A top view shows you the depth of the tree.

I like to look at my trees from the top as I used to style very flat trees. Probably because I look at too many trees in photographs and this made my designs look very two dimensional and flat. From the top, it is easy to see the depth. You can do the same by looking at the tree from the side, but from the top you can also look for branches and foliage pads shadowing the ones below them.

Maple Progression

This Acer stands 35 cm tall and is still very much in training. This photo was taken in May 2013 and it shows the tree in full Autumn splendor.

IMG_1235

Soon after this photo was taken the tree lost the last of its leaves and the branch structure can clearly be seen here.

IMG_1420

The branch on the right is too straight, but the tree does need a bit of width. The smaller branch above it still needs to grow to fill that gap. The three branches going almost straight up is also disturbing on the eye. What cannot be seen here is that the tree has very few back branches which means very little depth.

IMG_1899

Skip seven months and this photo is from the other side. A back branch has now been pulled down by the guy wire and the second branch on the left (previous photo right) is filling in nicely.

027

This photo was taken in December 2014.

5 April 2015 029

5 April 2015 030

There is now more width to the tree, but the vertical branches making up the apex have not been sorted yet. That is the next phase of development, a repot come spring and that will be in a smaller, more appropriate pot.

Privet Group Progression

Dawid 022

These trees were sourced from Fernvalley Bonsai in 2014 and they arrived all together in one timber crate. At that stage they had no leaves on them and they were transplanted into this long pot.

Dawid 247

This photo was taken towards the end of 2014. These trees have never had wire on them and have only been clipped. This is the other side of the photo above.

5 April 2015 058

This photo was taken on 5 April 2015. More development is needed on the lower branches on the tree on the left. These trees could be planted as individual trees come Spring with the smaller ones in a shallow pot as a forest. What do you think?