You are now bitten by the bug and you are well on your way to addiction and now you want to design, bend, shape, cut, wire and do all the other things to expand your growing collection. Yes, there is a lot of art to it, but you can get far by following a few basic steps. I call it my Bonsai Beginner’s Curriculum and have done many workshops based on these basic seven steps. It works well on nursery material as well as field lifted trees which have been planted and allowed to rest for at least a year. Here we go with the seven steps.

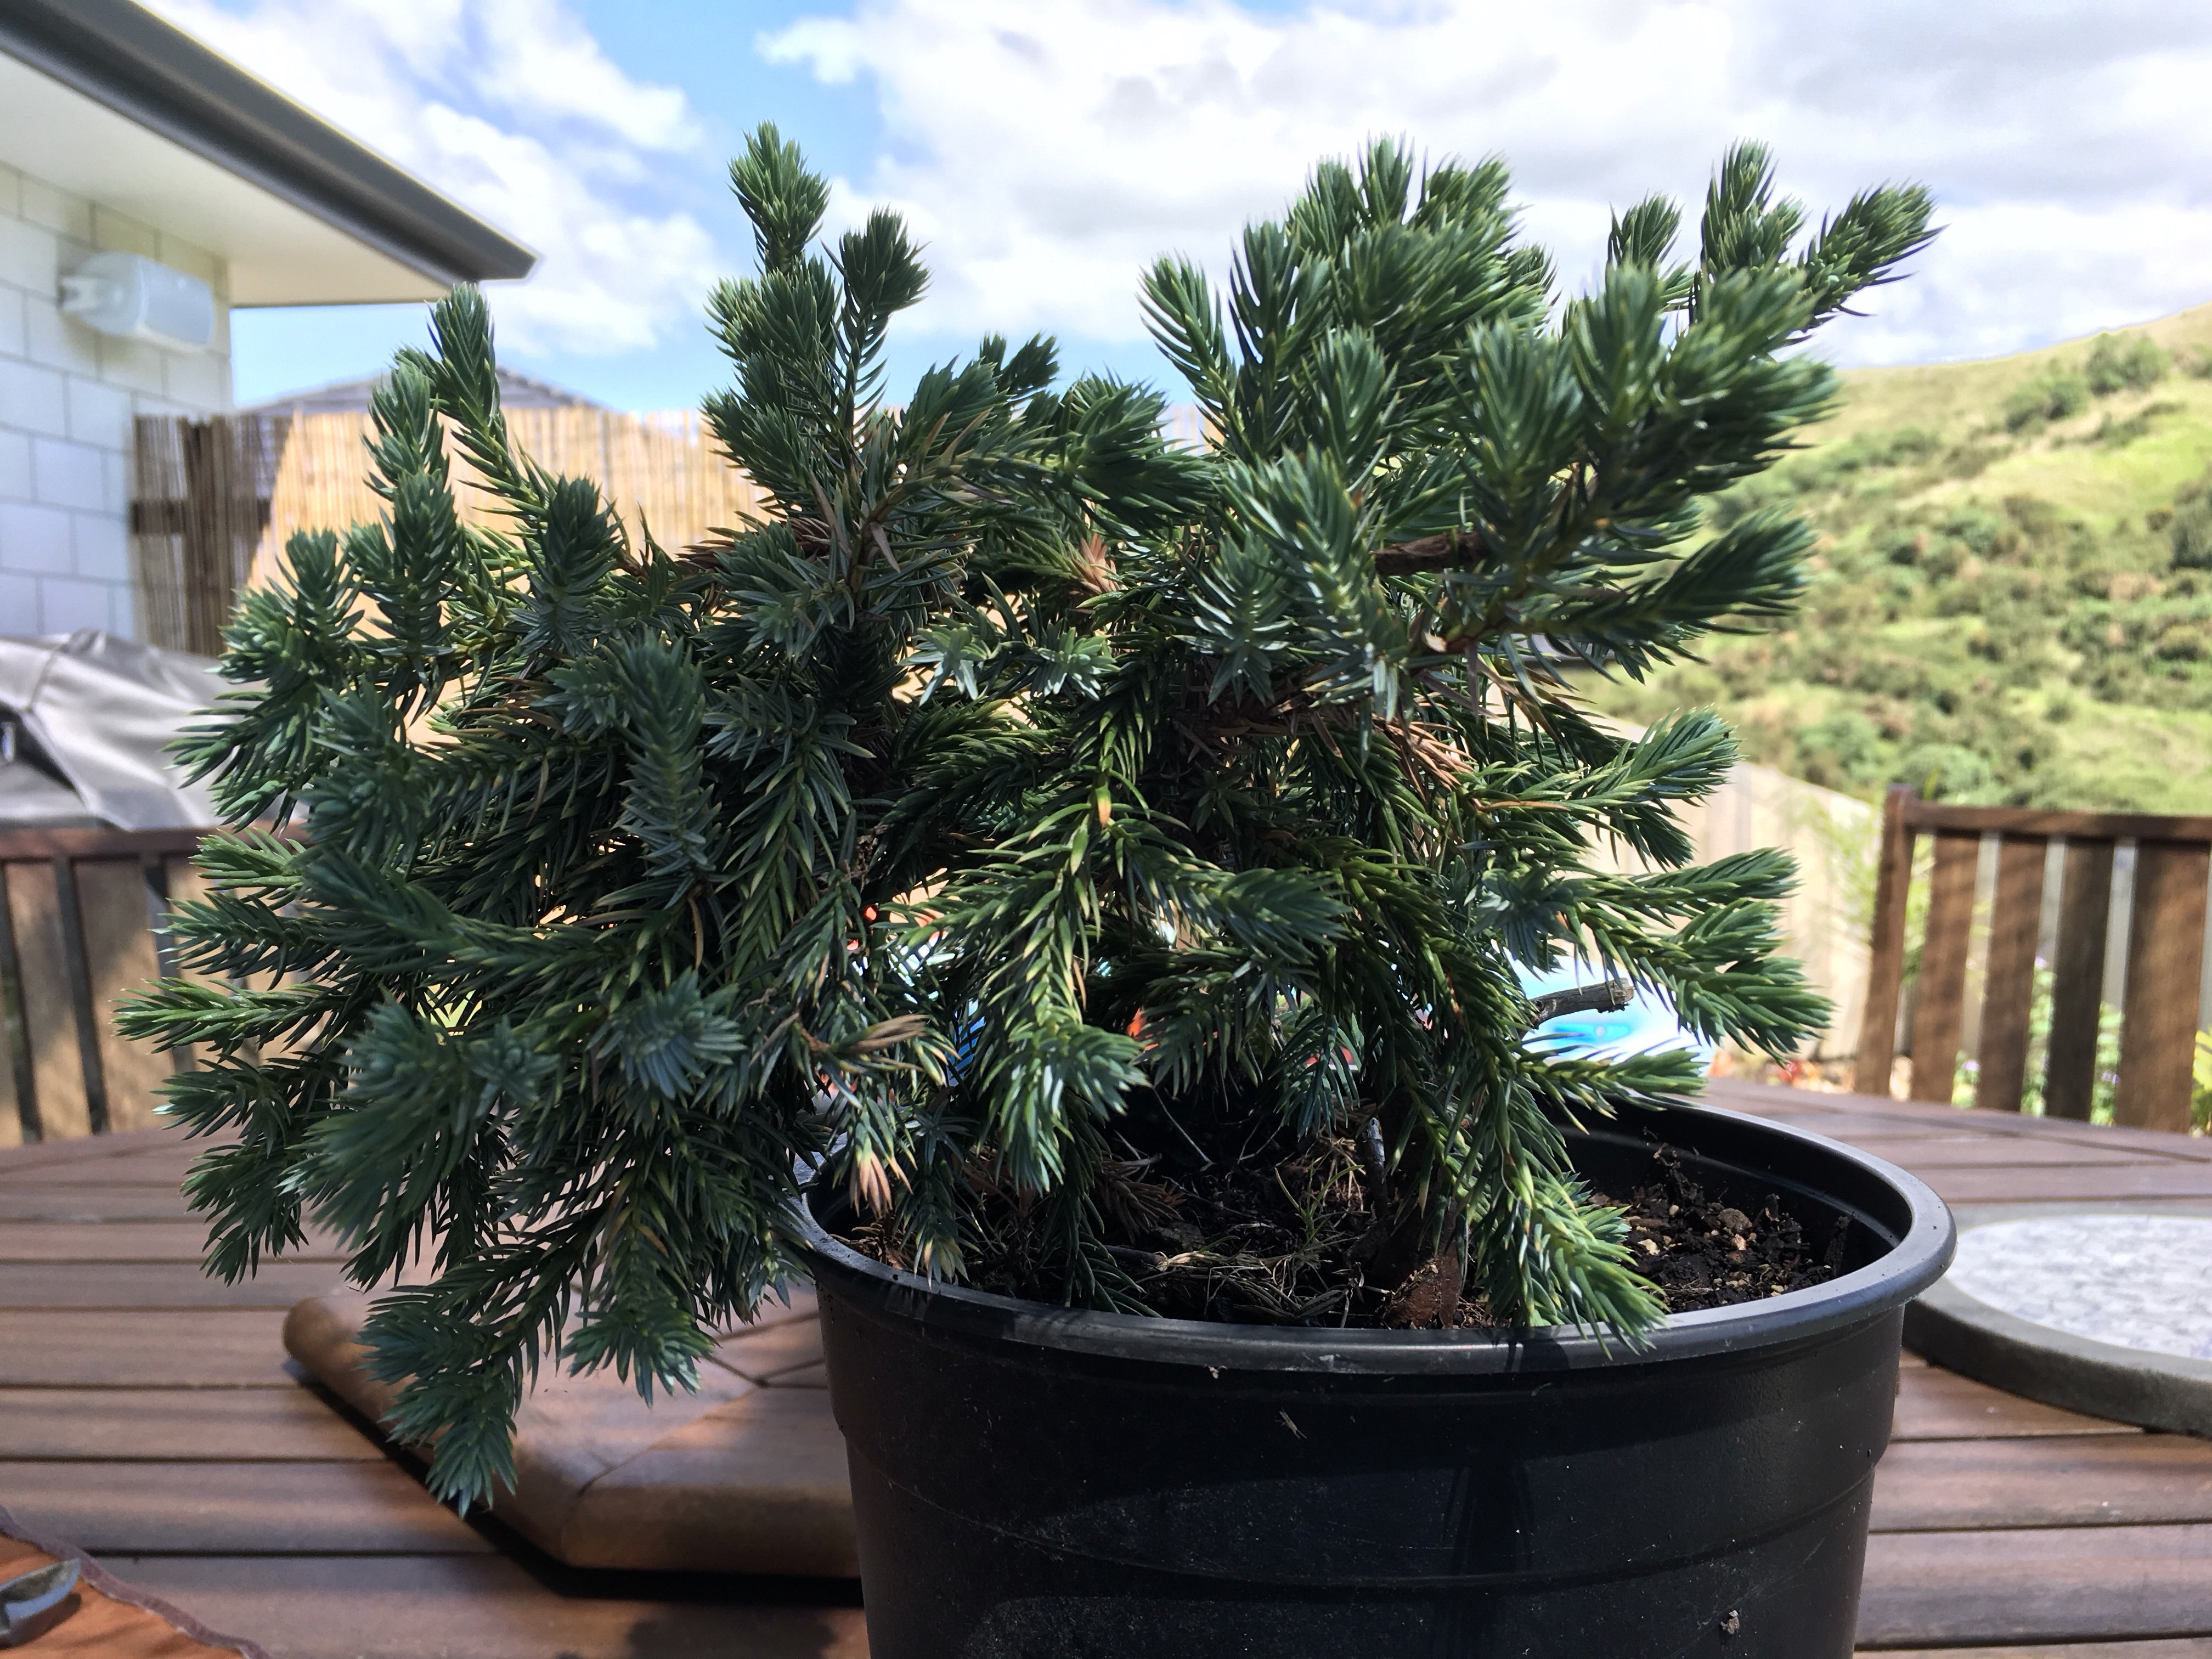
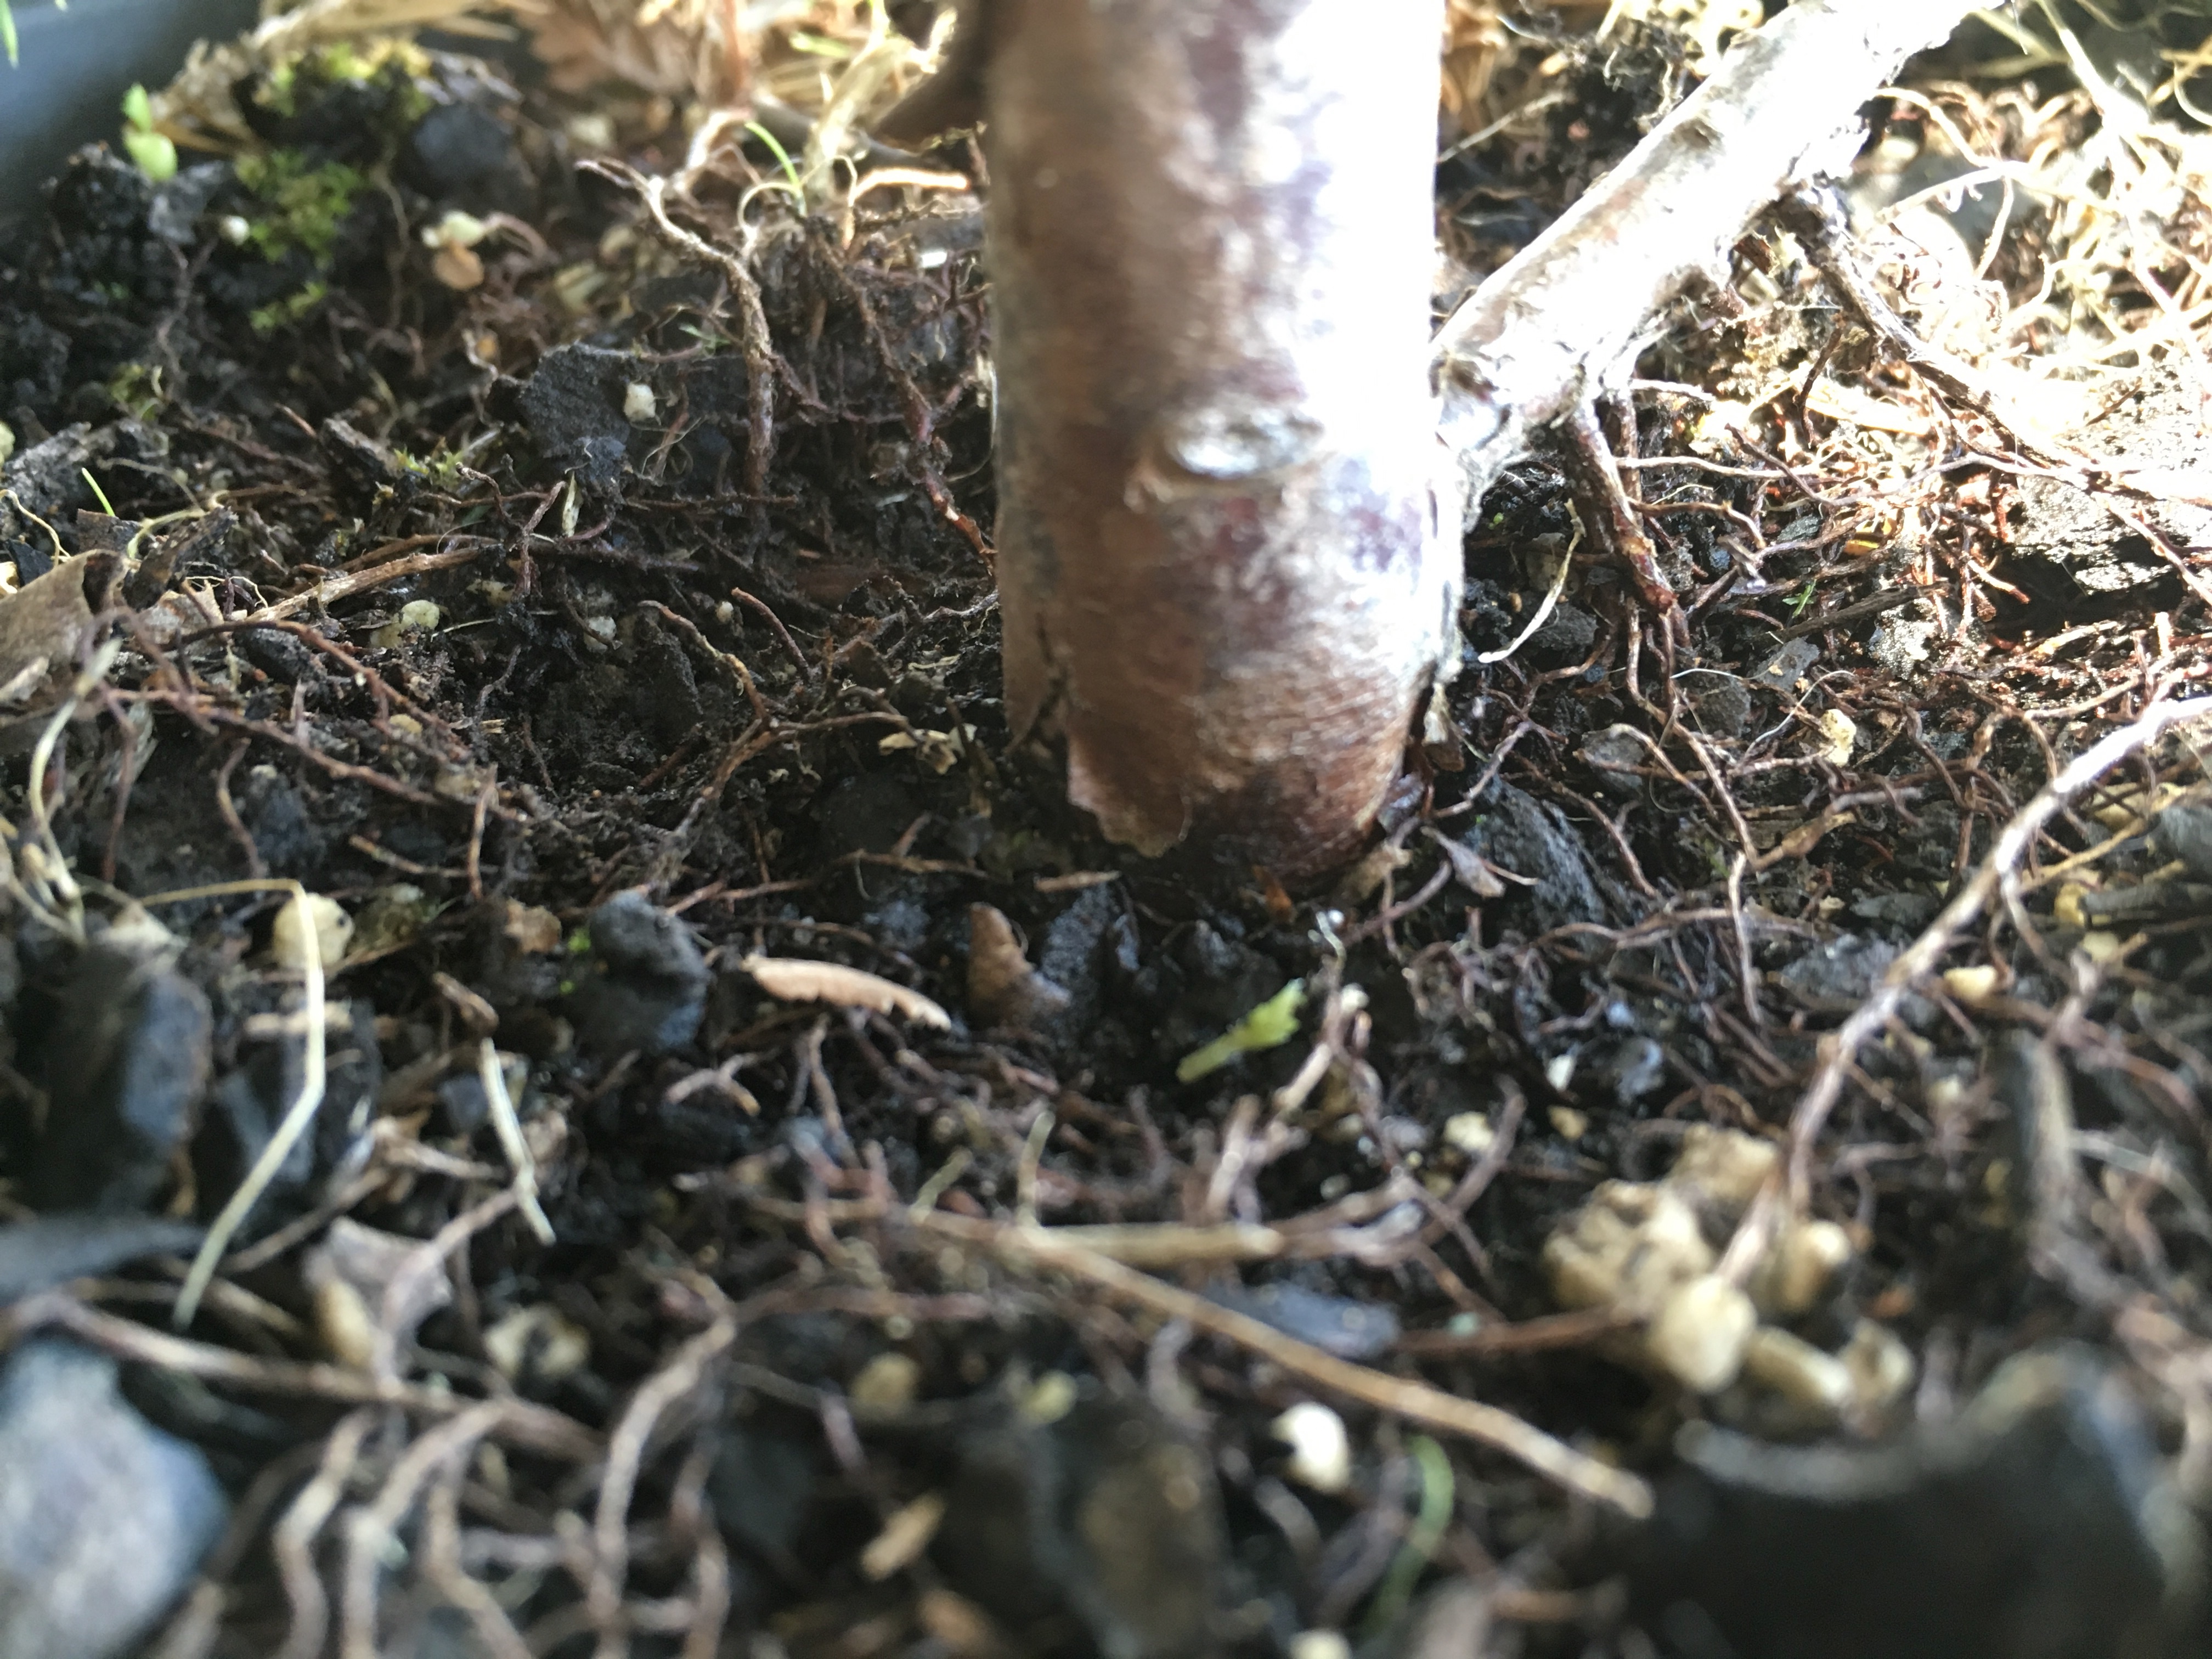
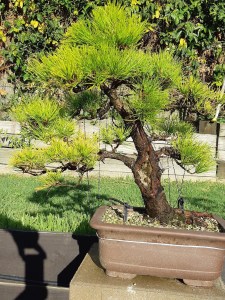
Step 1: Find the front of the tree. This includes looking at the trunk flare / root zone (nebari). You want the widest and most interesting part to face the front. The second part to this step is to find the best front showing the flow or movement of the main trunk line. Hopefully the best nebari view and trunk line is the same side, if not, make a decision based on the best of the two elements.

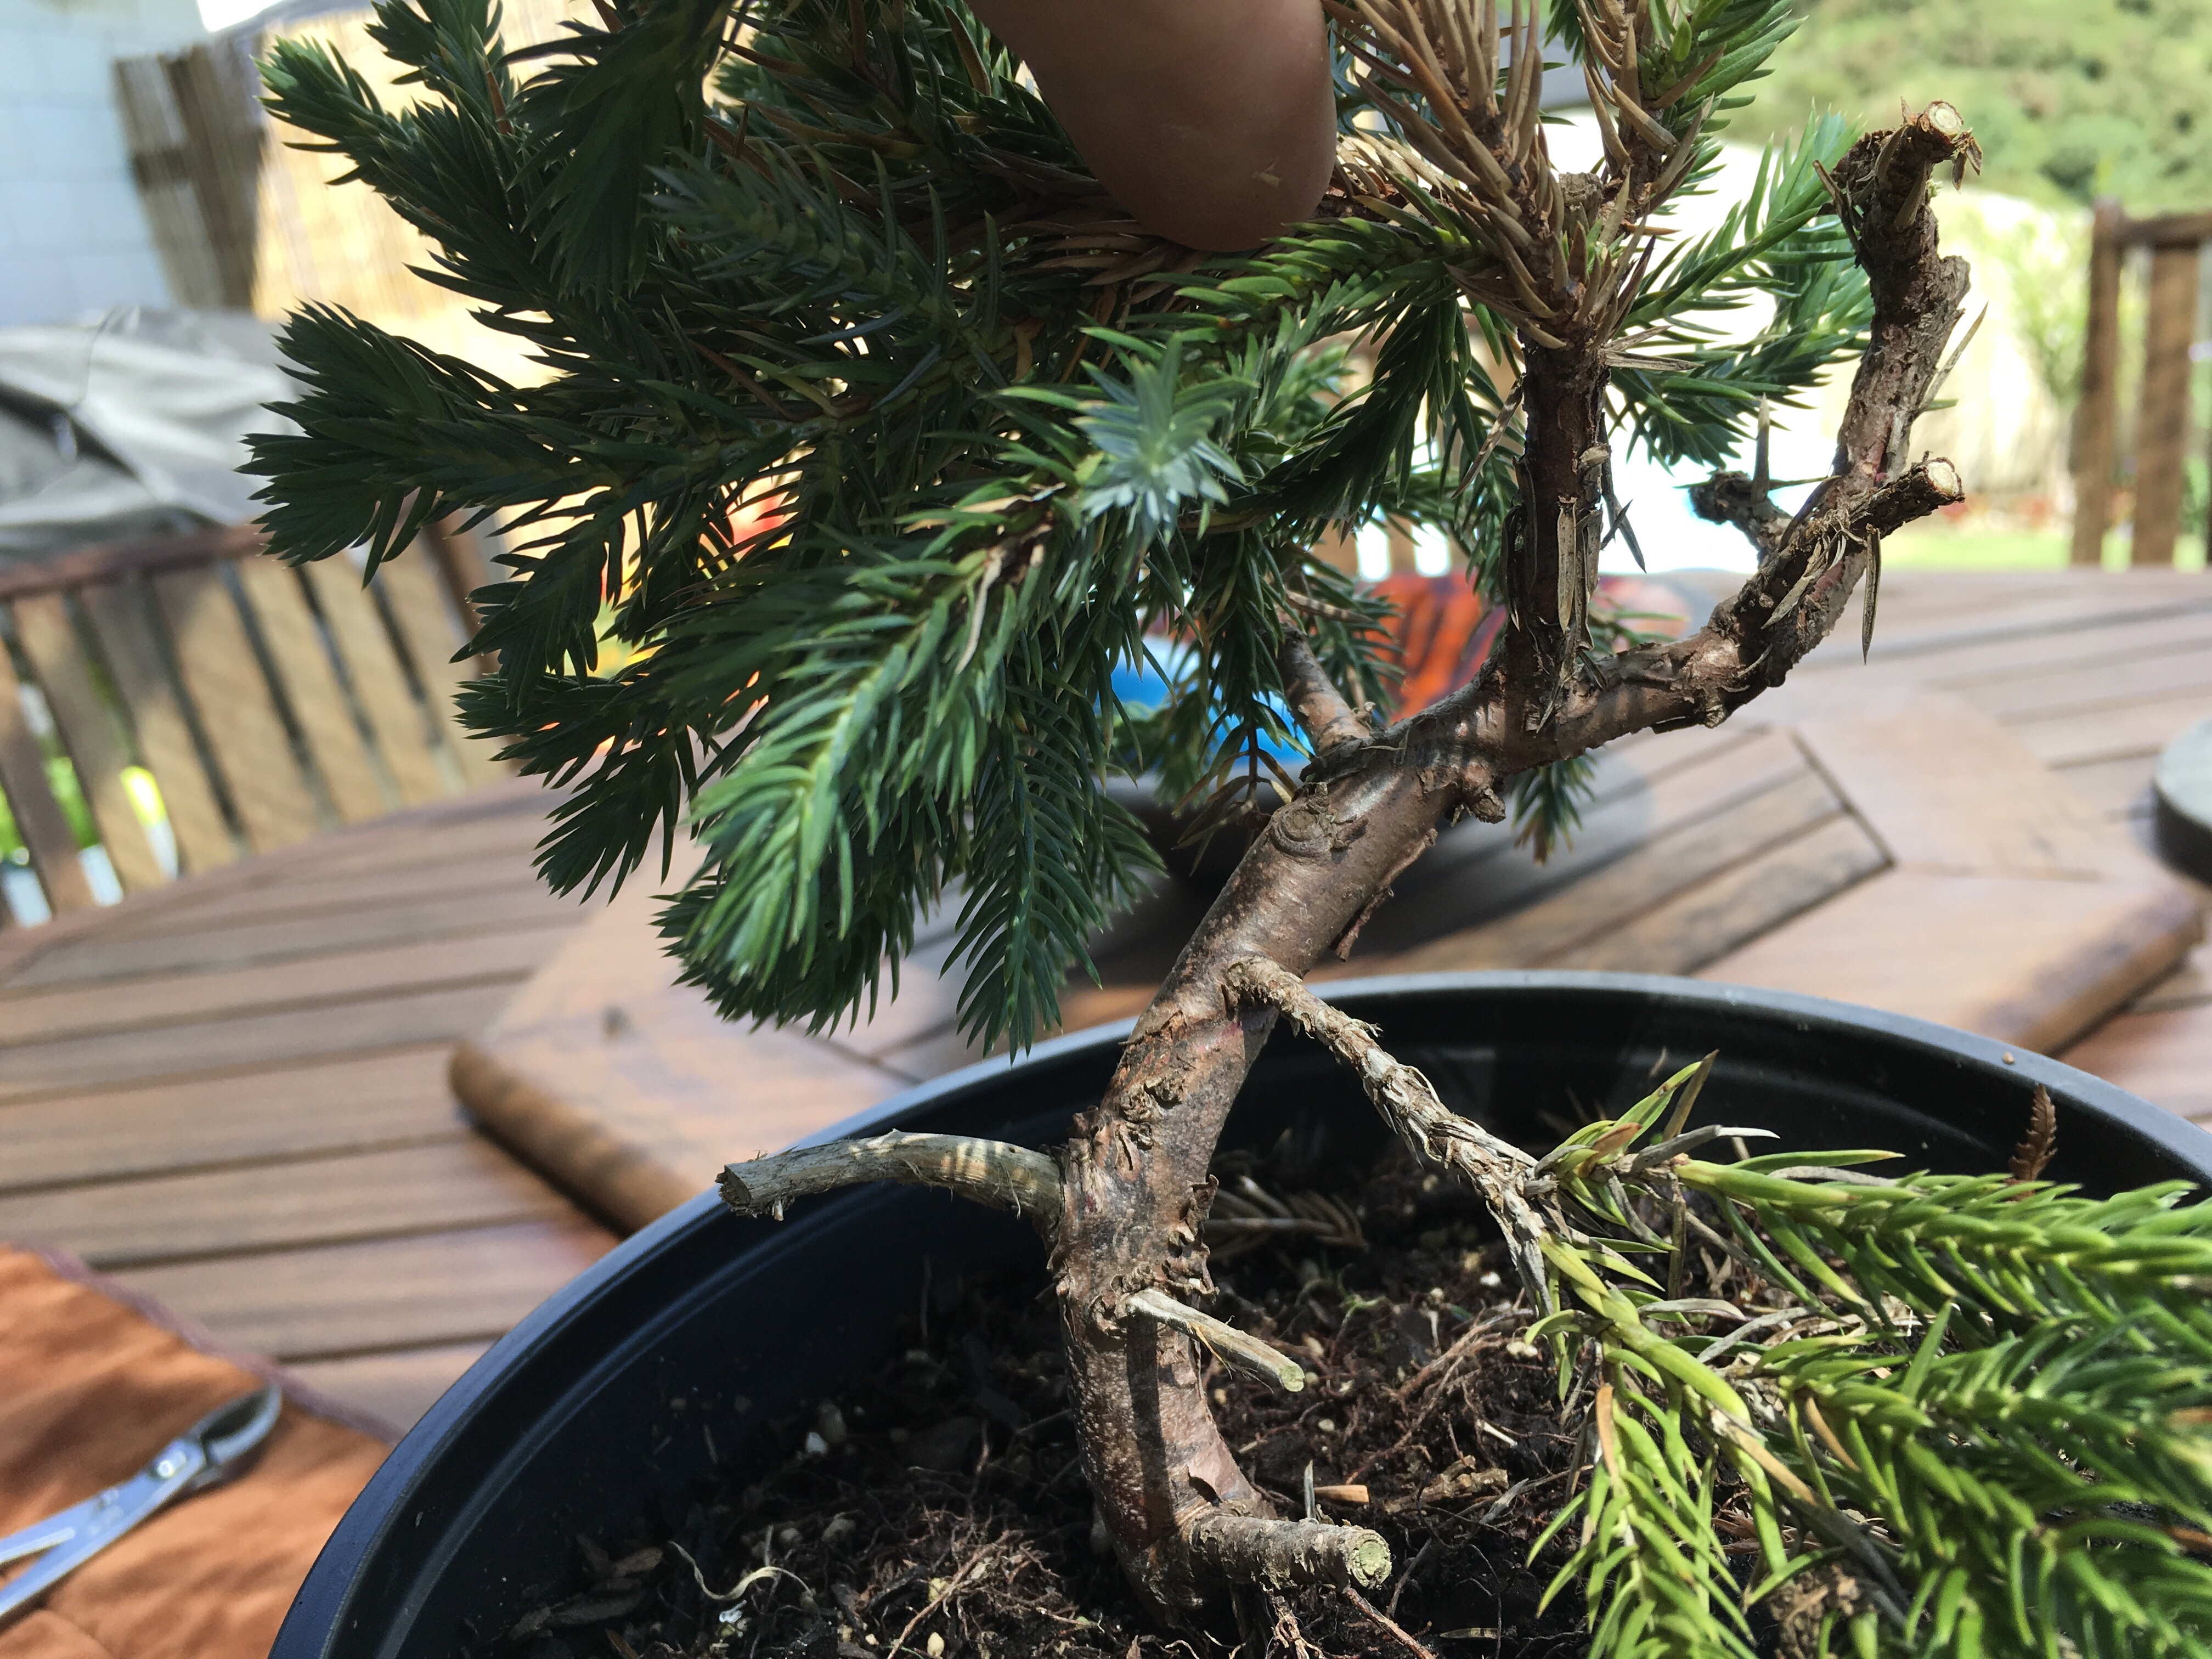
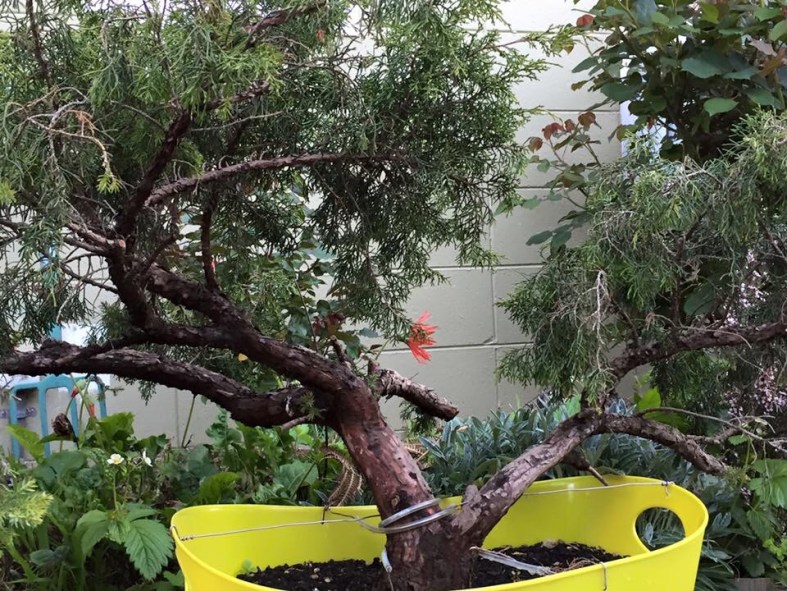
Step 2: Clean the main trunk. This includes getting rid of all unwanted growth. It could be removing one or more branches reducing the bar branch effect. Also remove branches pointing to the front in especially the bottom third of the trunk and branches crossing the trunk. At this stage remove all growth in the crotches of the main trunk and primary branches.
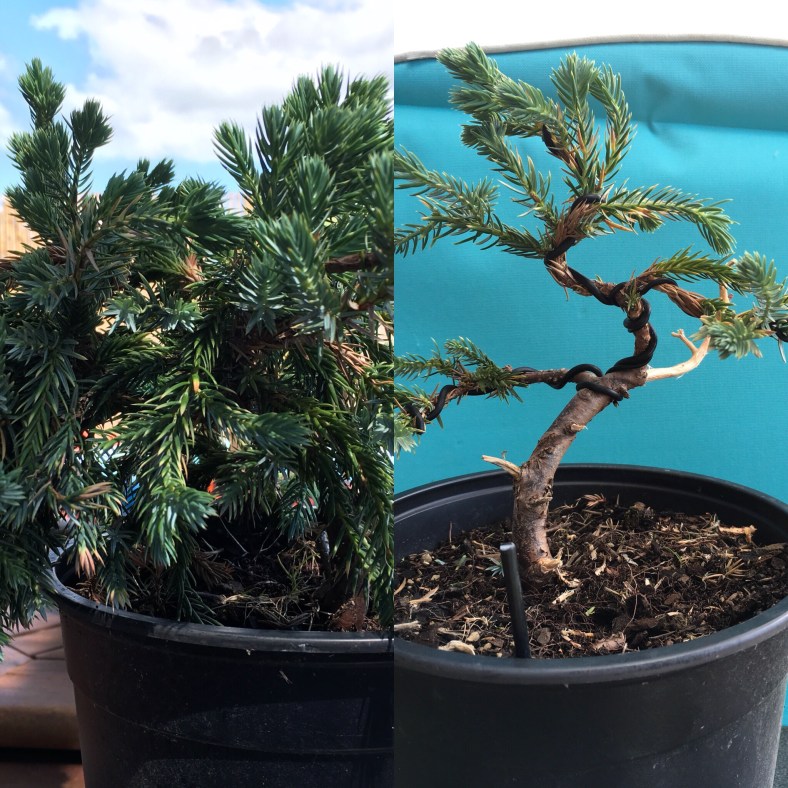
Step 3: Set the main trunk. If you are lucky, the movement of the trunk will be great and you have nothing to do. This is rarely the case. Use wire to set the shape. There are other more advanced strategies and methods that can be used. If you are using guy wires, it is best to wire the branches first as the wires sometimes get in the way of further work.

Step 4: Select the main branches. You have already looked at this during step 2. What you now need to do is to look at the positioning of branches. The historical pattern is to have one to the one side, then to the other side and then one growing backwards. Repeat as you move up the trunk line. Nature and practicality does not always give this to you on a platter and this is where the artistic side of Bonsai kicks in. Also make sure that you do not have branches growing from the inside curve of a bend.
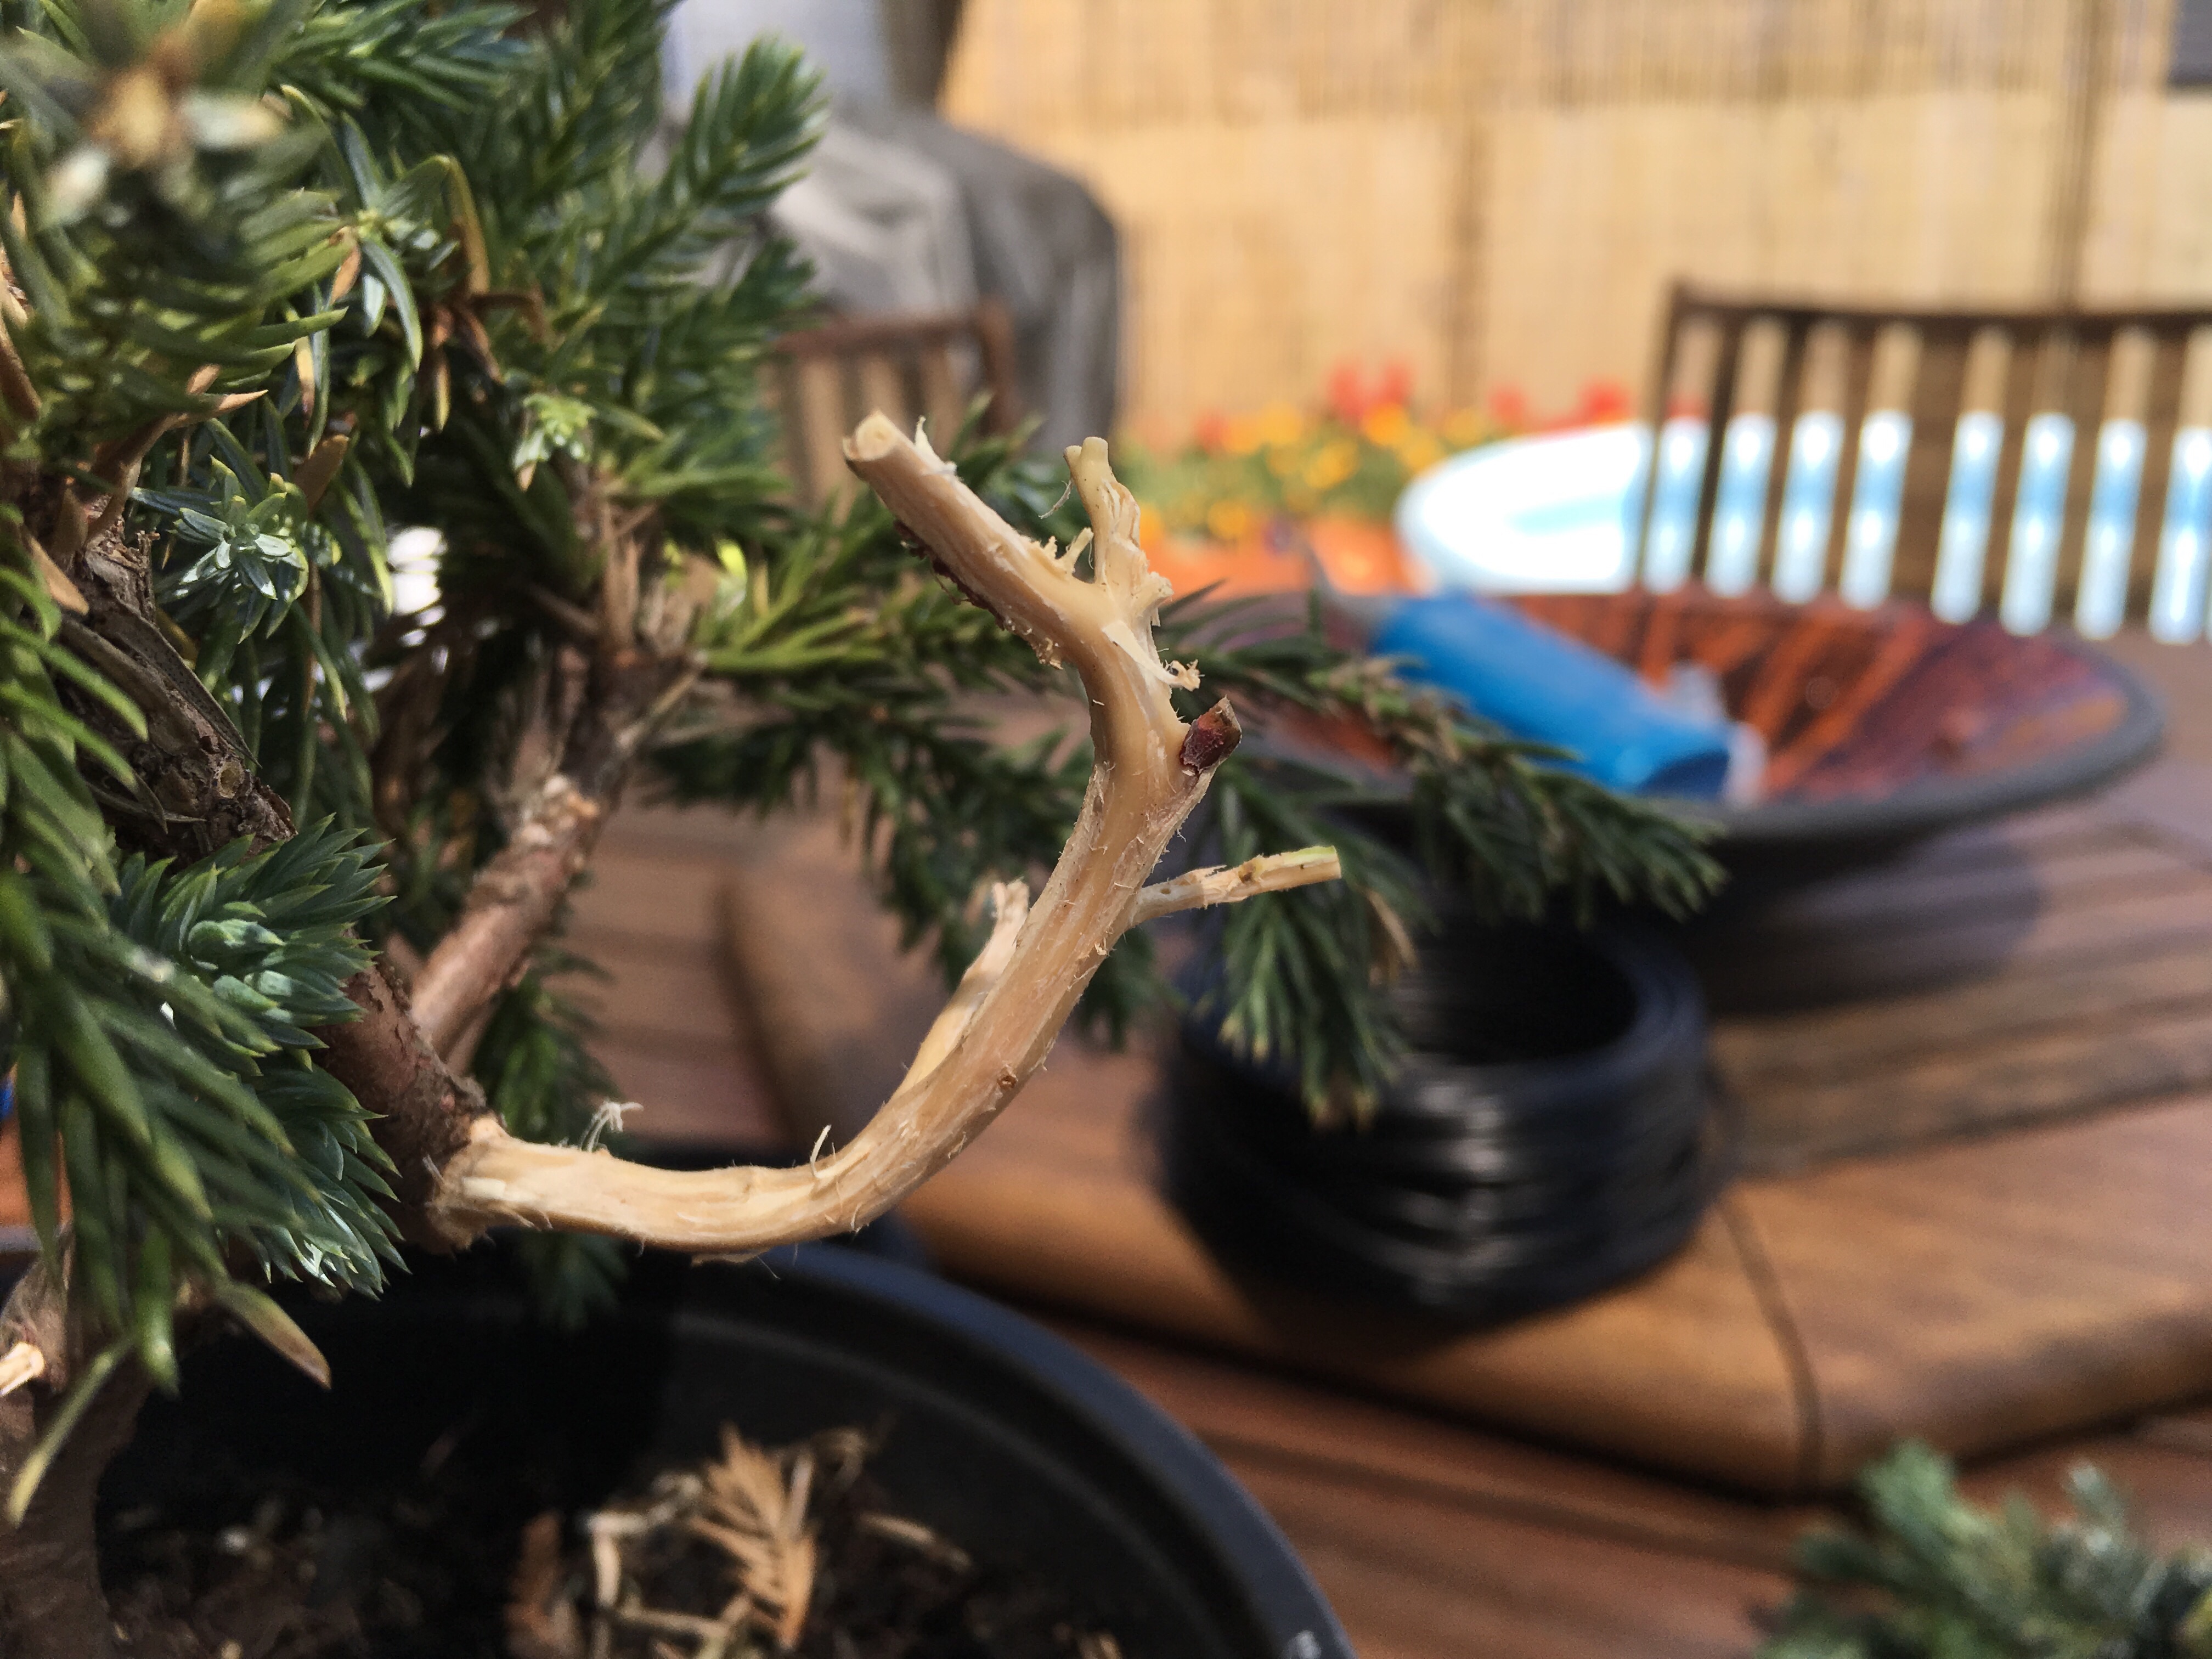
Step 5: Clean the rest of the tree by removing all growth from the axils / crotches of all branches. Remove the rest of the unwanted growth and especially spindly growth. At this point it is important to note that once you remove all leaves / needles from coniferous plants, it is highly likely that the bare branch will die. Perfect for Jin (more advanced technique).
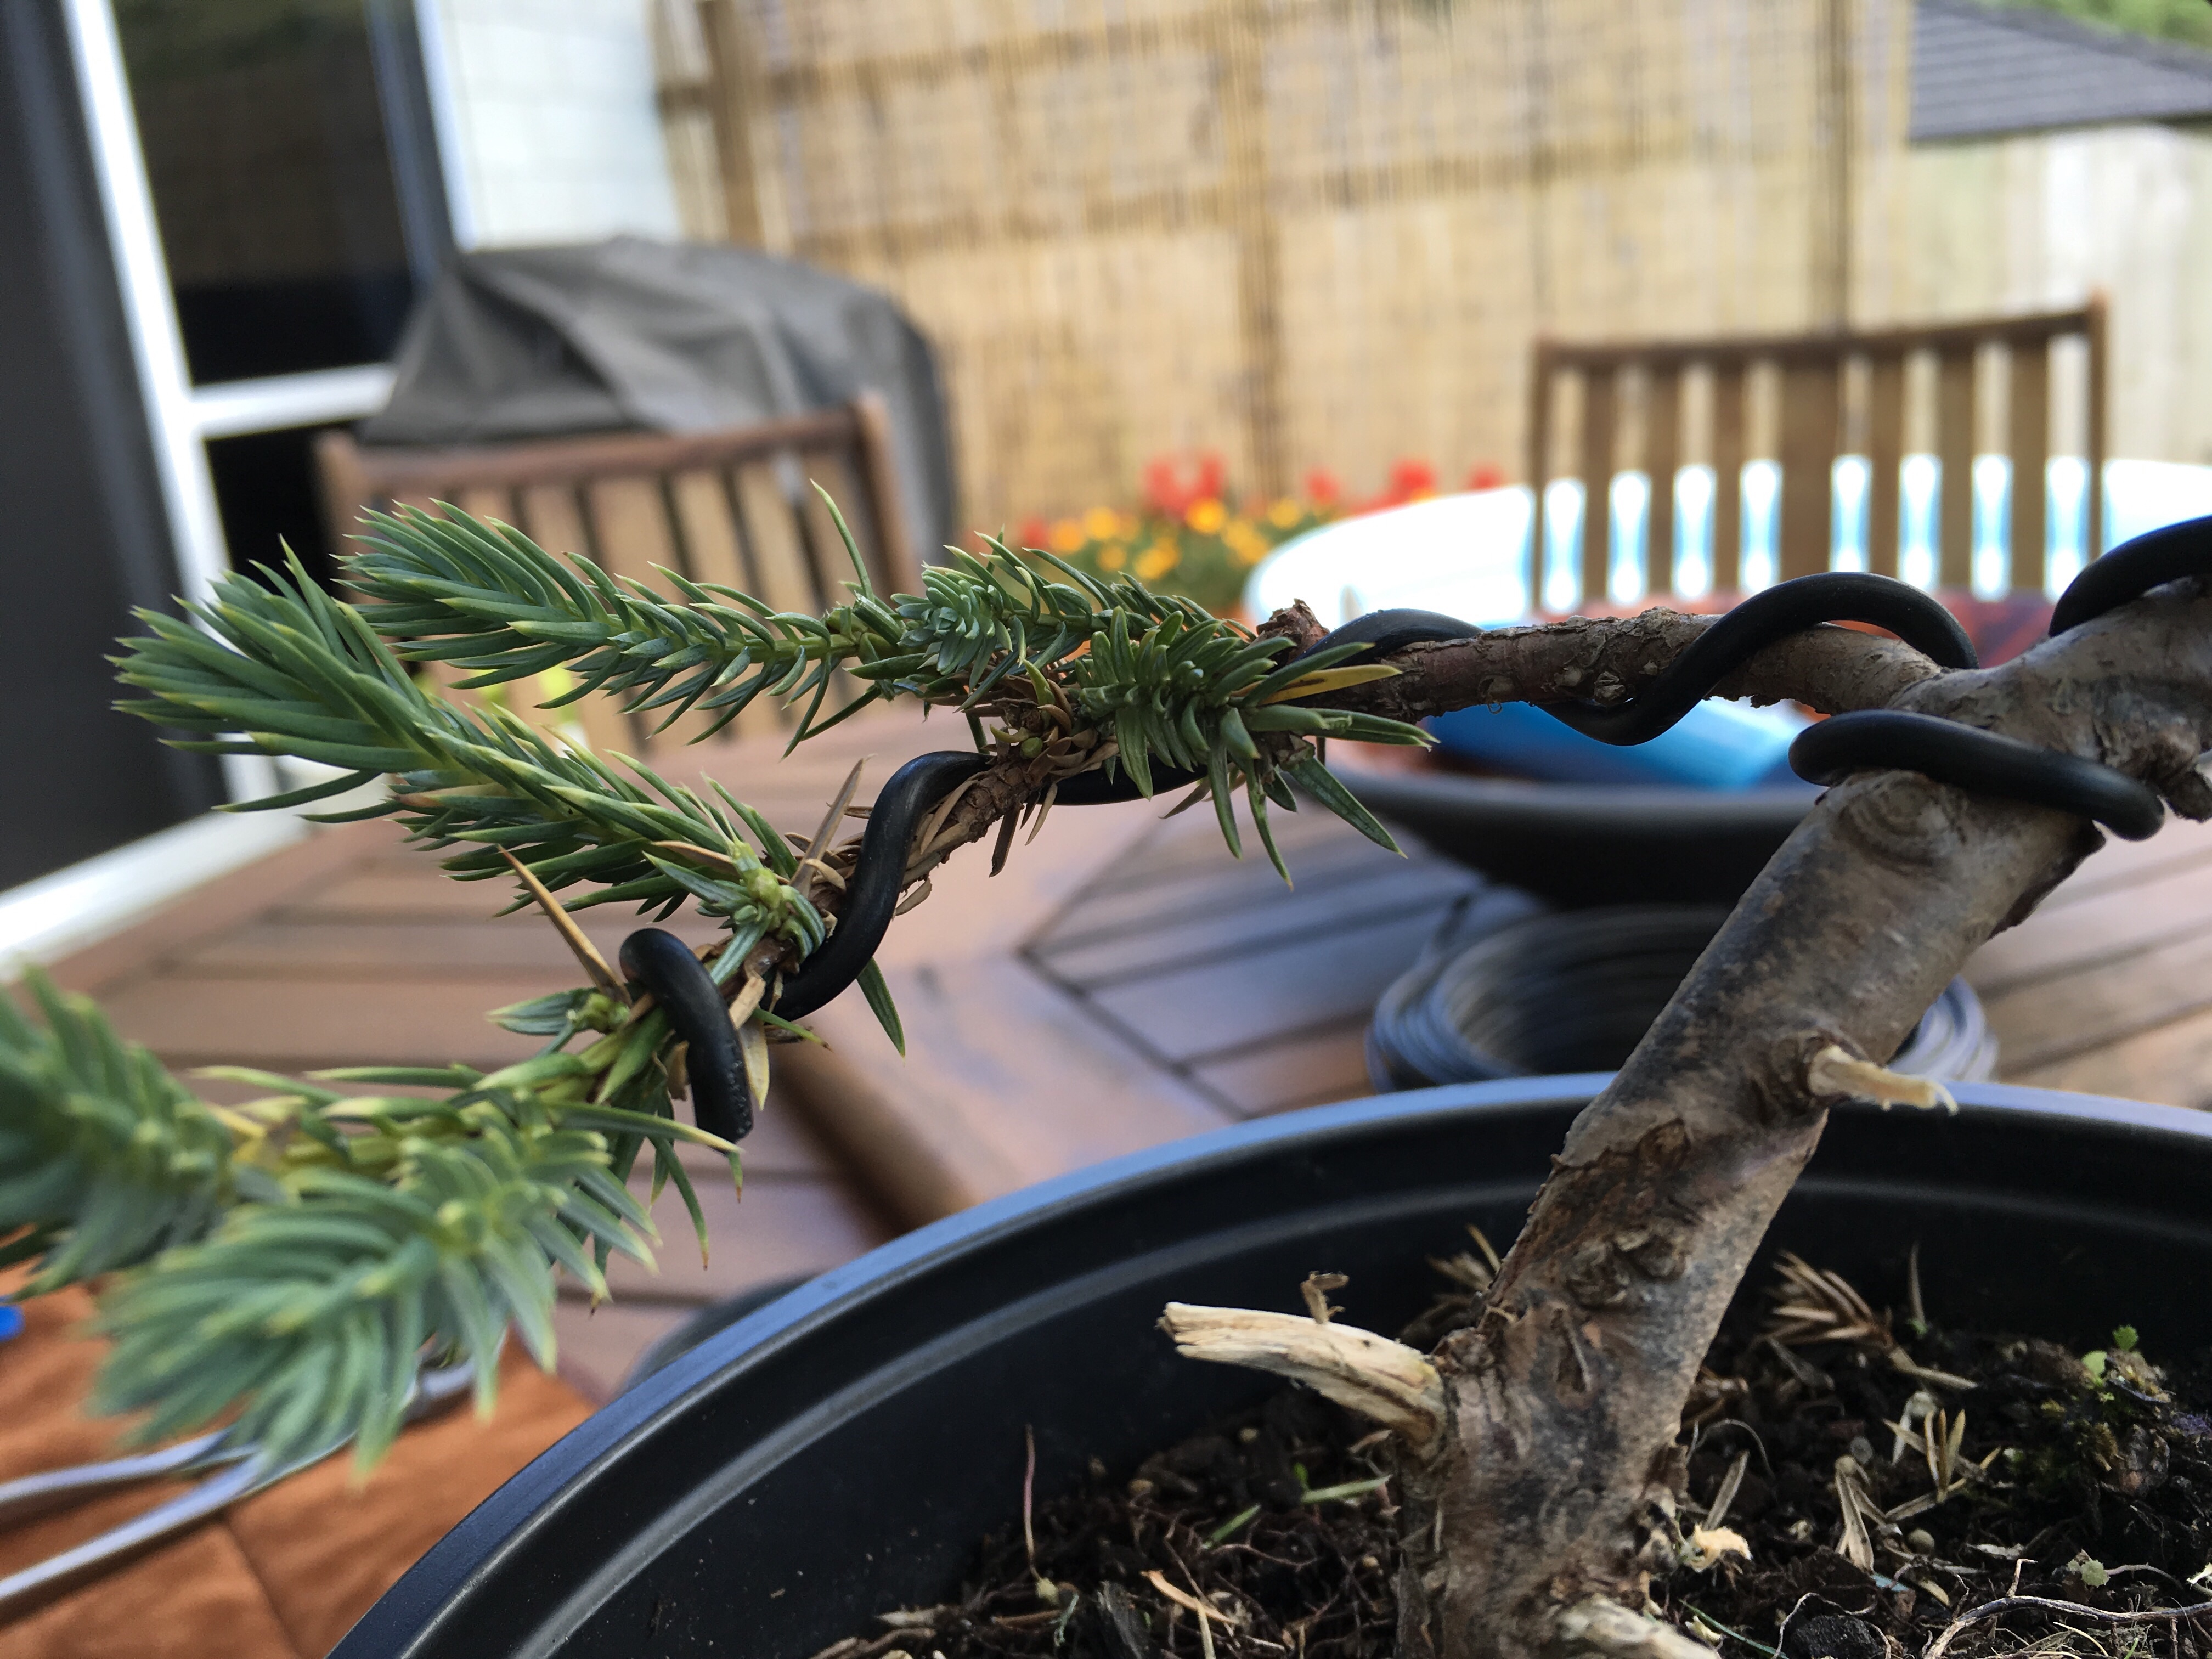
Step 6: Set the main branches. Use wire on the branch or guy wires. Wiring technique is also slightly more advanced and will follow in a future blog or video. Ensure that there is movement in the branches (left, right, up and down). This is an easy way to bring leaves / growth closer to the main trunk on spindly growth.

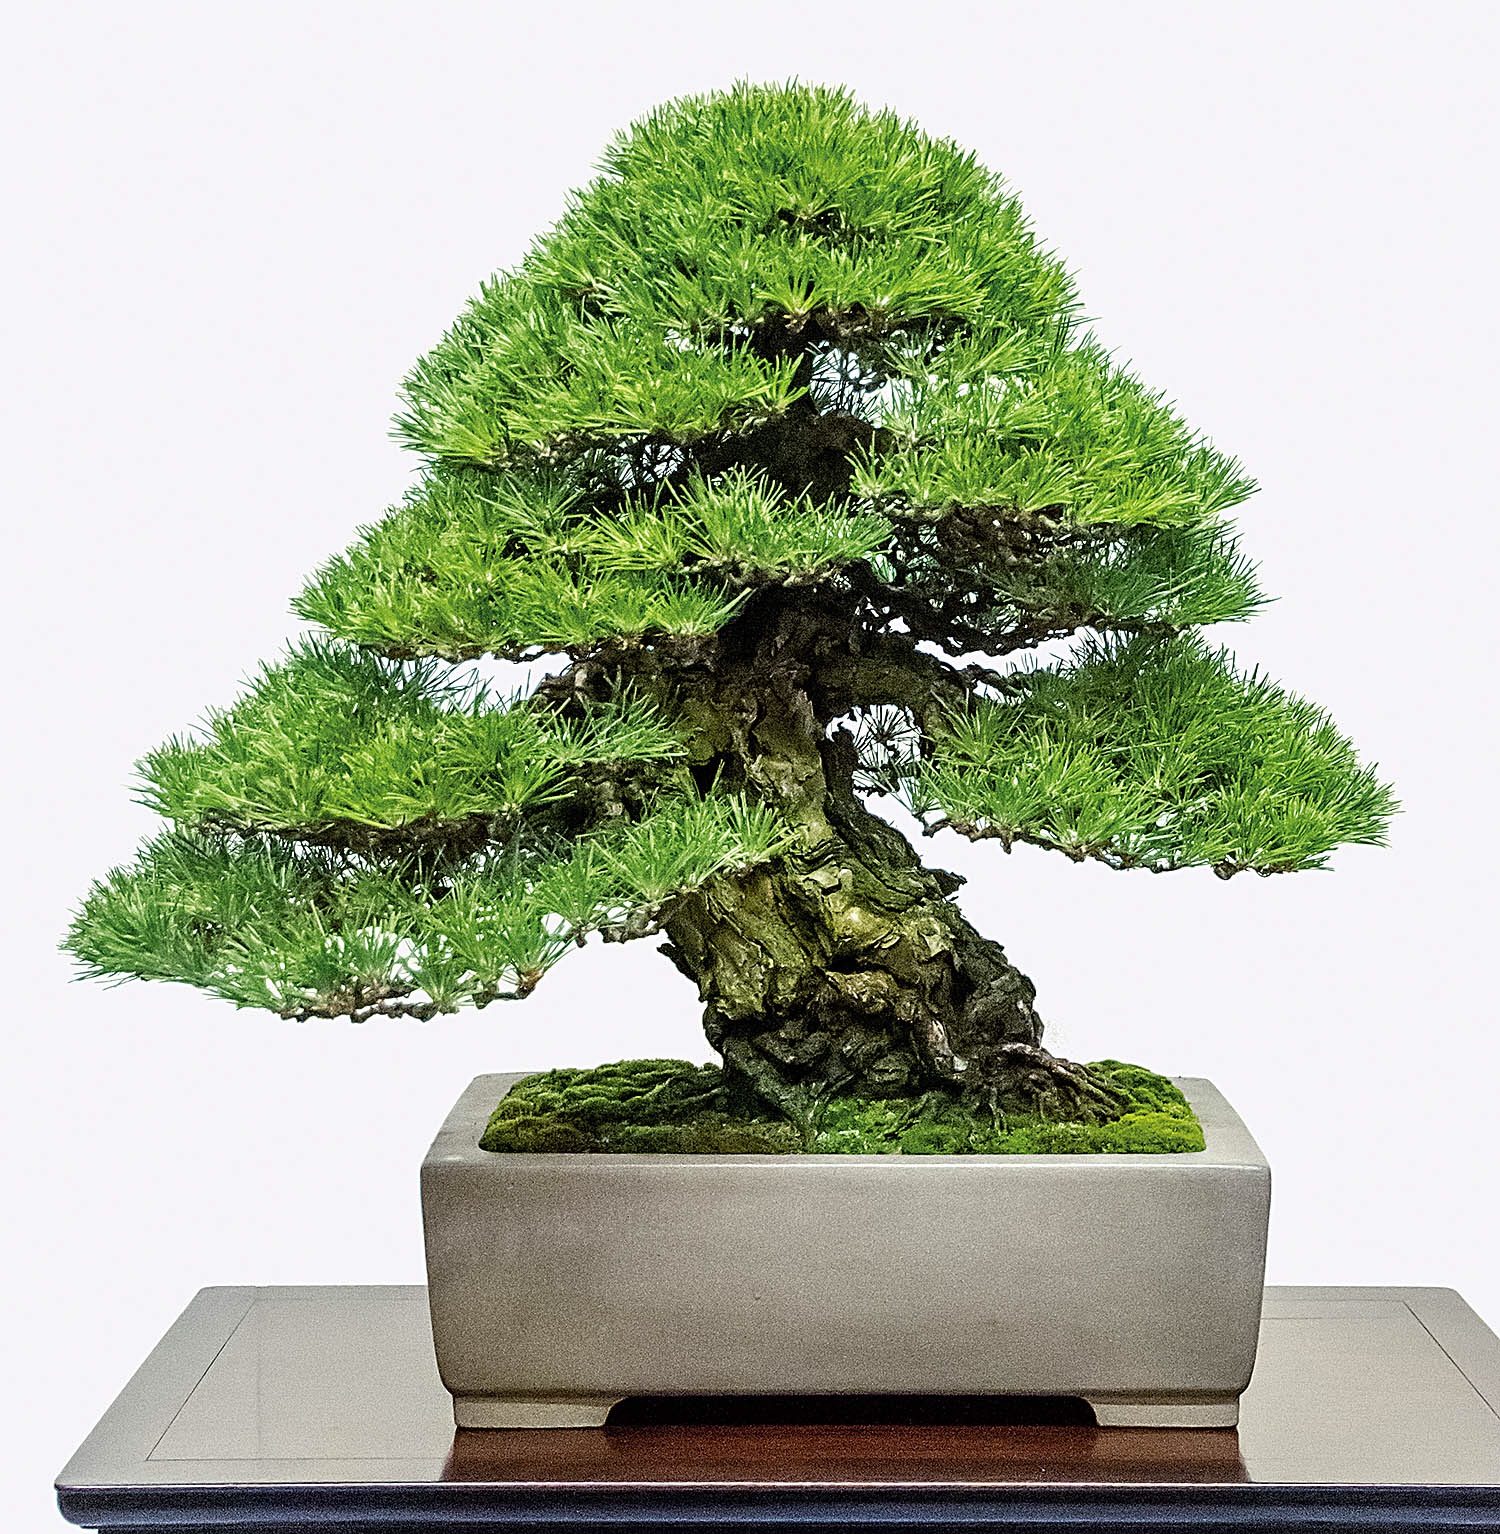
Step 7: Create the apex. The apex is the top of the tree and plays a major role in determining the flow of a tree. Older trees show a more rounded apex form and this is what you want to recreate by either pruning or wiring the branches into that position.
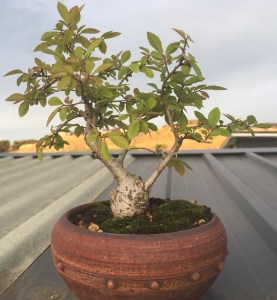
By now you should have a design roughly resembling a pre-Bonsai tree. After-care is the next important step. My advice is to not pot the tree into a Bonsai pot at this stage. If you have removed a lot of growth, the tree will be stressed and the last thing it needs now is to have its roots interfered with. Rather just place it in a sheltered position with no harsh afternoon sun. Water regularly and fertilise the tree to encourage health and good growth. Potting can be done in Spring or for certain species, Autumn could be suitable as well.
Keep an eye out for further articles in the Beginner’s series. If you subscribe to this blog, you will not miss any of those.


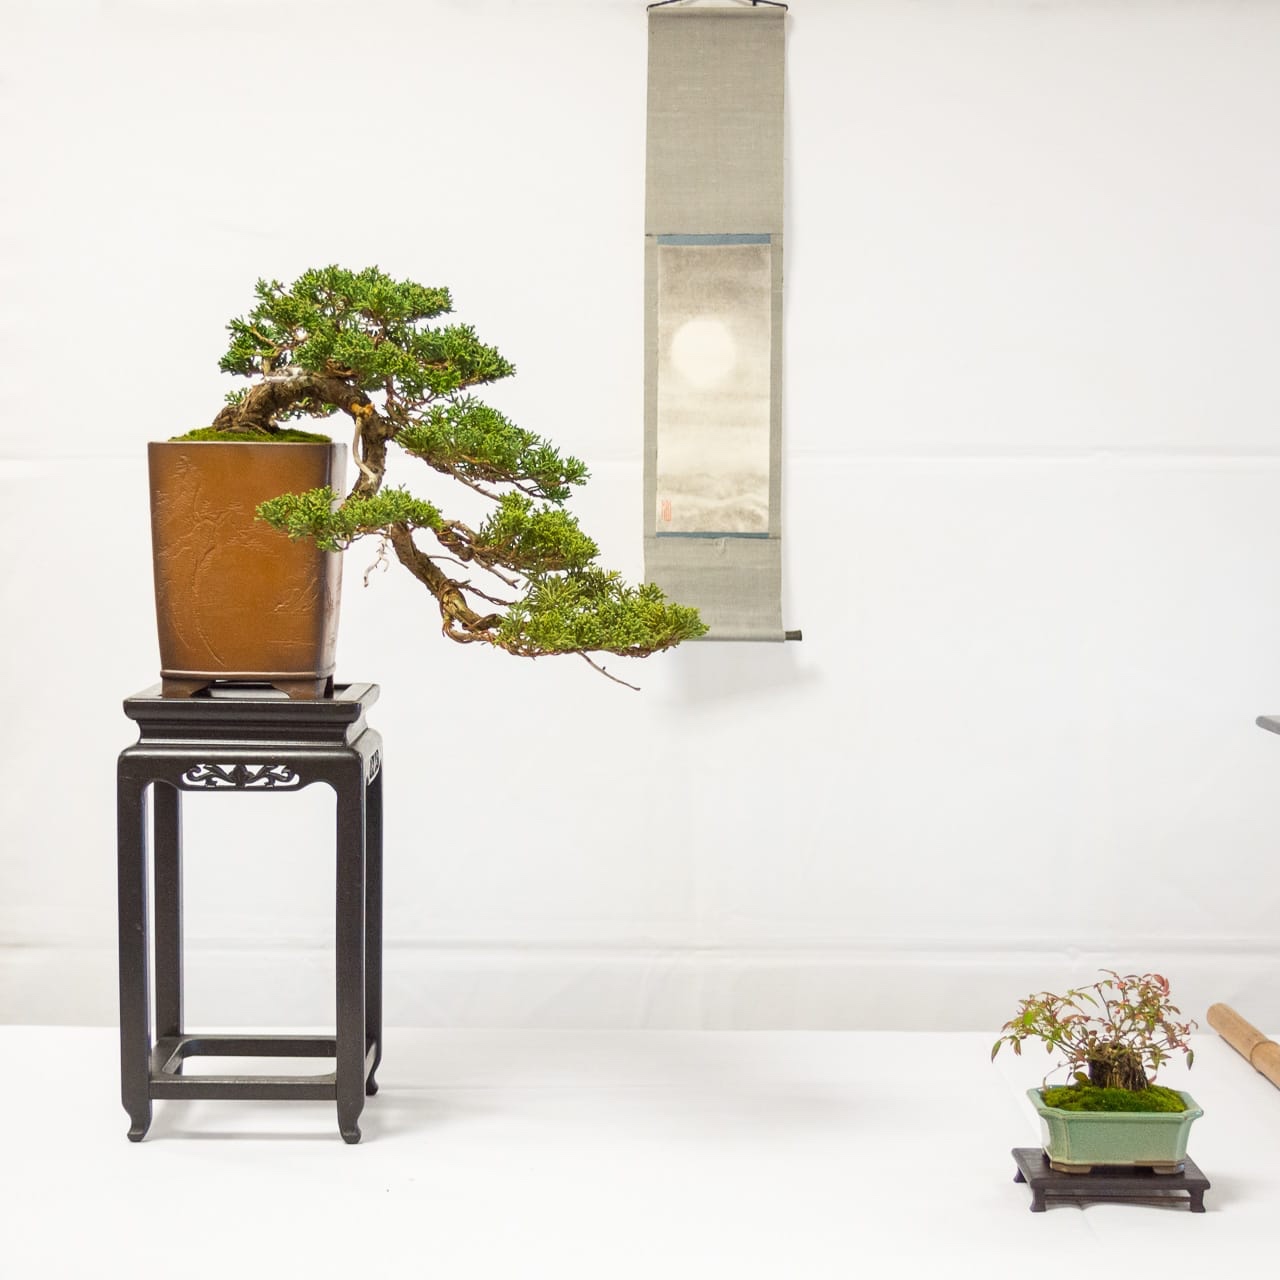
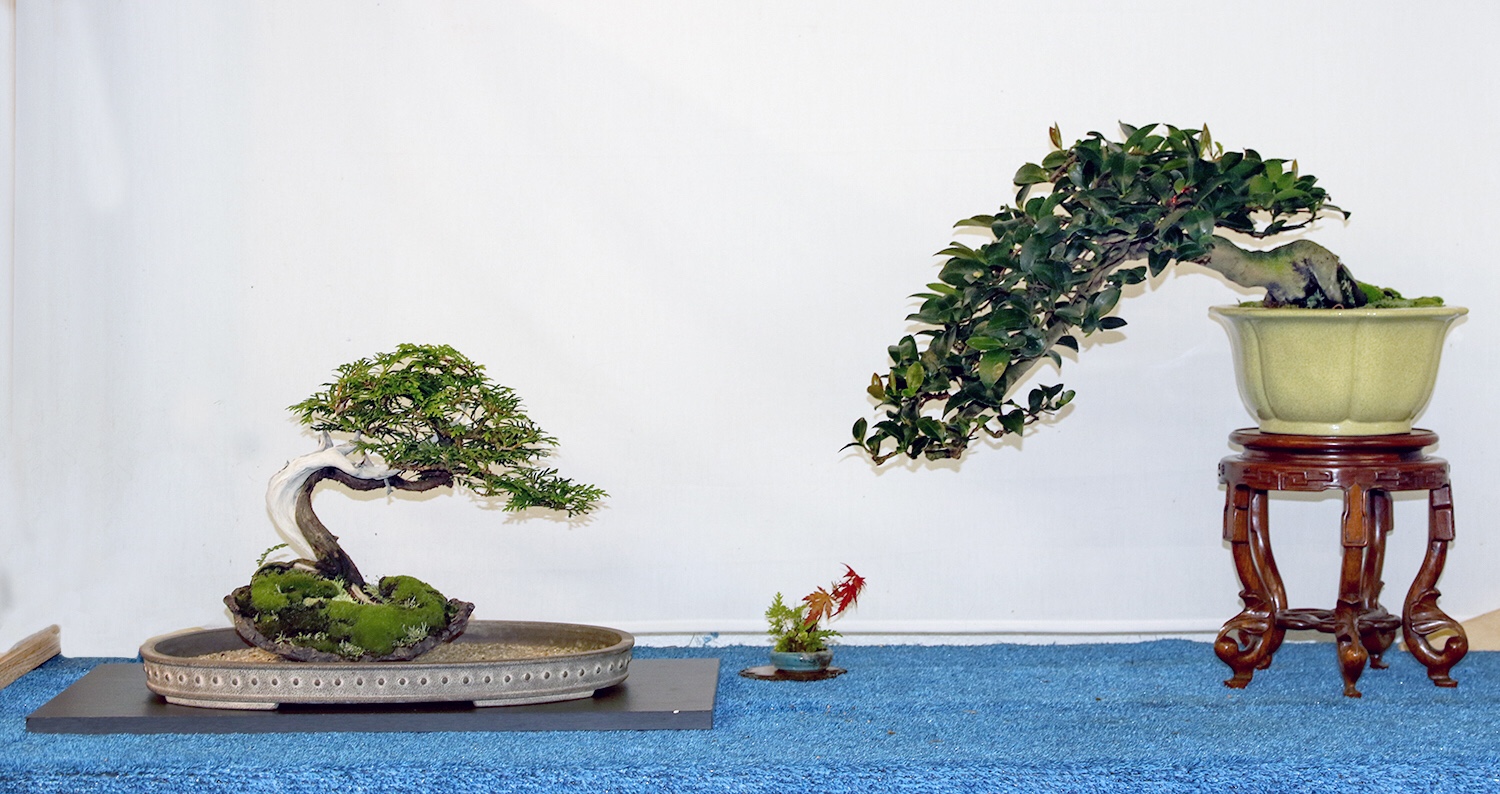
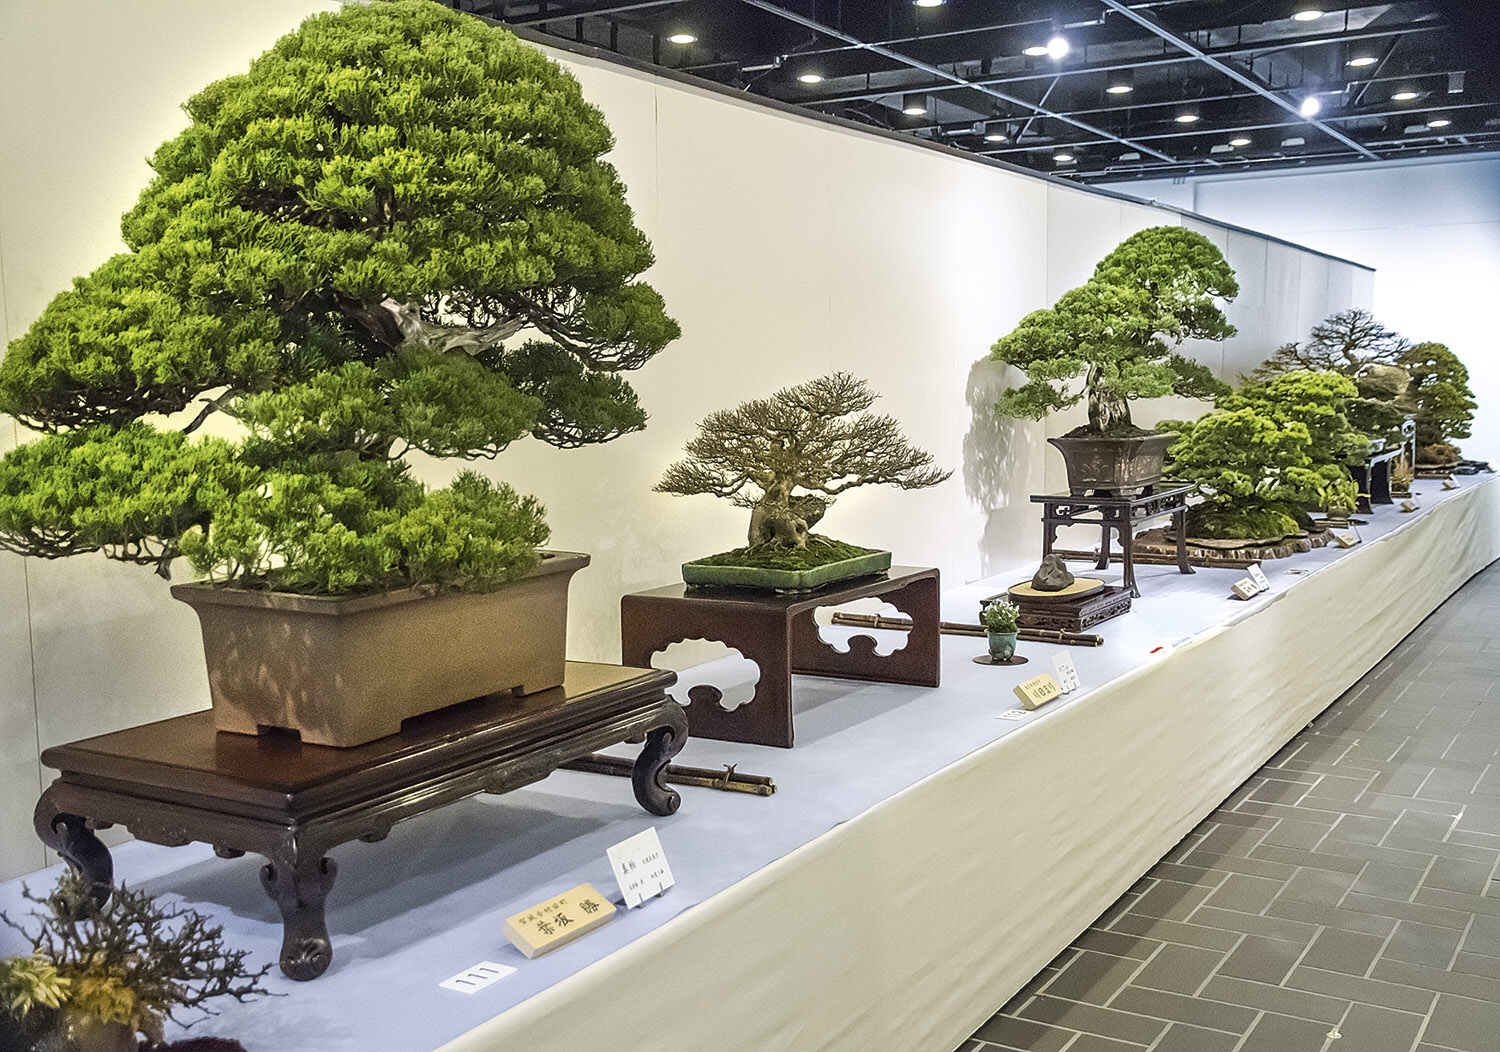 To prepare a tree for a show starts a long time out from the show. It actually starts with your general maintenance regime, your design philosophy and daily dedication to your overall collection. The normal sequence for getting a tree in a show is to decide on which tree will be entered and then an acceptance from the organisers to have that tree in the show. This could at times be problematic as the time between the acceptance and the show could be very short. My advice is to start the show preparation before the tree is entered as it should be of a more than passible quality when entered.