Wire on, wire off.

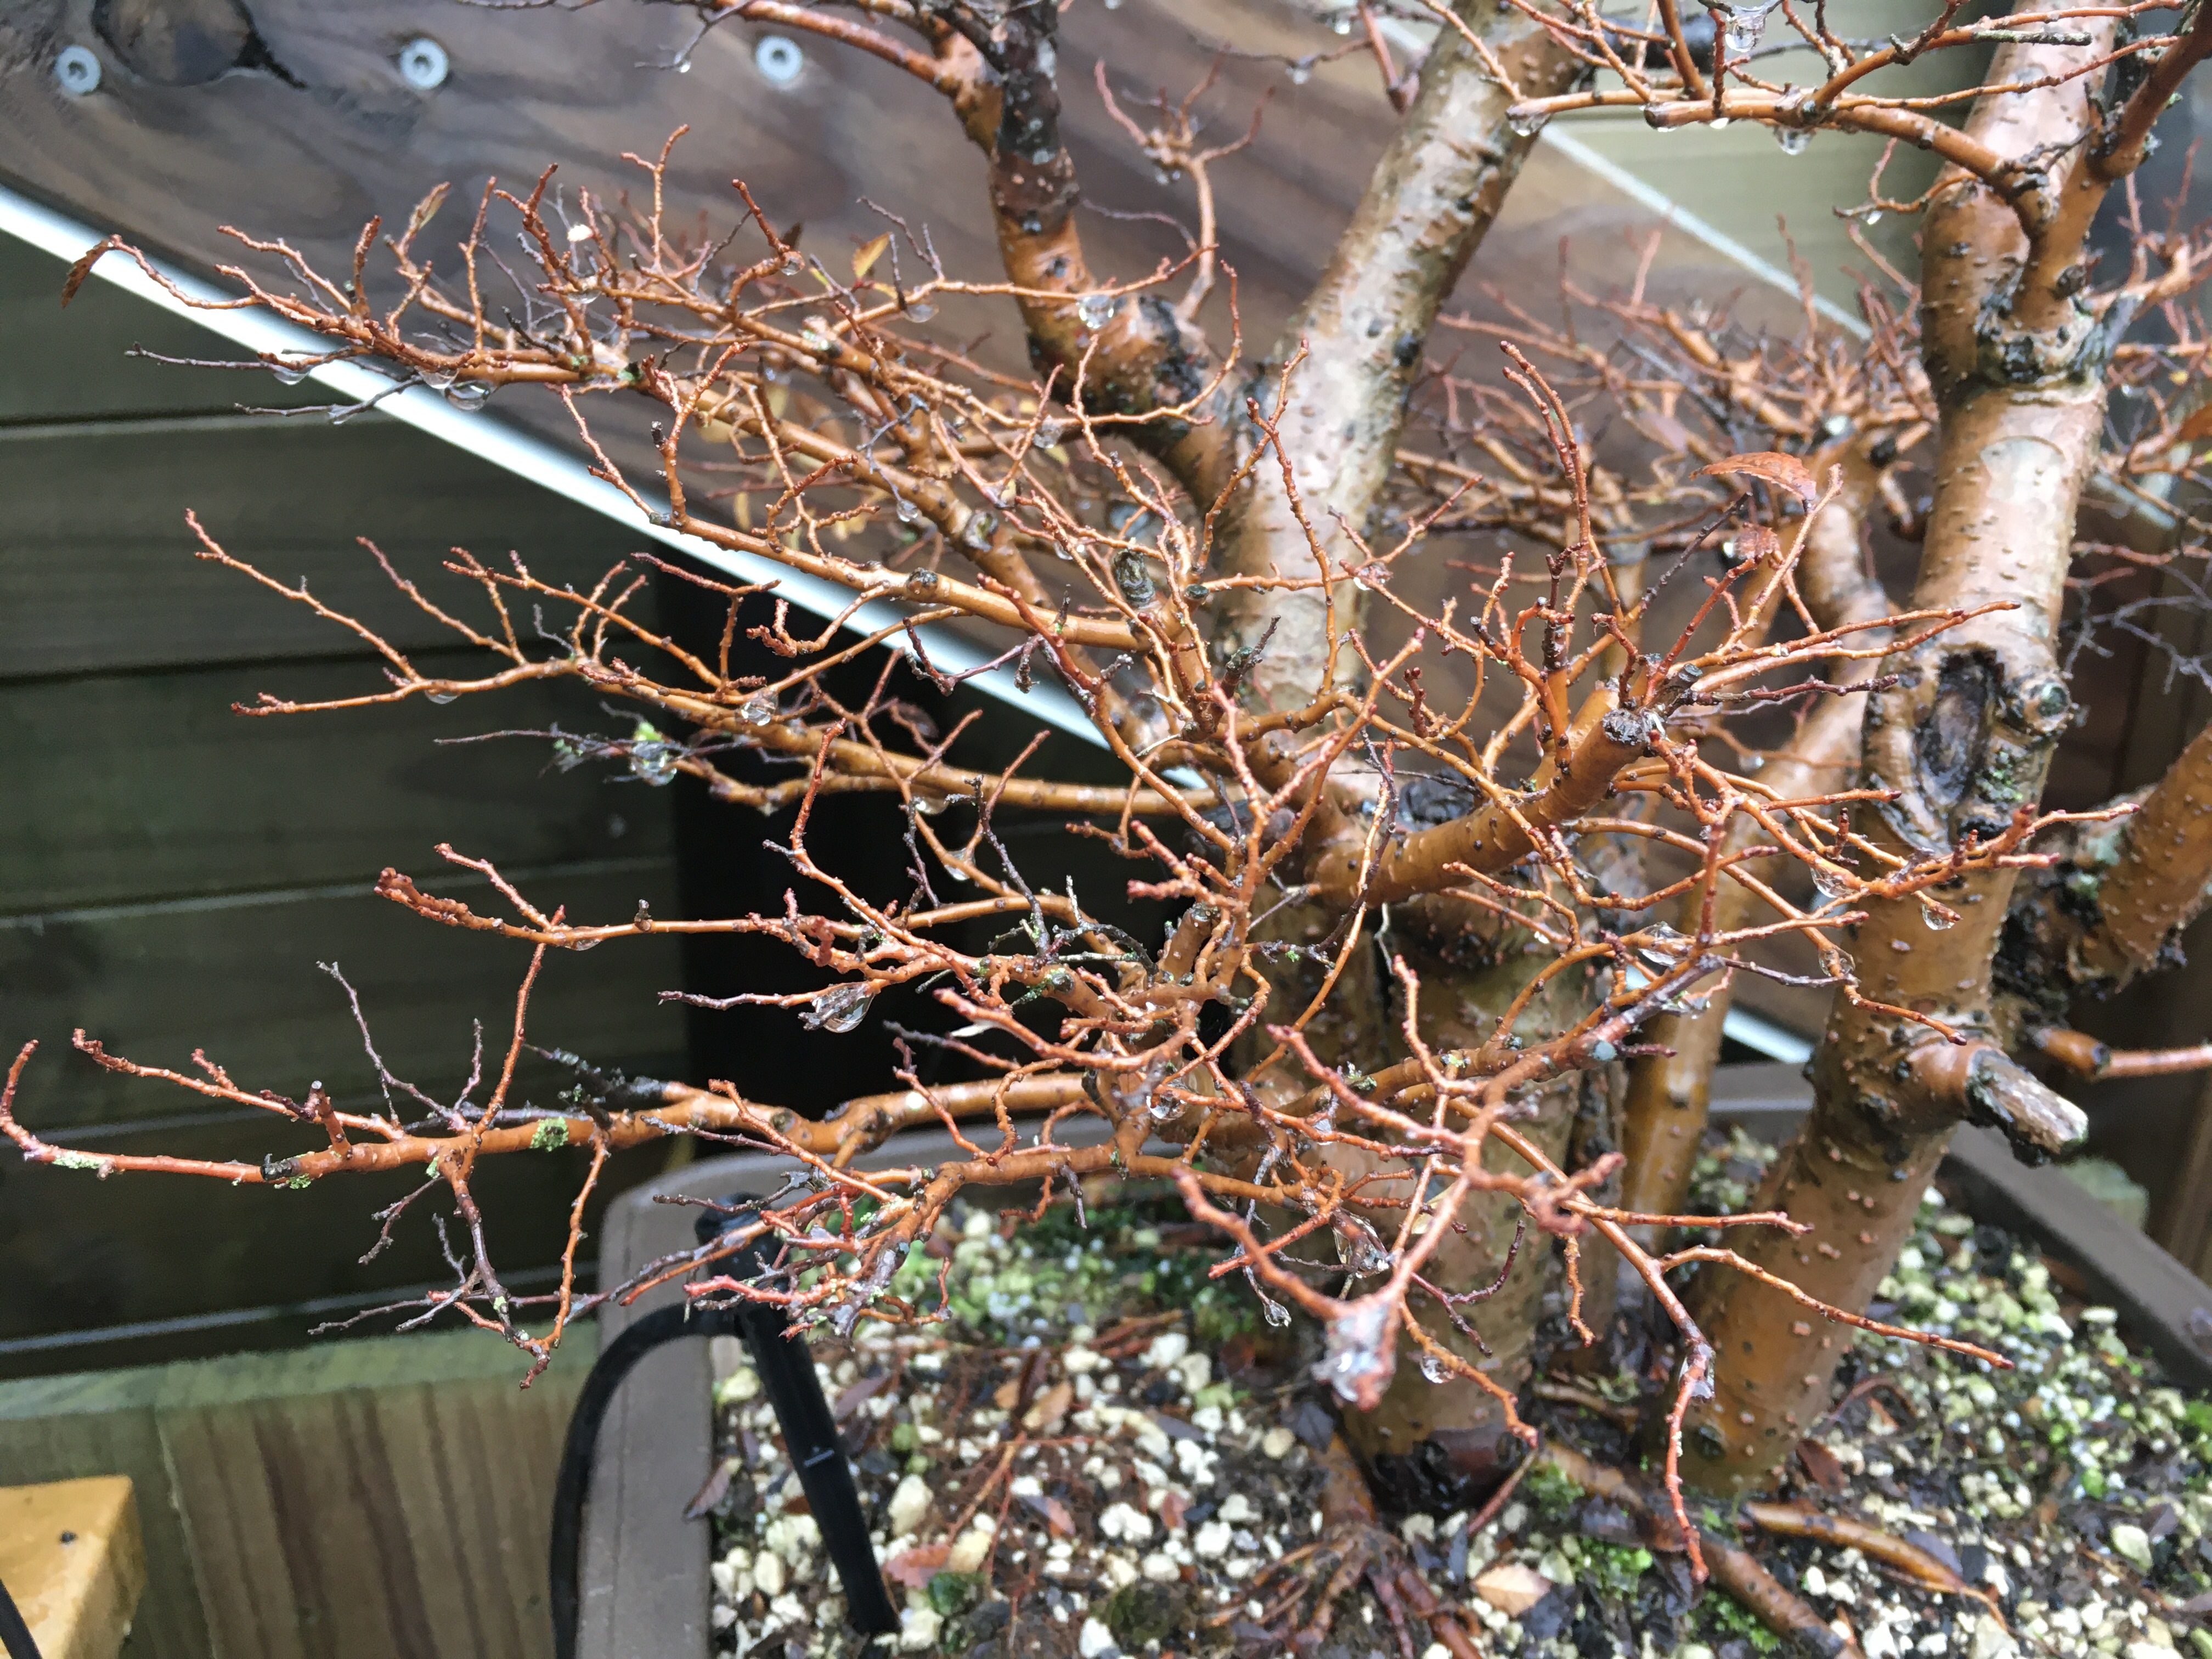
It is always exciting for me to apply wire to a tree and I feel the same excitement unwiring a tree. Applying wire is part of the creative process. You wire and you place the branches in place and when done, you can stand back and admire the design. Removing the wire for me brings the same excitement in that once the wire is off, two emotions are detected. One is happiness that you managed to remove the wire in time with no nasty wire bite marks on the branches. The second emotion is about the same as seeing an infant take the first steps on his or her own or seeing your puppy successfully toilet trained. Your tree is now on its own, with no help from wires to keep its shape. It is resembling something more advanced from the time that you applied the wire. It is another step towards maturity as a Bonsai tree.

Wire off.

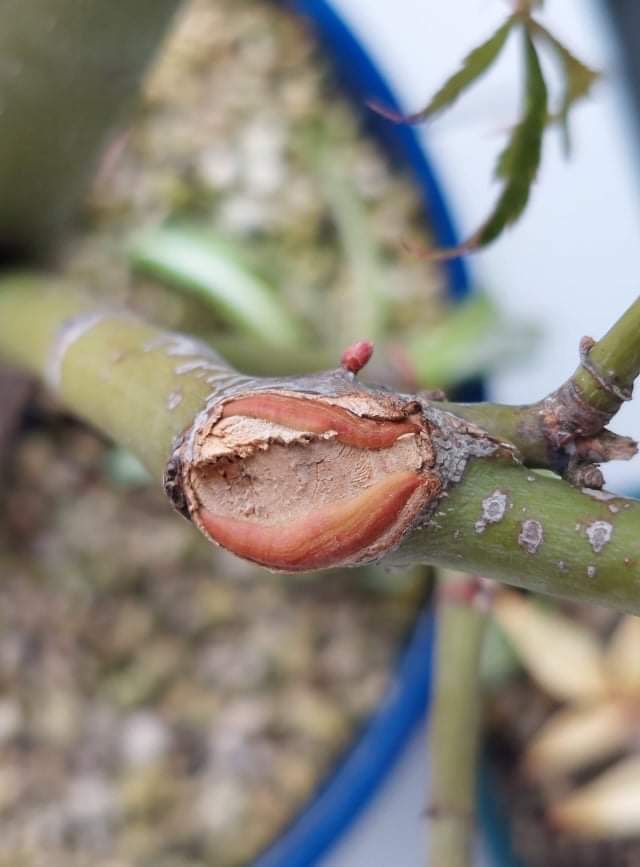
How do you do this job? Some people cut the wire in short bits and others uncoil it from the branches. I do both. Usually thicker wire gets cut and thinner wire gets uncoiled from the branches. It also depends on the size of the tree for me in that I prefer to use my fingers on smaller trees as my wire cutter is quite bulky, but perfect to use on the thicker wire where the chances of damaging bark is greater. Using the cutter is just easier, especially on Copper wire. Aluminium is softer and much more pliable which makes for safer removal of the wire. And that brings us to a very important point. Safety and the health of the tree always comes first. If you cannot remove the wire safely by hand and the uncoiling method, the appropriate tool should be used. Never compromise on the health of a tree.

I also usually start with all the thinner wire first. In other words, the reverse order of which the wire was applied in. My technique is to set the thicker branches first, therefor using thicker wire and from there use thinner wire as the branches taper out to the thinnest ones. Starting with the thinner ones also means working from the outside in and avoiding the odd wire that naughtily crossed a thicker wire in its pursuit to support the tree. Yes, it does include some planning on order of work and technique to be used. I also usually start at the bottom of the tree and work my way up, one branch at a time. That will minimise the chance of missing a wire somewhere and then discovering it a few weeks later, by then causing damage to the branch where it was missed.

Do you re-use uncoiled wire? I do, especially for students to practice their wiring technique. To do this, it is best to get all the bends out of the wire first. I use a smooth steel pipe that is fixed on both ends and then all you have to do is take the ends of the wire around the pipe in each hand and pull it across the pipe a couple of times and it is as straight as new wire again.

Unwiring is part of the process. Do it mindfully and your tree will reward you not just with its aesthetic appeal, but also with good health and a feel good emotion of accomplishing something worthwhile.

Feel free to comment on how you approach this task and any tips that will make the job easier.

Wound healing in Bonsai

It is necessary to have skills and knowledge about the treatment of wounds in Bonsai as pruning leads to the creation of wounds. Here we are not talking about the cutting of thin new or green growth, but more the structural pruning leaving larger wounds in more woody growth.

It is important that the tree is healthy before big cuts are made as it is stressful for the tree and critical that the conditions are maximal for optimal healing and growth. A free draining soil, good light, water and fertiliser are all requirements for good healing.

Both cuts on roots and cuts on branches and the trunk can be treated in the same way. What you need is:

  • A sharp cutter. I use a craft knife with replaceable blades. It needs to be very sharp and sterile.
  • Knob cutter or concave cutter. See tissue thickness requirements in the next paragraph.
  • Cut paste, either the putty type or the more liquid one.

If the tree has relatively thicker living tissue (cambium and outer layers), a concave cut needs to be made and if the tissue is very thin i.e. Azalea, then a convex cut can be made. Anything in between needs a flatter cut.

Start by using the cutters to either flatten or hollow the area of the cut wound. Use this opportunity to reduce the area by cutting at an angle or to the back of a branch.

Use a very sharp, sterile blade after most of the unnecessary material is removed.

It is important that the cut area is as smooth as possible. What is meant by this is that a ridge in the middle of a cut will cause the new tissue to bulge over that or even stop the formation of new tissue. The living tissue (cambium outer layer) must be intact and the best way to do this is to run a very sharp blade across it. This will allow intact cells to multiply better and faster to grow over the open wound. Also referred to as the cambium rolling over the wound. Once the wound is clean, relatively smooth and the cambium prepared, use cut paste to cover the wound, especially the cambium. Proper cut paste will keep the cambium moist and it also contains chemicals that will enhance the growth of new cells.

Allowing branches to elongate freely in the vicinity of the wound will help to bring nutrients and hormones to that area for faster healing.

The area could be cleaned again after a few months of healing. Remove the cut paste and study the progress. If it looks as if the cambium roll over came to a standstill, gently open the edge of the cambium up again, apply cut paste and repeat the wait and check again process.

An almost healed large wound. This was about 3cm across as a wound.

The Balance between Life and Death – Preventing Bonsai trees from dying.

It is a given. You will have a few trees die on your watch. Nobody wants it, but it happens and it is part of the life-death cycle that underpins all living things. We do not kill our trees deliberately and it therefore is important to take note of the things that do increase the chances of this unfortunate event.

Basic Horticulture

This relates to keeping the tree healthy through everyday practices, inclusive of hygiene, watering, light and nutrition requirements.

In my experience watering requirements is the most important of these aspects. Get that wrong and your tree will deteriorate and then just die. This relates to both overwatering as well as too dry conditions. Every tree will have different requirements based on species, soil medium, size and exposure to sun. Study this for each specie, make notes, learn and apply. Overwatering is the dangerous one as it generally leads to root rot and by the time you become aware of this it is too late. Be aware of irrigation systems. A power outage, a flat battery or a broken pipe, all lead to disaster. The best way to water is by hand and by studying each tree and adjust the amount of water to the daily requirements. It is labour intensive, but a safe way to keep your trees alive.

When repotting, pay special attention to the roots. Some species do not handle complete removal of soil well. Check for tangled roots, check for bugs, caterpillars and ants nests in the soil at this time.

Seasonal and Climate requirements

At the time of writing this, it is winter in New Zealand and after quite a dry period, it has now been raining for three days solidly and the temperature has dropped into single digits in places. Irrigation systems are now turned off and the focus now shifts from preventing trees from drying out to ensure they do not drown. Half of my trees now have pots at an angle to allow water to run off, rather than sit in the pot. Back to basic horticulture as your soil medium and its drainage ability now plays a big role in keeping trees healthy and alive.

I have mentioned temperature and the accompanying conditions now come into play as well. Snow can actually insulate trees, but frost is just nasty. Your local climate and specific species will dictate if a tree needs to be under cover or not. Frost has killed many a tree. Very harsh high temperatures, accompanied with little to now sun protection and not enough water will kill trees. Take note of your pot and soil temperatures. The pot construction, size and colour can have an effect on the temperature inside the pot. Two pots next to each other can have very different temperatures.

Frost and cold damage.

Be careful when bringing plants inside, especially non-dormant trees. I have seen and heard of many trees that just did not like artificial heating systems, wood fire burners and even being cooked on a window sill, resulting in the tree ending up on the compost heap.

Light requirement of a tree is a big one. Suitable species for sunny areas are Celtis, Junipers, Chinese Elms, Cotoneaster, most Pine species, Holly, pyracantha and others. For a more shady aspect look at Azalea, Maples, Beech, Zelkova and others. Acclimatisation plays a big role here. You can gently and over time get some species to tolerate a wider range of light and temperatures if your care is spot on. Generally, if you get this wrong, a tree will deteriorate over time and if not corrected will say goodbye.

Overworking

This is not just a beginners issue. Many a tree has succumbed to being overworked. The safe mantra here is do little bits of work more often, rather than massive root work at the same time as huge pruning and styling jobs. This goes with seasonal changes as well. Certain things, like defoliation, should take place at a specific time of year. Same for root work and repotting. It could be different for different species. Study, learn and apply.

Diseases and Pests

That is self-explanatory. The best is to use preventative methods to stop disease and pests from getting to your trees. This could include preventative sprays, either organic or not. That depends on your philosophy, but either way, keep an eye out for tell tale signs. Things like ants can point to aphids, sooty mould and other issues. Yellowing and spots on leaves, droppings of bugs and caterpillars, chew marks on leaves, sudden leave drop, are all signs of things going wrong. Keep an eye out and this can easily be combined with your daily watering routine. A big part of prevention is basic hygiene around your trees. Get rid of fallen leaves, clean underneath your benches and check the undersides of pots. Many an issue can be prevented by just cleaning often.

Many places for creepy crawlies to hide.

Seal wounds, tie trees down in pots when repotting, check old wounds, look for new holes in the trunk, marks like ring barking and especially underneath the leaves.

Seal wounds.

Summary

This is just a snapshot of things that can go wrong and is not intended to scare or put Bonsai enthusiasts off, just a reminder that a Bonsai tree is like having a pet. The tree has basic requirements and if these are not taken care of, it will deteriorate and can then die as a result of neglect or just not being bale to pick up on adverse things early enough. The solution is to arm yourself with knowledge, practice the skills involved in keeping a tree alive and constantly take great care of your trees.