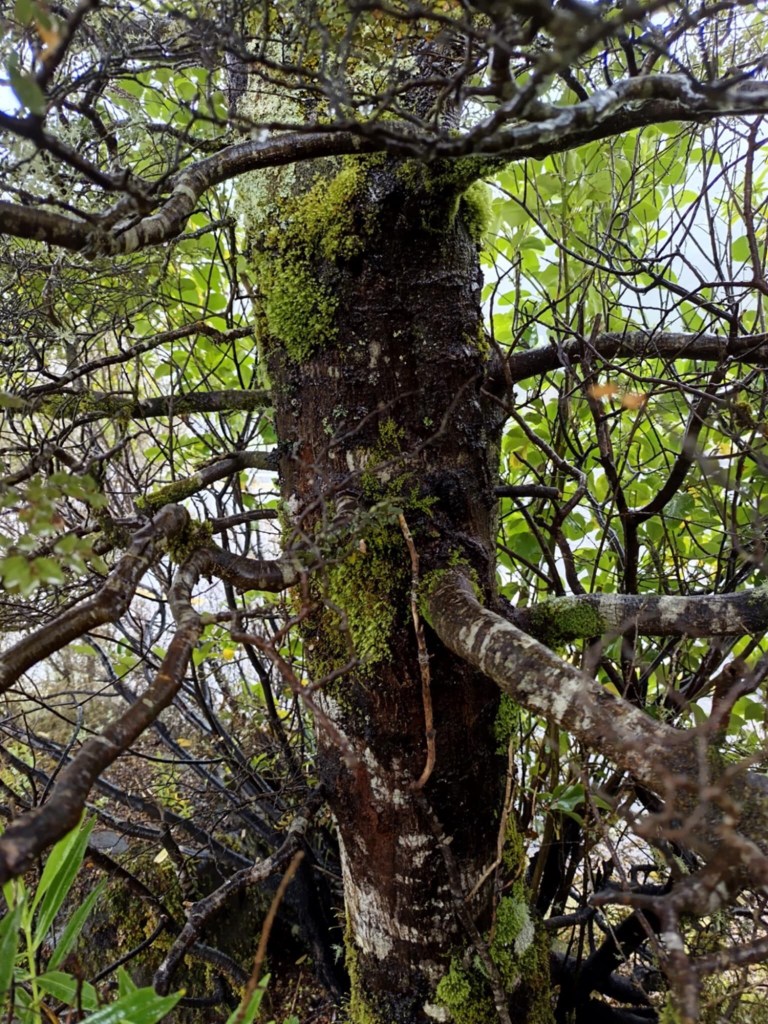
Nothofagus cliffortioides, known as Mountain Beech, is a large, evergreen tree native to New Zealand. The taxon is also known as Fucospora cliffortioides in New Zealand. It is found on the South Island and around higher altitude areas of the North Island. The photos in this article were taken in the Tongariro National Park area (Whakapapa).


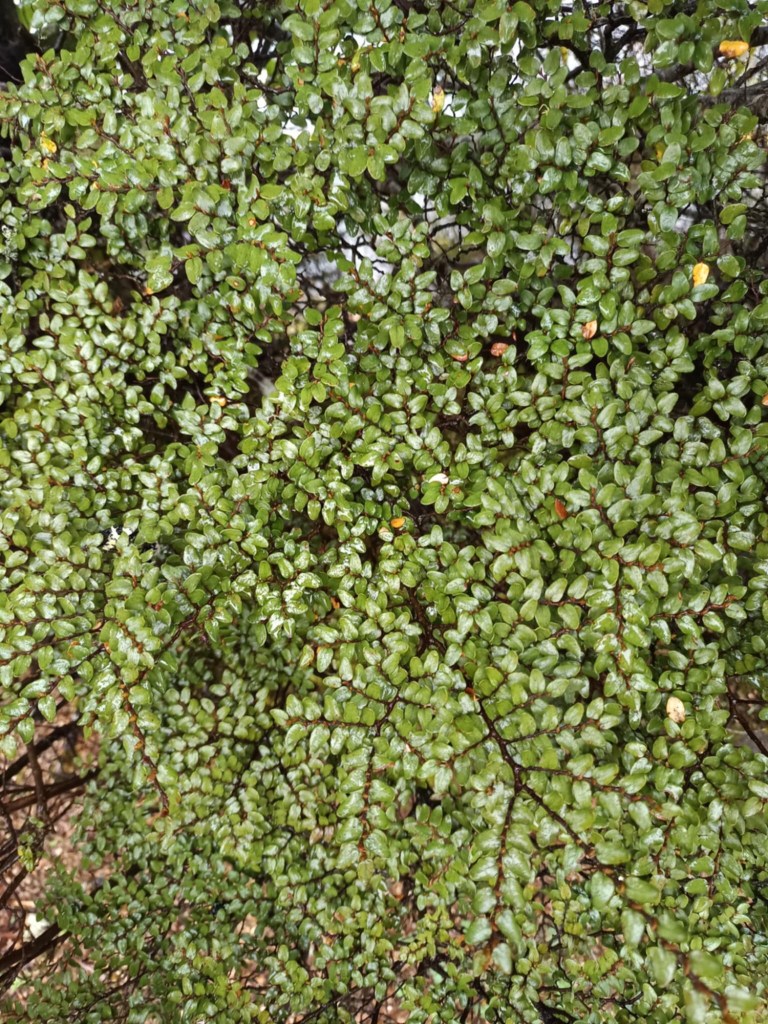
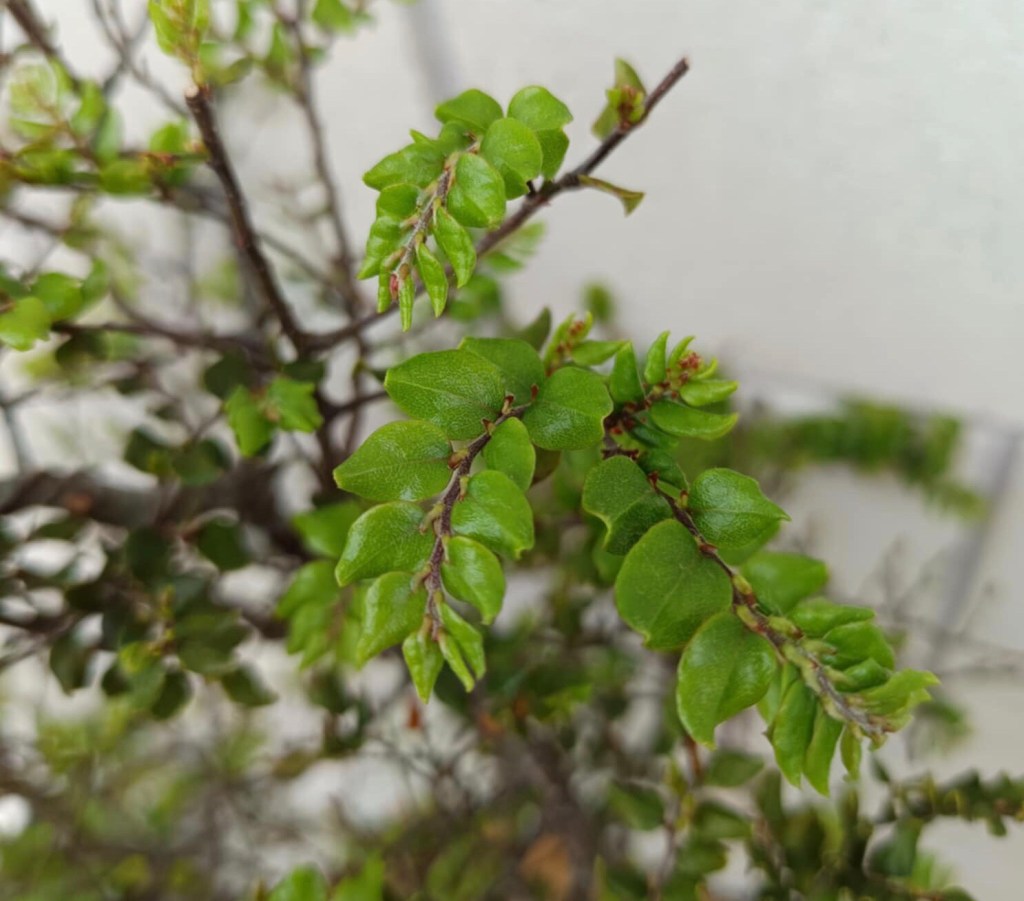
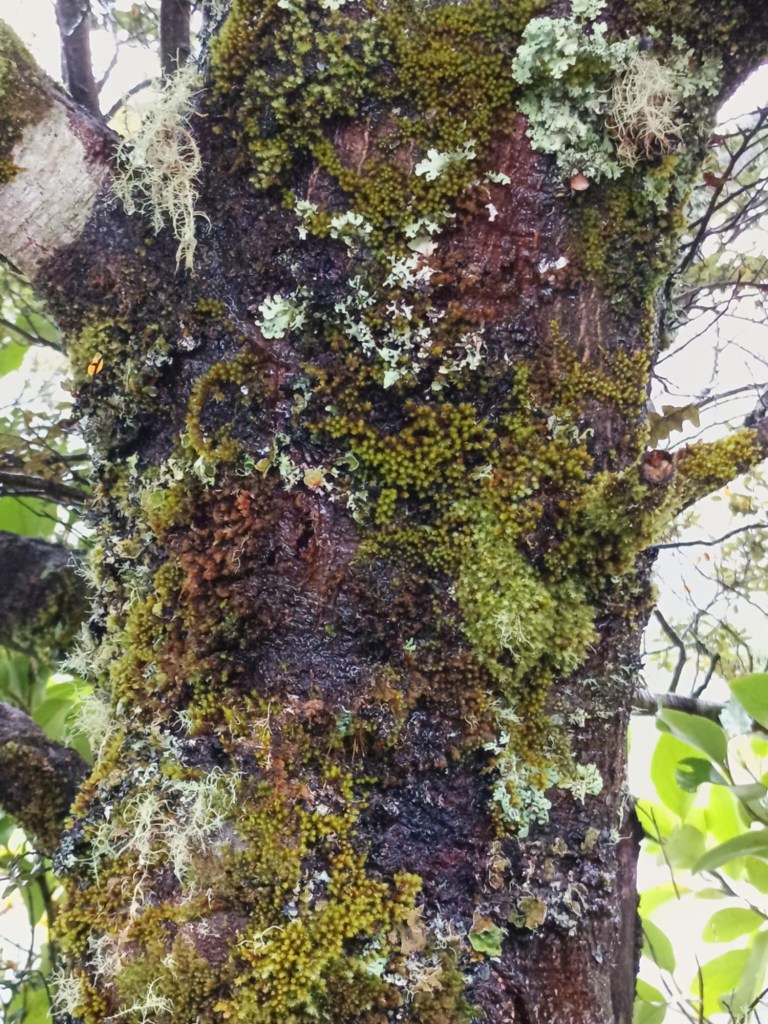
The foliage consists of small, dark green leaves which are carried closely on short stems in fan-like sprays. In its natural habitat the branches and leaves form natural foliage pads as commonly seen in Bonsai. It is this growth pattern that caught my attention while out and about studying trees and looking for Bonsai related inspiration. Masses of tiny, red flowers are borne across the tree in spring. It grows with a broad and somewhat rounded habit to about 30 m tall and 12 m wide. Will these trees make it as Bonsai?


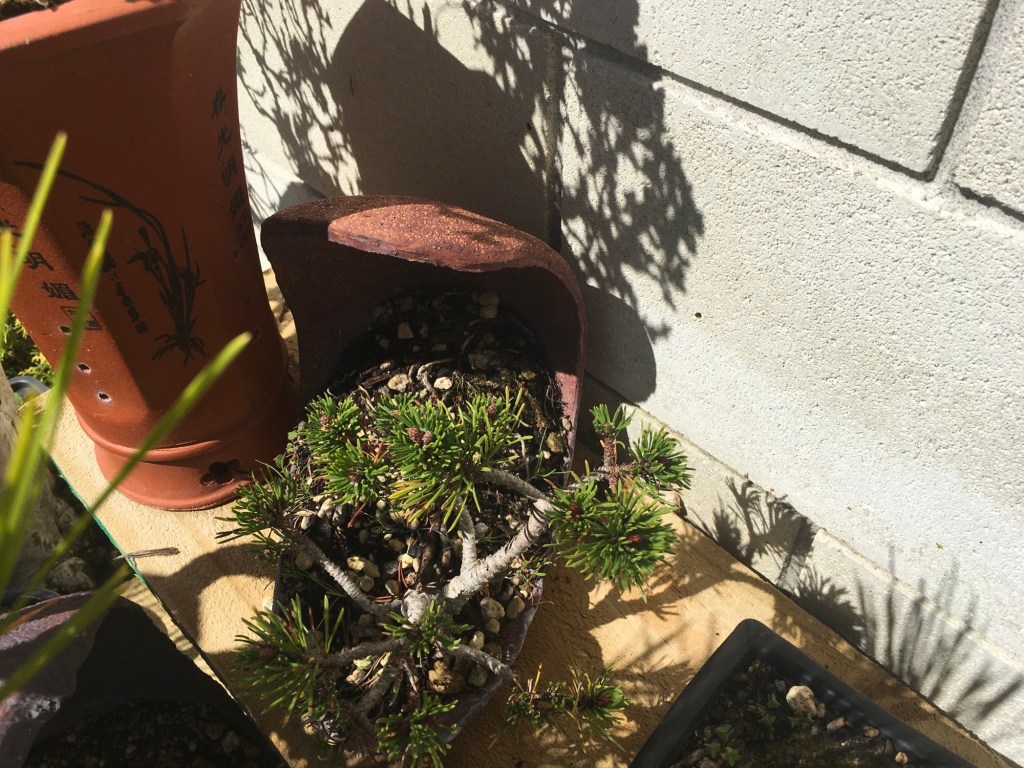
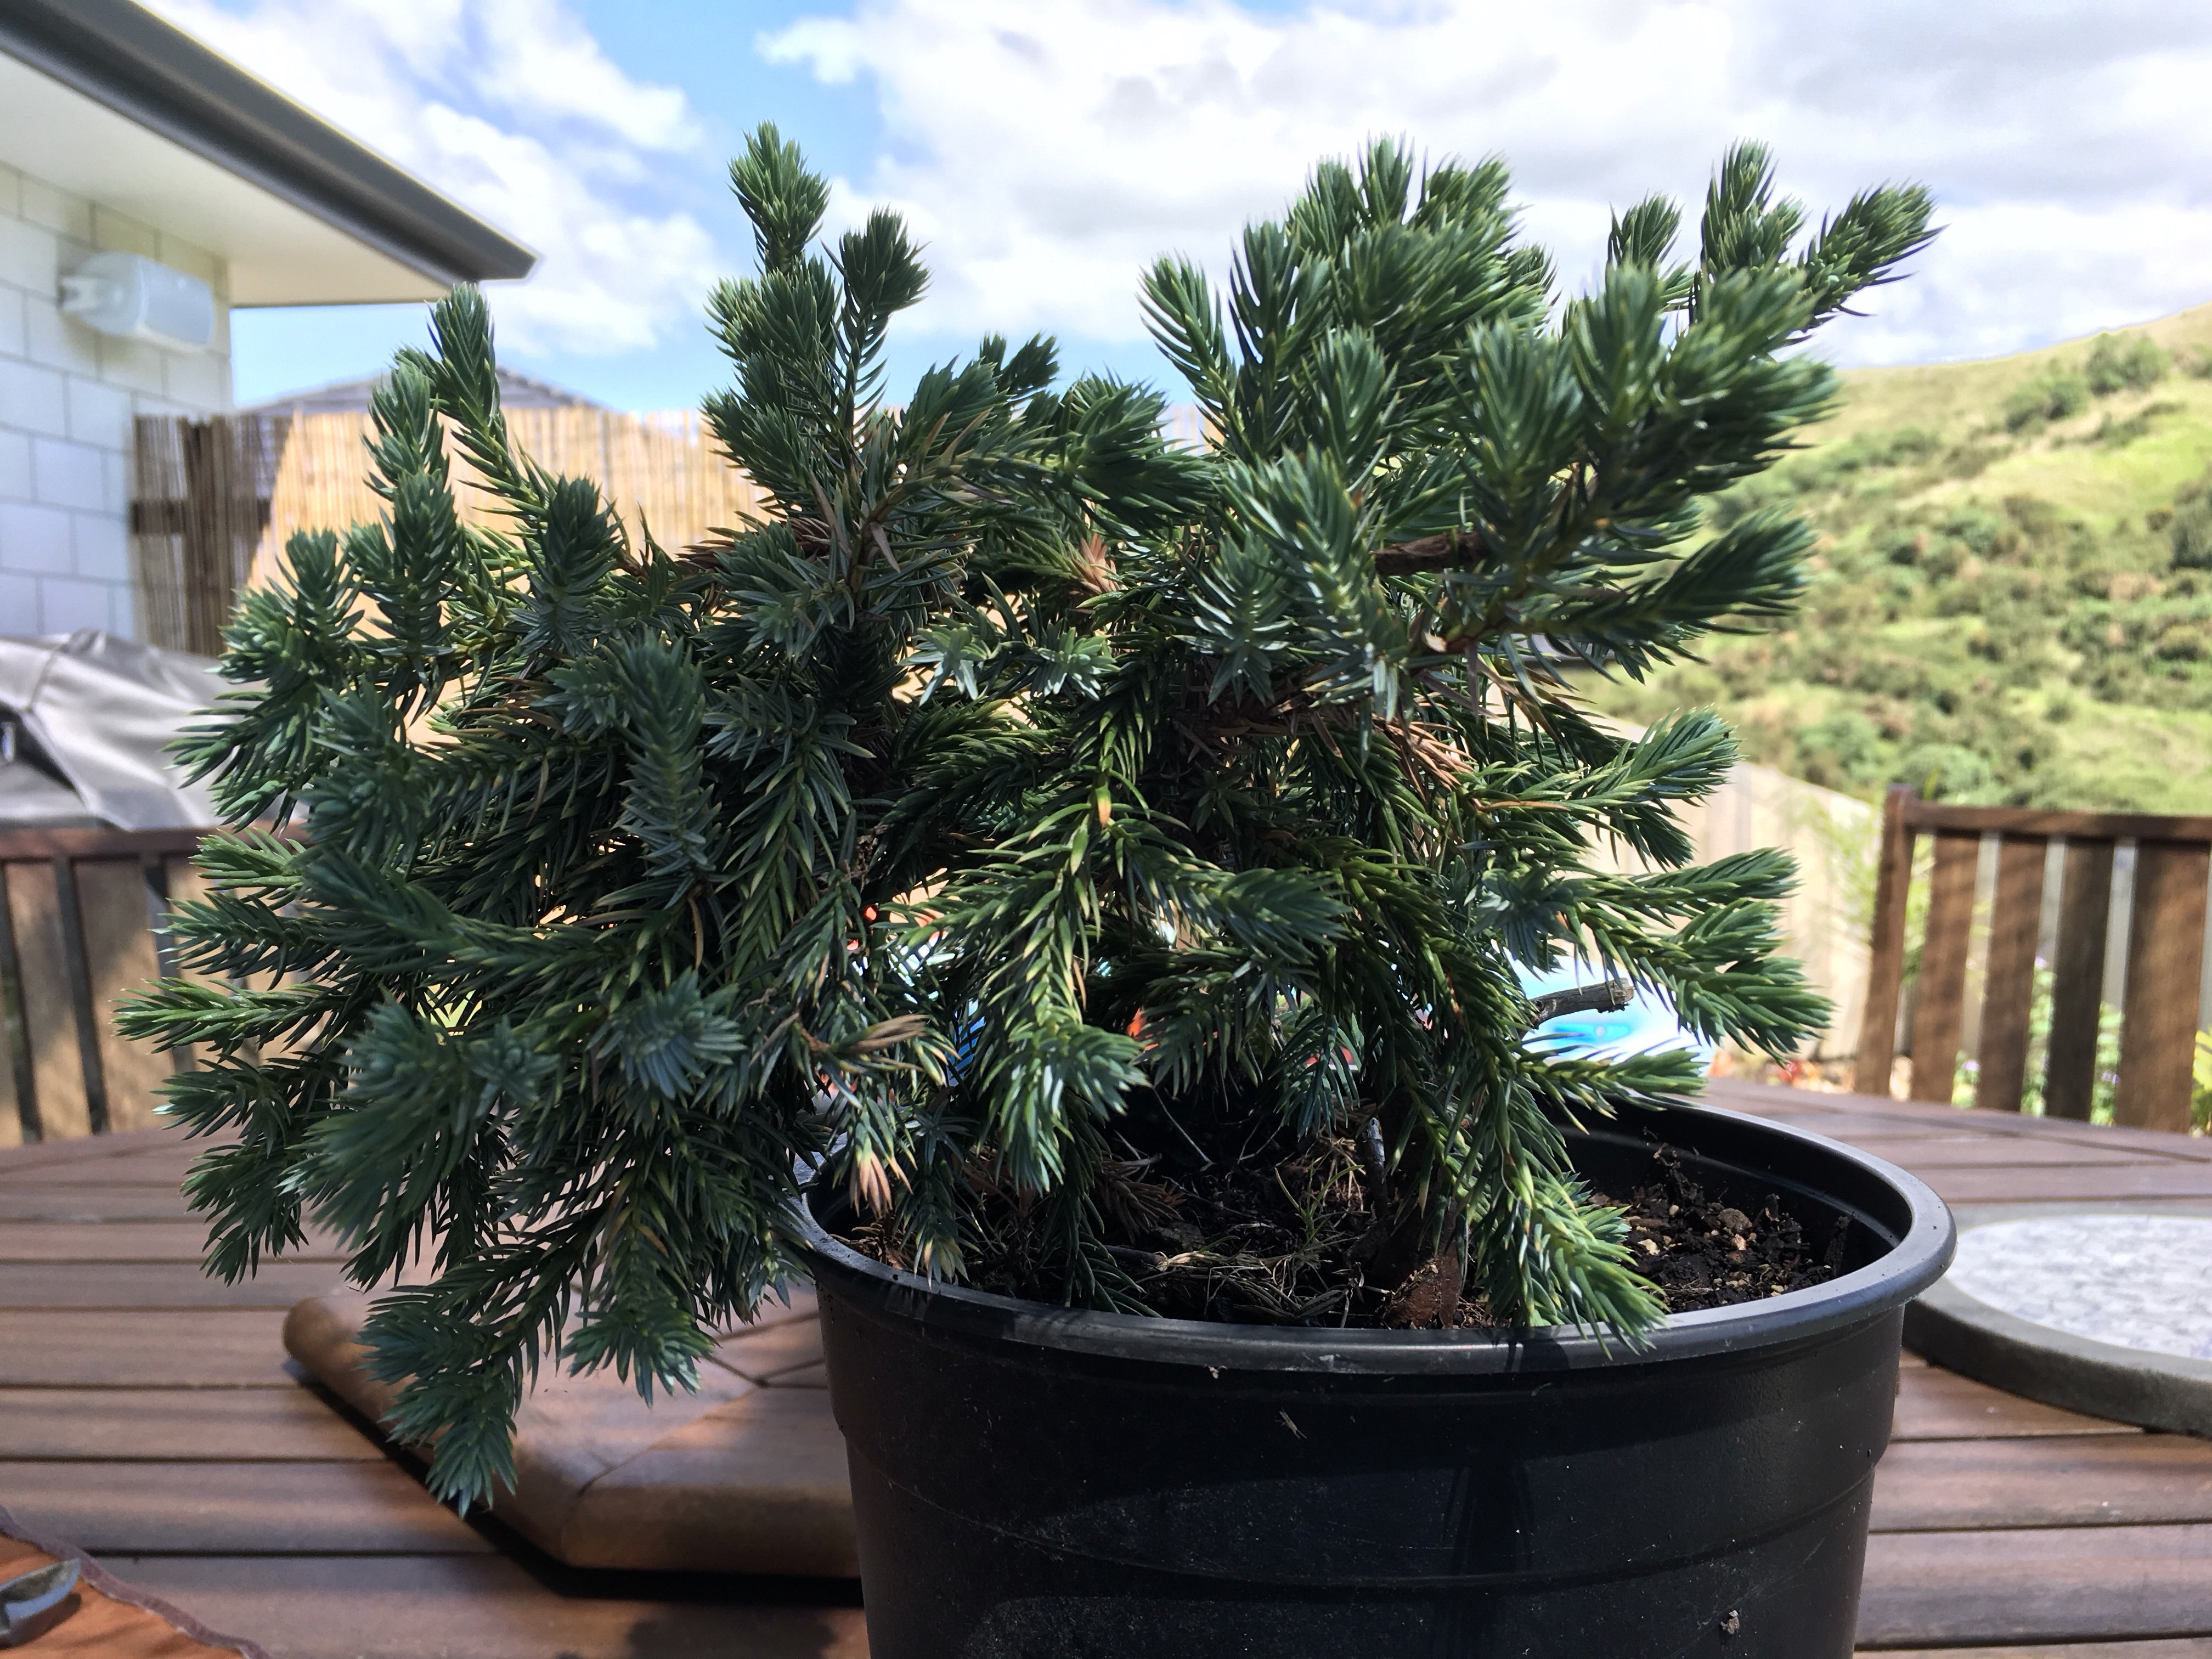
I ordered a few nursery trees a few years ago and these were planted in a long and narrow pot. The soil mix is made up of about 50% compost, 40% pumice and 10% scoria. In its natural habitat the soil is mostly organic with a high percentage of scoria and other volcanic rock mixed in. The photos in this article were taken of trees in a sub-alpine area with a few other native species in the immediate environment.
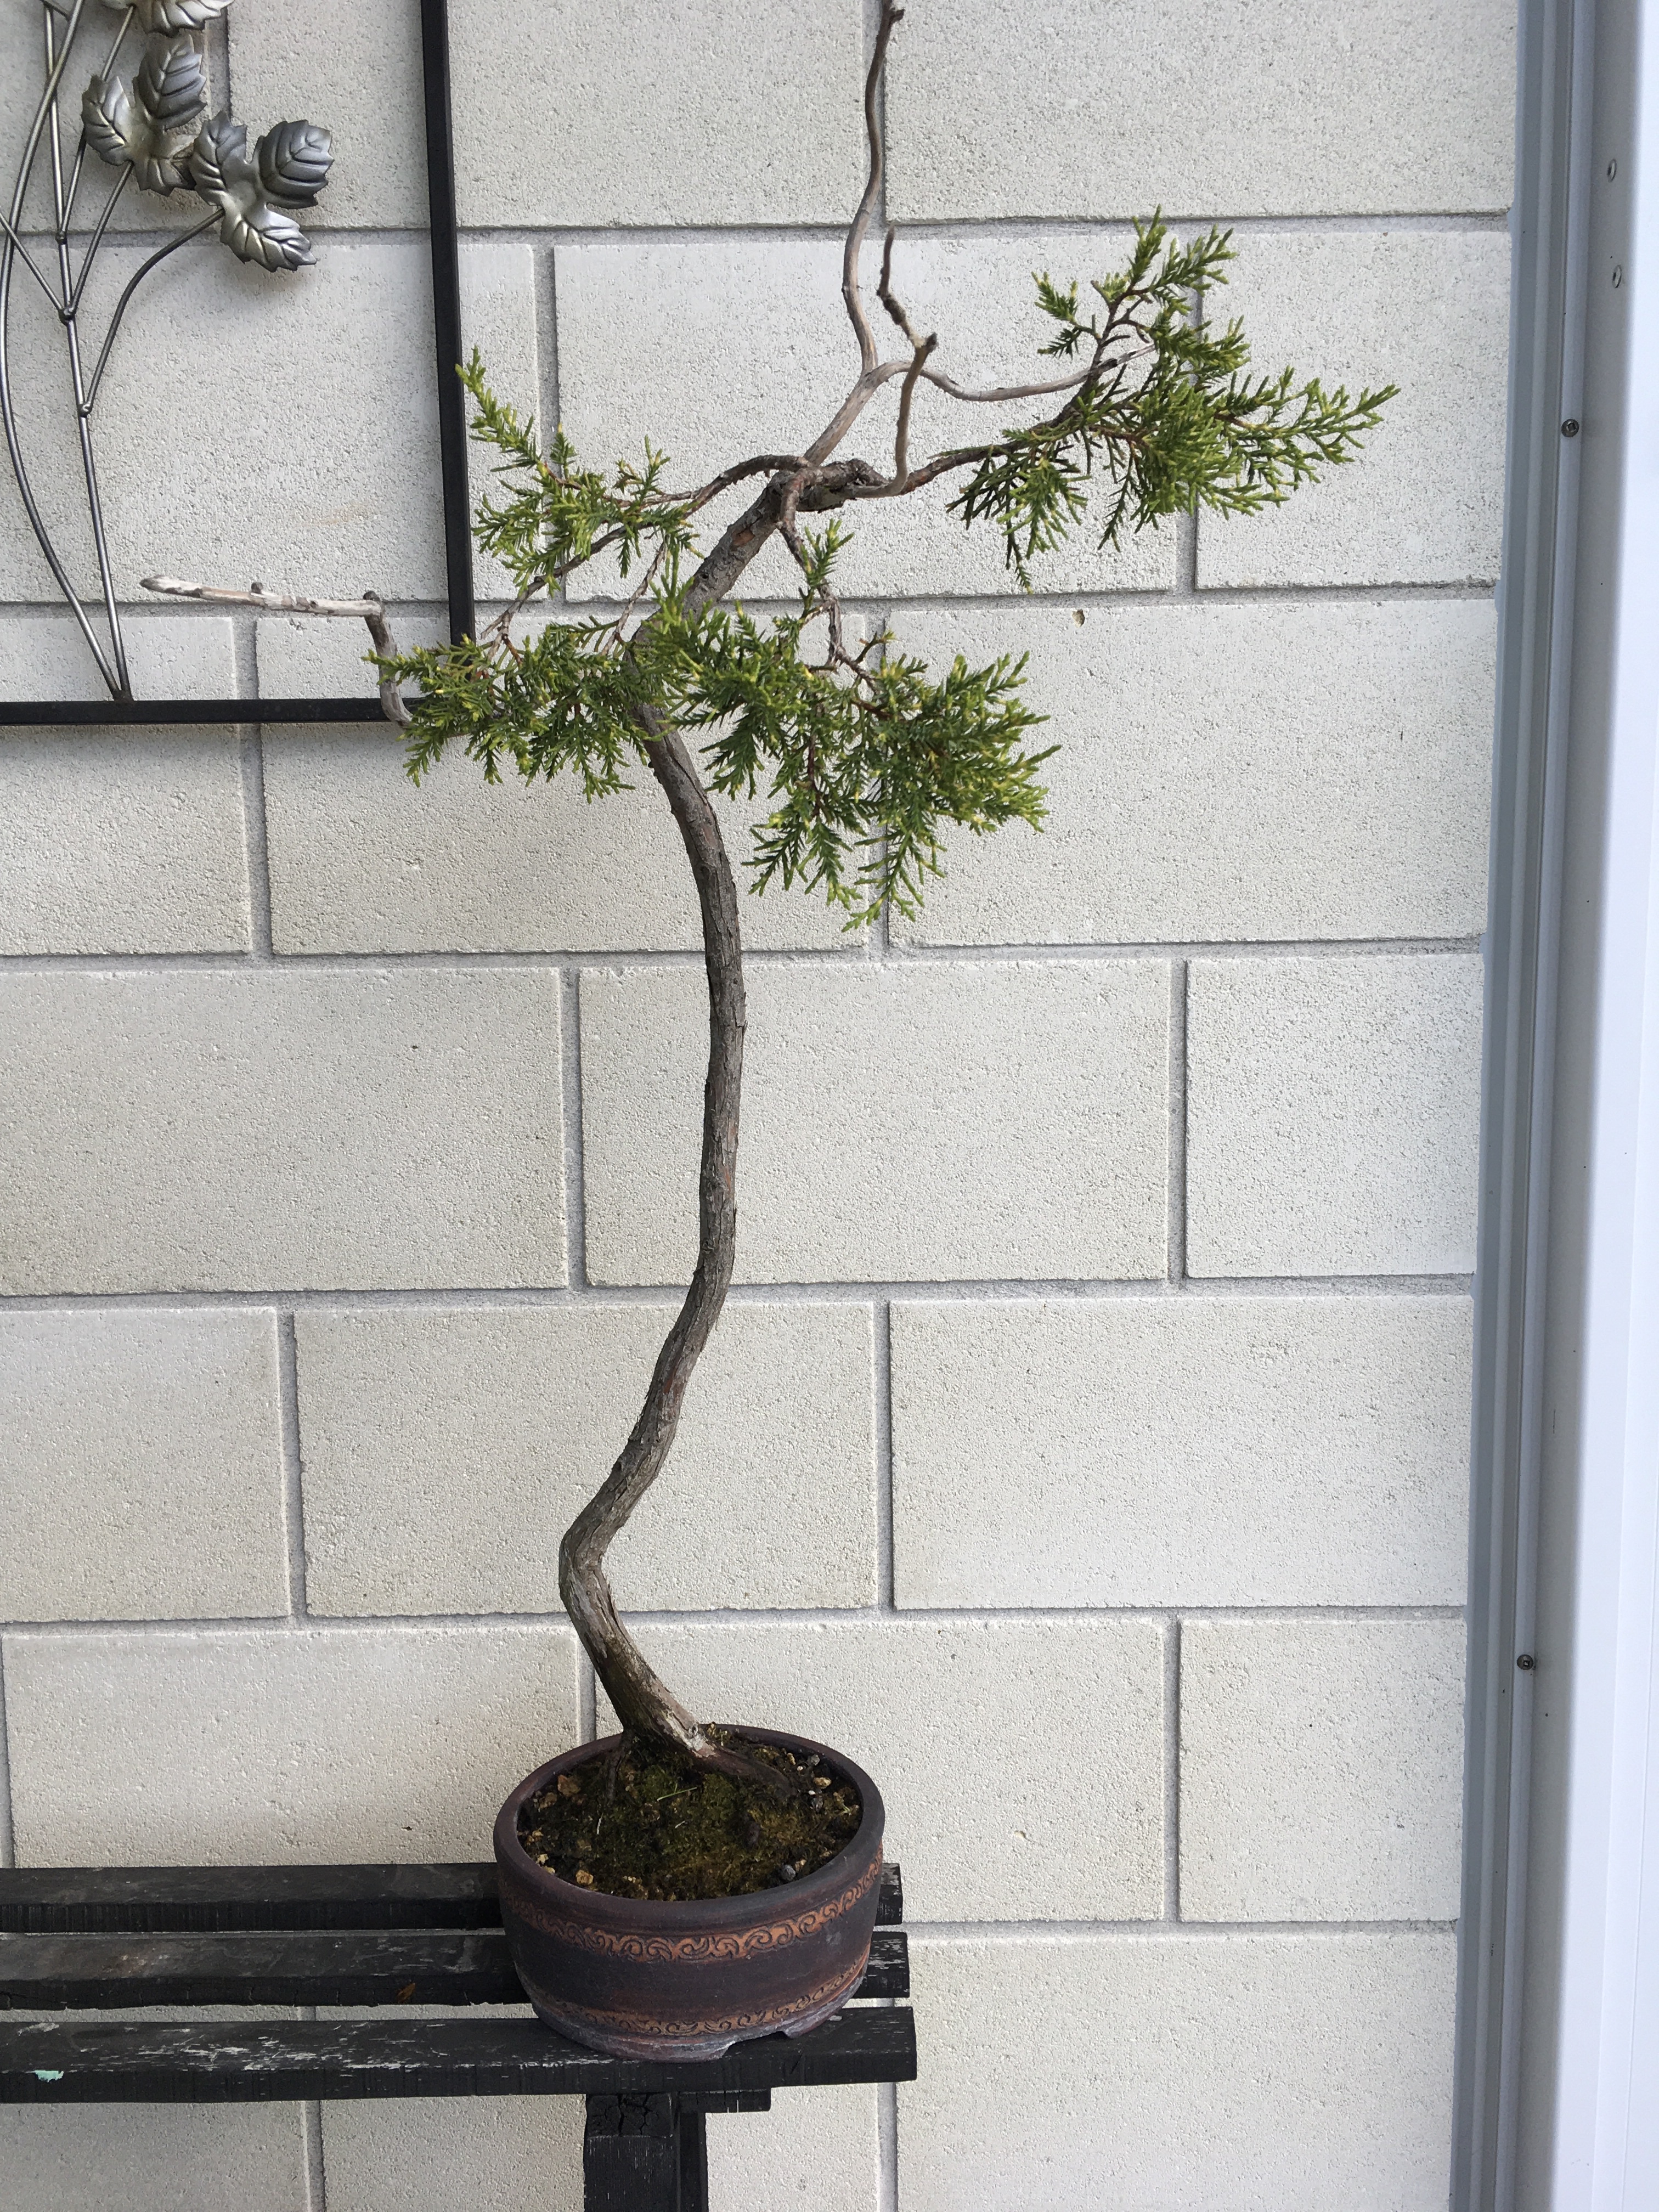
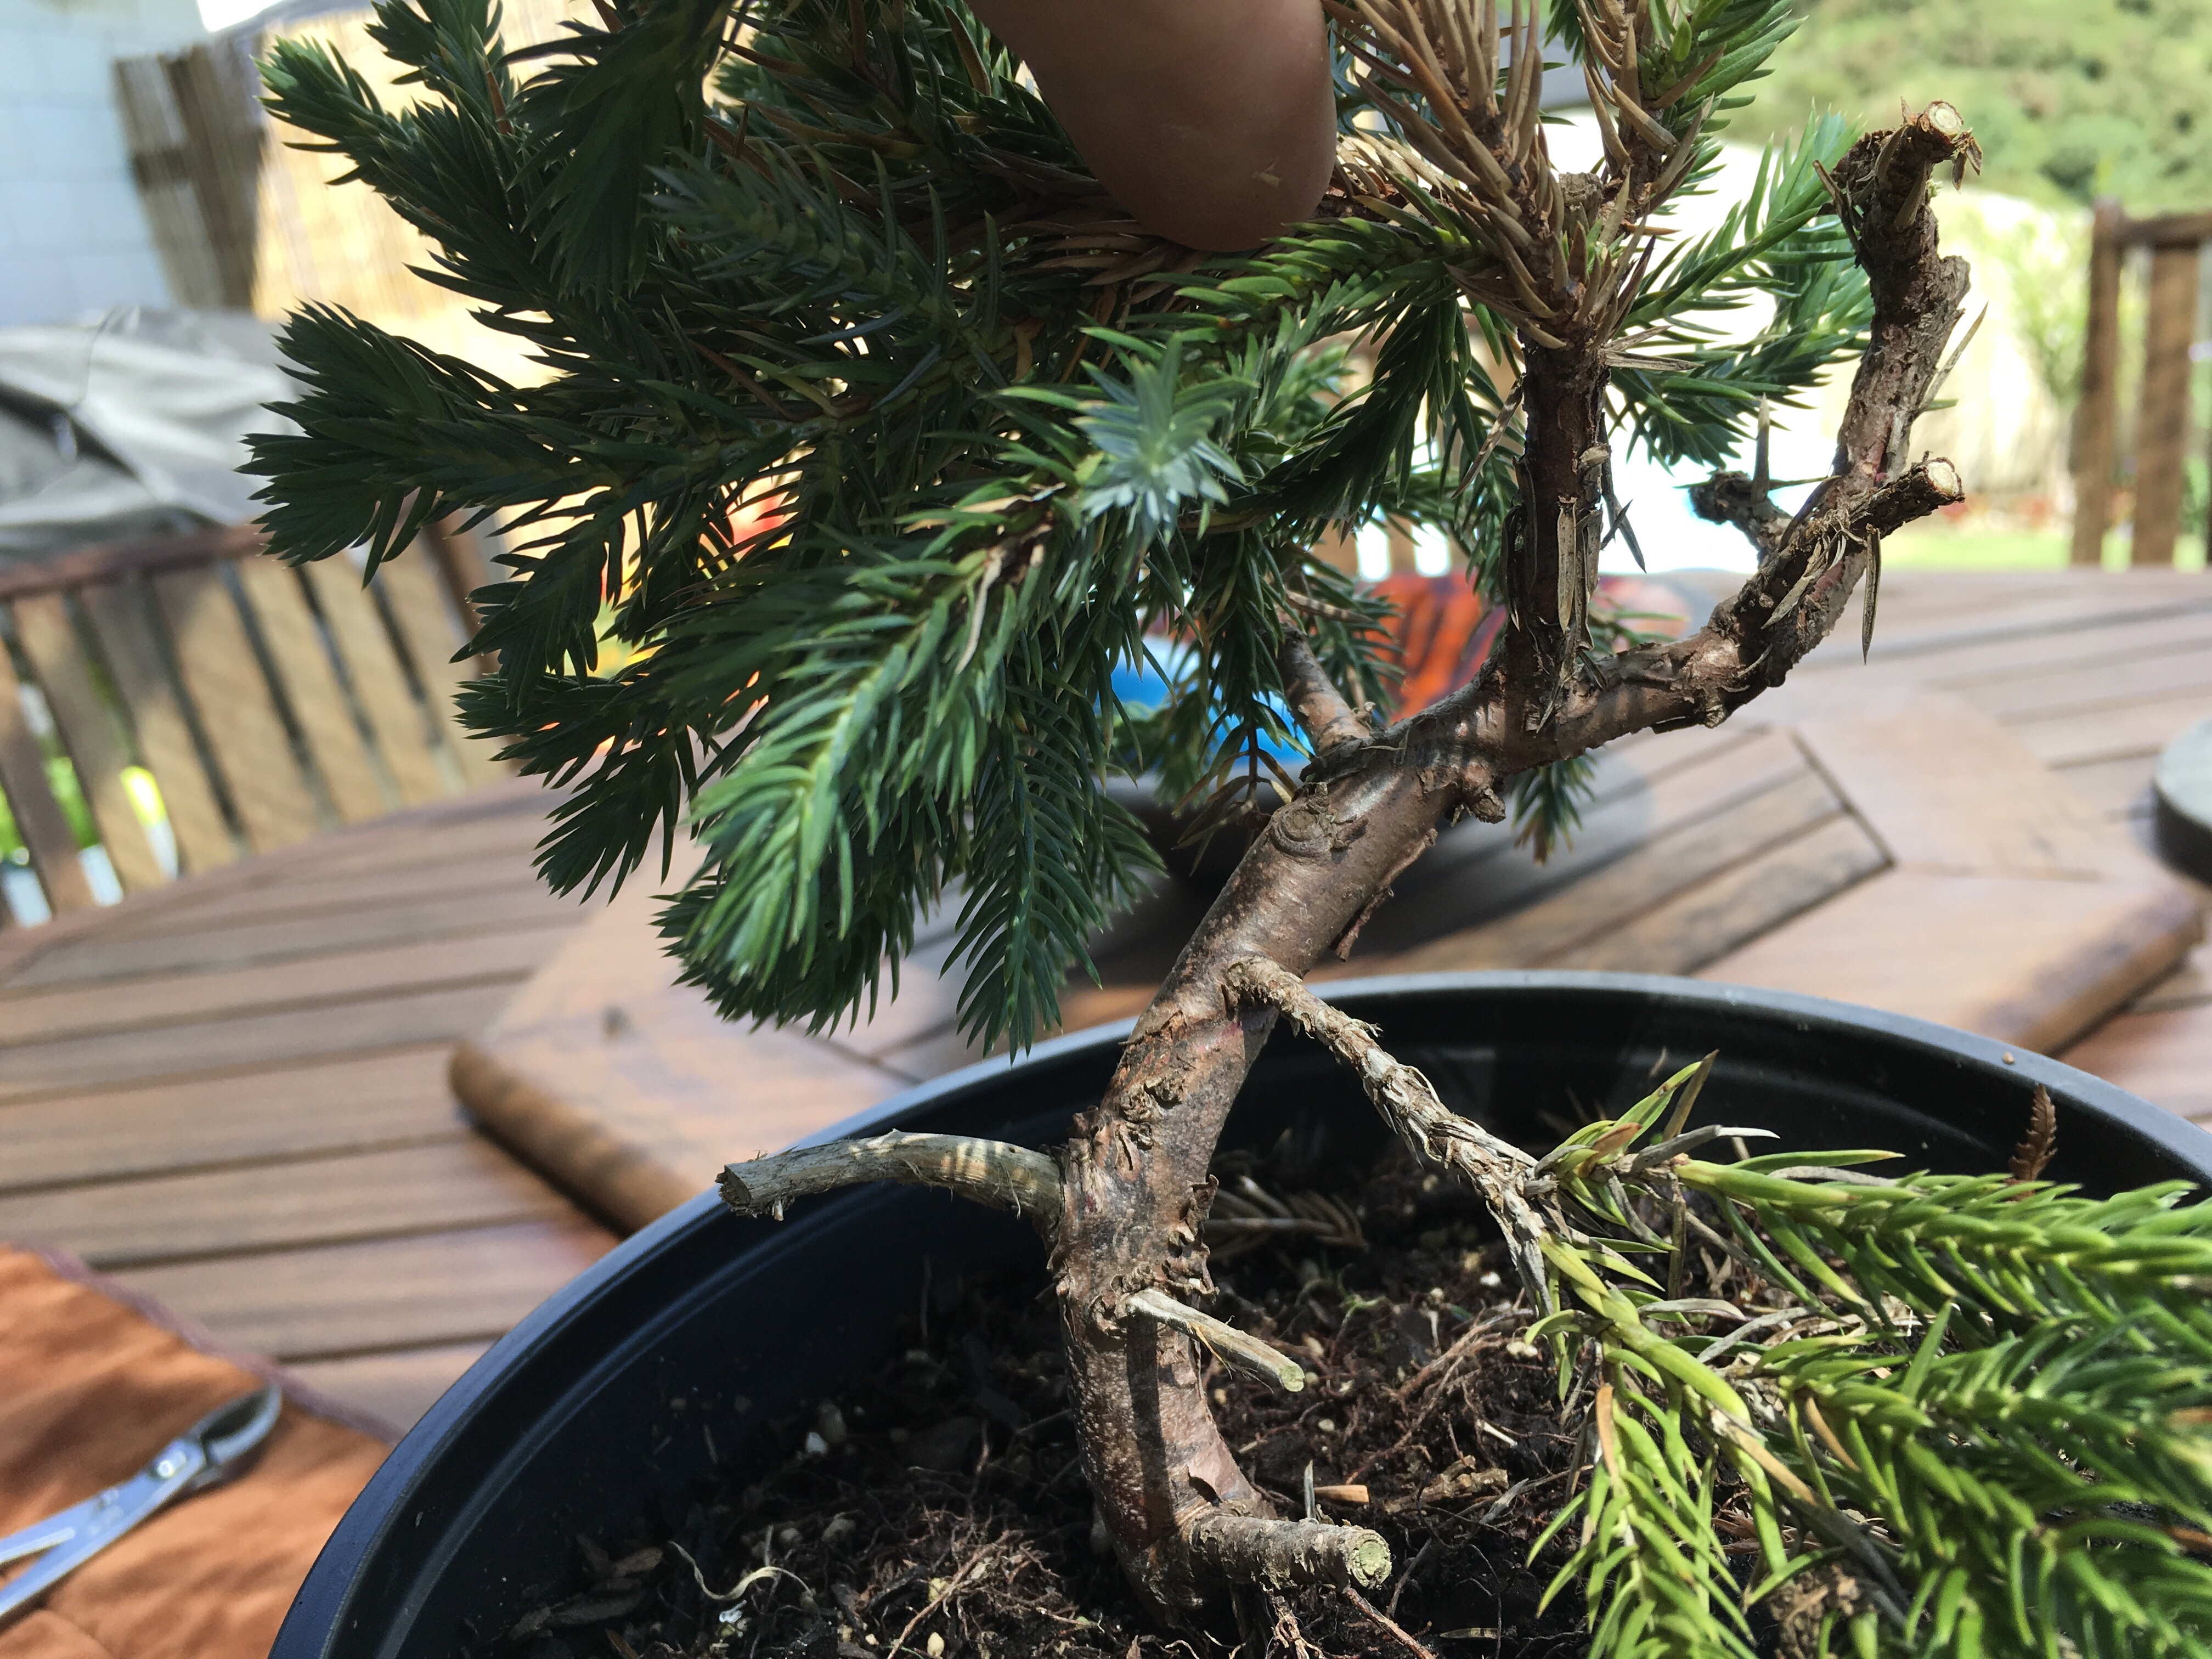
The trees that I have are arranged in a forest formation and since planting, the trunks have only marginally thickened with most of the growth originating from the canopy area, a clearly apically dominant species. The trees are ok with pruning, at times dropping leaves, but generally budding and forming new leaves within six weeks after partial leaf drop. I am not sure if this is a natural occurrence or a reaction to pruning.

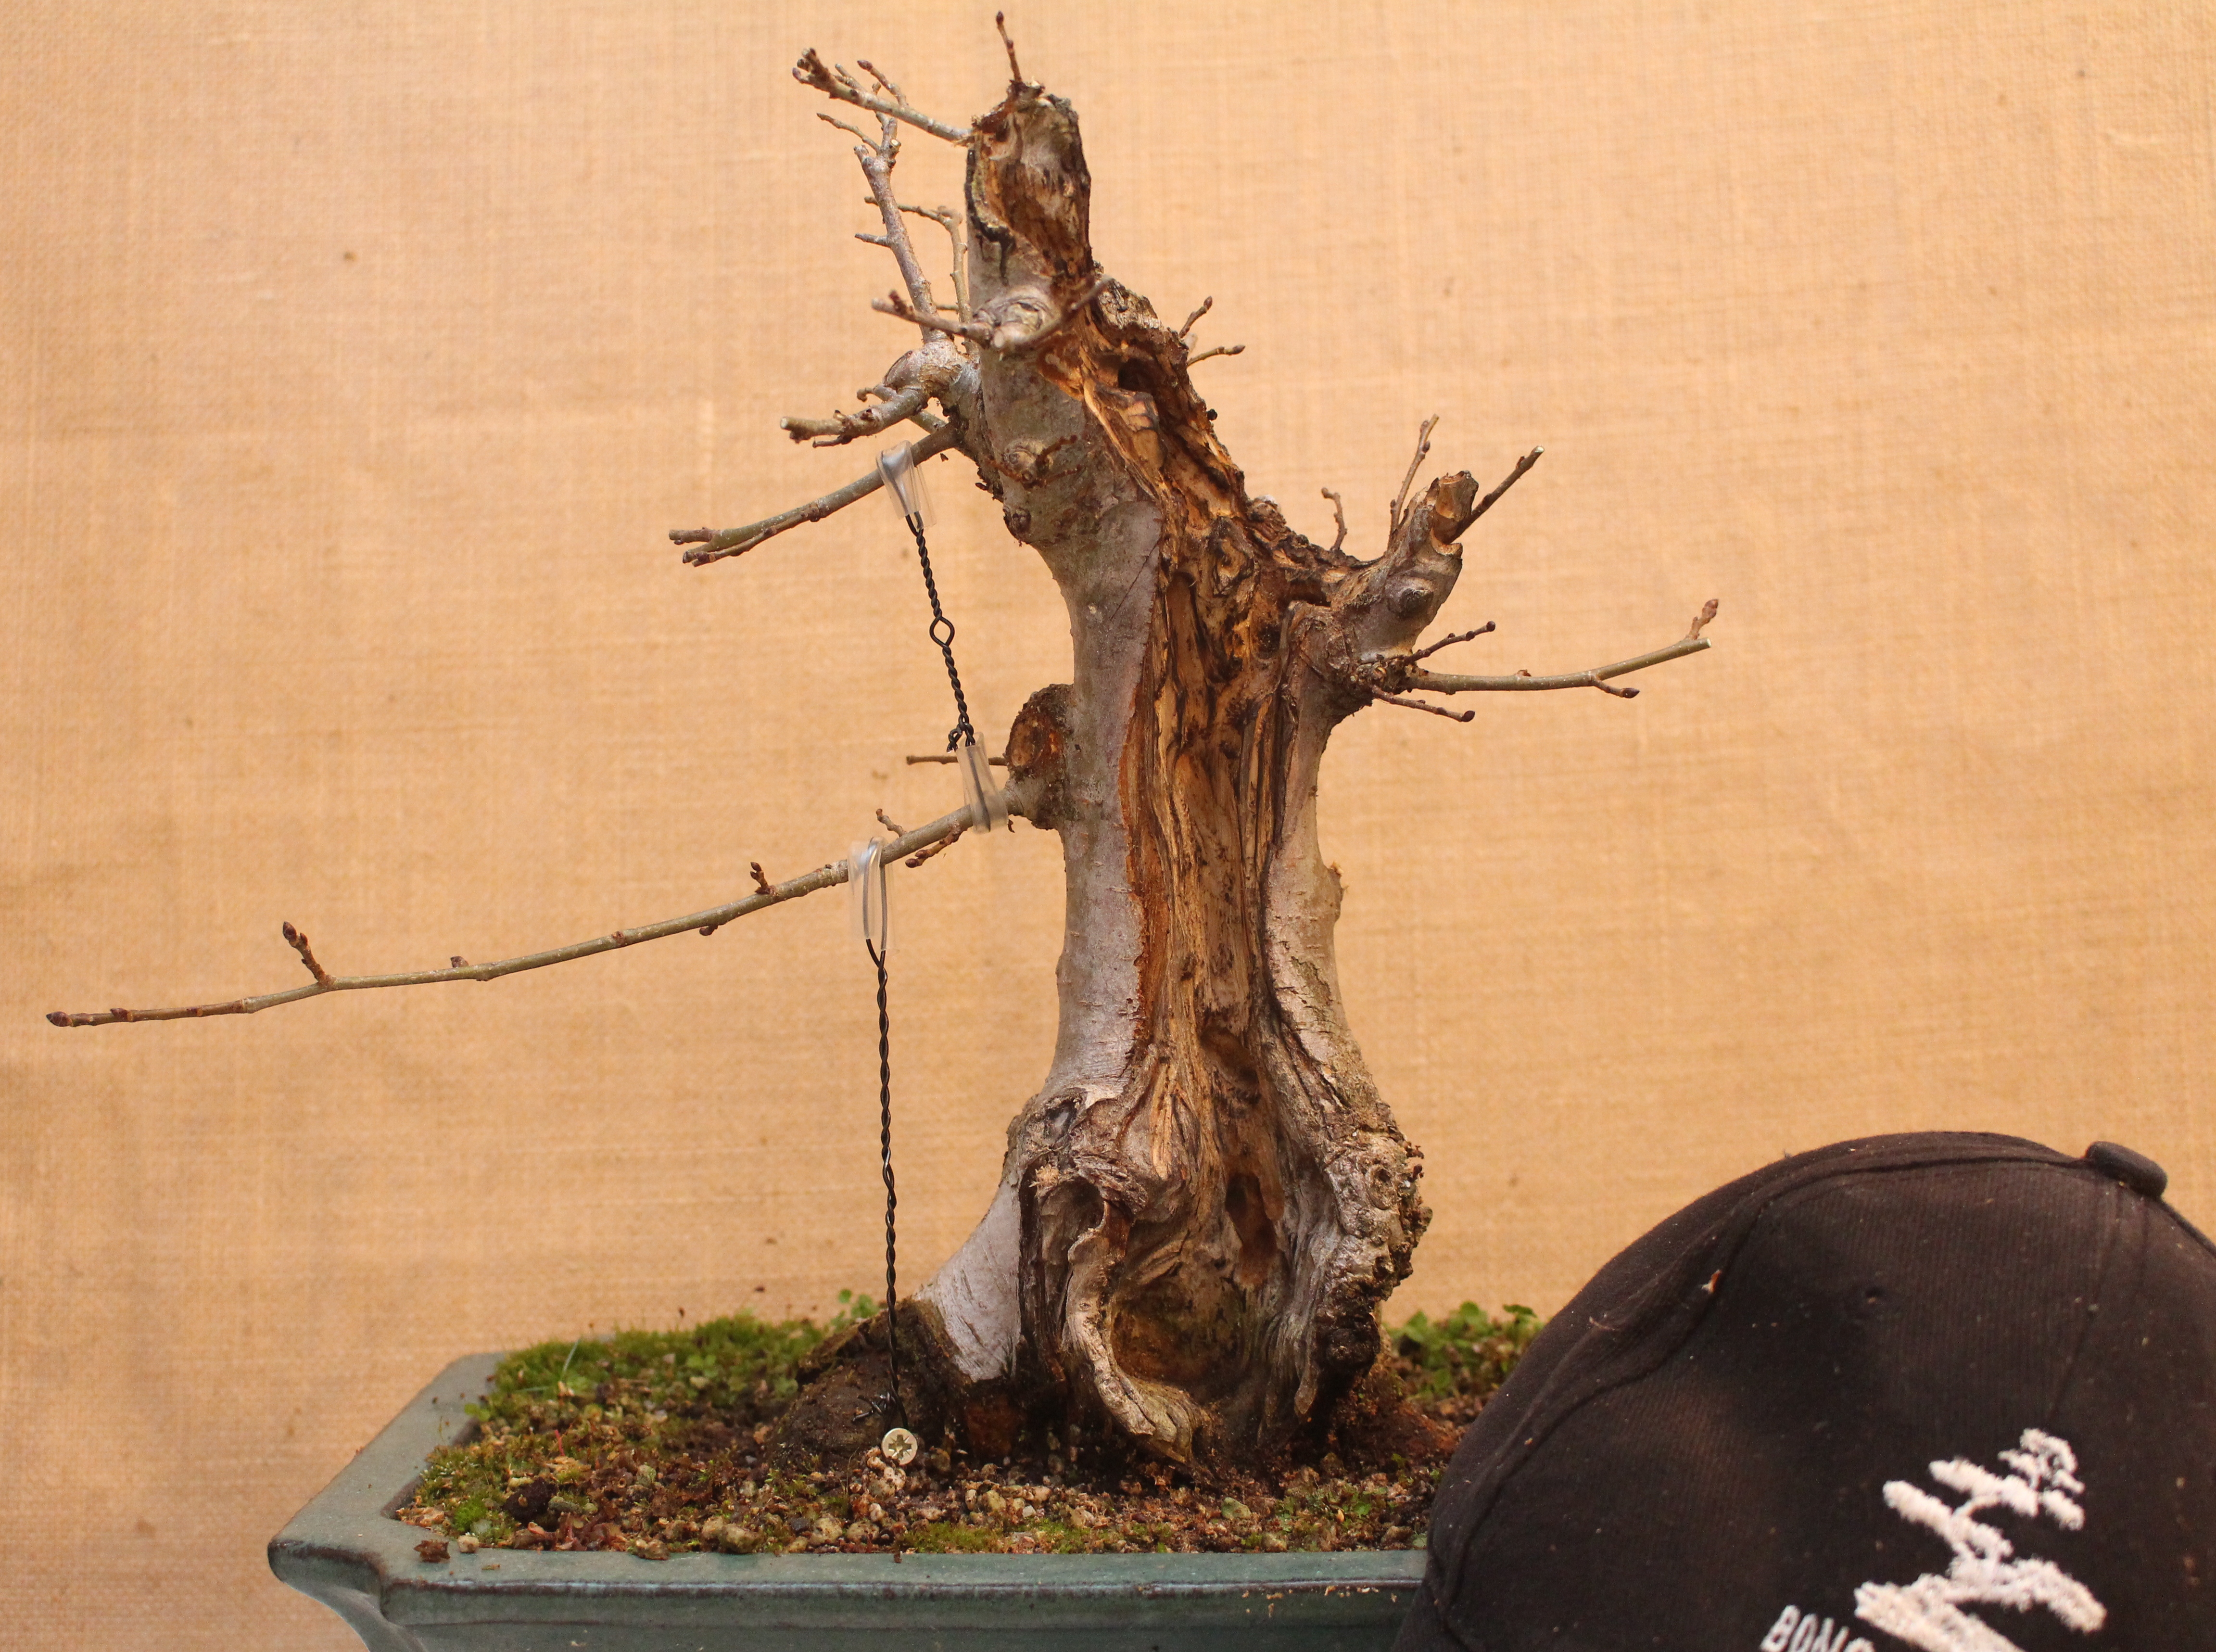
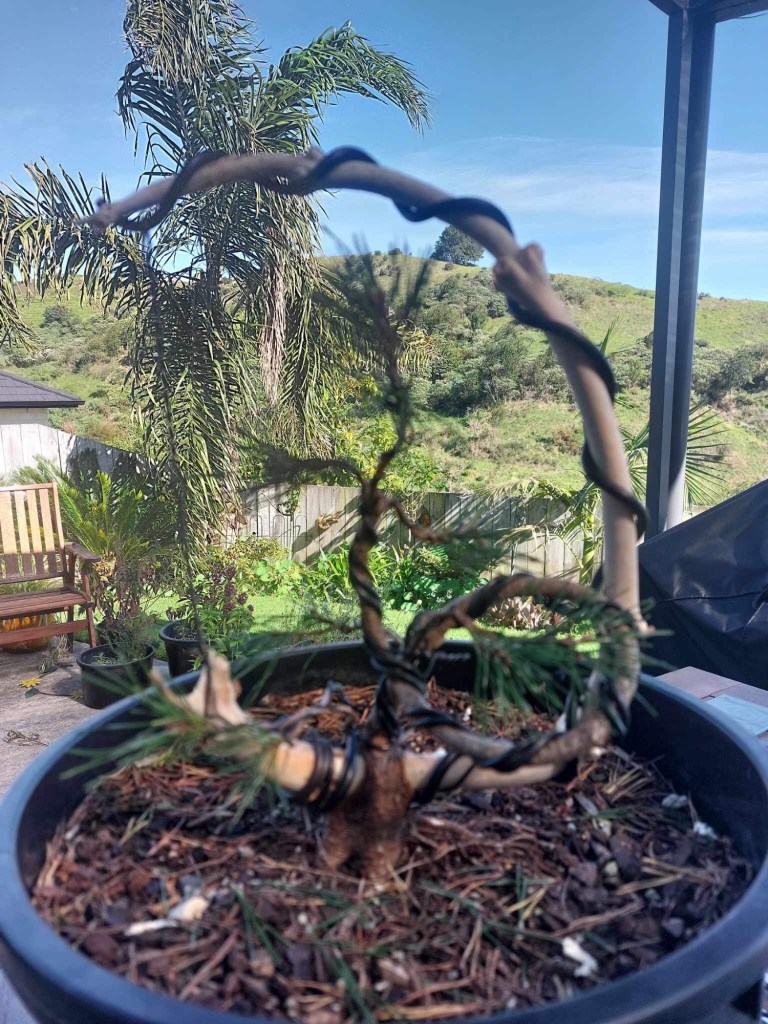
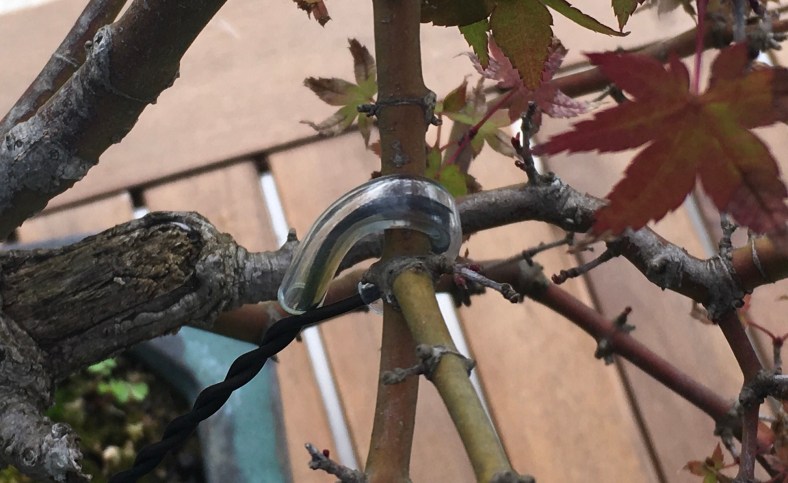
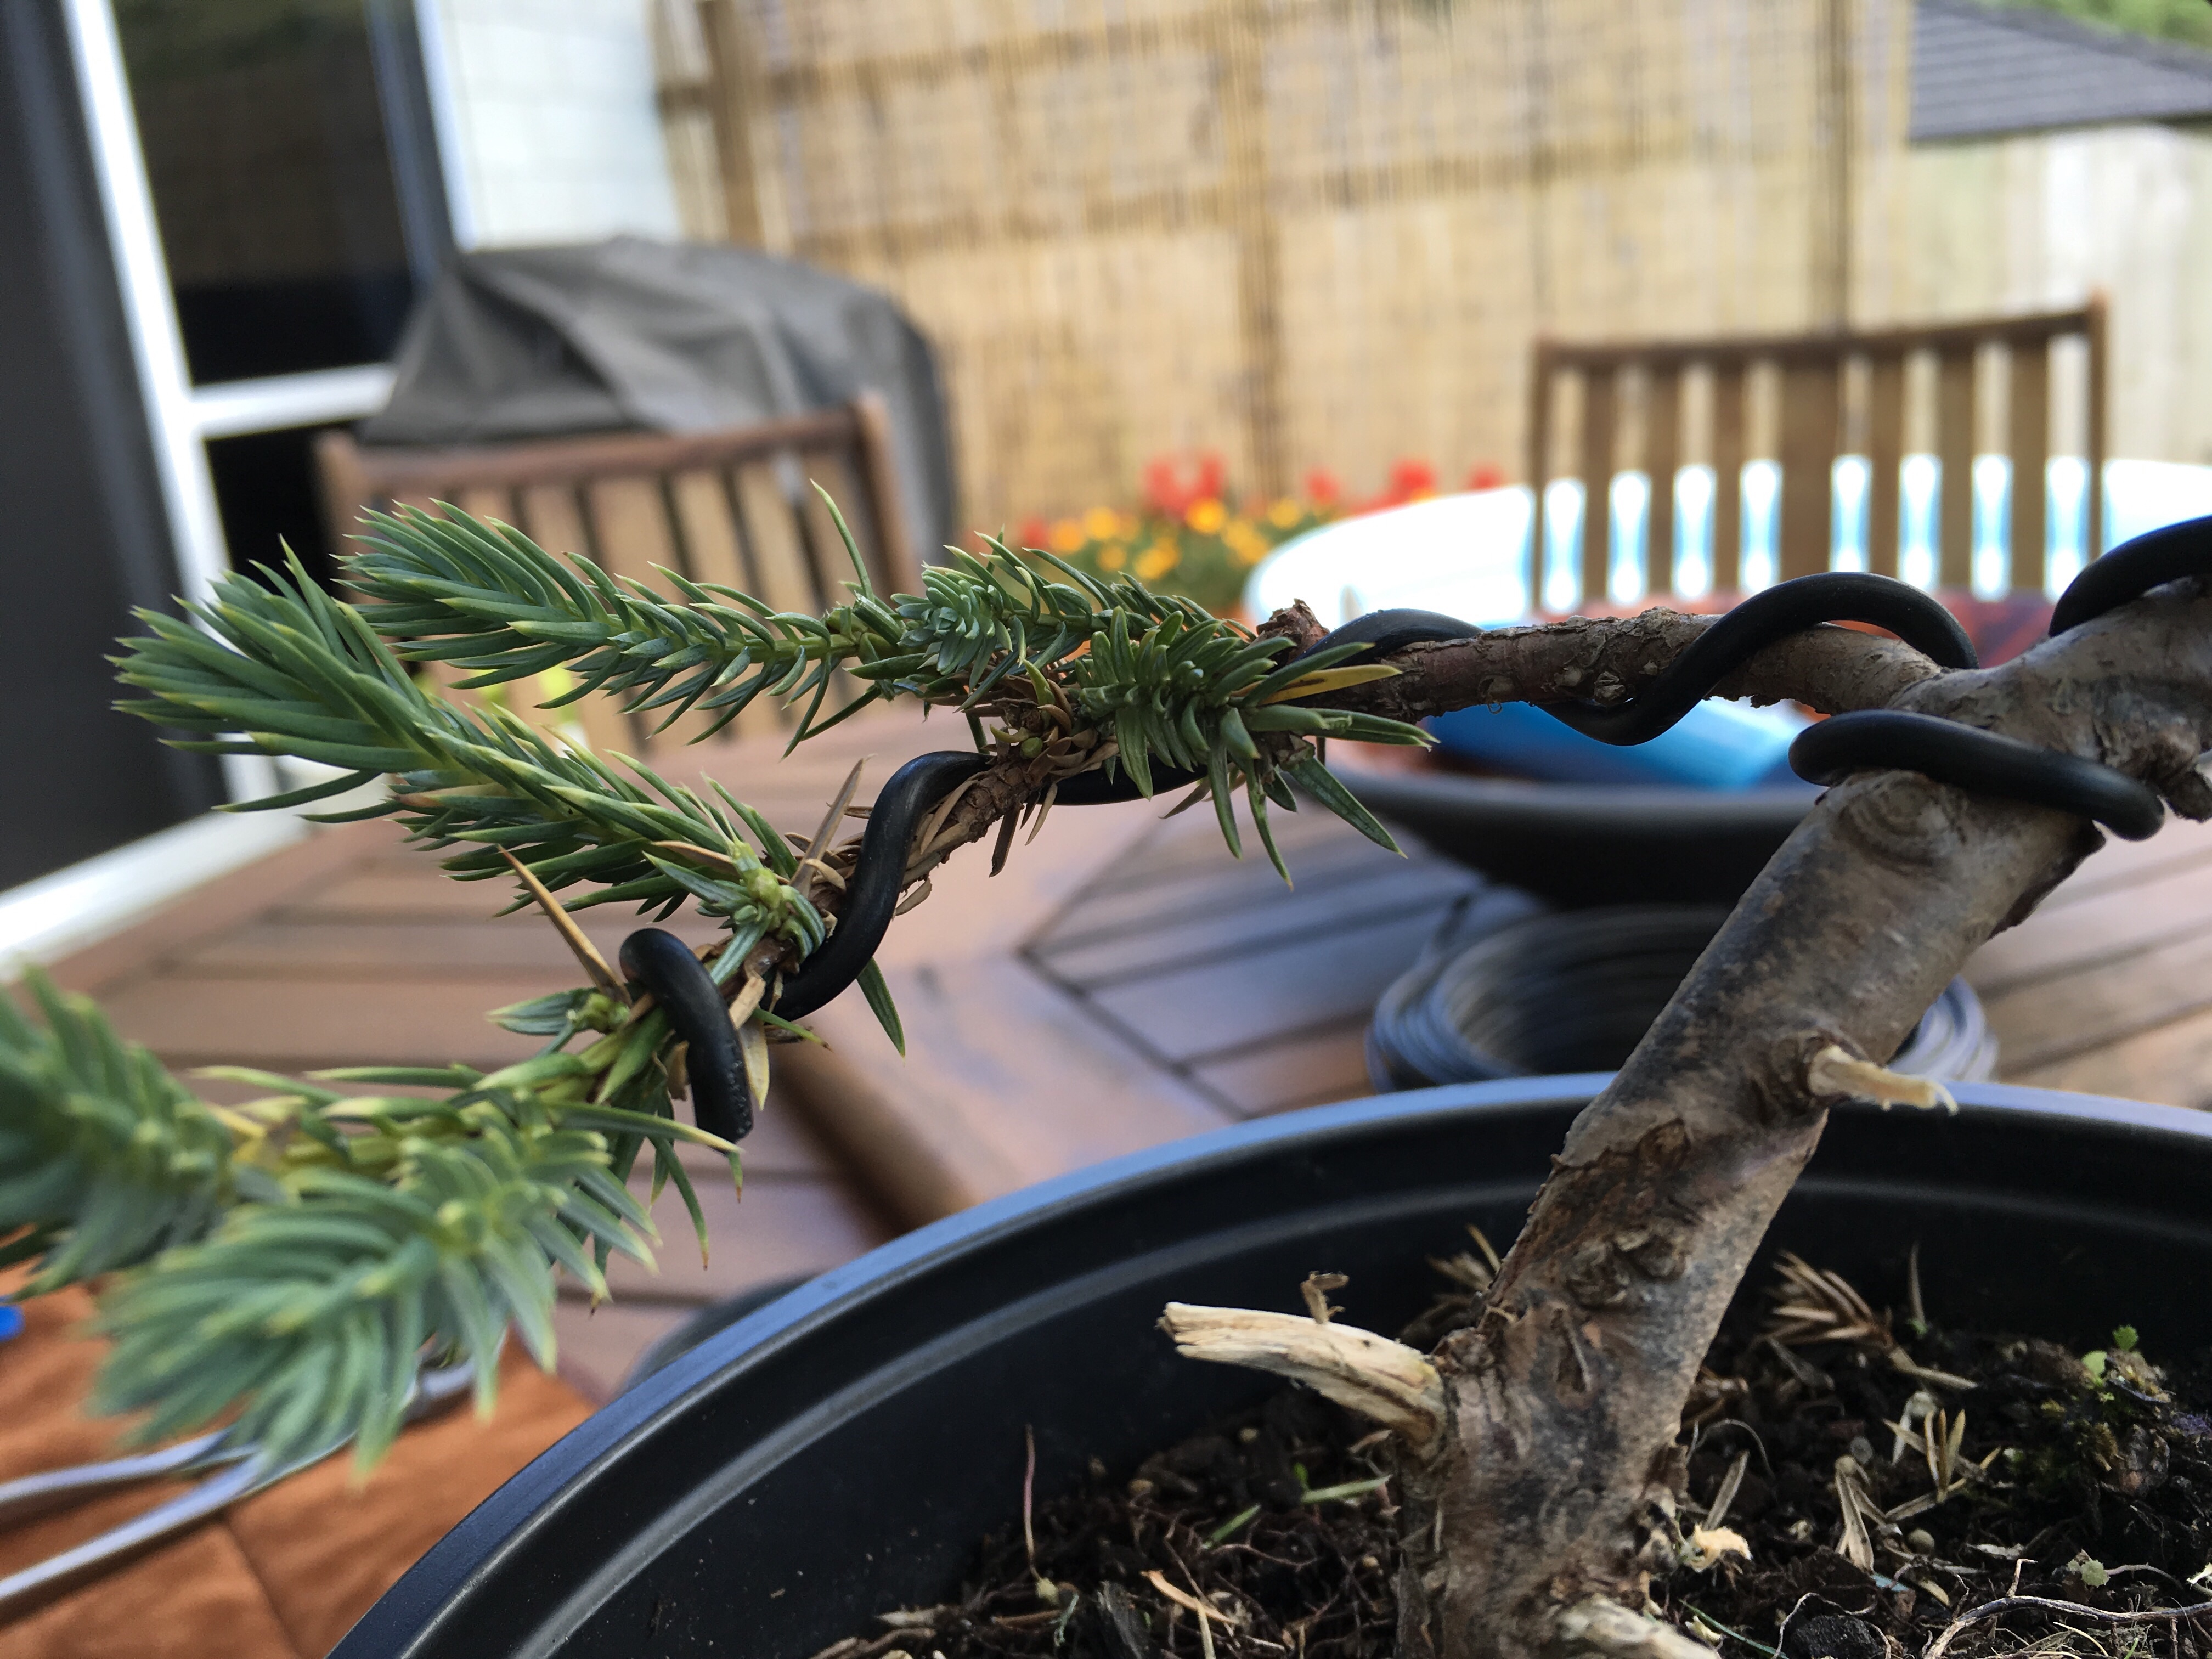
I have wired some branches into a flattened foliage pad direction to imitate the natural growth. In young trees the growth tends to be vertically upright and as the branches get older, start to grow more horizontally with the nice evergreen foliage pads forming.
My next plan is to source more nursery material and to grow these in the ground for a few years for the trunks to fatten up before they go into a pot. At this early stage of my current trees, I am leaning towards the fact that they do not add a lot of width to trunks as soon as they go into a pot.
Thus far no disease or pests have been encountered and except for the hysterical leave drop after pruning, no other quirks have been observed.
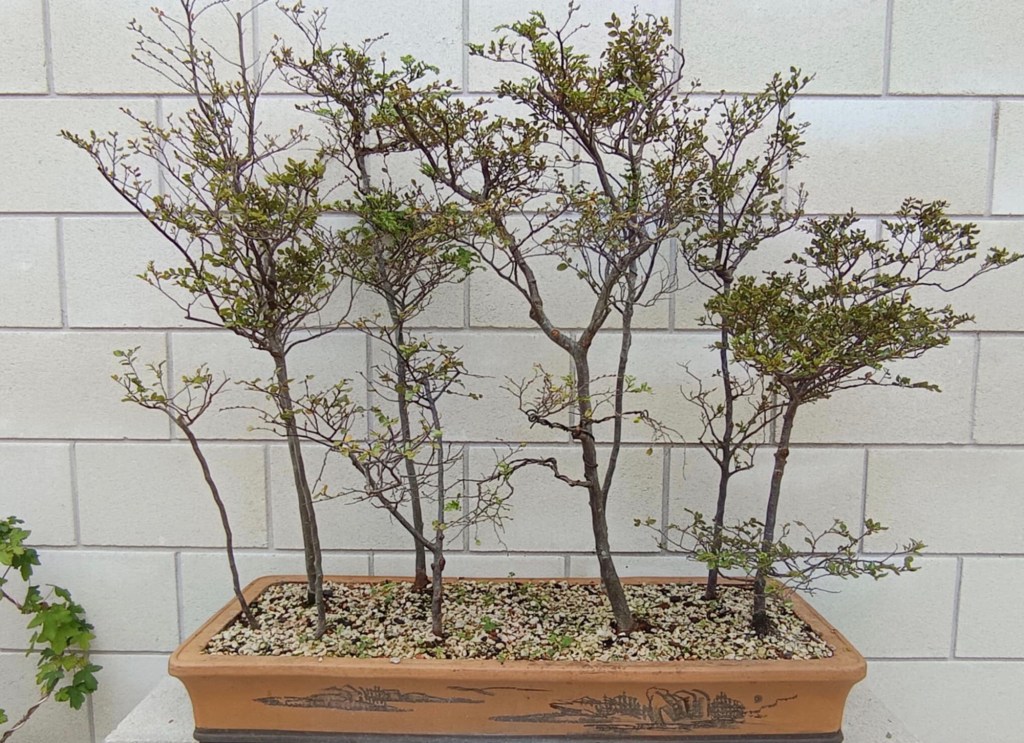
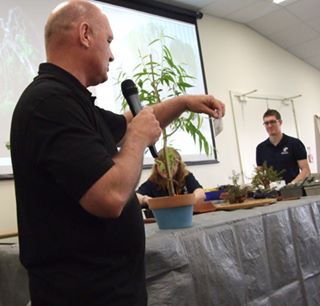
Below are trees in forest style plantings done by New Zealand forest planting specialist, Mark Fredric. Mark has managed to capture the naturalistic style of these Beech trees.

One of the debates we also still need to properly have here in New Zealand and probably in other areas where there is prolific moss and lichen growth, is the one about especially the growth of lichen on our Bonsai specimens. Lichen grows naturally on trees and shrubs in New Zealand forests and is a feature of natural habitats where moisture and shade enhances the growth of these symbiotic organisms. Do we leave them on or do we take them off? Let’s talk about it and feel free to leave your ideas and thoughts below.

Next update in about ten years 😉.


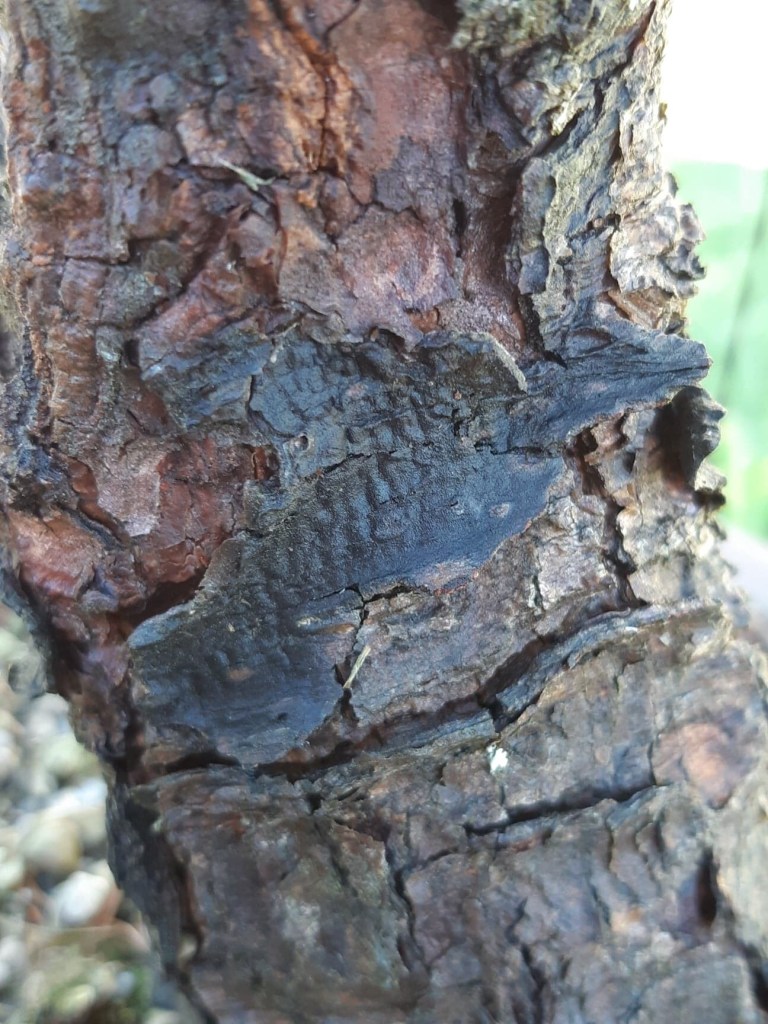


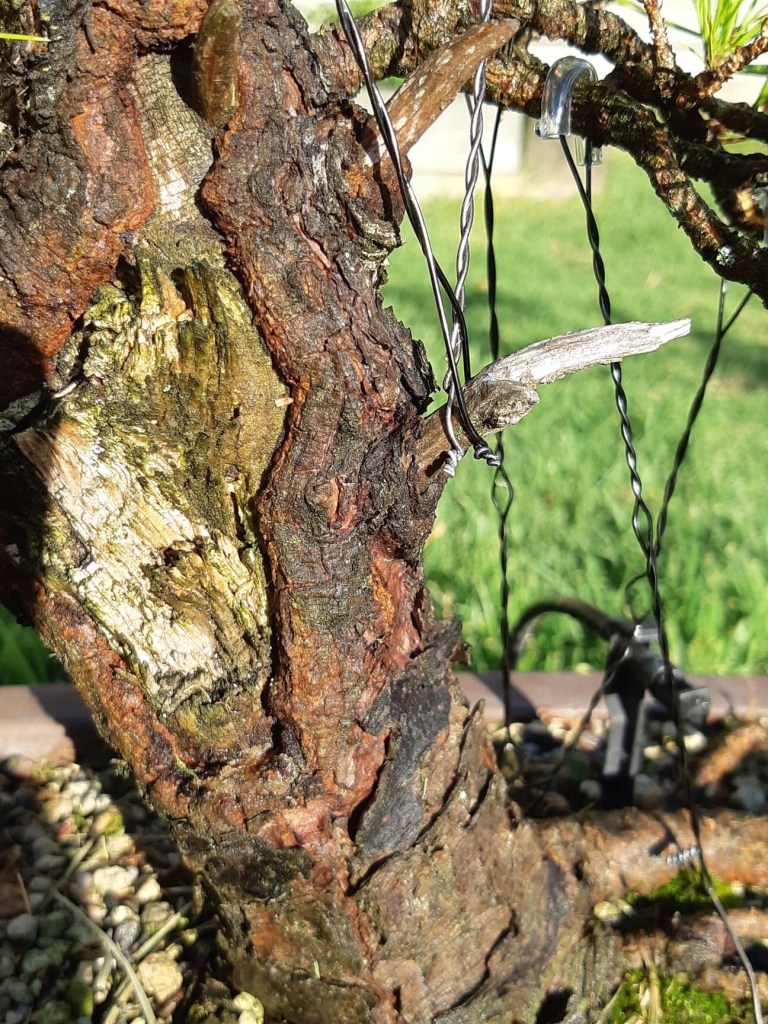


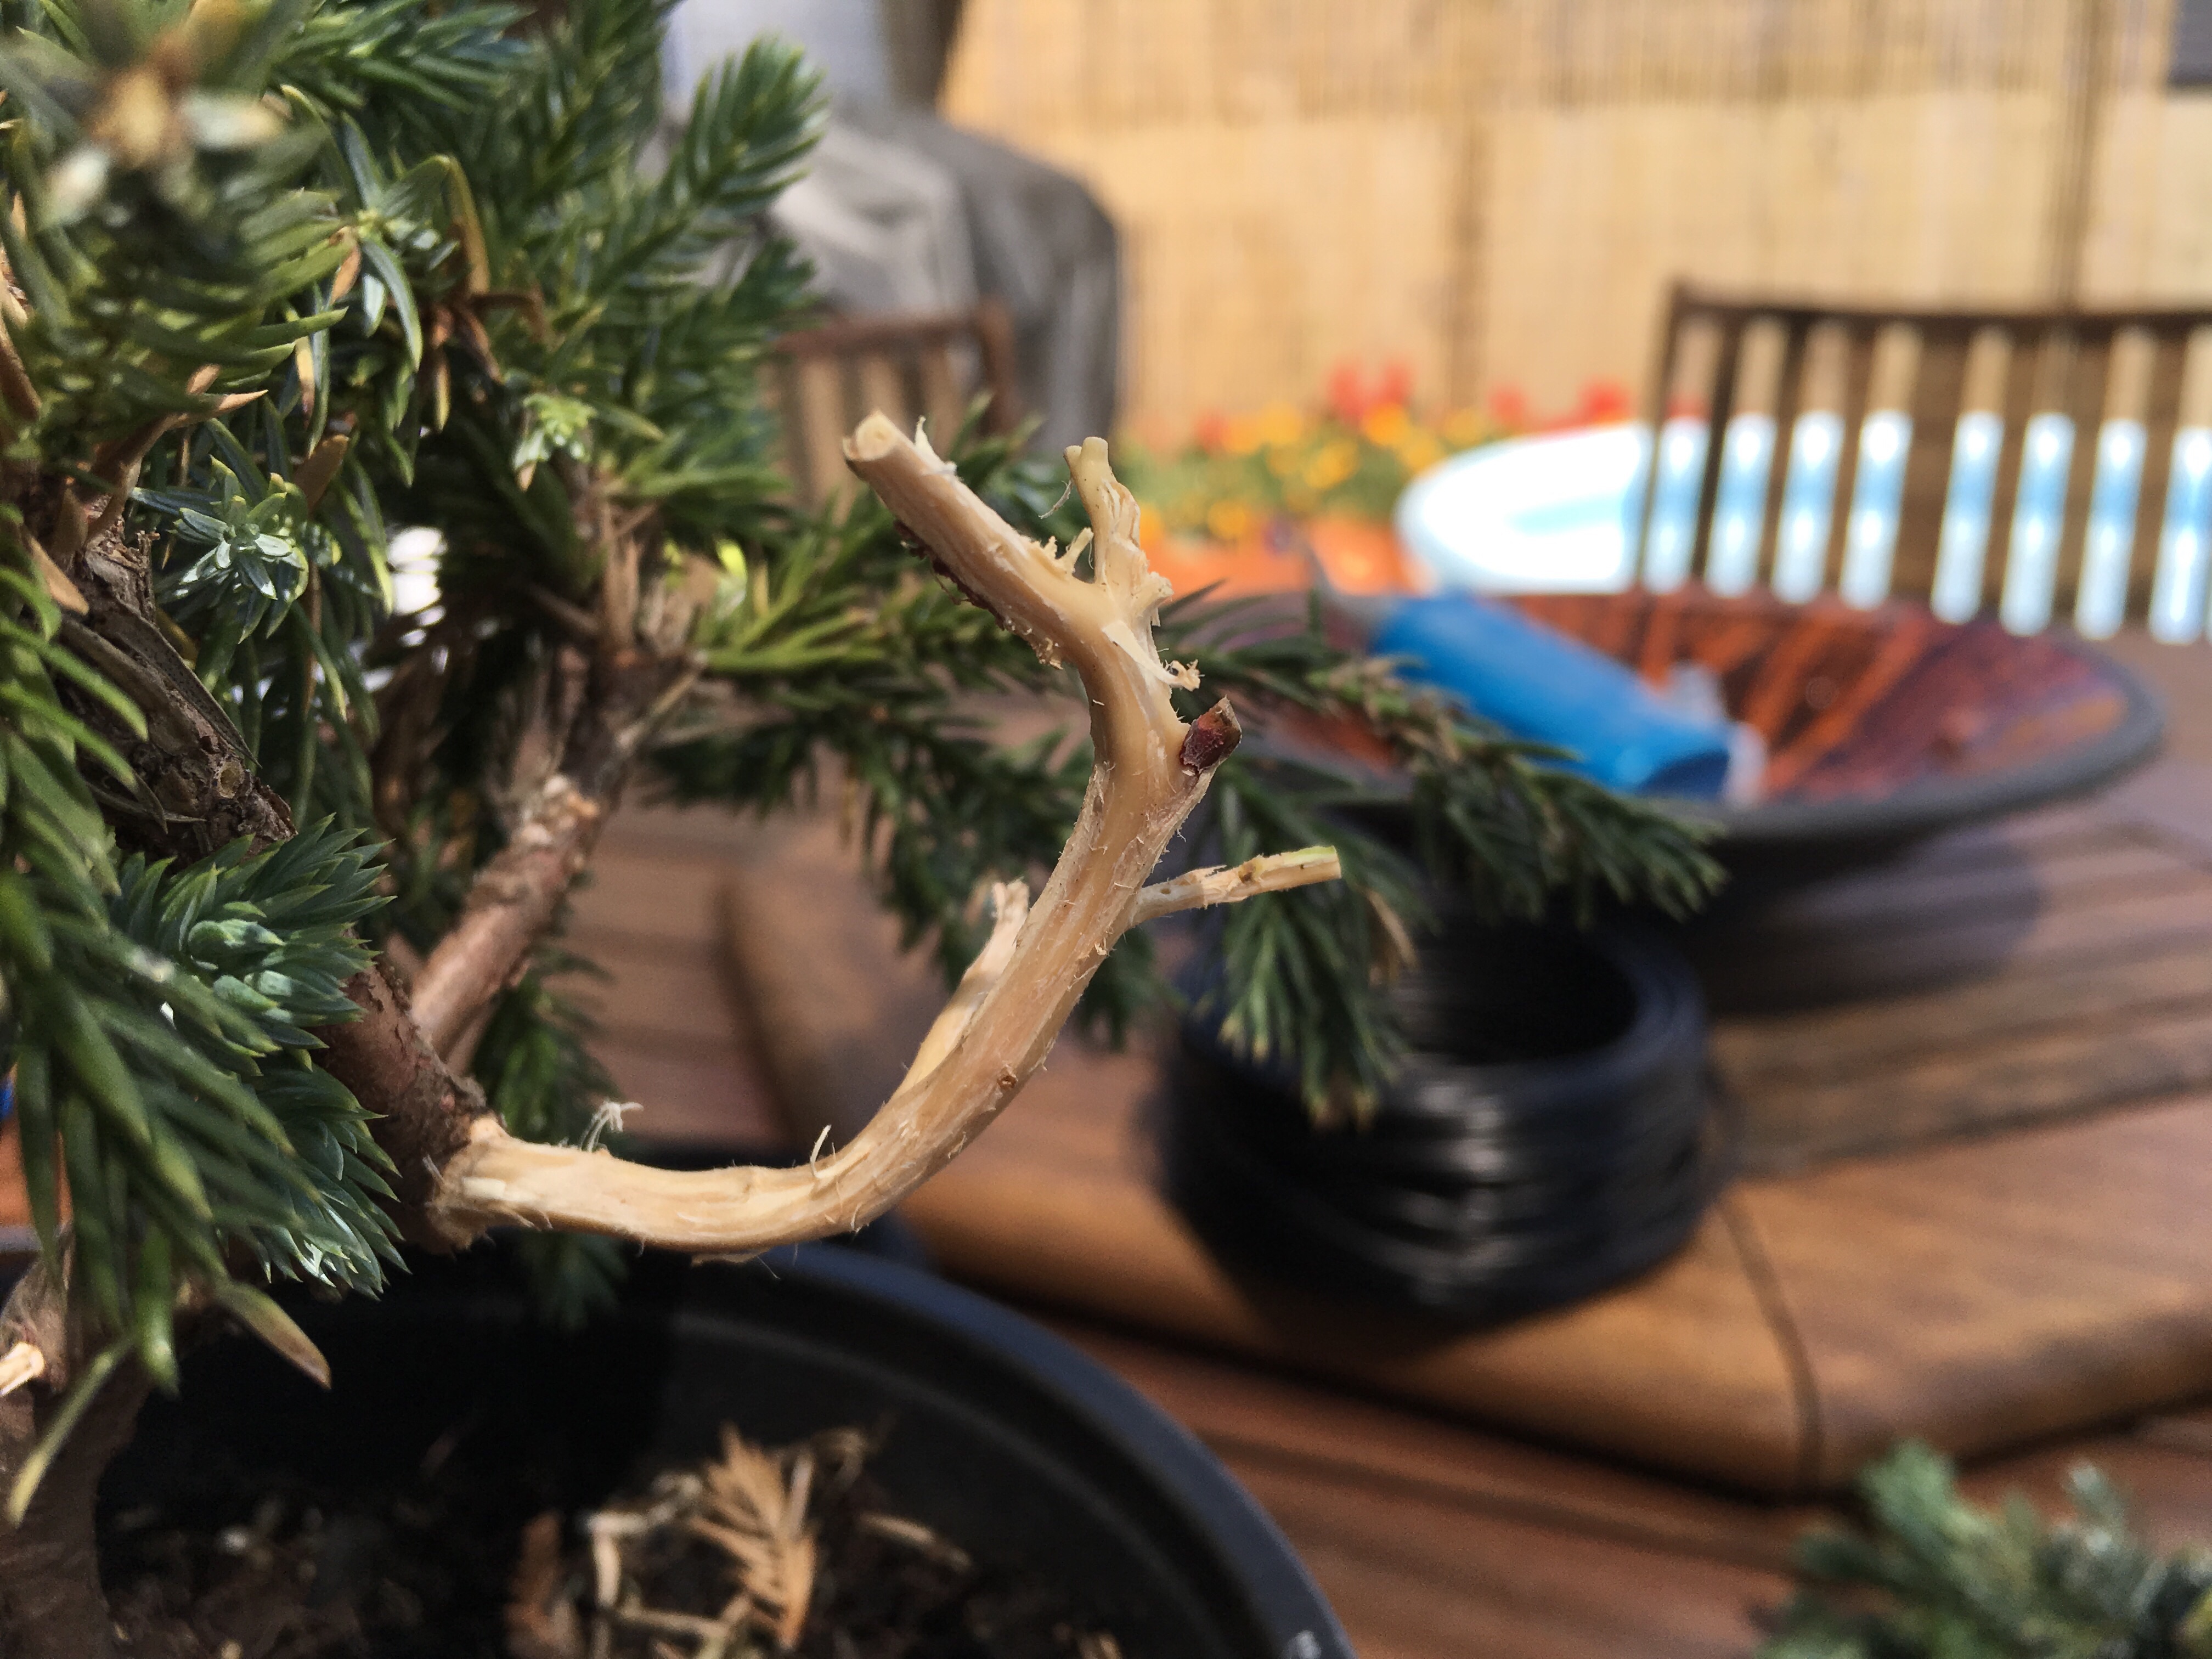


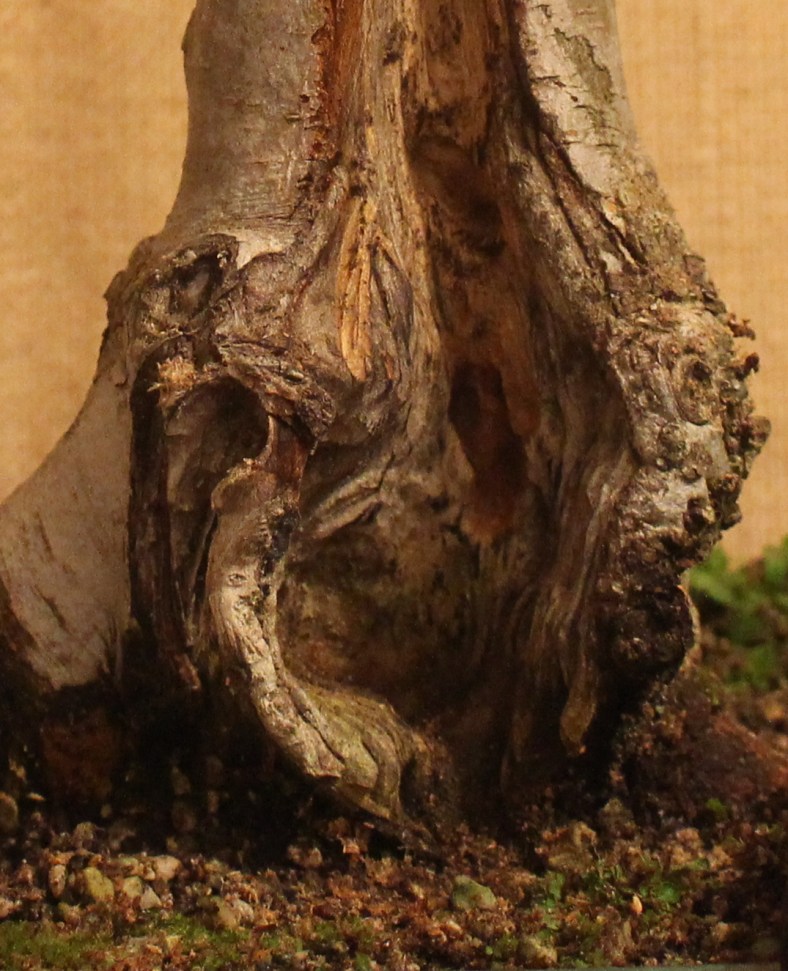
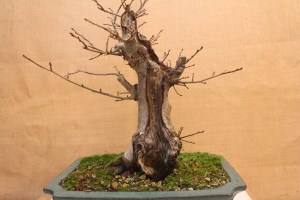 into my possession a year and a half ago. This was carved quite deeply to get rid of and then it was extended upwards to try and get a more natural look. The carving was further worked on today. The large carving at the bottom has weathered well and the shari extending upwards from here was made deeper as well as fine carved with a Dremel. A small carving was done on the back where another large (not as large as the front one) cut was made. This resulted in a hole now going through from the back to the front. It is quite high up near the apex.