It is very common to see a photo of a seedling or small nursery stock on social media with the following comment: “I am new to Bonsai, please help with advice”. Where to start? What the follows is a number of people writing one liners or a bit more with a genuine interest to help.
I have been demonstrating and teaching Bonsai now for many years and am following what I think is a logical series of steps to enable the new Bonsai enthusiast to work towards a specific goal. It is almost paint by numbers, but in the absence of knowledge and skills, it is the best way to get the basics across in a short period of time. Here are the steps:
- Unearth the topsoil to look at surface roots.
- Determine the front of the tree.
- Decide on a natural flow of the trunk dependent on the style envisaged.
- Decide which branches / side shoots to keep.
- Remove excess branches and foliage.
- Some of these can be selected for deadwood (jin).
- Create Jin.
- Wire main trunk if required.
- Bend trunk to desired shape.
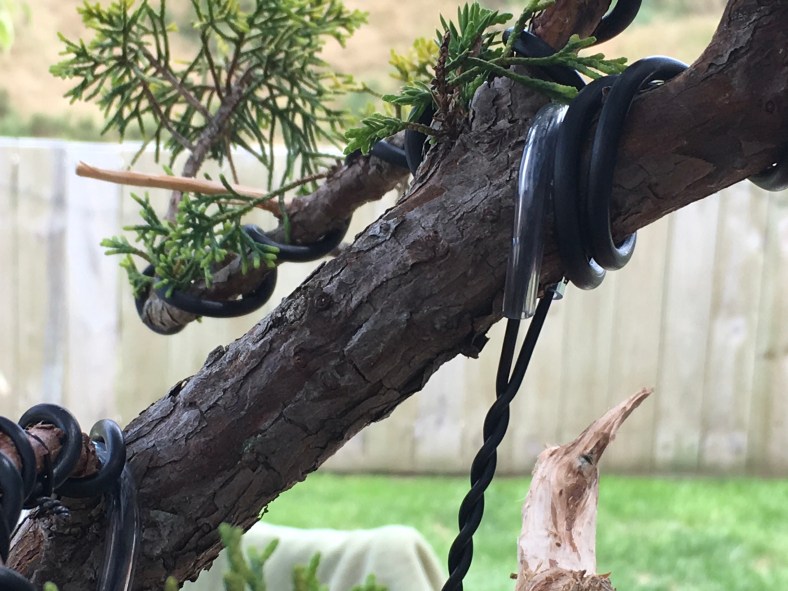
- Wire branches into position.
- Clean hanging foliage up.
Each of these steps require a lot of knowledge to get to the end result. This is part of the conversation as the design unfolds. Small nursery material can take up to three hours to style with a new enthusiast in a workshop situation. The hands-on work takes only about thirty minutes to complete, but the explanations and answering of questions, in my mind the most important part, takes up a lot of time.
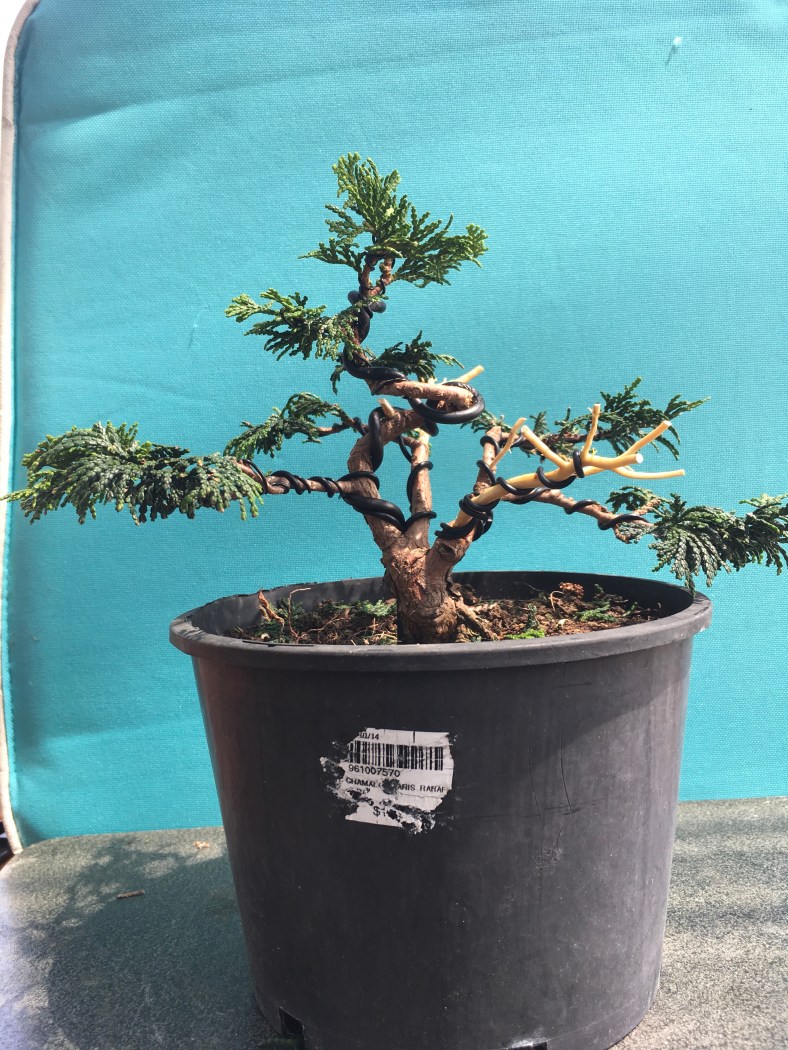
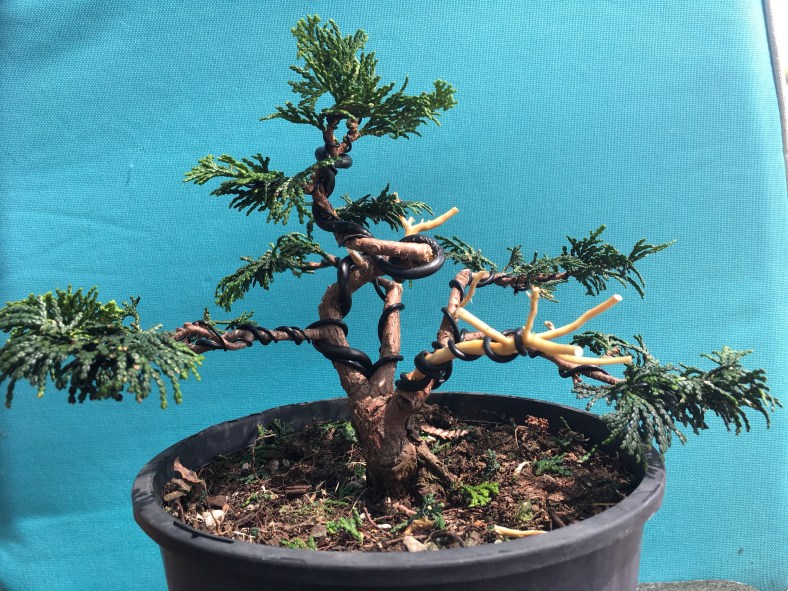
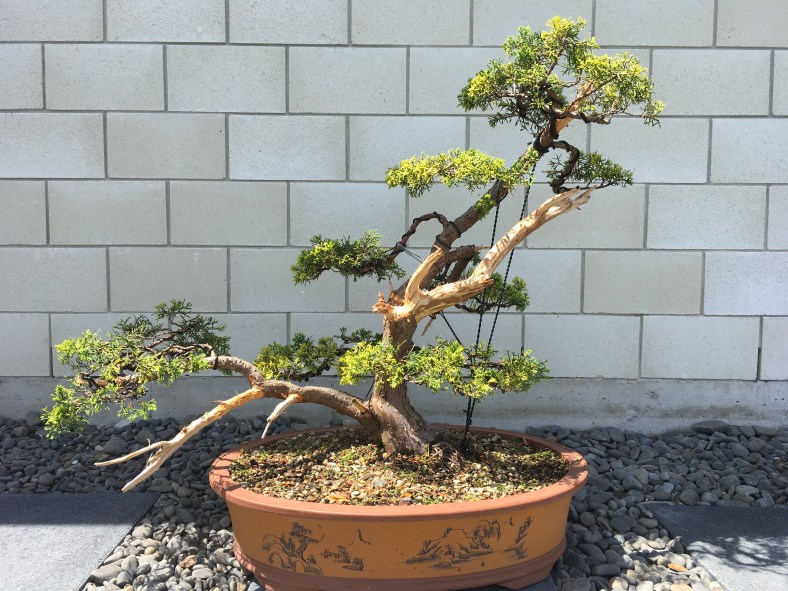
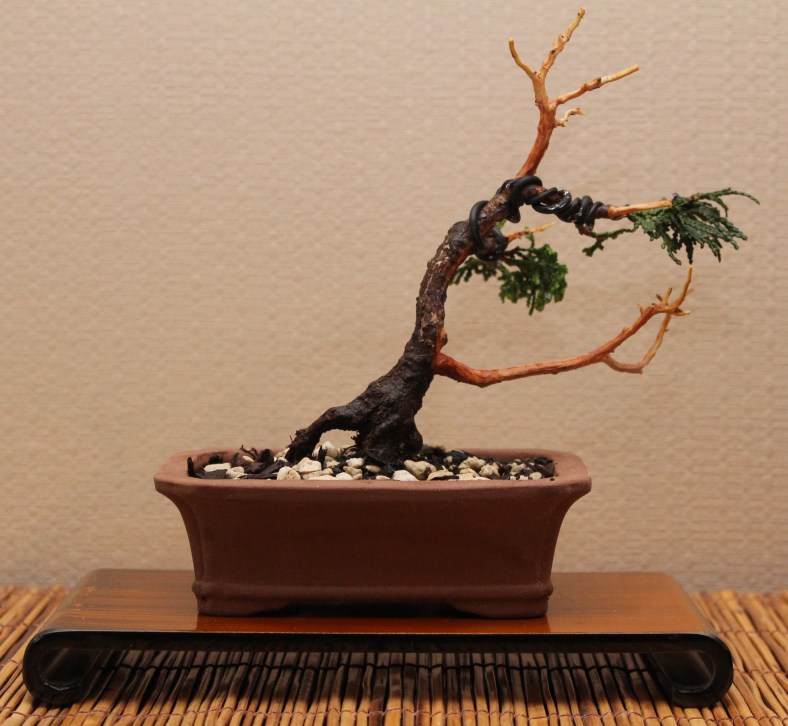
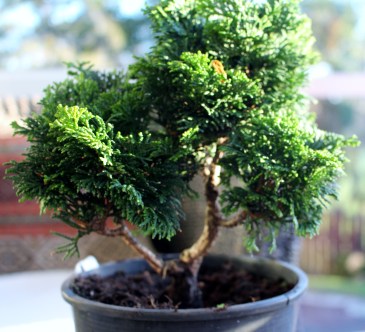
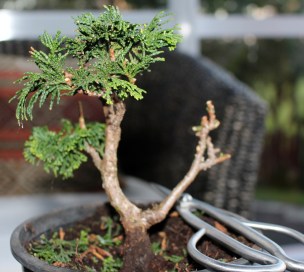
This Juniper is nursery stock and is 20cm high from the top of the soil. It has been standing around here for a year or so and received very little attention.

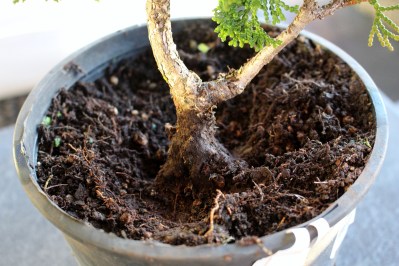
The first step is to scrape some of the soil away to see if there are any prominent, larger roots that can help to make a decision about the front / viewing side of the tree. In this case it only contained a whole lot of fine fibrous roots.

It is therefore now up to the trunk line to give an indication of what could be a possible front. For newcomers, we usually look for good movement and flow.

Once the best angle is determined to show things like flow and movement as well as taper or interesting features, it is marked and excess branches and foliage can be removed to reveal the trunk line. The conversation at this stage will include things like removing branches growing from the same height, branches on inside curves and crossing branches.
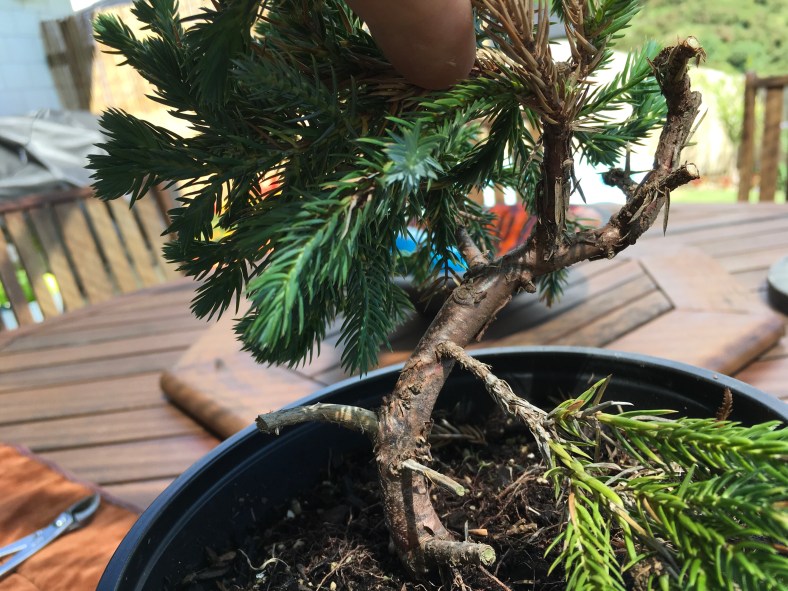
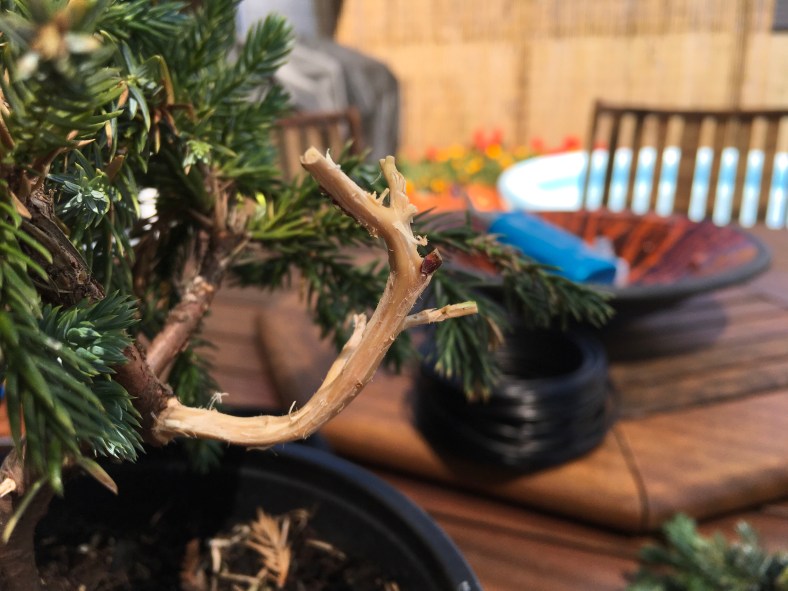
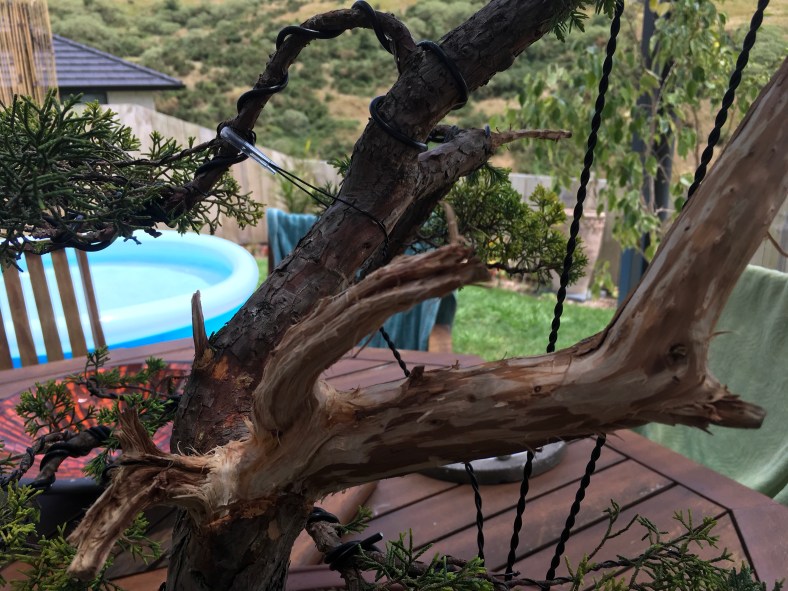
Some of the branches are identified as possible deadwood branches and these are kept a bit longer. Bark is then removed.

All of these steps have cleared the path for the trunk to be wired. Just the basic of wiring is explained and demonstrated at this stage as this skill is seen as a bit more advanced for a newbie. I think it is important to allow the person to start on their wiring pathway as it is an integral part of Bonsai design. As said, we stick to the basics at this point. It is more important to talk about design and flow at this point.

The branches can now be wired.
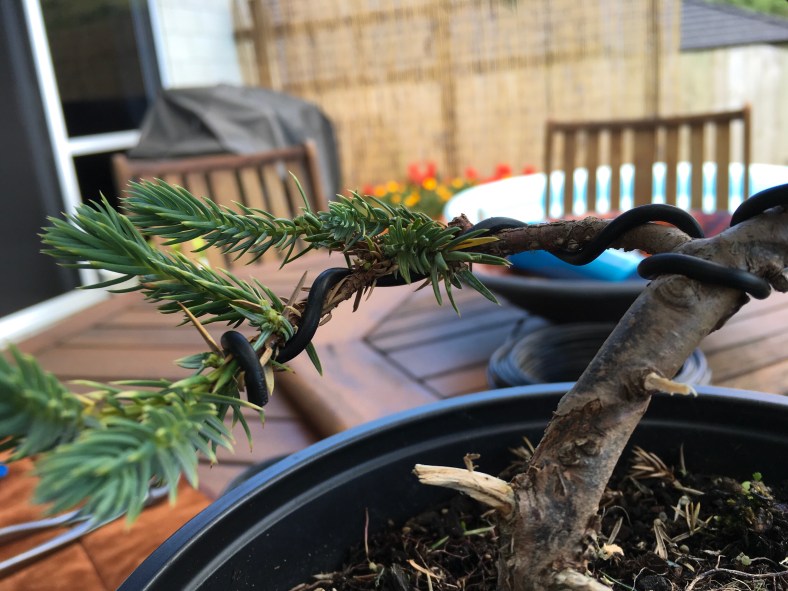
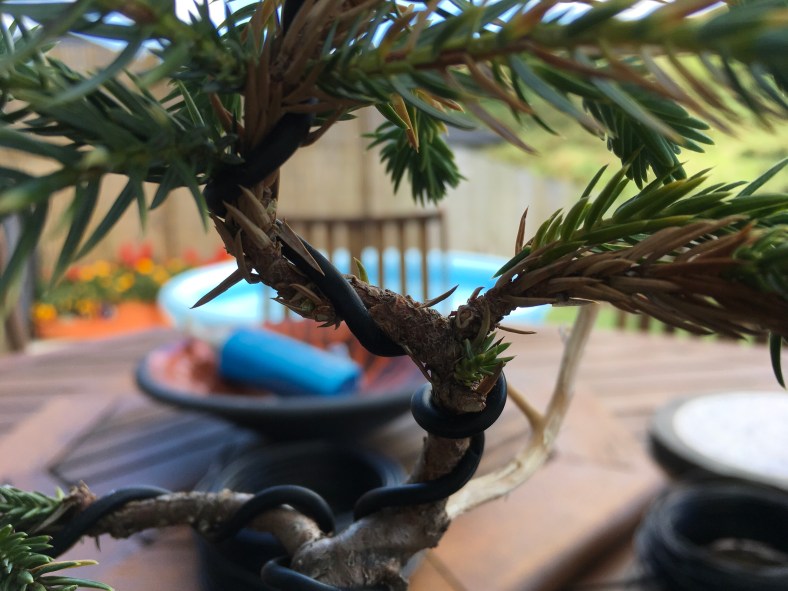
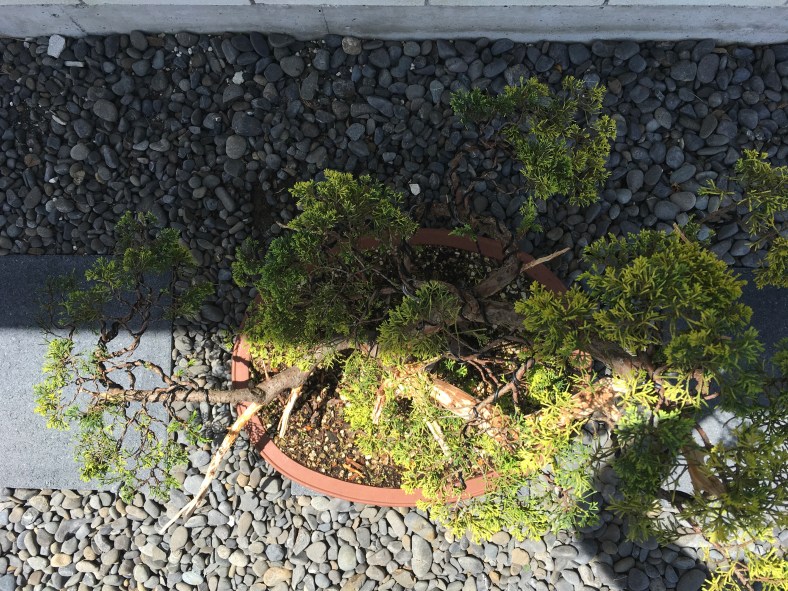
The next step is to place the branches in position while a conversation about safe bending takes place. Overall tree health is emphasized at all times. Once the placement is done, excess foliage, especially those growing downwards or upwards is removed. The concept of foliage pads is also touched upon. I find it is important to at this stage point things out like depth (back branches) and negative space. These are all explored ta more advanced workshops.

The last part of the workshop is focused on future growth, the role on foliage in feeding the plant (photosynthesis) and then the very important aftercare of the tree. Protection of small buds and the removal of older foliage as the tree buds over the next few months is discussed as well as feeding requirements and protection over the next month or so.
Potting, root management, carving, severe bending and more advanced wiring techniques are all part of more advanced techniques to be covered at advanced workshops.







 between 2,000 and 12,000 hours to complete. The same websites mention that it will take between two and four years to complete an apprenticeship. It is also common knowledge that Bonsai cultivation apprenticeships can take many more years to complete than an apprenticeship for an electrician or a plumber. In my field of work, it takes four years to be trained as a teacher. This normally includes a three year degree programme as well as a one year professional Diploma in Education.
 has written about this in his book which discusses his experiences as an apprentice in Japan. If we take a normal working week as a 40 hour work week, 10,000 hours will equate to 250 weeks and if we work for 50 weeks per year, this equates to 5 years. This is hard, physical work and one wonders why it takes so much longer than other apprenticeships. The only thing that I can think of is that it is so much more than just the technical aspects of Horticulture that must be mastered. The artistic and cultural side of things probably takes a lot longer to master than the mere application of wire, watering, pruning, fertilizing and a whole host of other things that are needed to keep a tree alive.






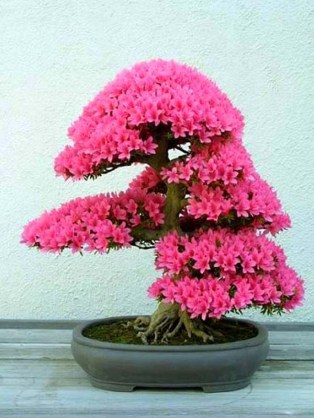 Bonsai world, Azaleas and Camellias could be a good example. These plants prefer a slightly acidic soil. Fruit trees also produce more fruit in slightly acidic soil. This is not a major consideration for Bonsai artists as Fruiting Bonsai are not necessarily grown for its fruit. As a whole, pH is something to be kept in mind for Bonsai artists, especially for those pH specific trees, but our larger concern should be for the drainage capacity of the soil. Here-in lies another challenge. Due to the free-draining characteristics of most Bonsai soils, it is very easy for minerals to dissolve in the water and be washed out of the soil. It is therefore important to fertilize the trees and to ensure that a good mineral supply is available.


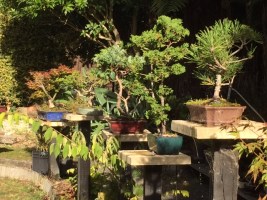 therefore important to be in touch with the sources of our inspiration. I have recently returned from a conference relating to Education where I was exposed to a variety of speakers. I was very aware that during and immediately after the conference, I was definitely more motivated to work on certain things in my main job. This came from listening to these powerful speakers and becoming aware of the latest trends in my vocation. This is the same for my Bonsai activities.
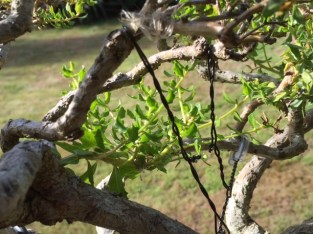 Exposure to other Bonsai people will lead to higher levels of inspiration and motivation. I live in an area in New Zealand where there are not that many other Bonsai enthusiasts and you sometimes do feel isolated. To overcome this, I have to make an effort to meet up with other Bonsai people. The local club, although very small, serves as a source of inspiration. I am the teacher here and other people rely on me for the advancement of their skills and knowledge. This places me in a position where I have to stay on top of my game. Through this I have also realised that I only know about the tip of the iceberg and that I need to learn as well. Again it comes back to people, as I can only get this knowledge and skills from others who are more advanced than me, or have produced resources that I can learn from. So, first of all people.
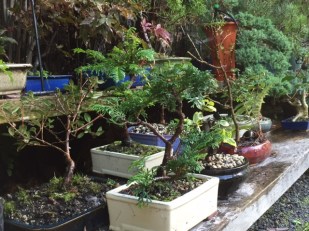 to learn or practice. I like the way that a lot of martial arts movements are set up. There is a clear line to follow from beginner level through to a very advanced level. I am not saying that we have to start different colour belts to show our proficiency in Bonsai, but the levels of training can be copied. A sensei at one dojo always learns from a more advanced practitioner somewhere else. This means you either have to go places or you have to get the masters to your place. This is already happening in Bonsai throughout the world and this has opened up many more opportunities for Bonsai professionals. As a side note, I do use the term Bonsai professional in a different context to Bonsai master. Not all professionals are masters and not all masters are professionals. More on this in later blogs. Back to the main thread of this blog. Where do we get inspiration from to excell in Bonsai activities? I have already established that it is mainly through the exposure to other people and preferably to more advanced practitioners. That means that you have to be a regular club member, be active in this club and teach at that level. The next step is to align yourself to an organisation or club where more advanced teaching takes place. From there it is important to attend shows, regional and national and even international teaching opportunities. Displaying your own trees is a big part of this. Immense growth takes place when you receive feedback from visiting judges once you get over the fact that you might get some negative input as well. Good teachers will make sure that this feedback is constructive and you can learn much from that. Just leave your ego at the door when you go into this type of situation, after-all, there is no ego in Bonsai as an art form.
 Other forms of inspiration comes from man made resources. I find a lot of inspiration in my very large Bonsai library (wonder what the total cost of this is), which consists of books and many magazines. I currently hold a subscription to two international magazines and also receive our national production on a regular basis. Books come through online bookshops and I am now also in the fortunate position that I receive books from publishers and authors to review. Magazines keep me up to date with what is happening in the Bonsai world and brings the latest shows into my living room.
 good quality channels and people who regularly post new material and from which I learn heaps. Just type Bonsai in the search area and you will find a great resources at your fingertips. While I am on internet based things, Facebook is exploding around Bonsai matters (probably lots of other things as well). One needs to be disciplined when you venture into this mosh pit of activity. Not everyone who has a presence here are noteworthy, but most of the “big” names in Bonsai are represented here.

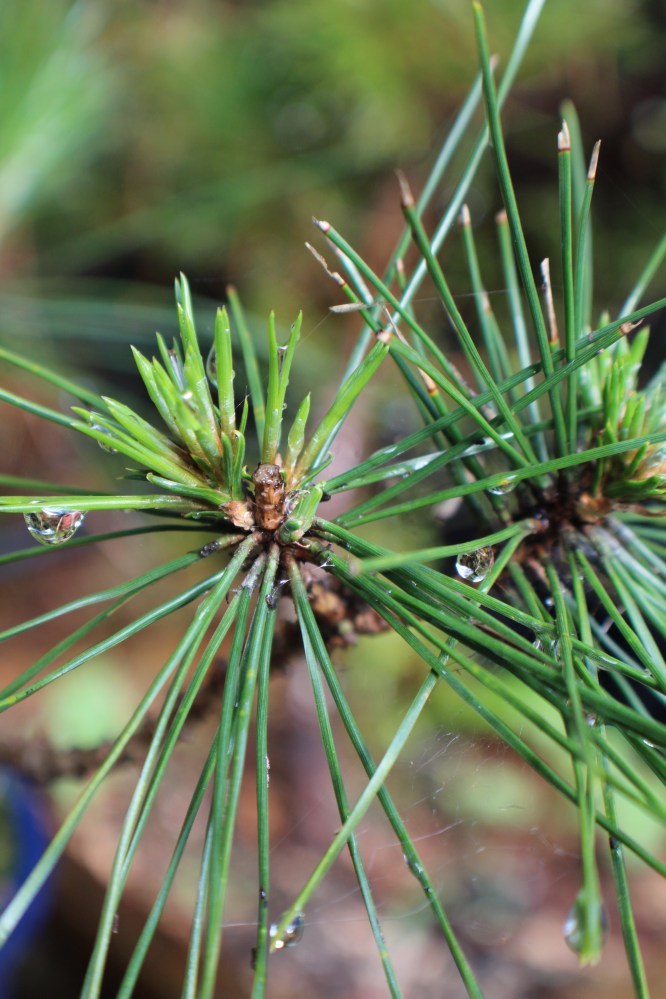


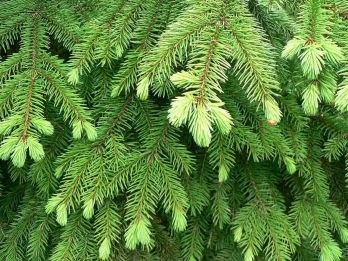




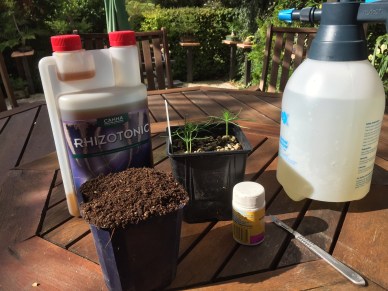
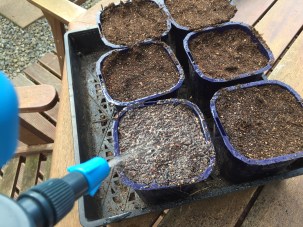
 the germination of Pine seedlings. These seeds (planted on 26 January 2016) germinated very fast and are now large enough to change into cuttings. The reason why I do this is that it gets rid of the tap root early on and forces the seedling to grow new roots and the hope is that the new roots will develop radially for a really great nebari. That is theory.




 crawled and sprinted on, comes from Doreen Marcial Paraba in her book “Unlocking your Creativity” (2015) where she states that “Creativity is initiating, activating, and complementing ideas that are original, unusual, useful, or innovative. The ideas may advance an existing concept or seemingly spring forth from nowhere”.


 You will probably not develop a very high skill level by just reading or just watching other people engaged in the practice of Bonsai. Learning is an active process. You need practice, you need to do and you need to get feedback to enable you to learn. Another great way of learning is when you start to share your knowledge and skill with others. In other words, teaching. Learning is a very interesting area of science. It is all about establishing neural pathways within your nervous system. The more you do something or interact with it, the easier data flows along these pathways and it can become an automatic response. Can you imagine how hard it will be if you have practiced the wrong technique over and over again and then have to unlearn it to enable you to learn the correct one. This is another reason why we do need exposure to others to establish these neural networks. Learning is also a social practice.

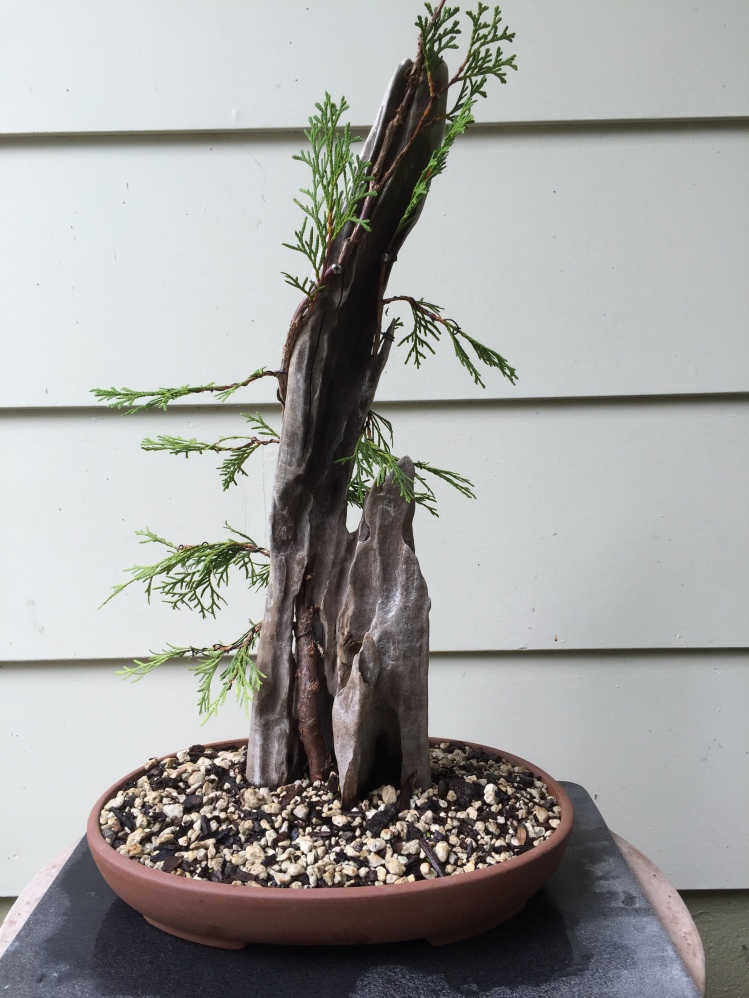

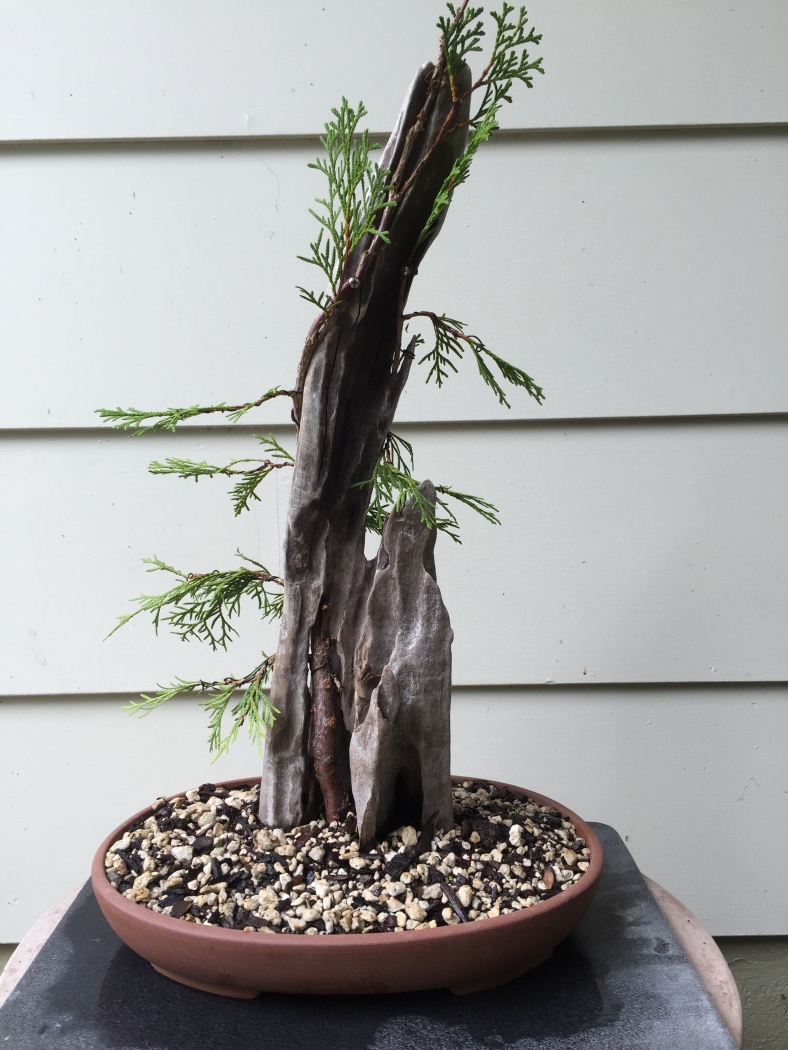
 I first had to find the right tree. I decided on a young Juniper with a lot of flexibility. The next project was to find a suitable, characterful piece of deadwood. I managed to get a piece on the beach. A note of warning is needed here. If driftwood from a beach is used, it is important to get rid of all salt on and in the wood. I submersed the wood for three weeks in fresh water and regularly changed the water as well as used a high pressure stream of water and scrubbing on it. It was then left in the sun for another week. The third component was a pot selected from my pot collection.
 the deadwood and tree must be secured very firmly. It is wise to get a hardener on the deadwood. I treated it with lime sulphur as the bottom part will be in the wet soil. I have read that the end could also be placed on a solid object like a tile to minimise the part in contact with the soil. My first challenge was to drill extra holes in the pot. For the first time in my life, I had a pot which is so hard, that the drill bit did not even make an indentation on the pot. The tie wires therefore had to be attached through the drainage holes.