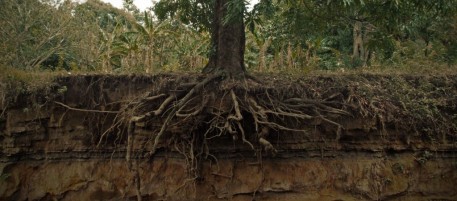
 It pays to know something about the anatomy and physiology of roots when it comes to developing the root system of Bonsai trees. It is said that a tree mimics its above ground growth to what happens with root growth below ground level. This might be true for trees in nature, but with Bonsai it could be quite different due to the fact that we prune the roots and the roots also have to grow in a confined space.
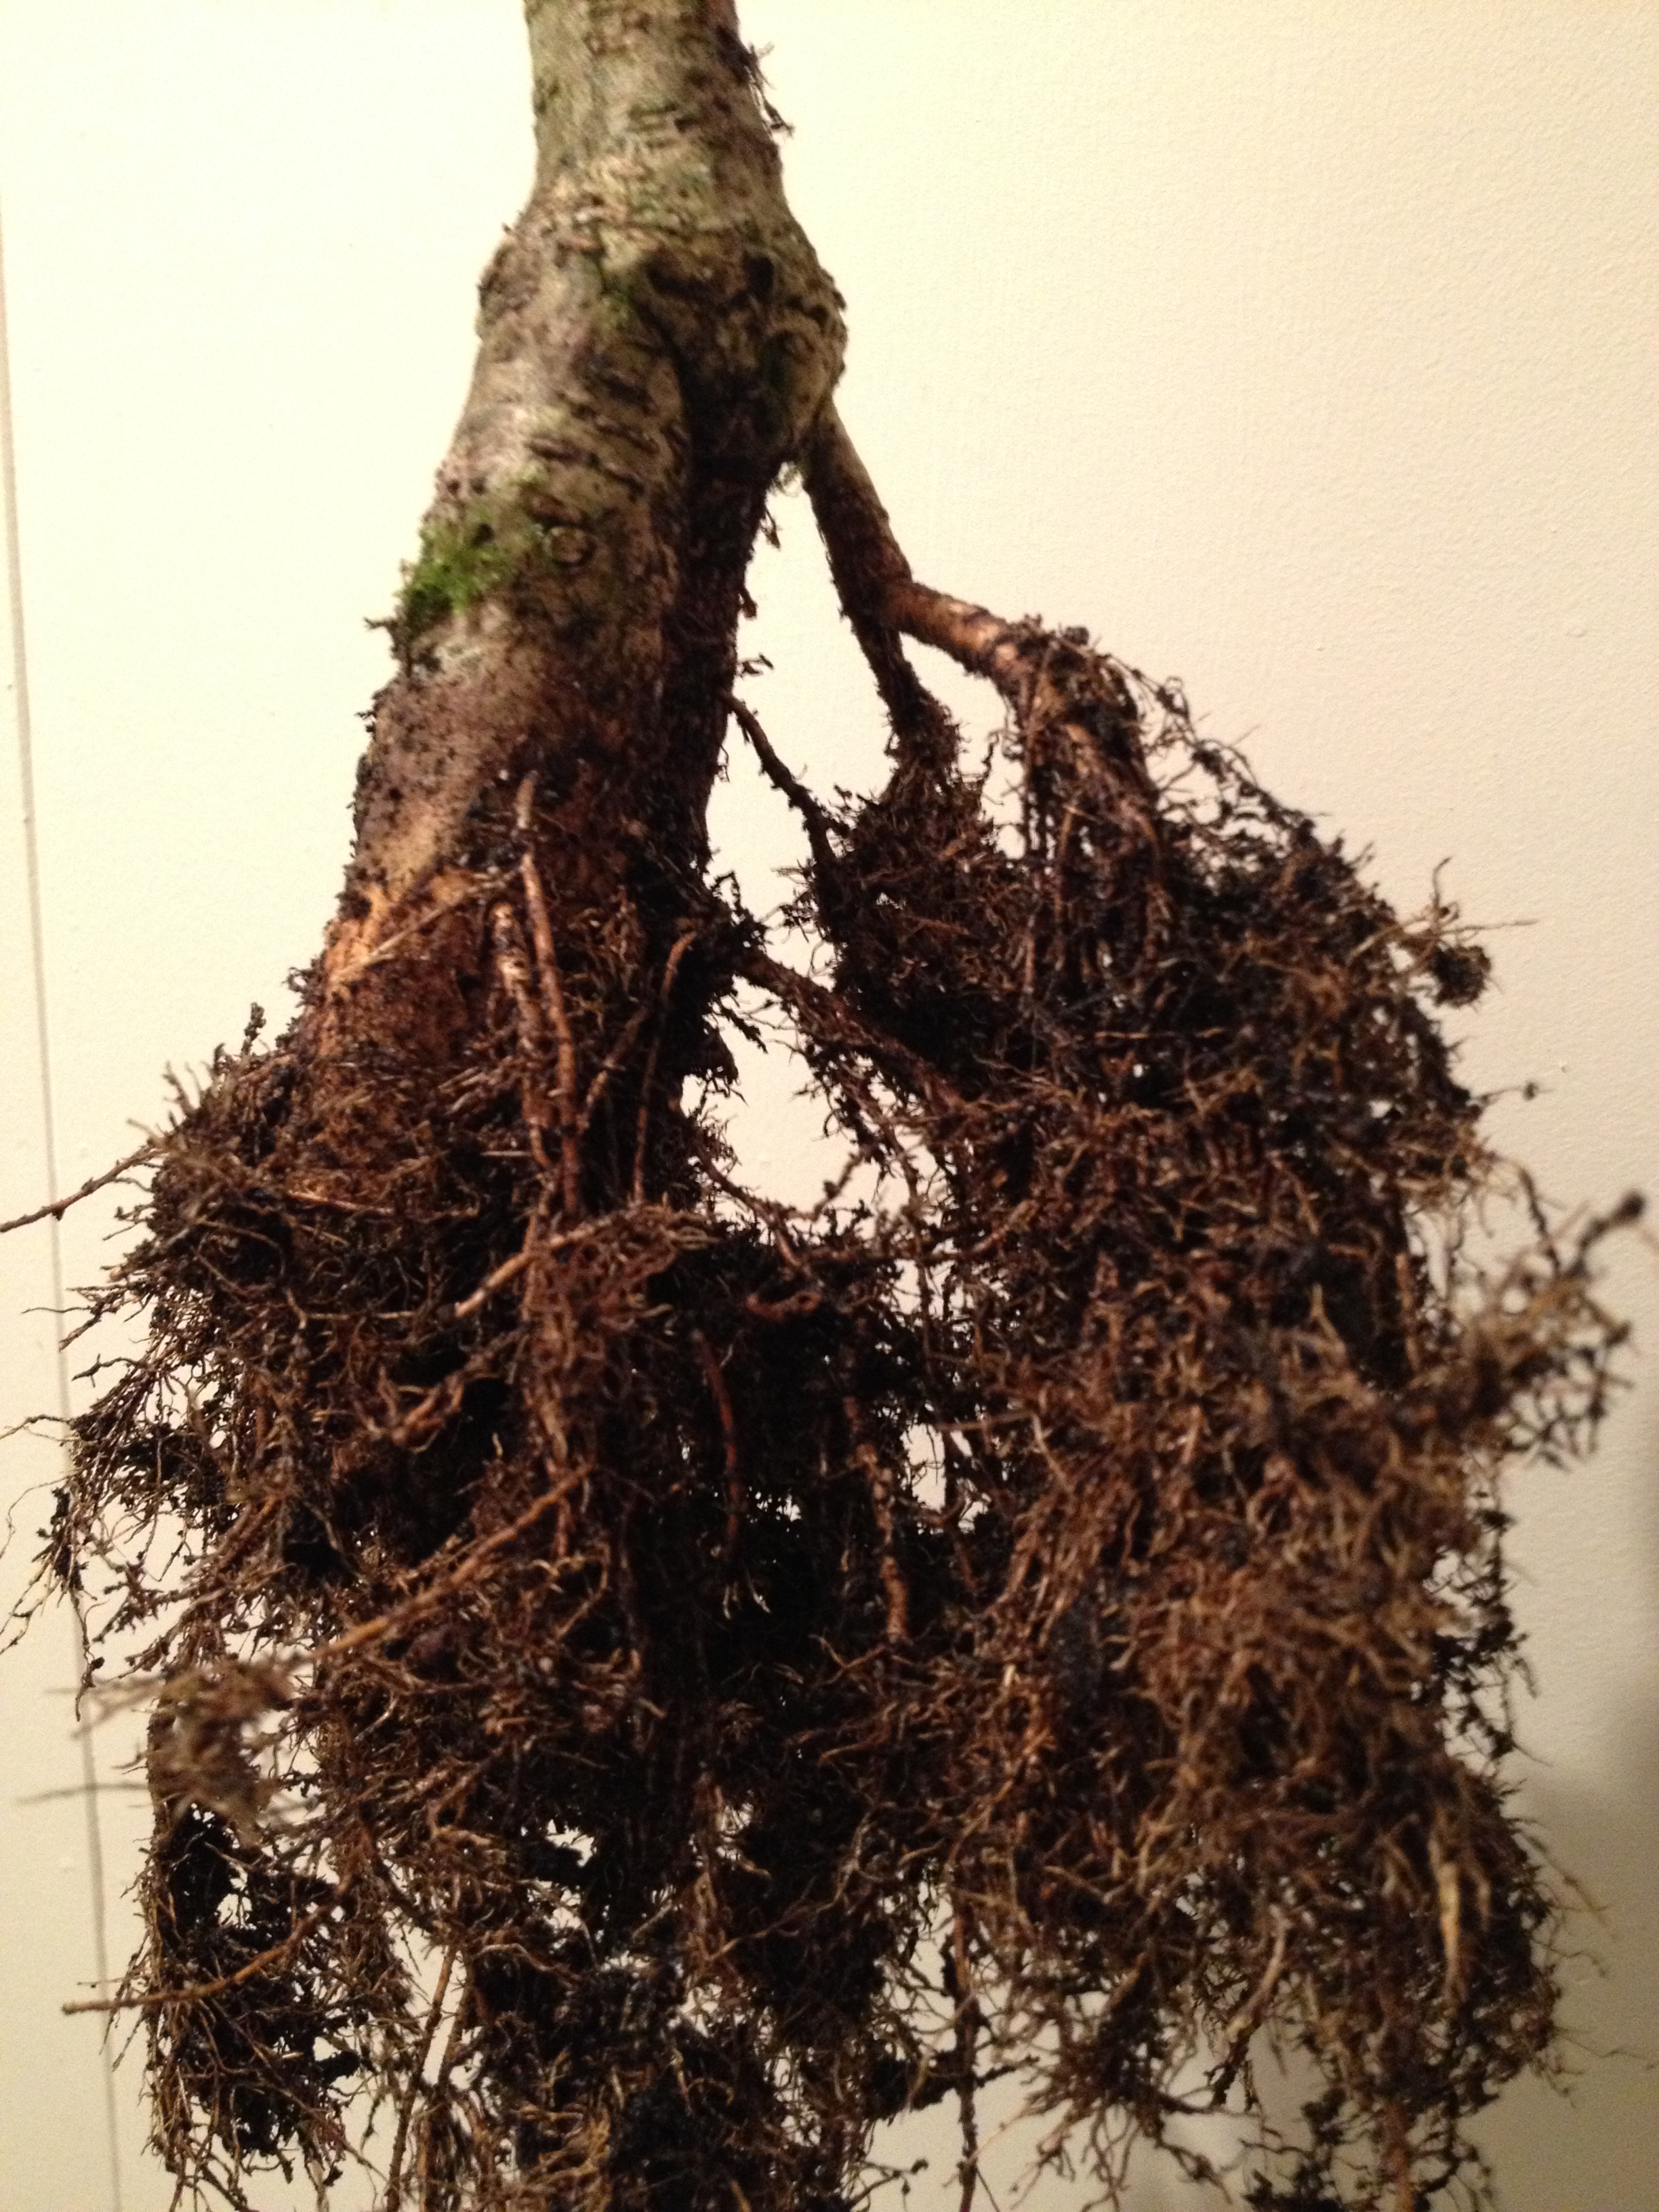
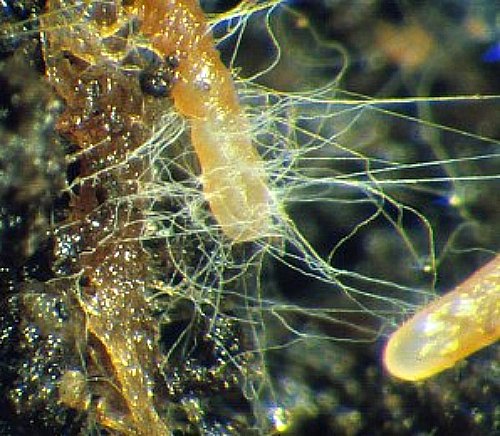
When a root is studied under a microscope it is clear that there  are different tissue types present in different areas of the root. On the outside is an epidermis layer consisting of cells. To increase the surface area, and therefore the absorptive area of the root, extensions of these epidermal cells grow into the soil. These are the root hairs. The main job of the root hairs is to absorb water and nutrients. They are very small and fragile and normally breaks off when a plant is pulled from the soil. This is a very good reason to be gentle when a plant is uprooted and when soil is removed from the roots.
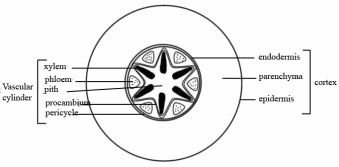
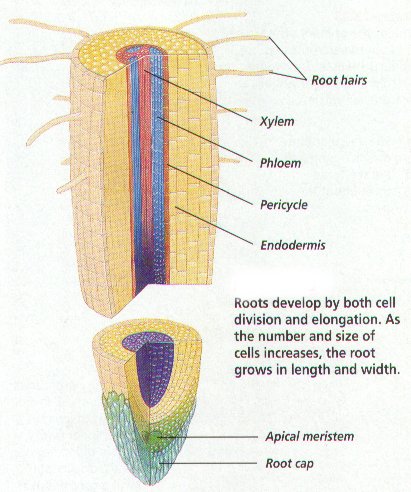
The next layer under the epidermis is the cortex. These cells are loosely spaced to allow for the movement of gasses and dissolved nutrients to the core of the root. The middle part (core or stele) of the root consists of the vascular tissues, the xylem and the phloem. The xylem particularly is of importance here as it is through this tissue that the water and nutrients are transported to the rest of the plant. Around the vascular tissue is another layer of cells, called the endodermis and underneath this is the pericycle.

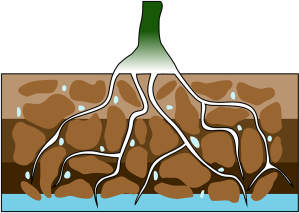
Lateral root growing from the pericycle.
This pericycle is of particular importance to the plant and Bonsai artists as this is where lateral roots originate from. The origin of the lateral roots is therefore situated deep inside the root structure and not like the branches or side shoots of the plant that originates from adventitious buds. The only reason for this that I can think of is that it provides better protection for the roots. It also means that the vascular tissue is in close contact with the lateral root.

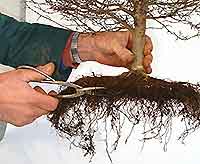
Apply rooting hormone to the cut roots.
If the root is studied externally the branching of roots can be seen as starting a little bit further back up the root and not right from the root tip. The same mechanism that applies to pruning above ground is also evident here. When the apical meristem (in the root tip) is removed, the pericycle is stimulated to grow more roots. This is also due to the influence or the lack of this influence, of plant hormones. This is the science behind root pruning. When a root is pruned, more roots will grow from that area. It will help if rooting hormone is applied to the cut area as this will help to stimulate the pericycle to produce more roots. Ensure that the rooting hormone is applied evenly for an even spread of new roots. There is some evidence that when the rooting hormone is applied to only one side of a root, that more new roots will grow on that side. I will experiment with this and report back on findings.
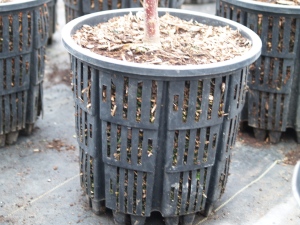
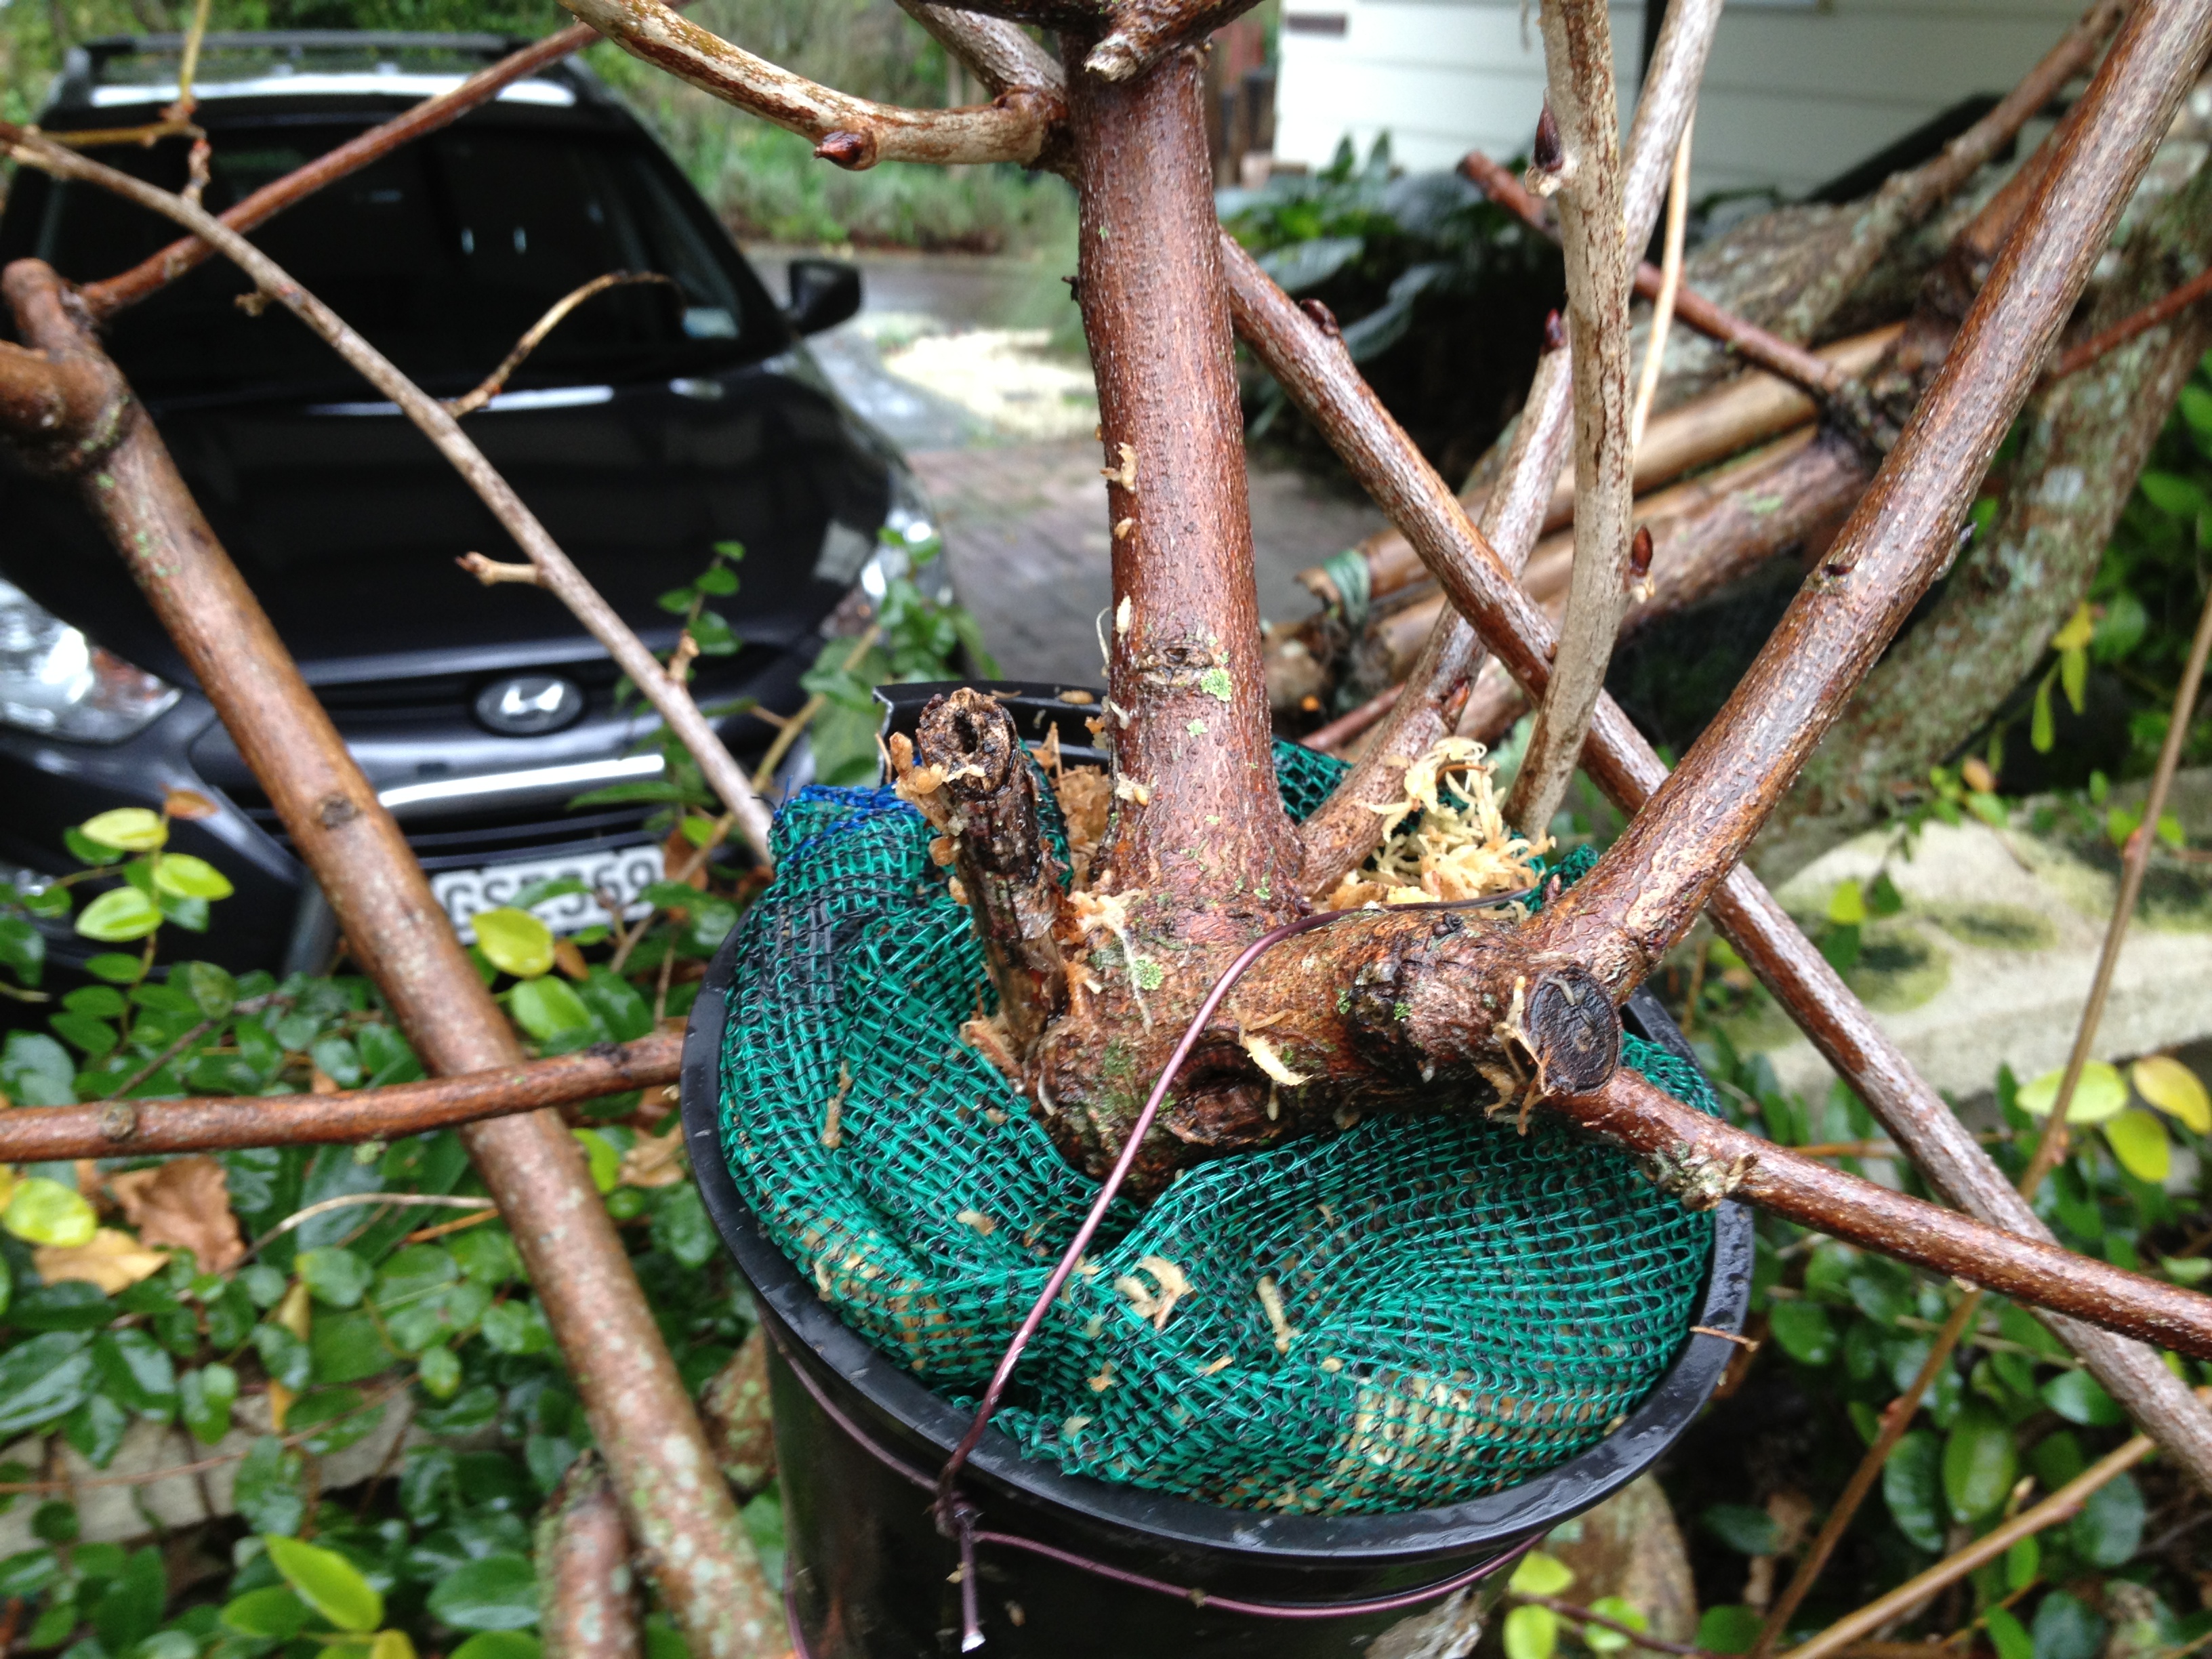
Air pruning.
The term air pruning has also been used in the propagation of plants. This method can be used for Bonsai as well, especially during the early phases of development where the emphasis is on the development of branches as well as the root system. It simply means planting the tree in a container with holes in it. The roots will grow to the edge of the container and either split or not grow any further.
 It was mentioned earlier that the removal of the root tip (apical meristem) will stimulate the pericycle to grow more roots. This is also true when the apical meristem is damaged. Growing the tree in a soil medium with lots of granular particles can cause the root tip to split or damage it and this will in turn stimulate more lateral roots to grow.
Also of note here is that the majority of water and nutrients are absorbed through the root hairs. As these are usually in the vicinity of the root tip (directly behind it), it can be taken for granted that these root hairs will be removed or reduced when root pruning. The uptake of water and nutrients will therefore be compromised when root pruning takes place. Be vigilant. This is the reason why the tree should be watered well and placed in the shade after root pruning. Water loss through transpiration must be avoided. Factors that increase transpiration are heat, wind and leaf surface area. It is therefore a good idea to reduce the leaves after root pruning in the case of deciduous trees. This might be another reason for re-potting and root pruning in spring before the leaves are fully grown.
 As roots age, they undergo secondary growth or secondary thickening. This is basically when the softer tissue becomes woody and bark is formed. This happens faster with exposed roots. The main thing to remember here is that older roots that have gone through this process will not absorb water and nutrients. When root pruning, this needs to be taken into consideration. Always leave some of the younger, finer roots to provide the plant with water and nutrients.


 Bonsai world, Azaleas and Camellias could be a good example. These plants prefer a slightly acidic soil. Fruit trees also produce more fruit in slightly acidic soil. This is not a major consideration for Bonsai artists as Fruiting Bonsai are not necessarily grown for its fruit. As a whole, pH is something to be kept in mind for Bonsai artists, especially for those pH specific trees, but our larger concern should be for the drainage capacity of the soil. Here-in lies another challenge. Due to the free-draining characteristics of most Bonsai soils, it is very easy for minerals to dissolve in the water and be washed out of the soil. It is therefore important to fertilize the trees and to ensure that a good mineral supply is available.


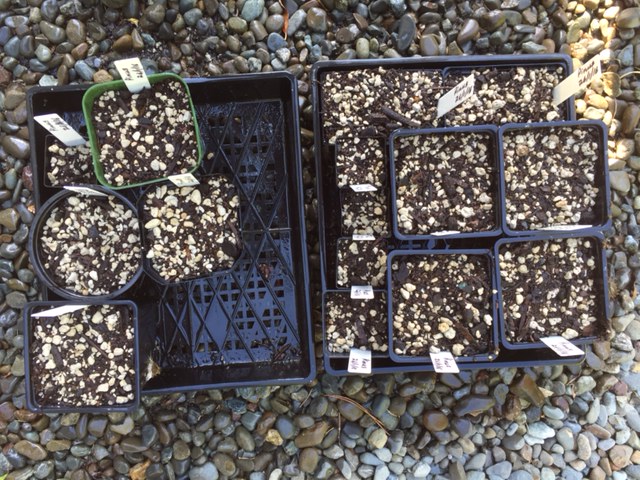
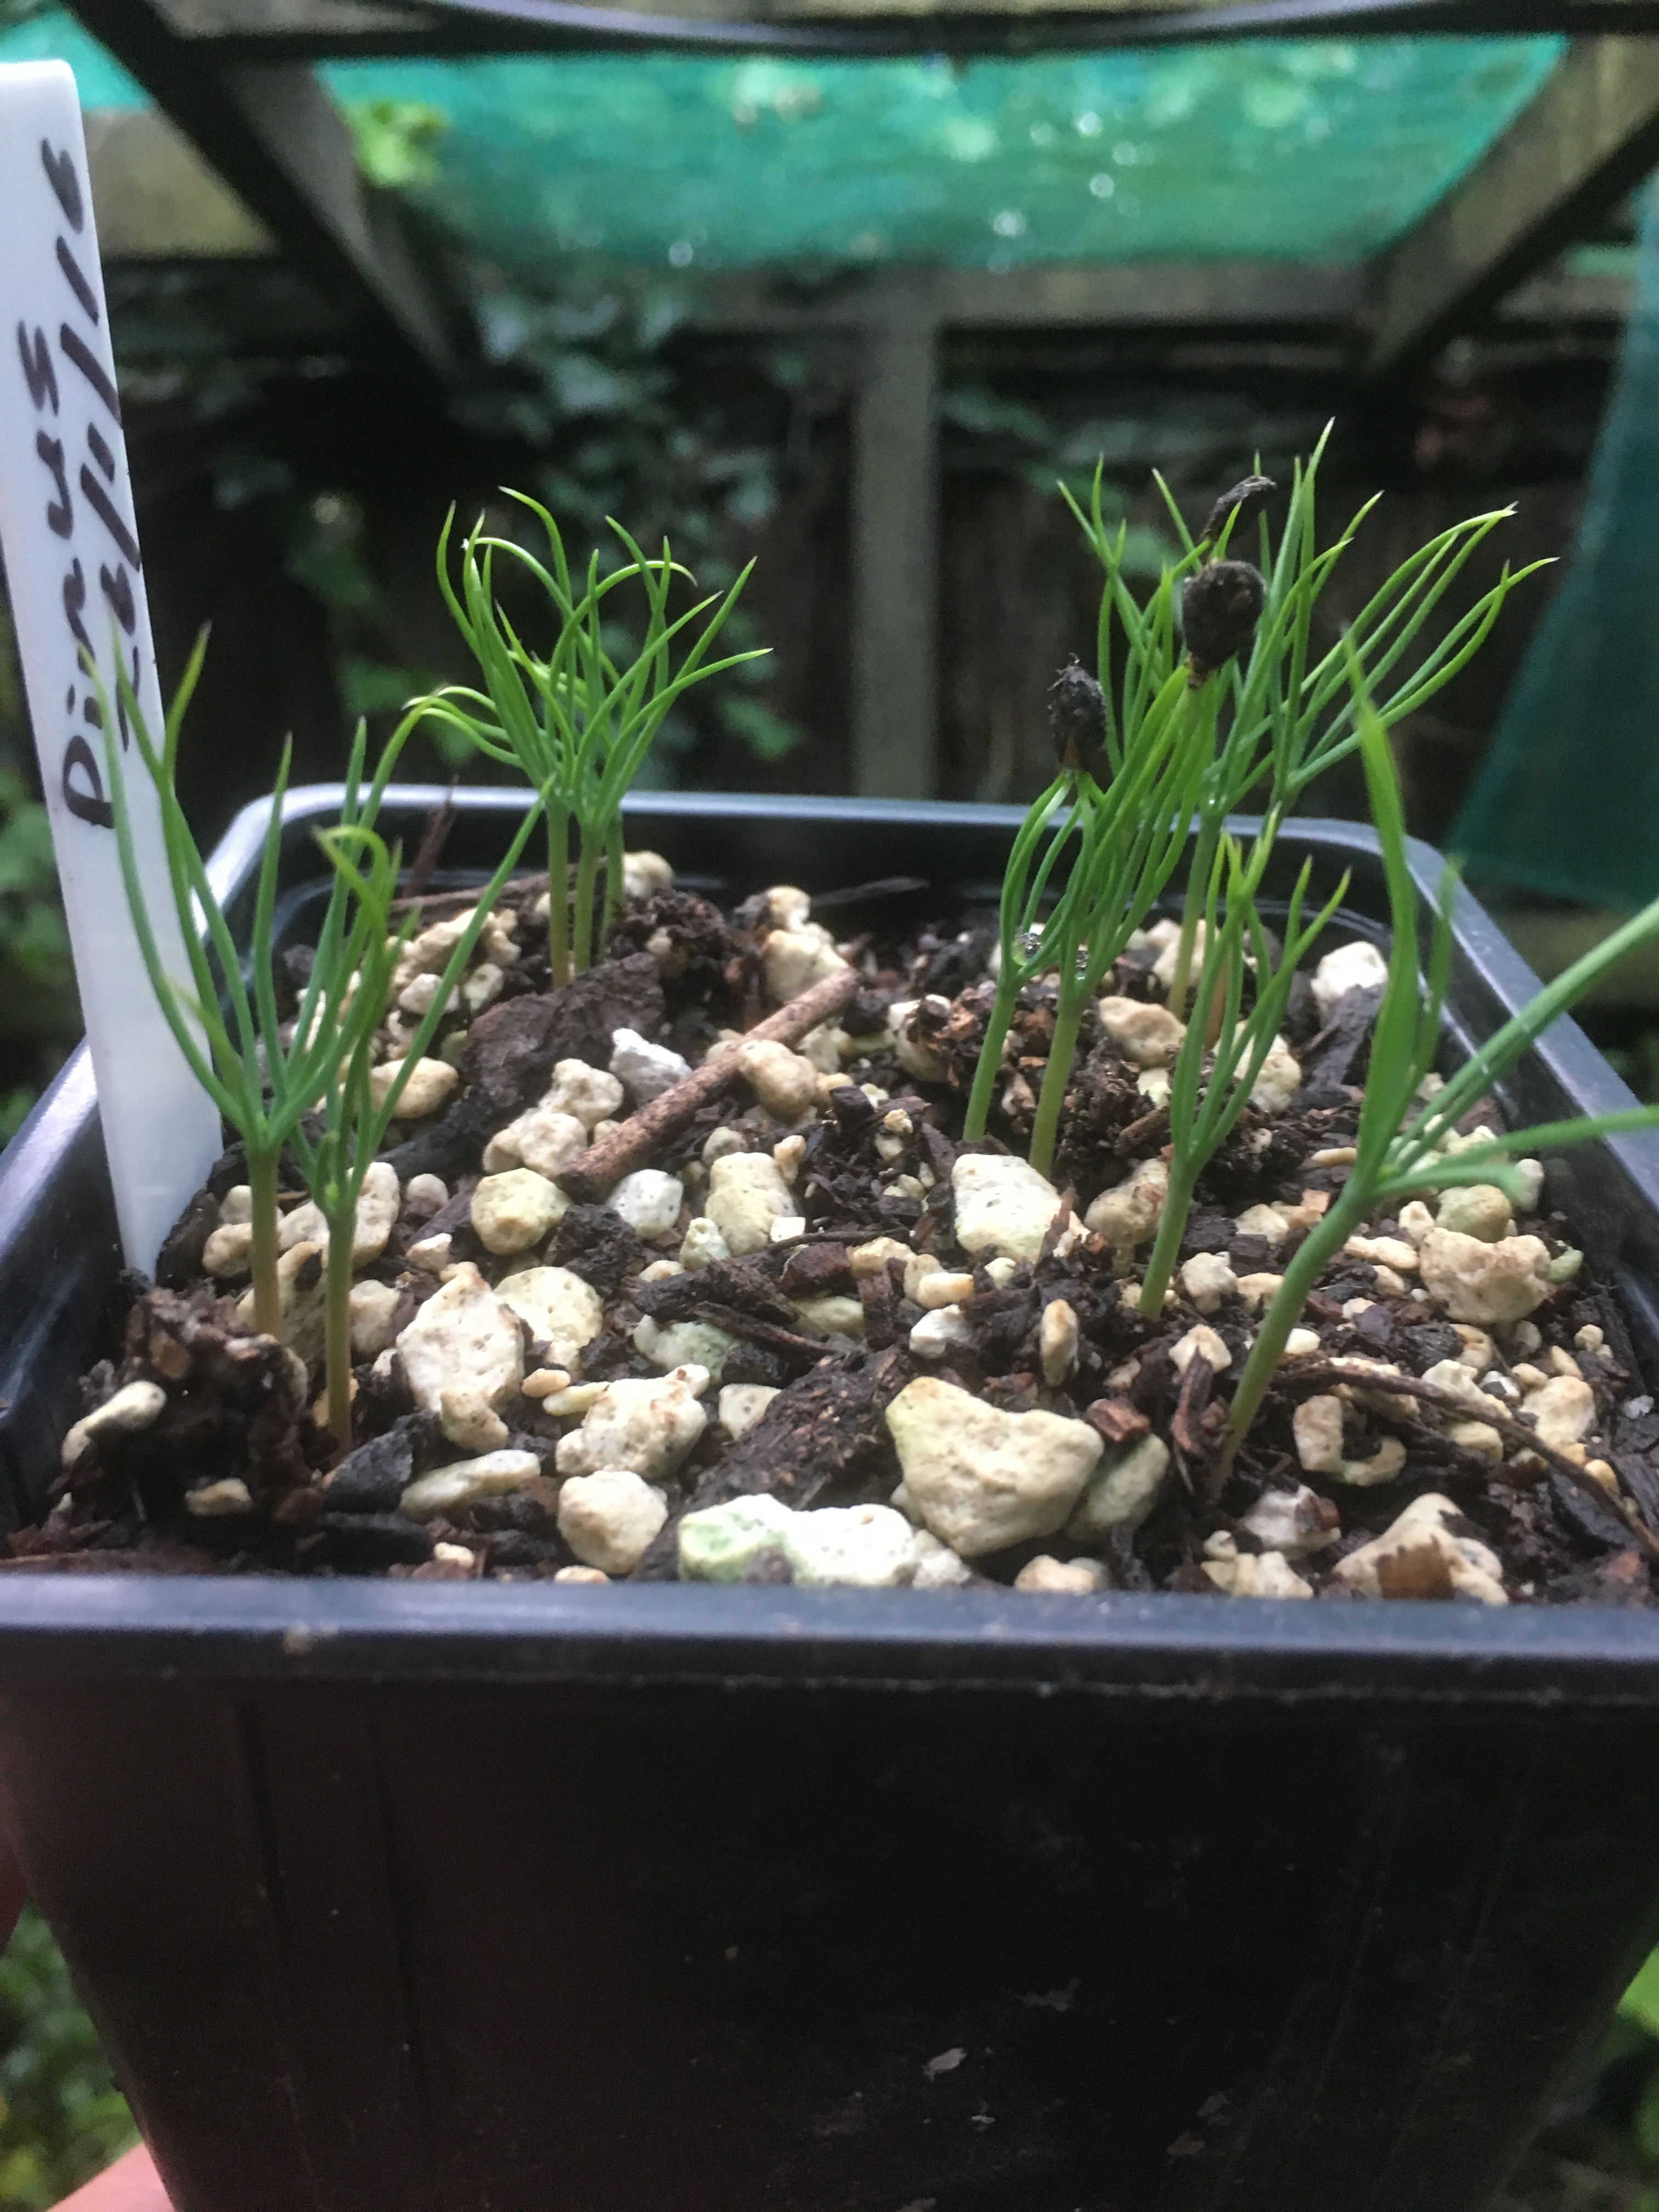
 the germination of Pine seedlings. These seeds (planted on 26 January 2016) germinated very fast and are now large enough to change into cuttings. The reason why I do this is that it gets rid of the tap root early on and forces the seedling to grow new roots and the hope is that the new roots will develop radially for a really great nebari. That is theory.


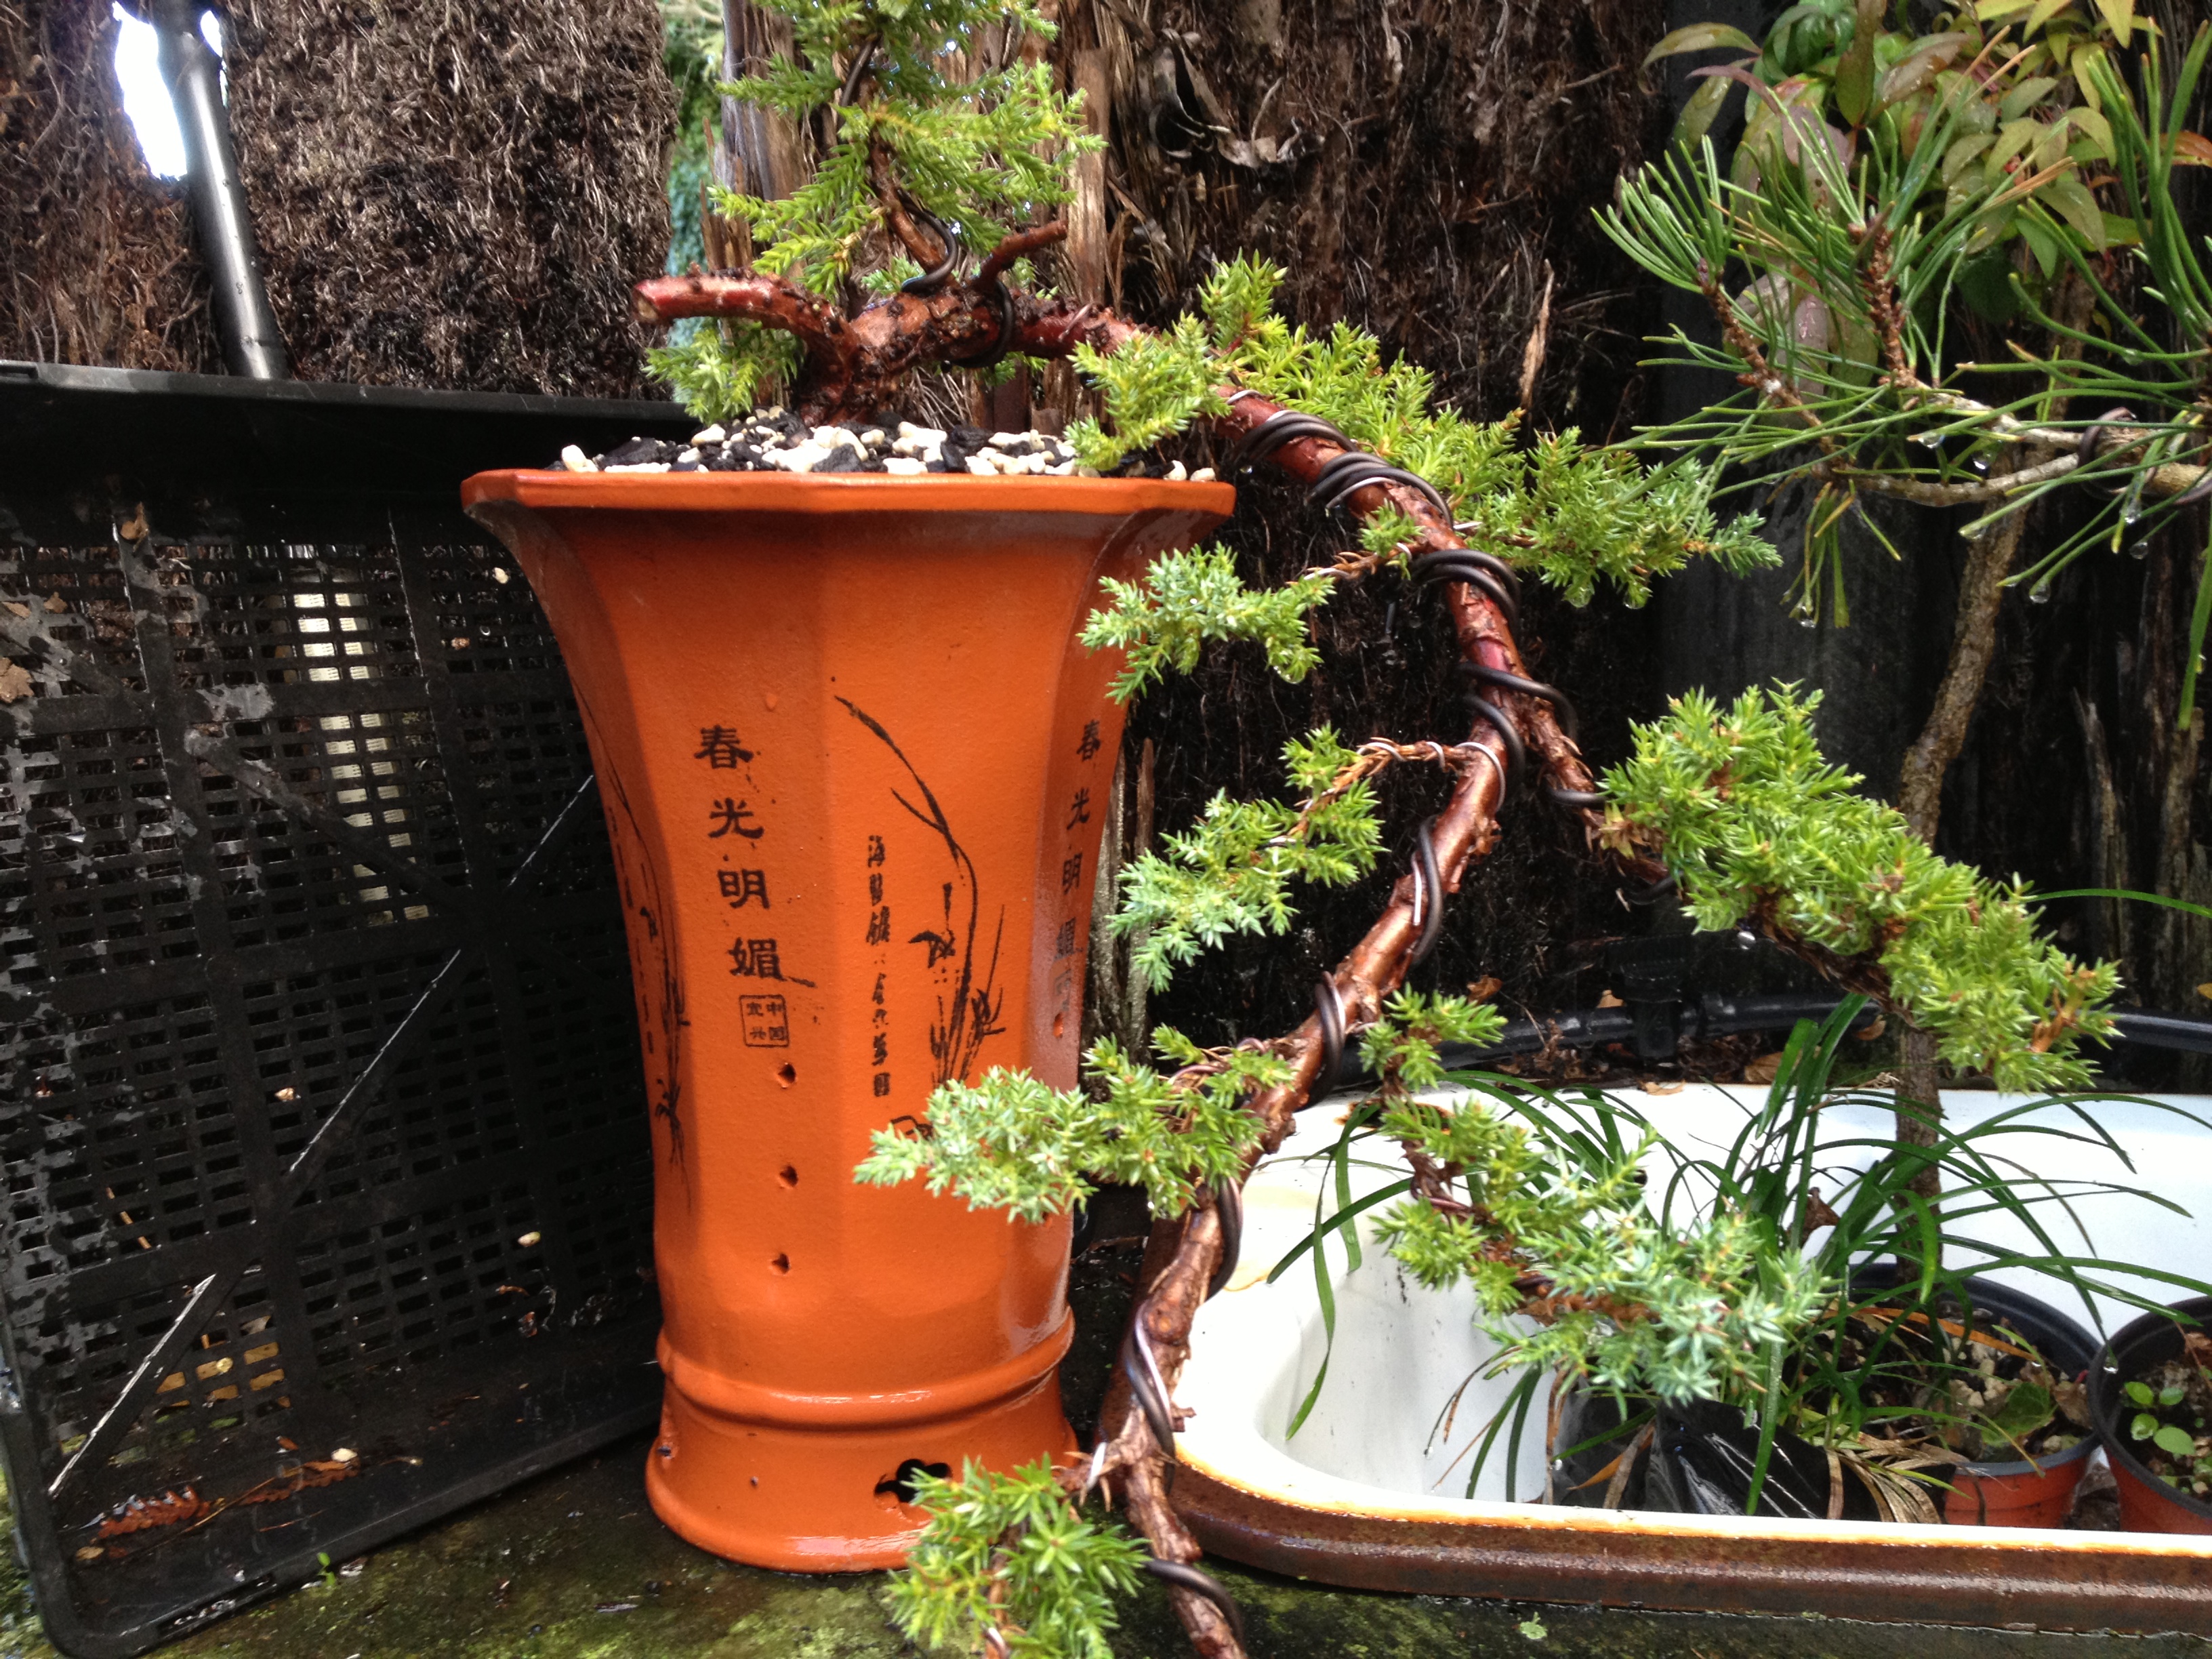
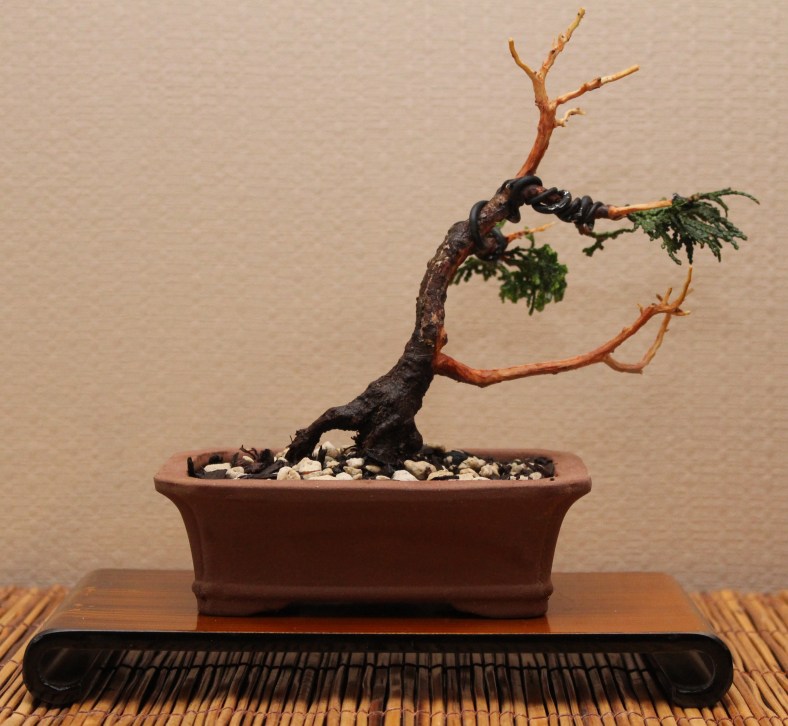
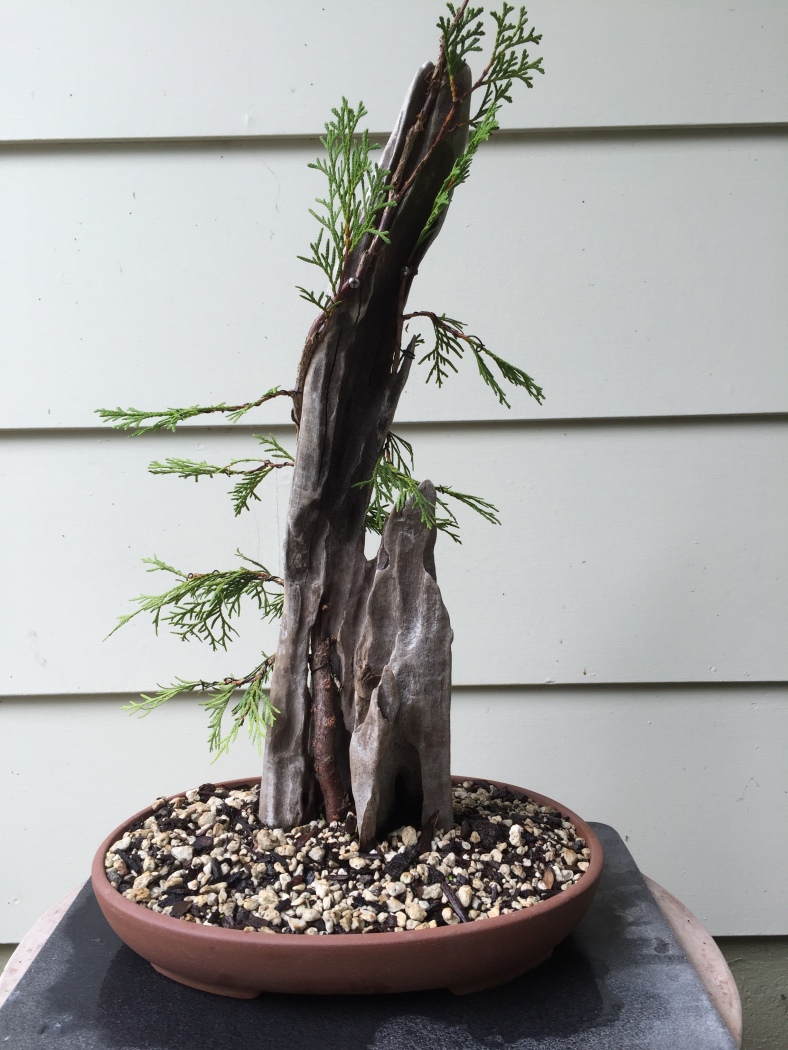
 I first had to find the right tree. I decided on a young Juniper with a lot of flexibility. The next project was to find a suitable, characterful piece of deadwood. I managed to get a piece on the beach. A note of warning is needed here. If driftwood from a beach is used, it is important to get rid of all salt on and in the wood. I submersed the wood for three weeks in fresh water and regularly changed the water as well as used a high pressure stream of water and scrubbing on it. It was then left in the sun for another week. The third component was a pot selected from my pot collection.
 the deadwood and tree must be secured very firmly. It is wise to get a hardener on the deadwood. I treated it with lime sulphur as the bottom part will be in the wet soil. I have read that the end could also be placed on a solid object like a tile to minimise the part in contact with the soil. My first challenge was to drill extra holes in the pot. For the first time in my life, I had a pot which is so hard, that the drill bit did not even make an indentation on the pot. The tie wires therefore had to be attached through the drainage holes.


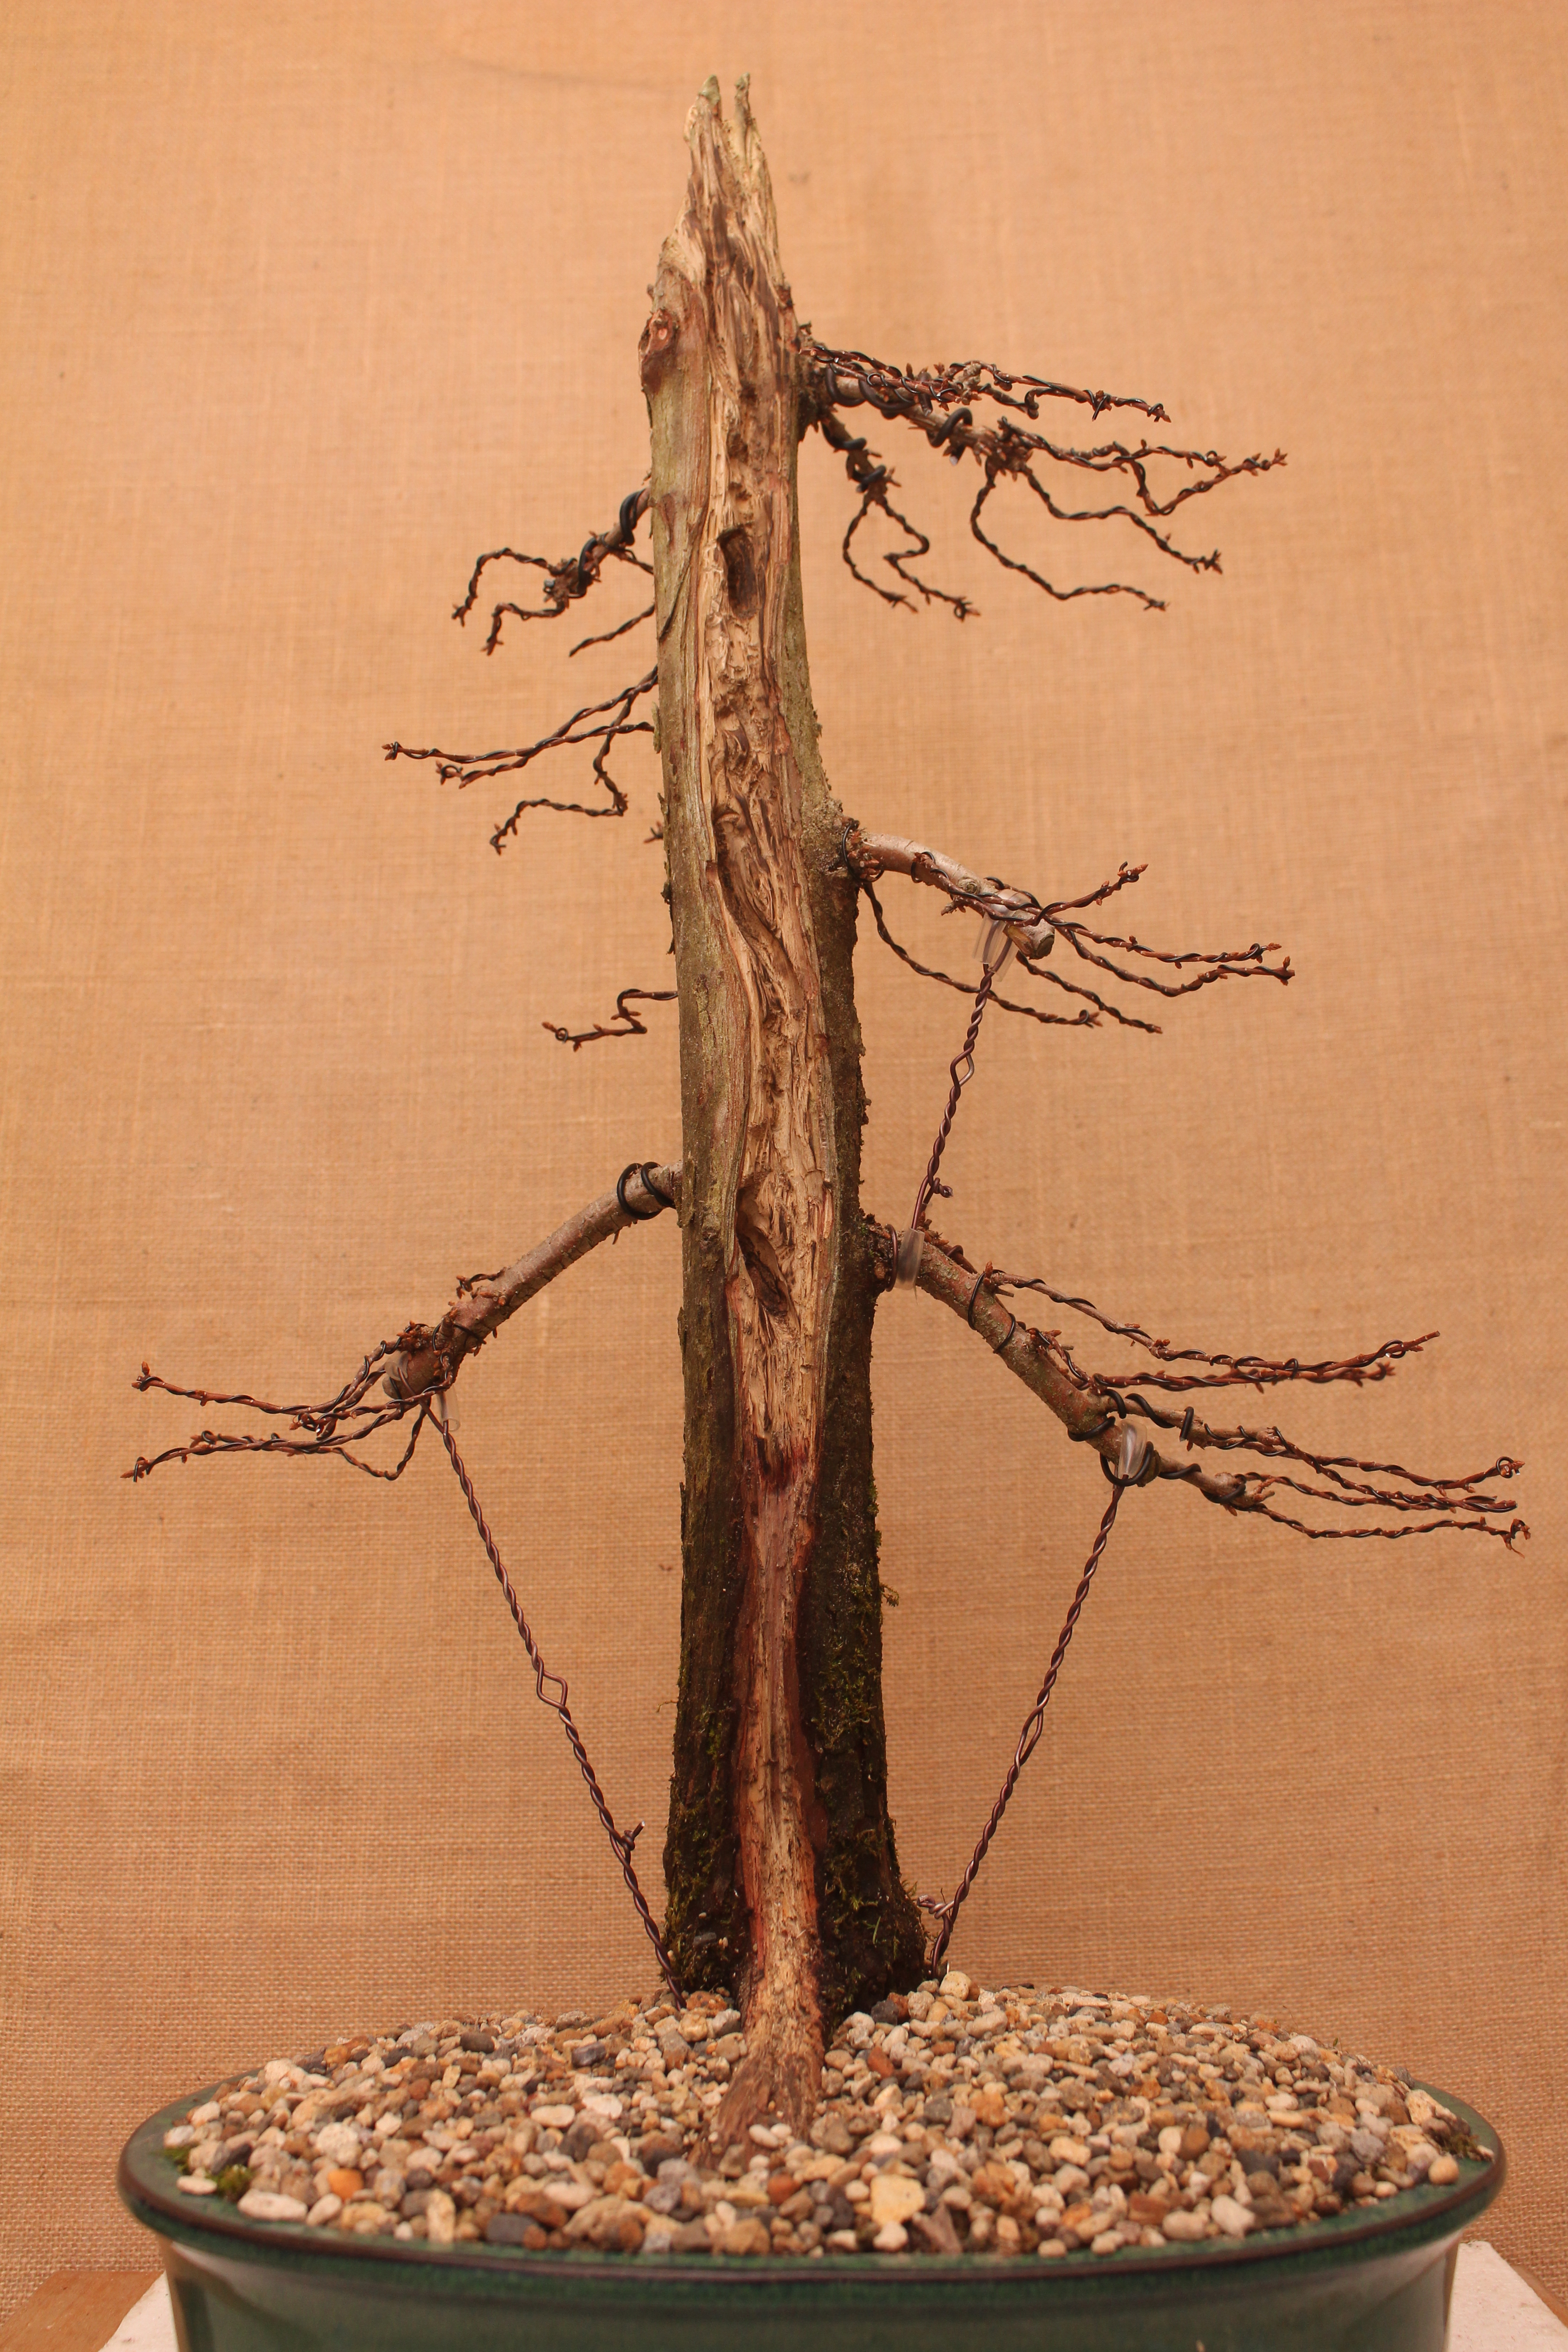
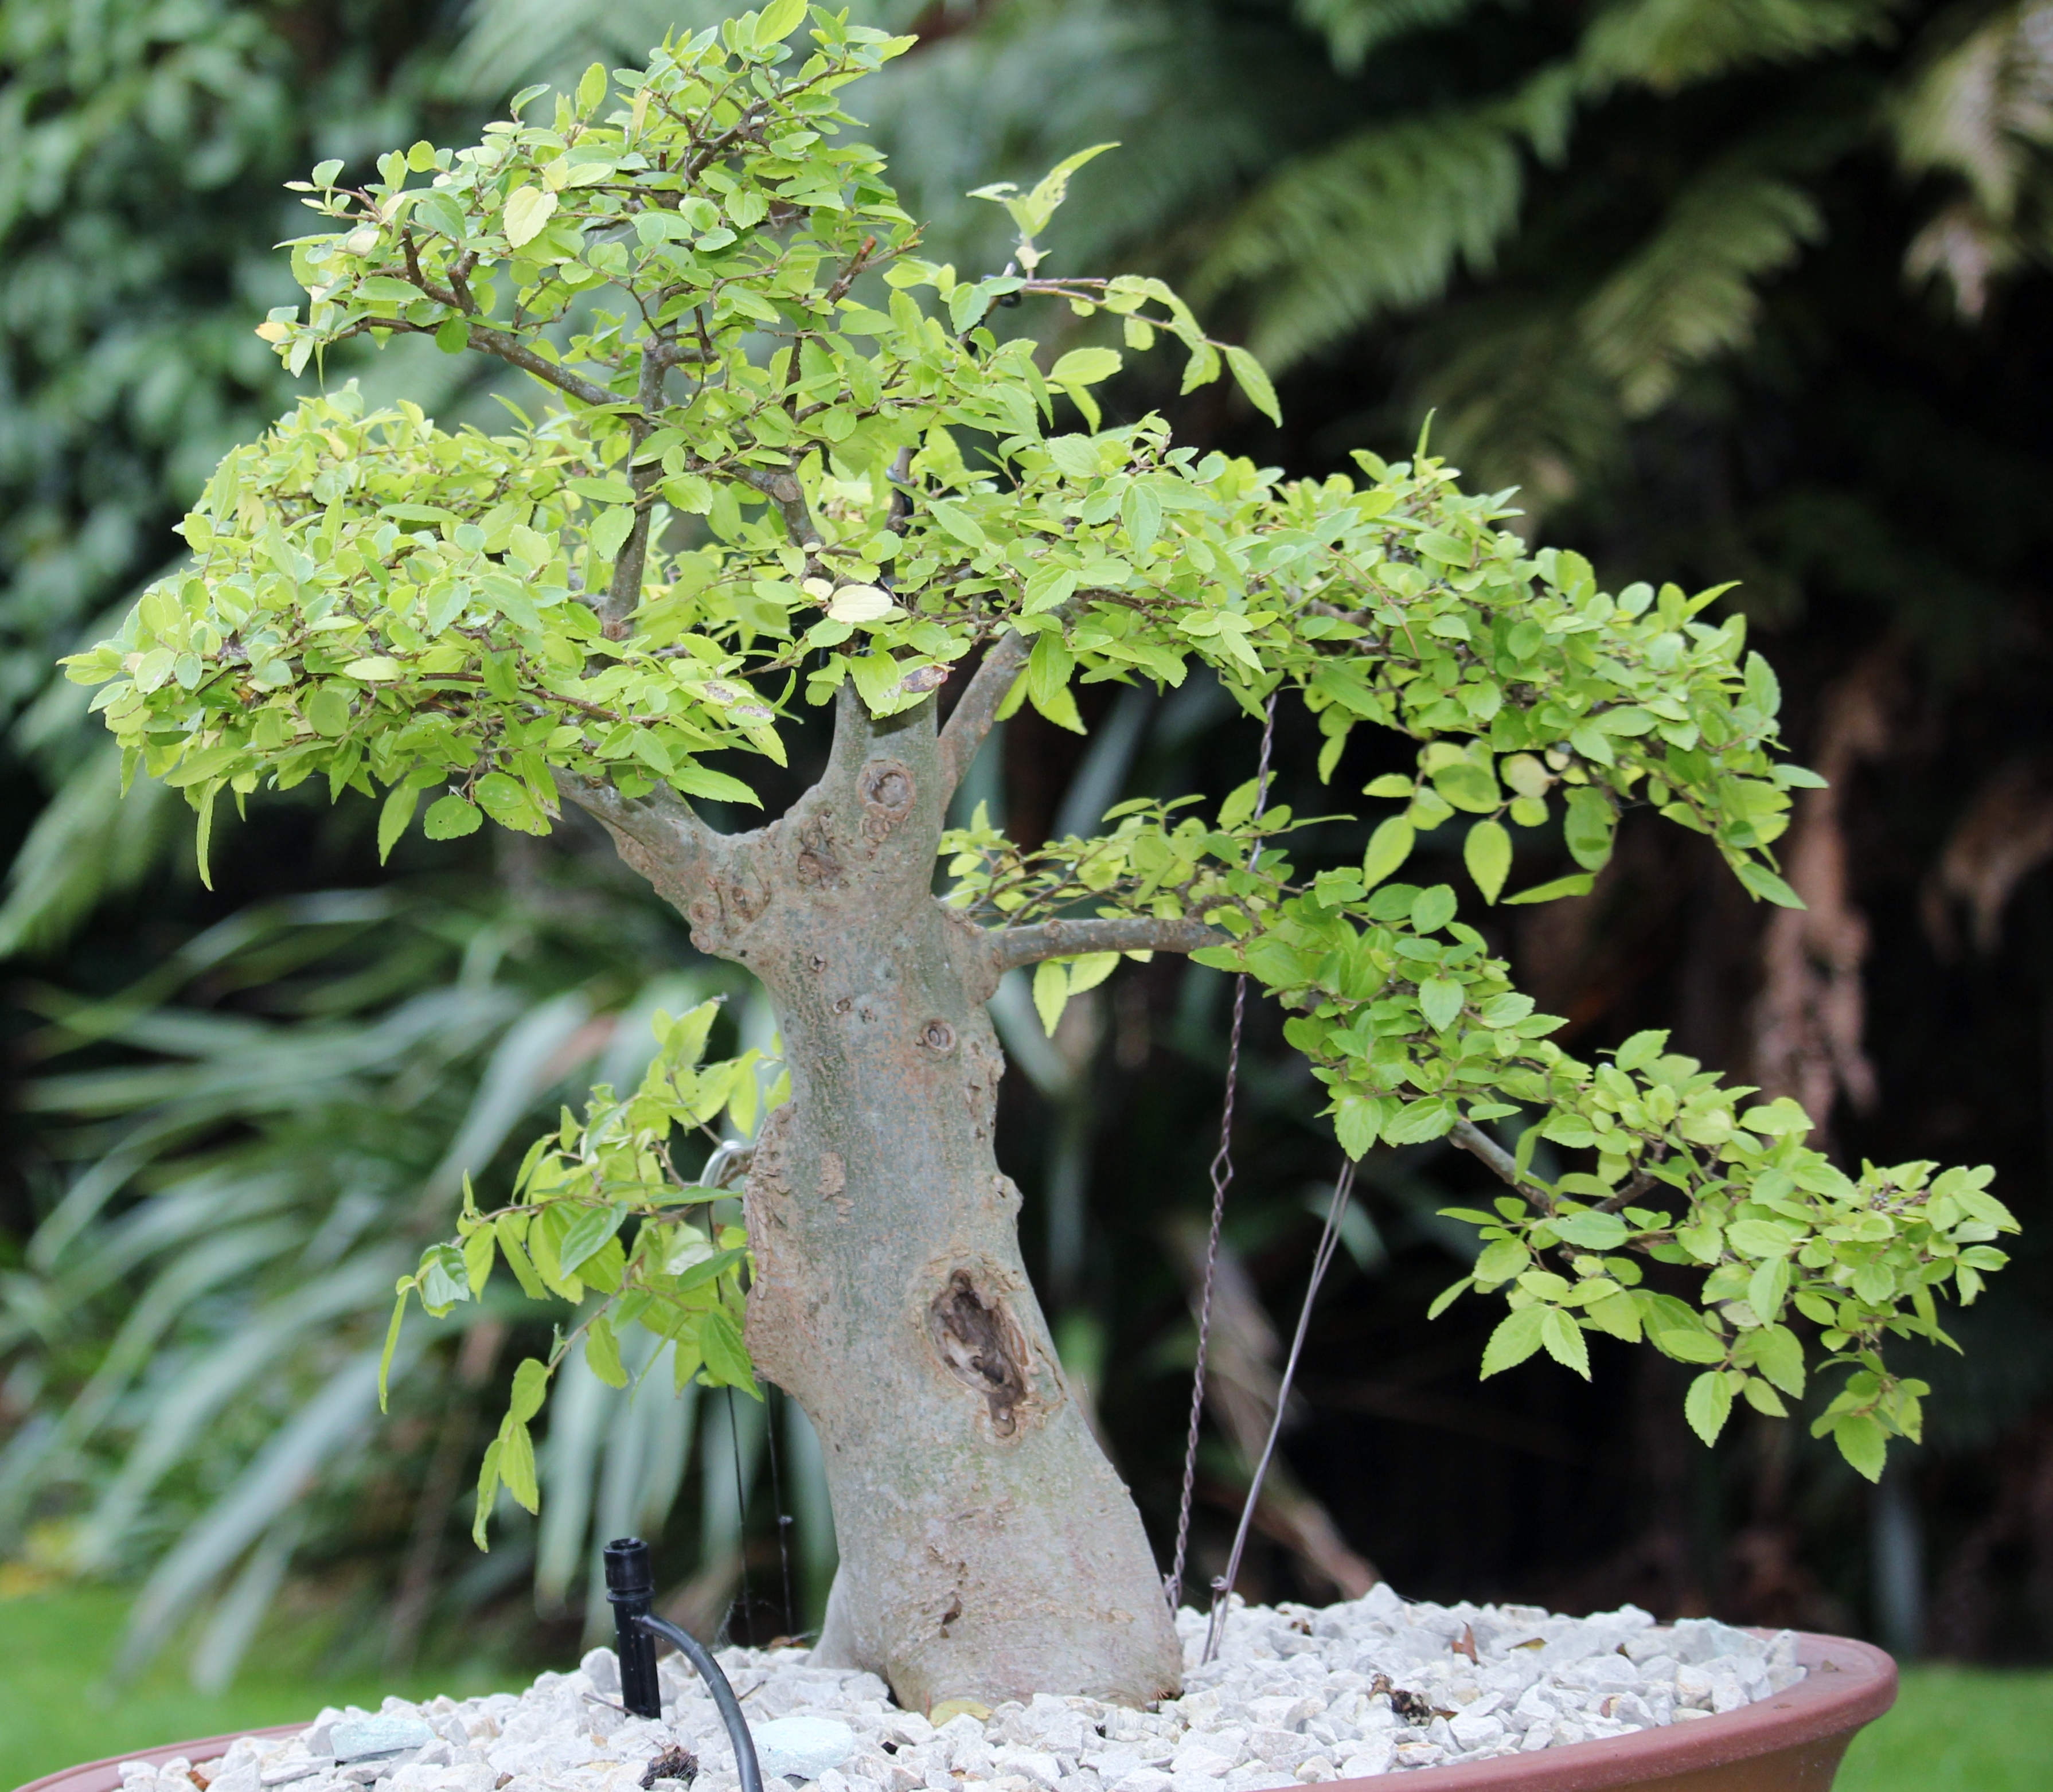
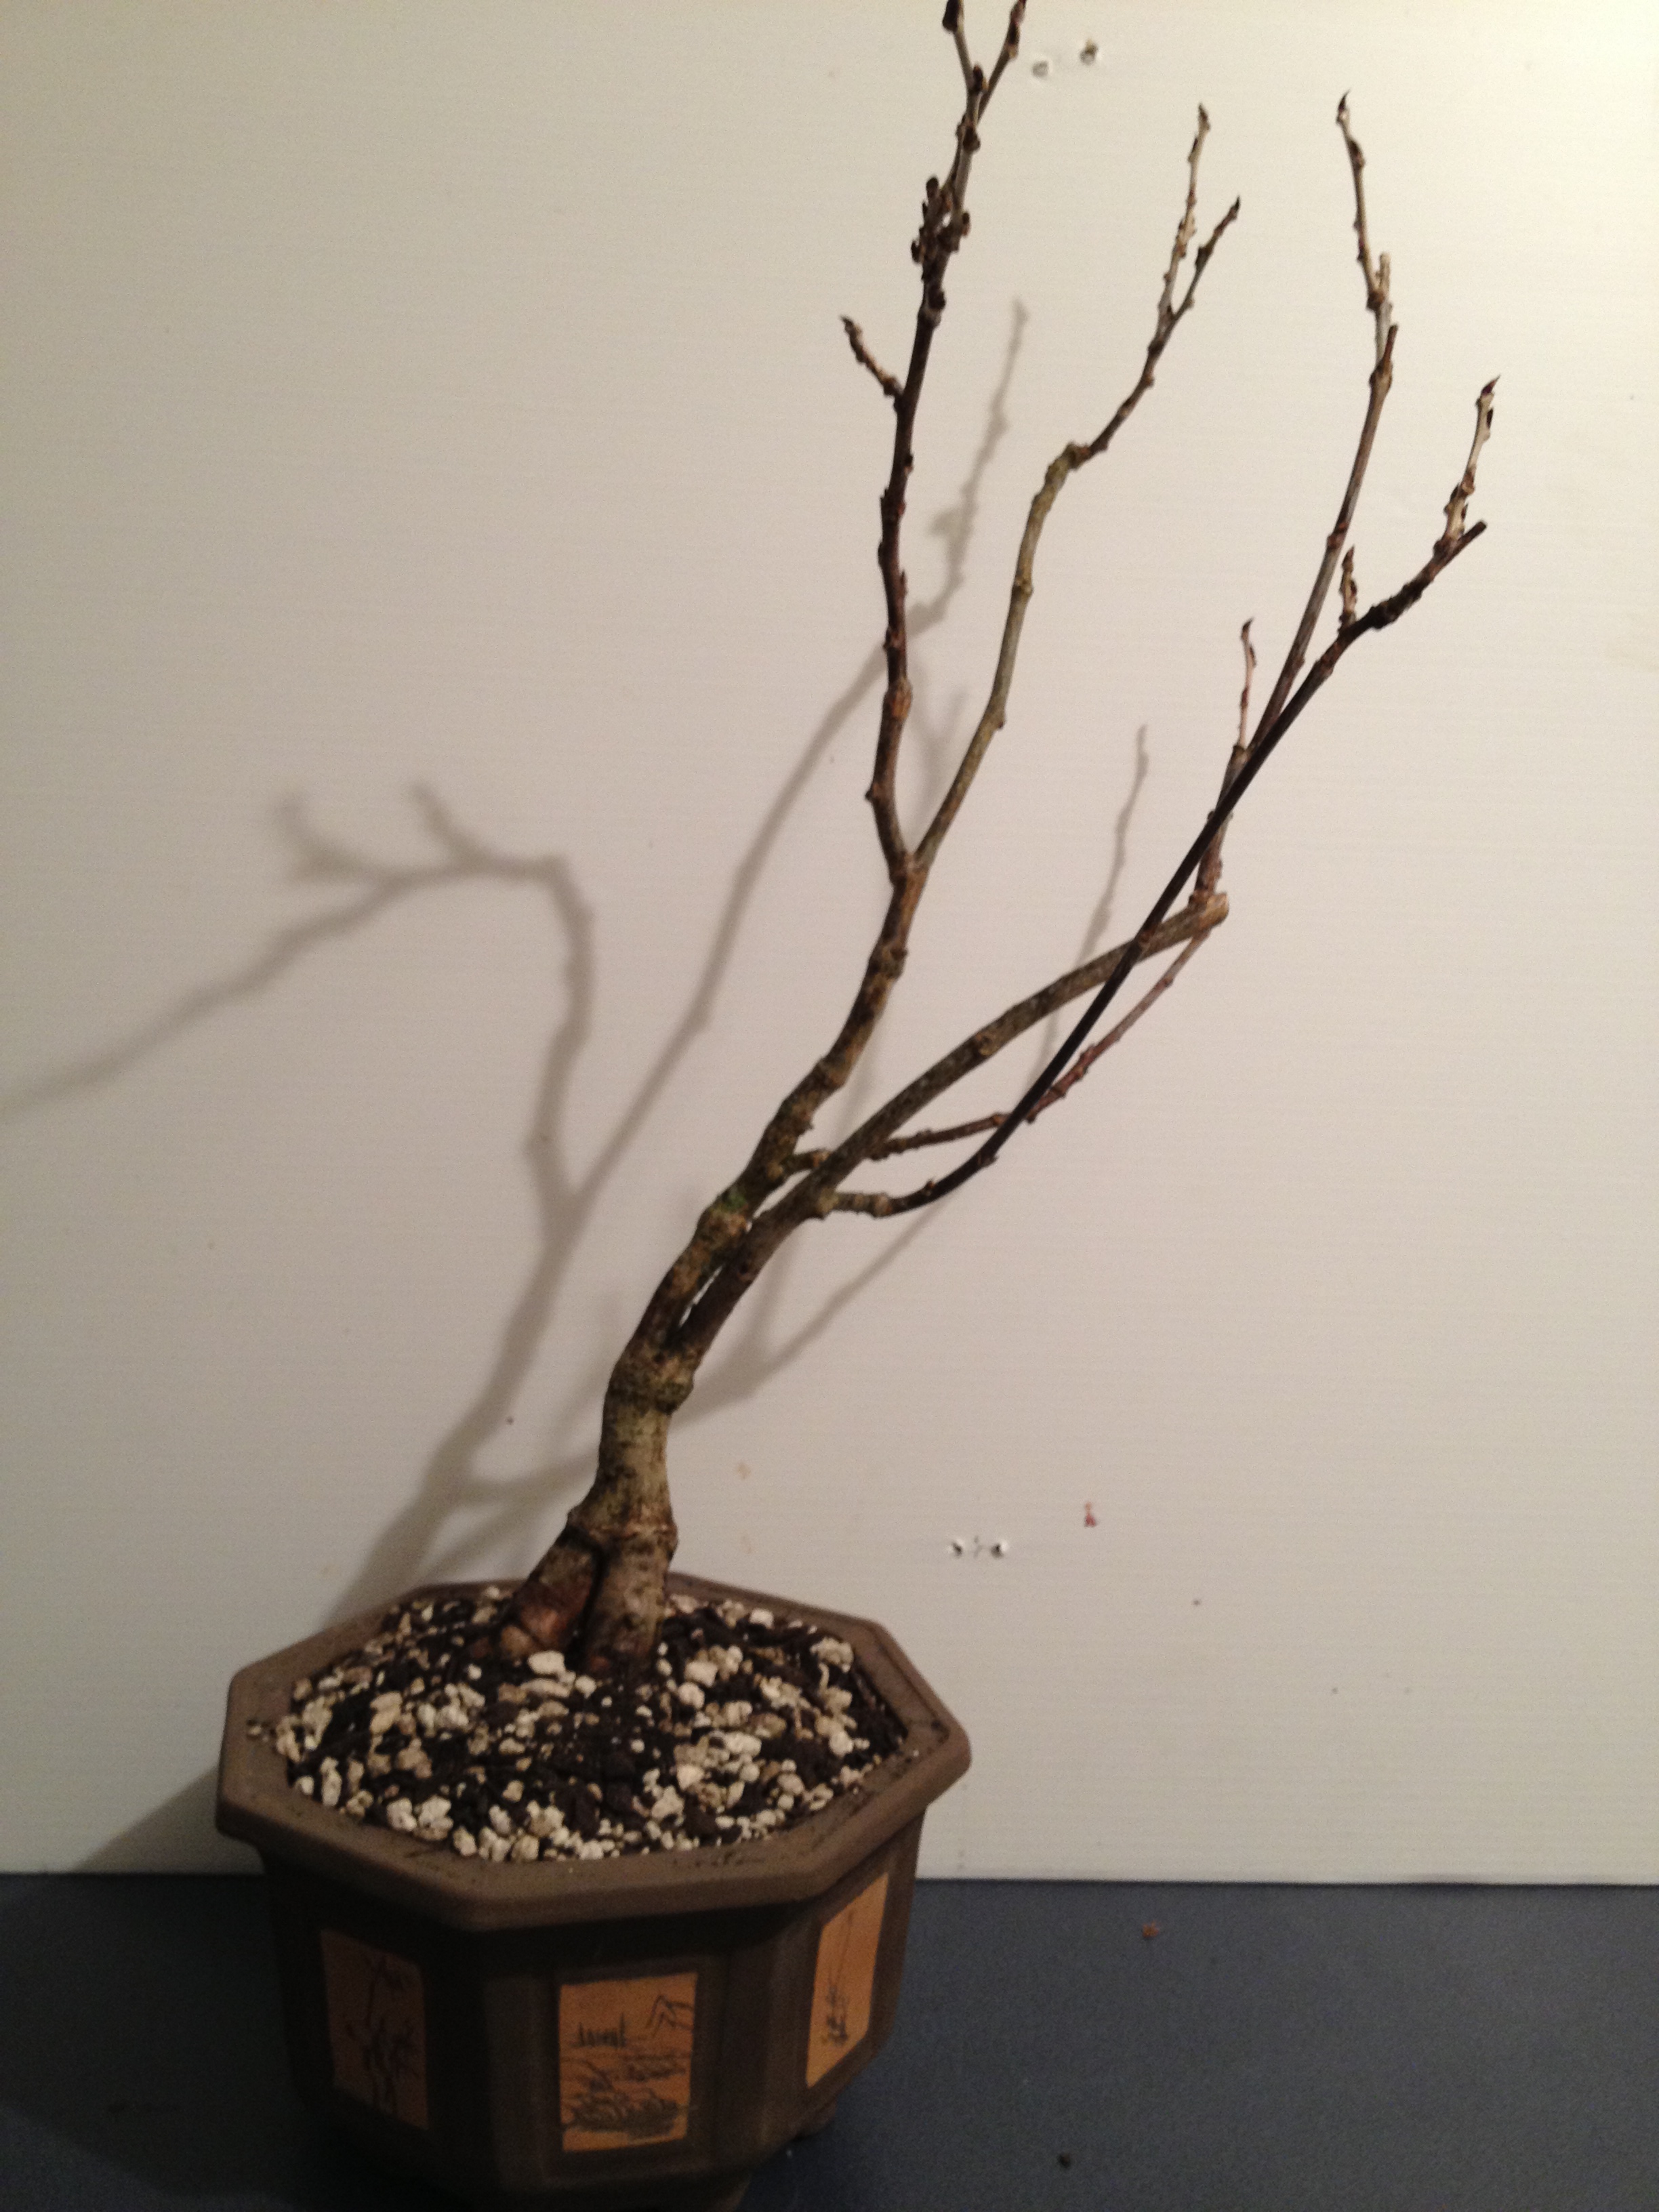
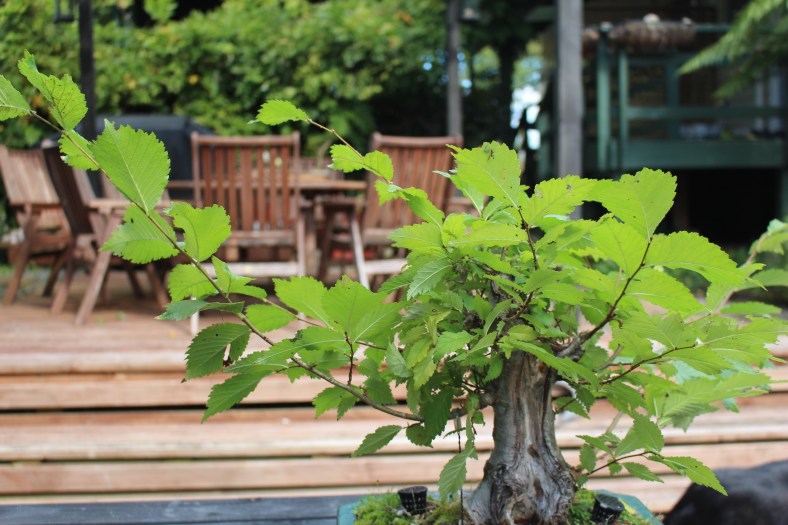
 into something resembling a Shohin Bonsai. This tree was carved and repeatedly pruned until where it is today. A lot of time and work still lies ahead. One of the things that must be done now is to reduce the size of the leaves.
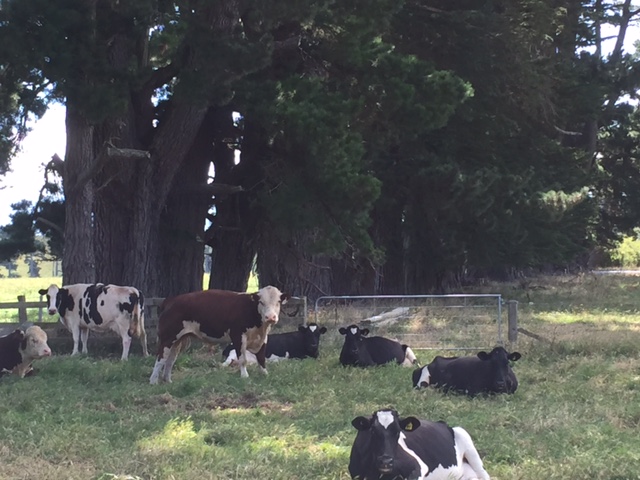
 Out comes the researcher in me and I start to do what researchers do. First step is to Google the term “defoliation”. An interesting phenomenon is that a lot of information is available on the defoliation of Cannabis plants. I have not tried to “Bonsai” one of those, but it makes sense that people who do grow these plants, do. I have also found information on the defoliation of other “forage” plants. This is done to stimulate the growth of more leaves as it is used to either feed animals or people or in the first mentioned case, smoke it (maybe it is for medicinal purposes). It is also mentioned that it stimulates overall growth of the plant.


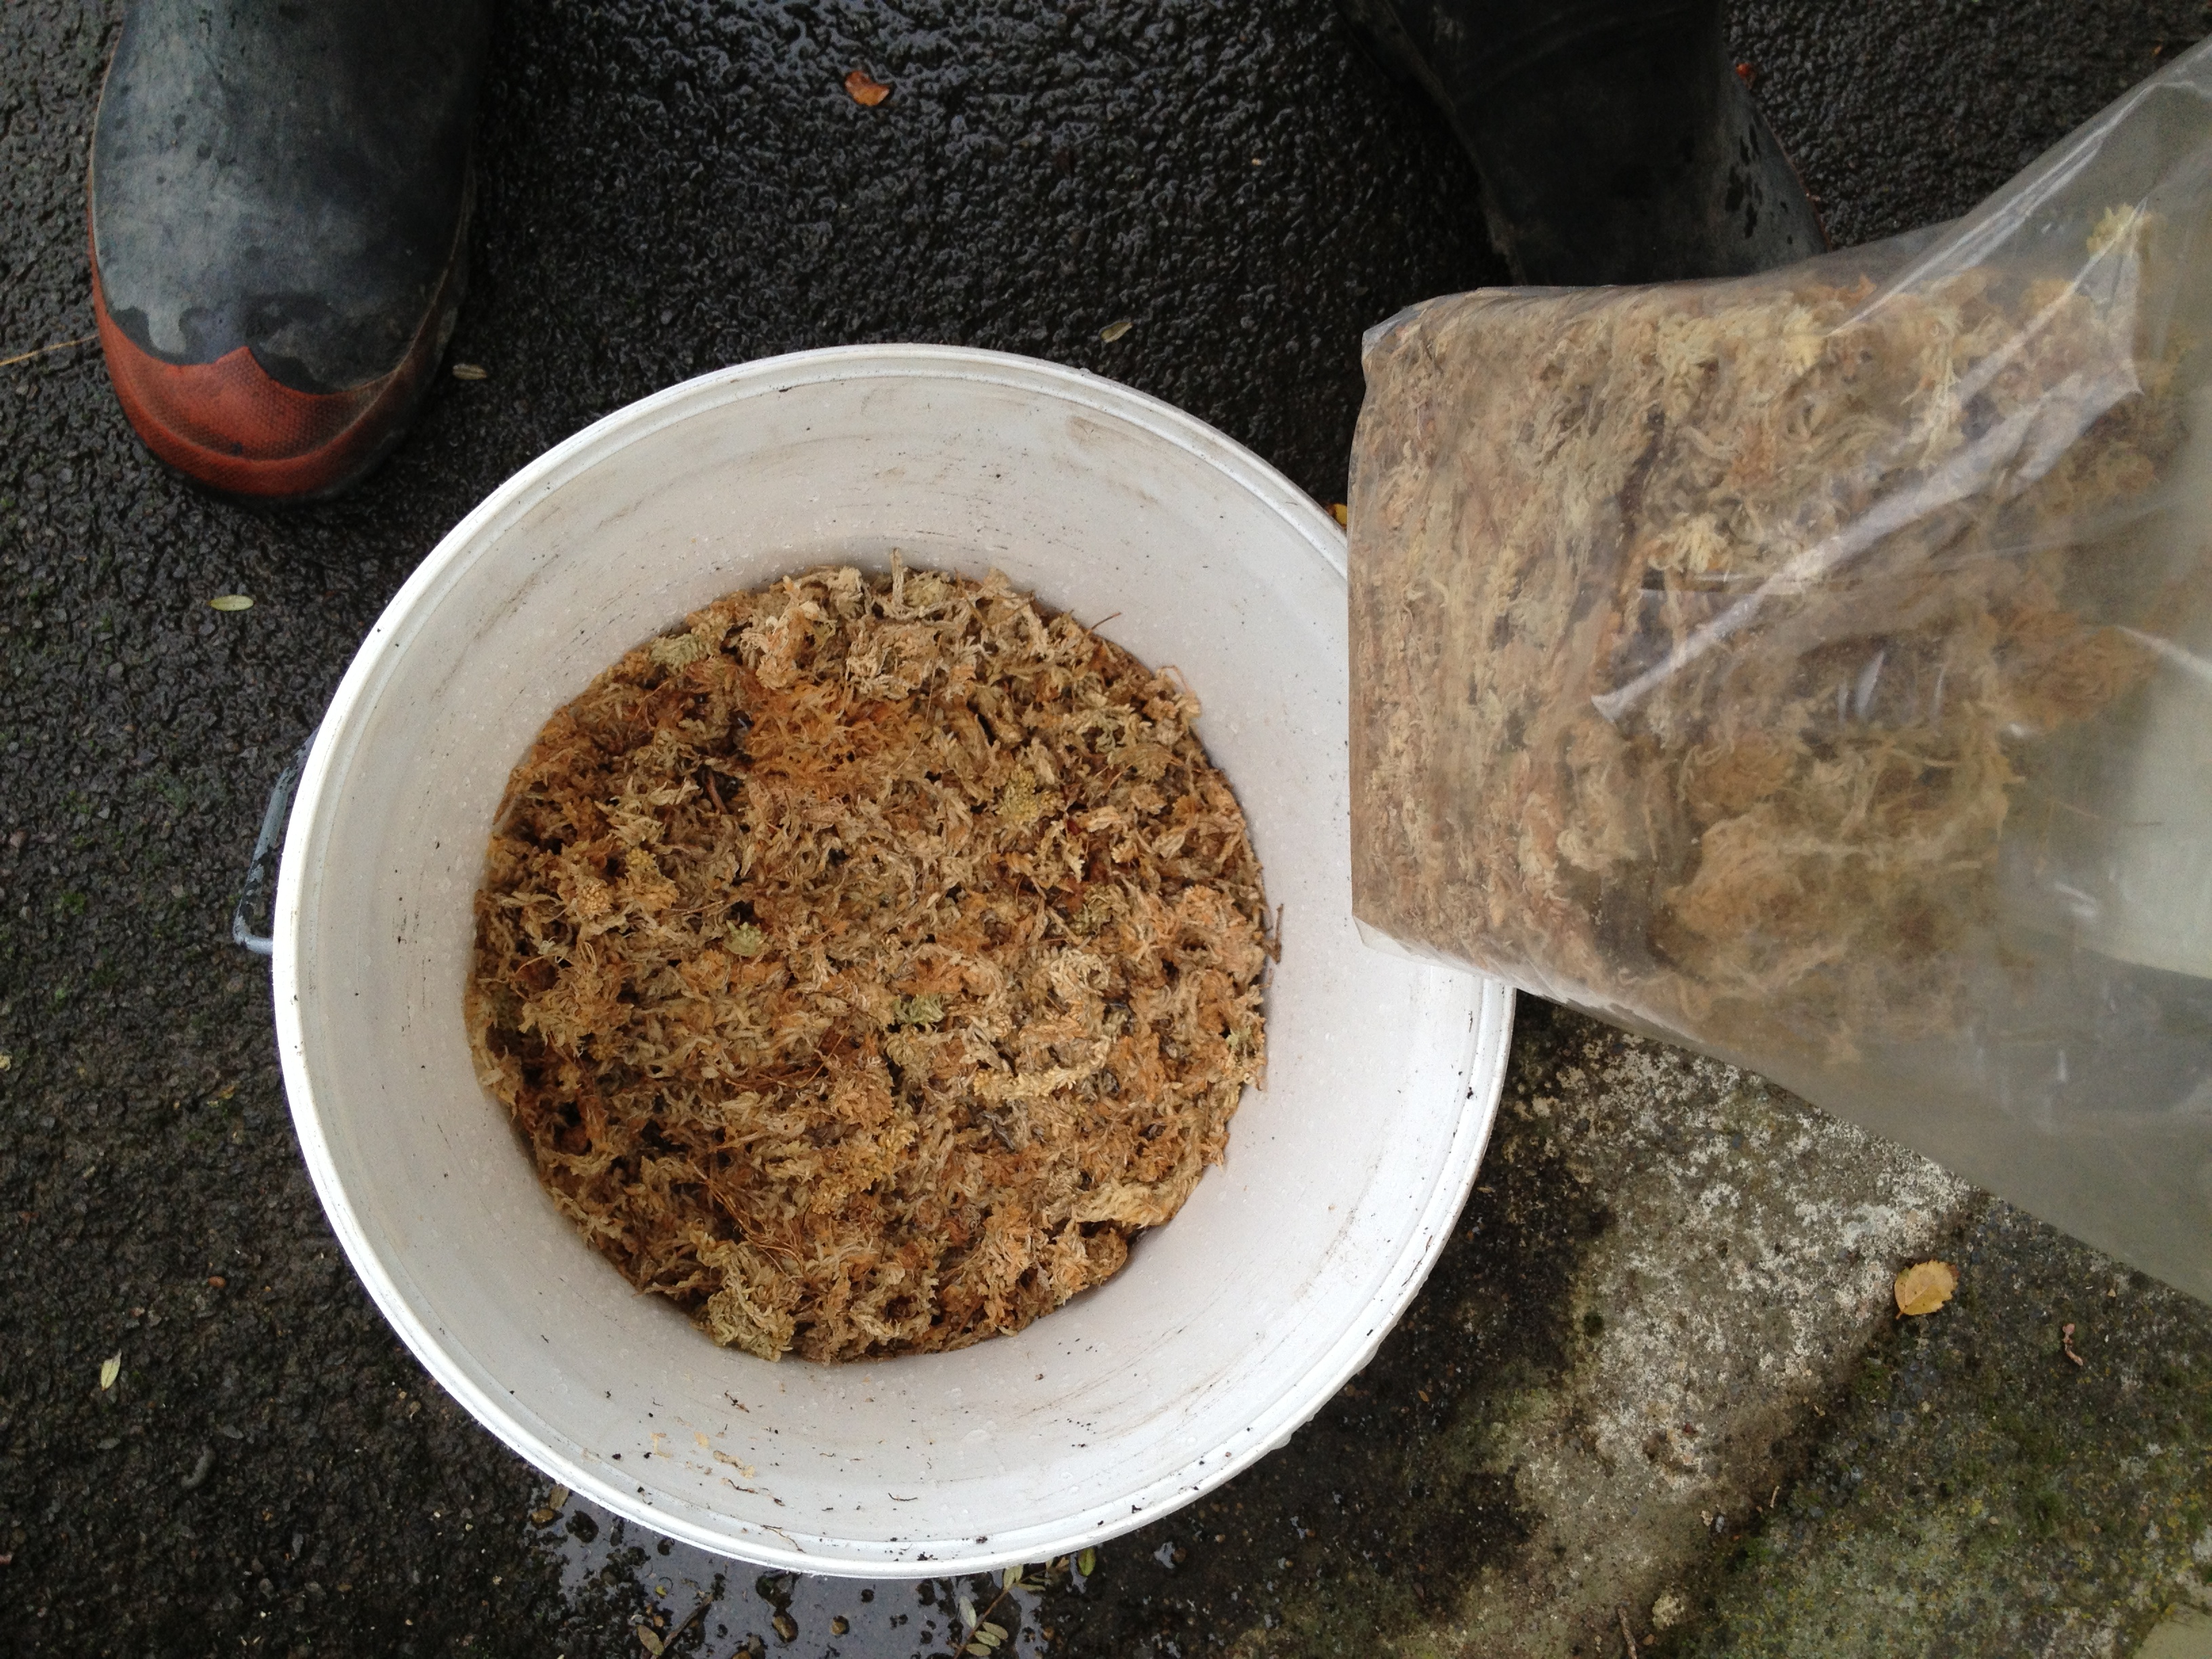


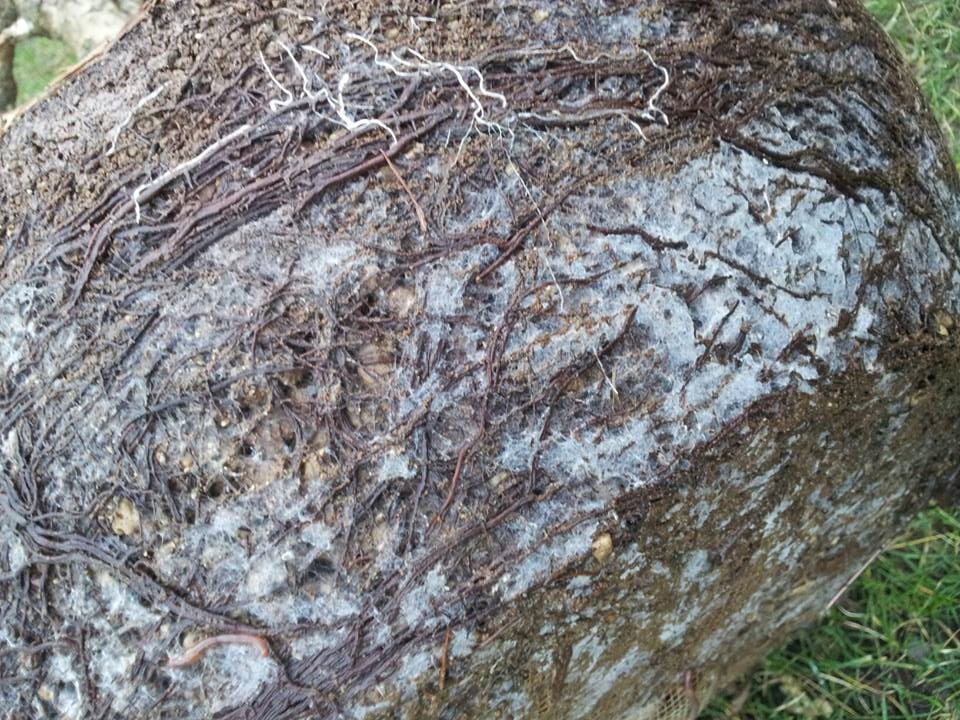
 re (more frequent) fertilization to take place. Michorrizal fungus spores can be bought (I have not seen it in New Zealand yet), but a much less expensive way to inoculate your Bonsai soil with the spores is to use a bit of the original soil in the Bonsai pot at planting time. I find that this is especially important when I plant Pines and other conifers.
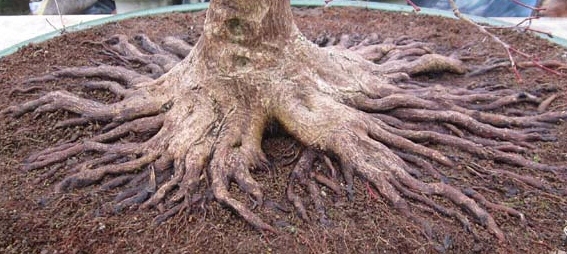


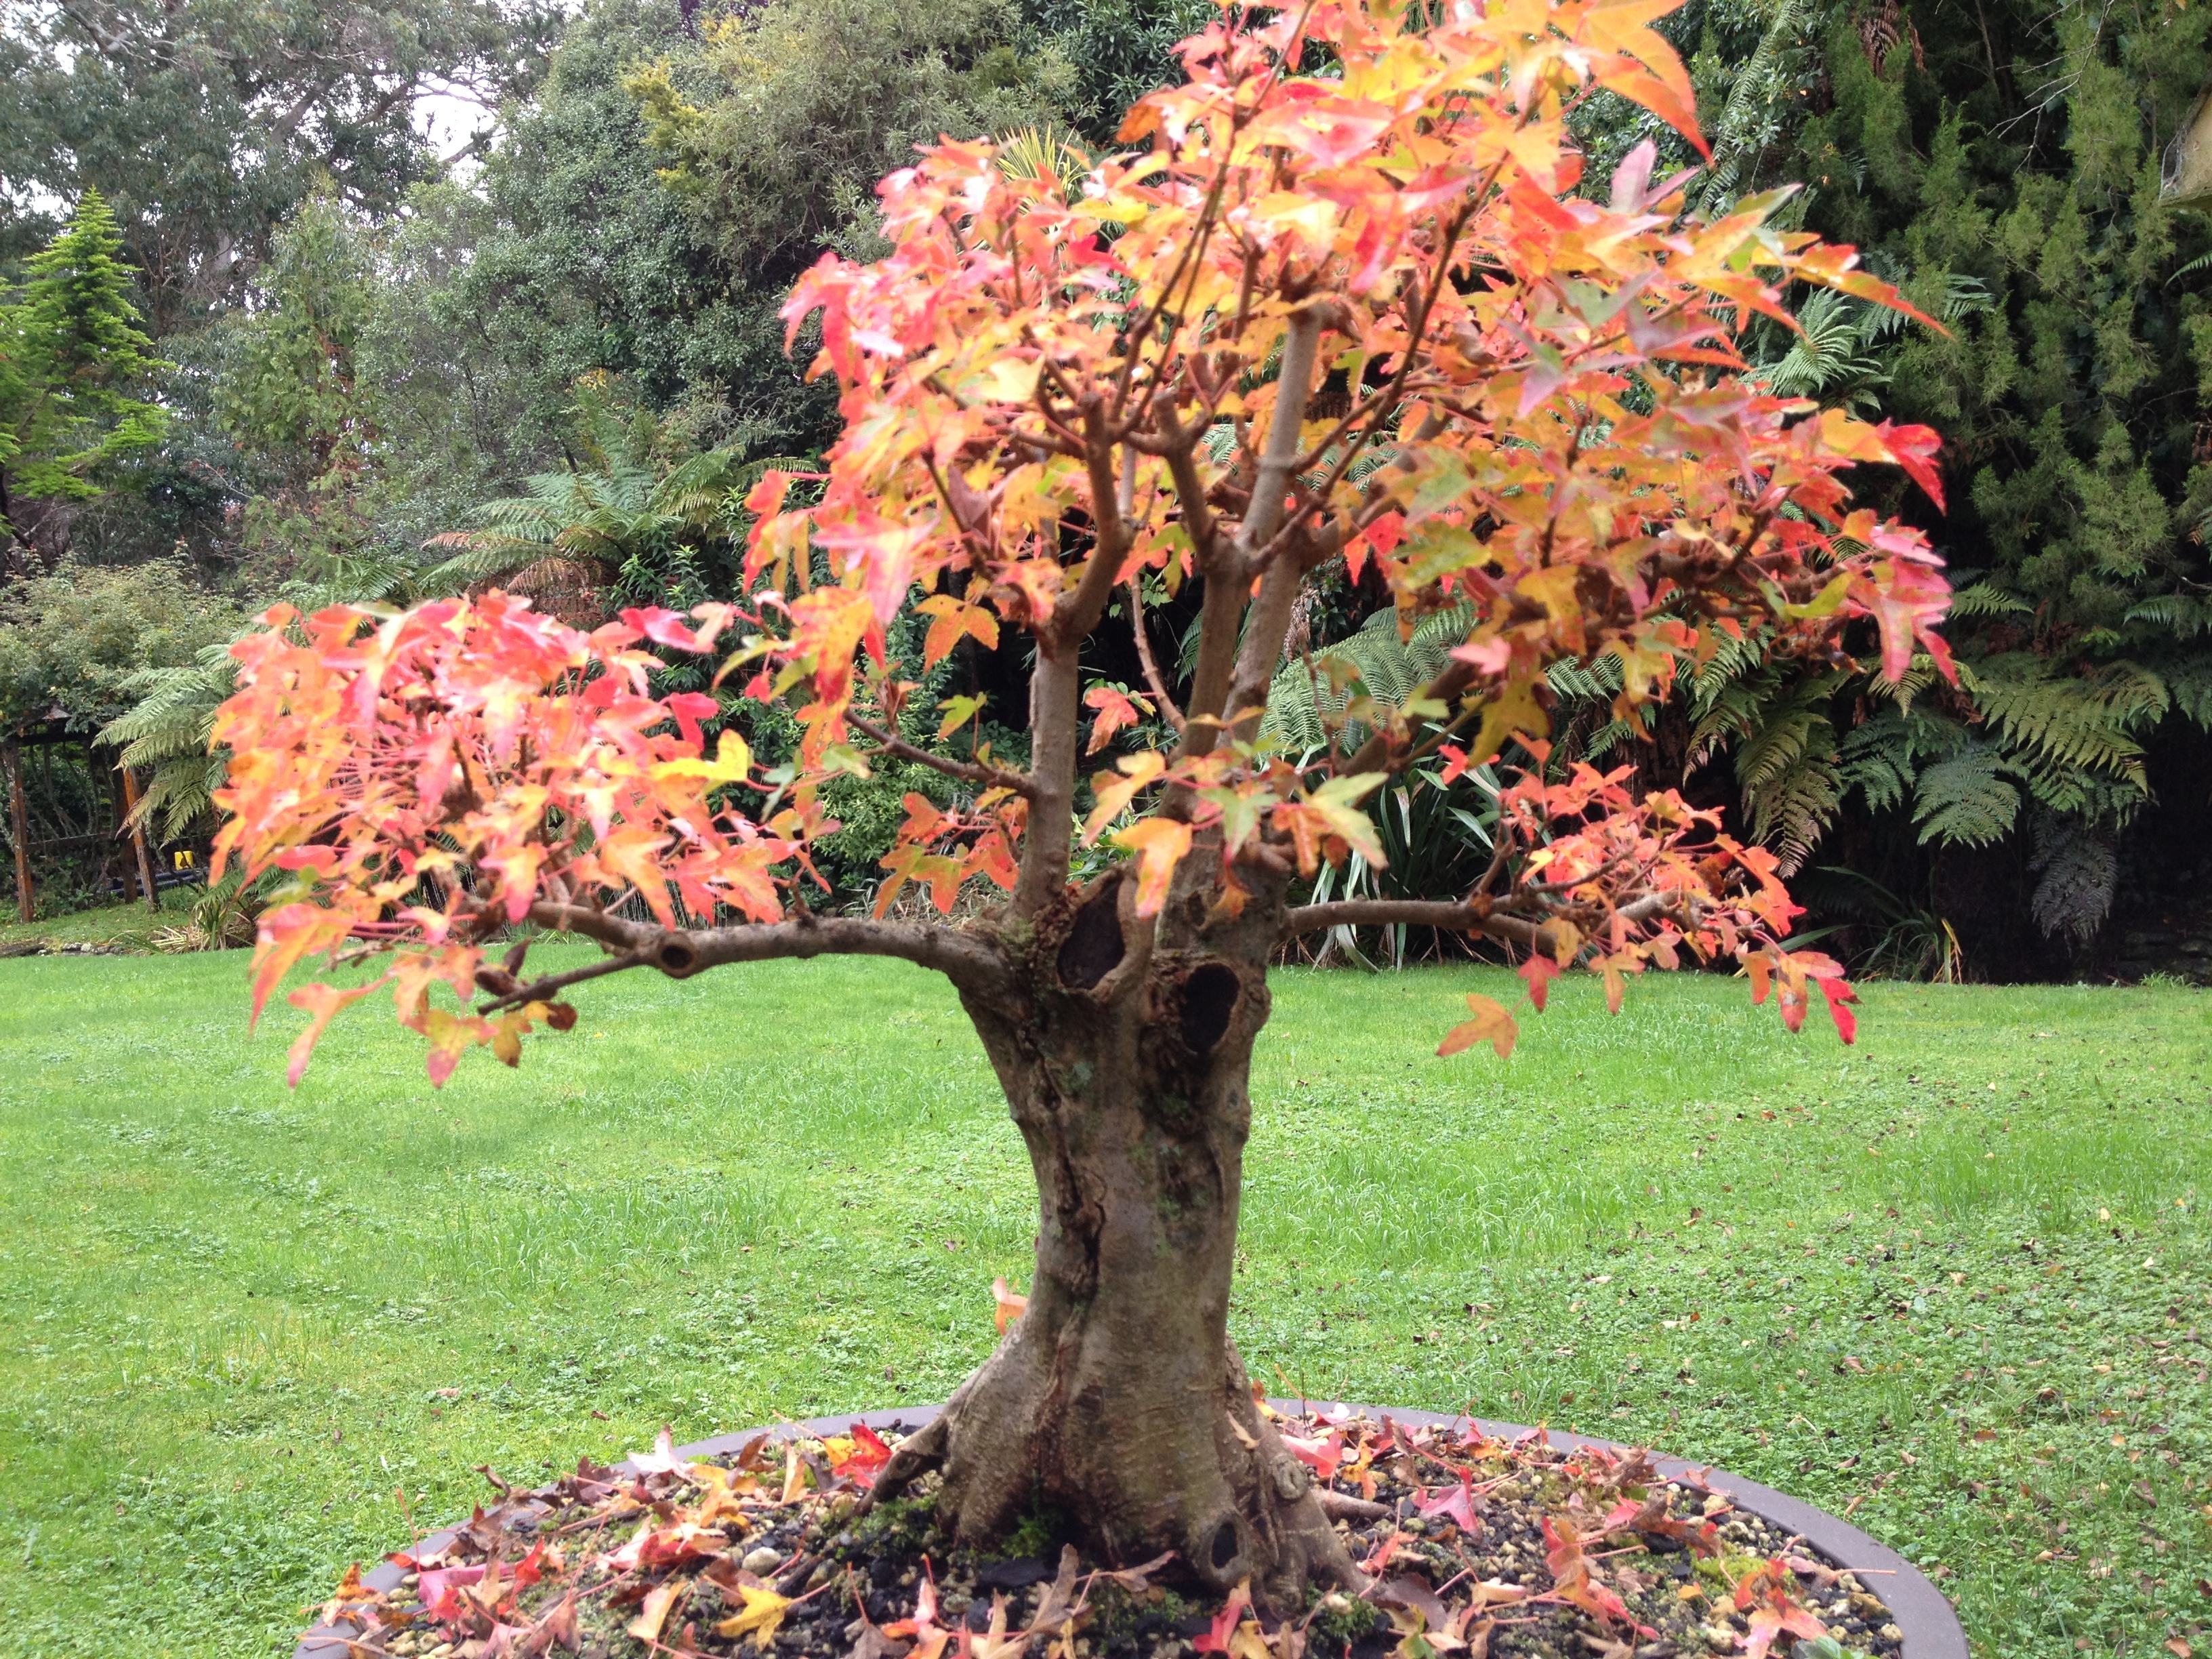
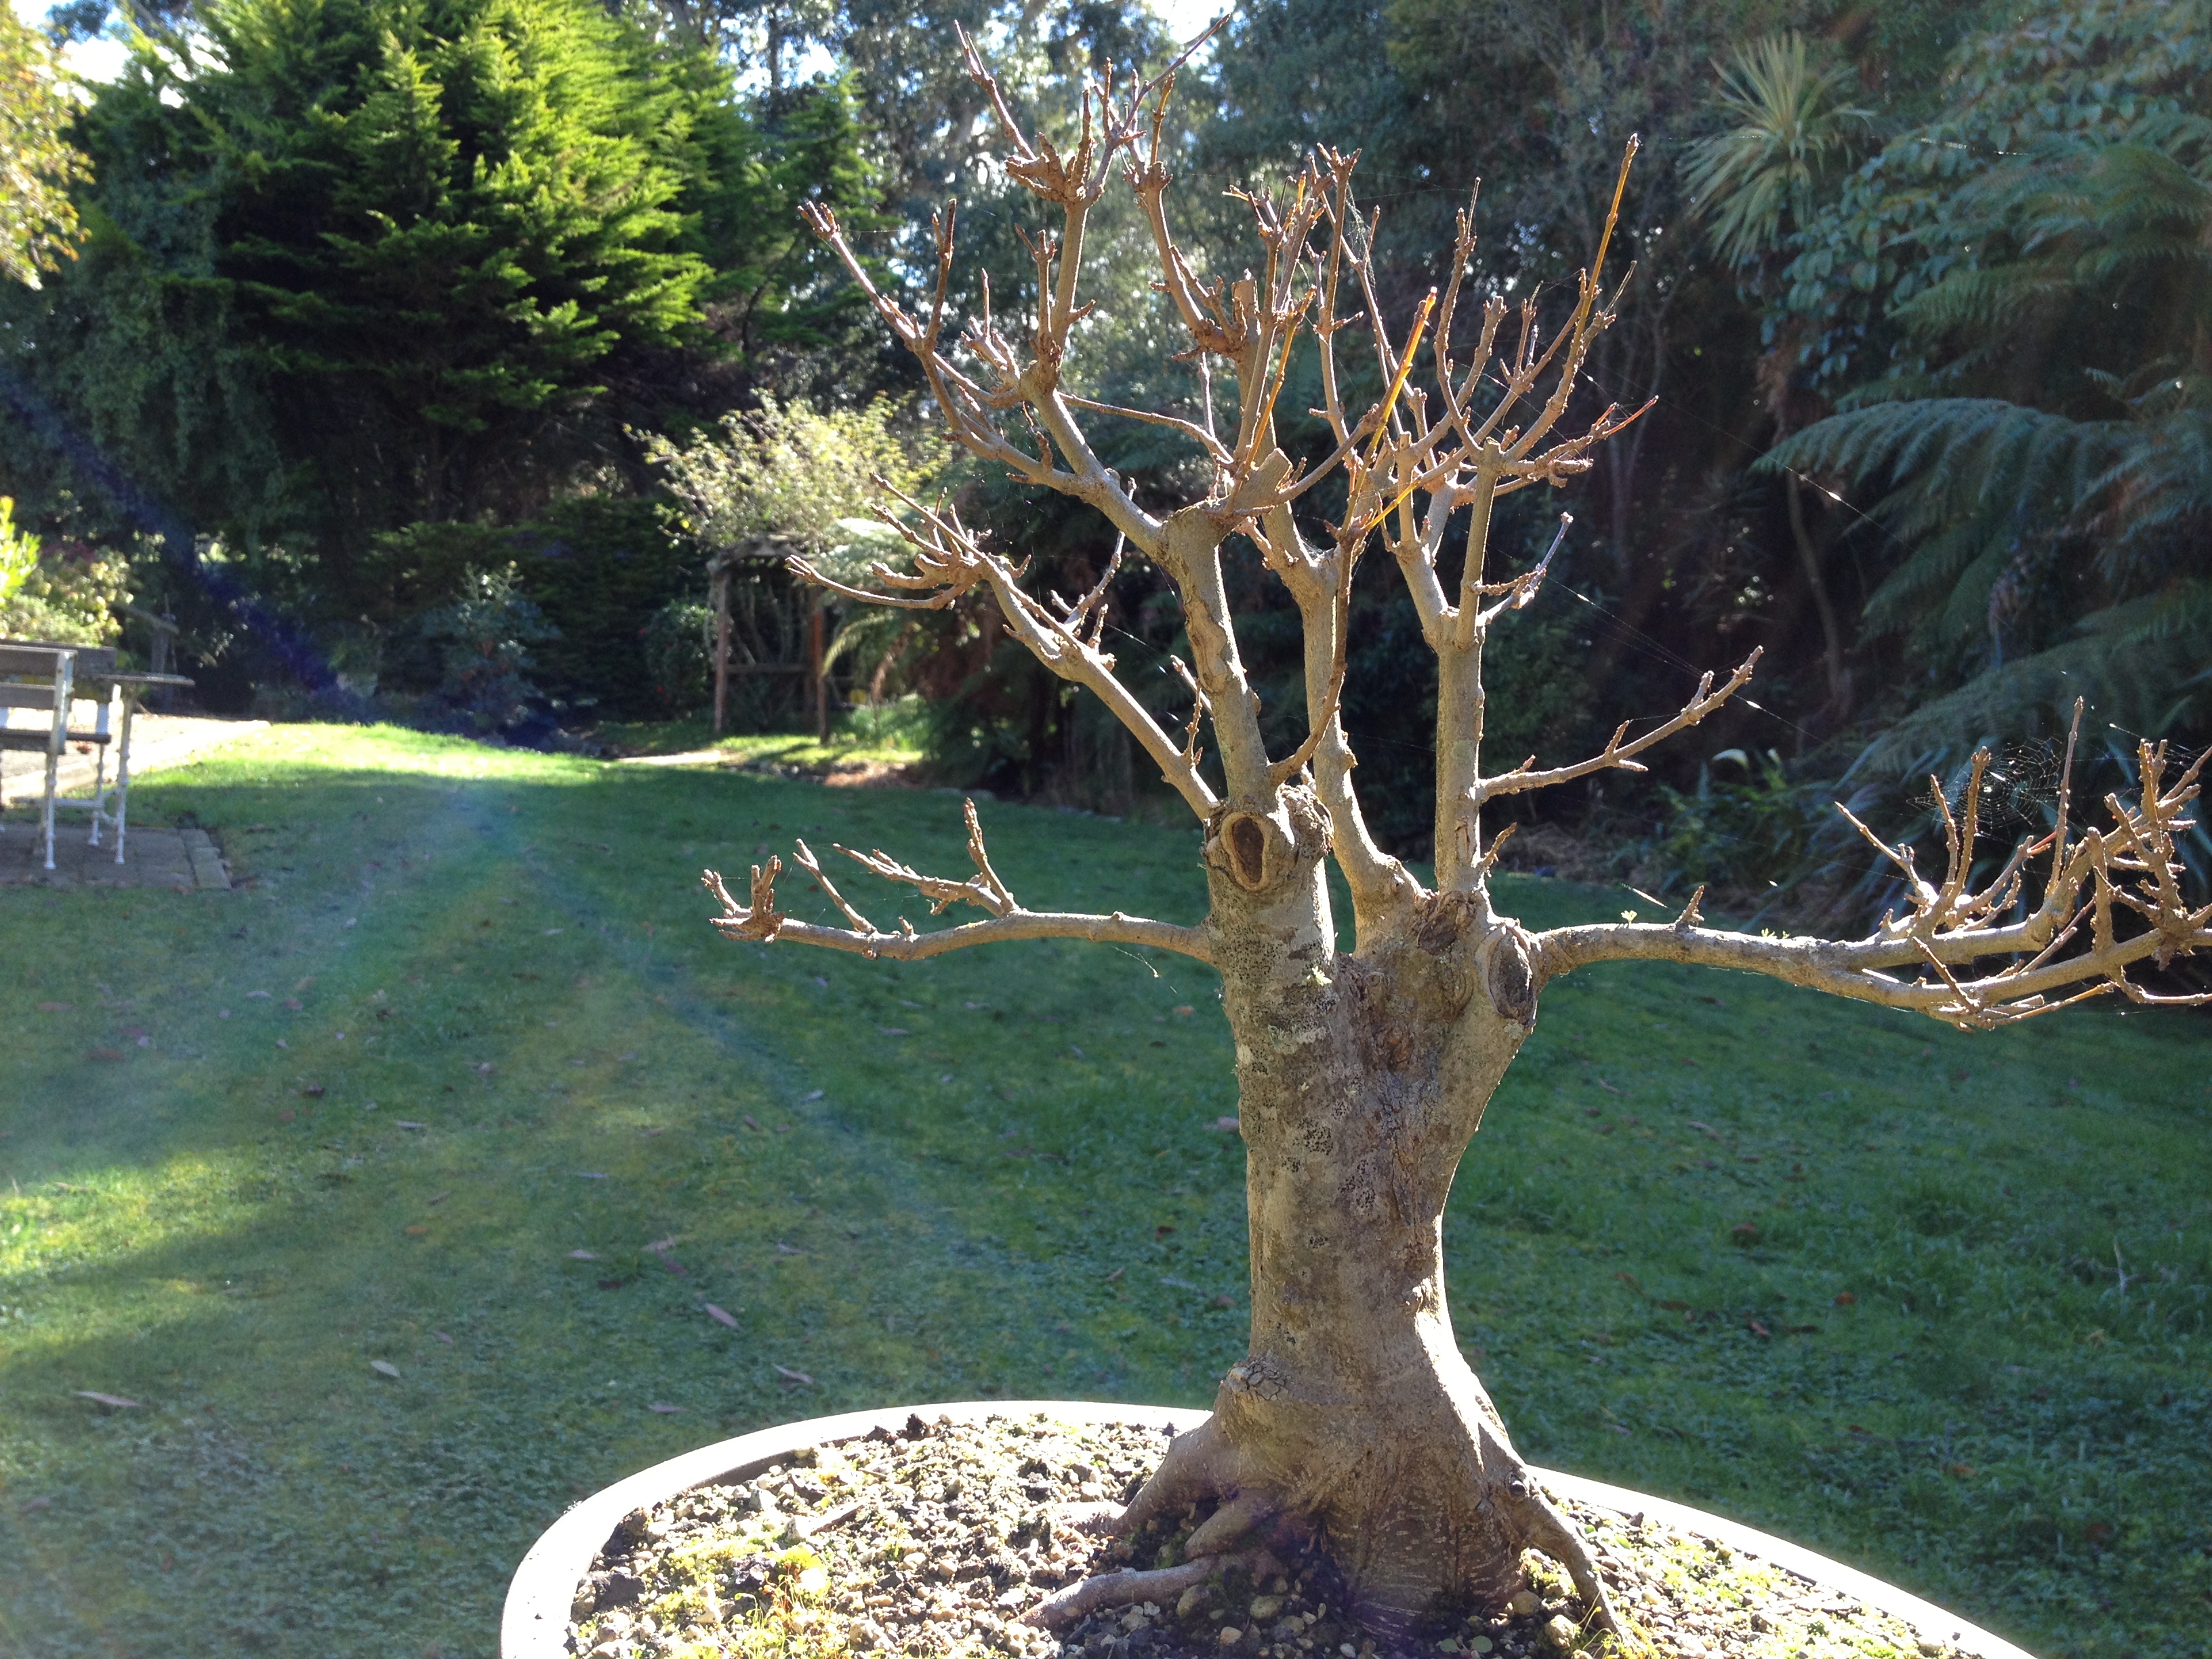
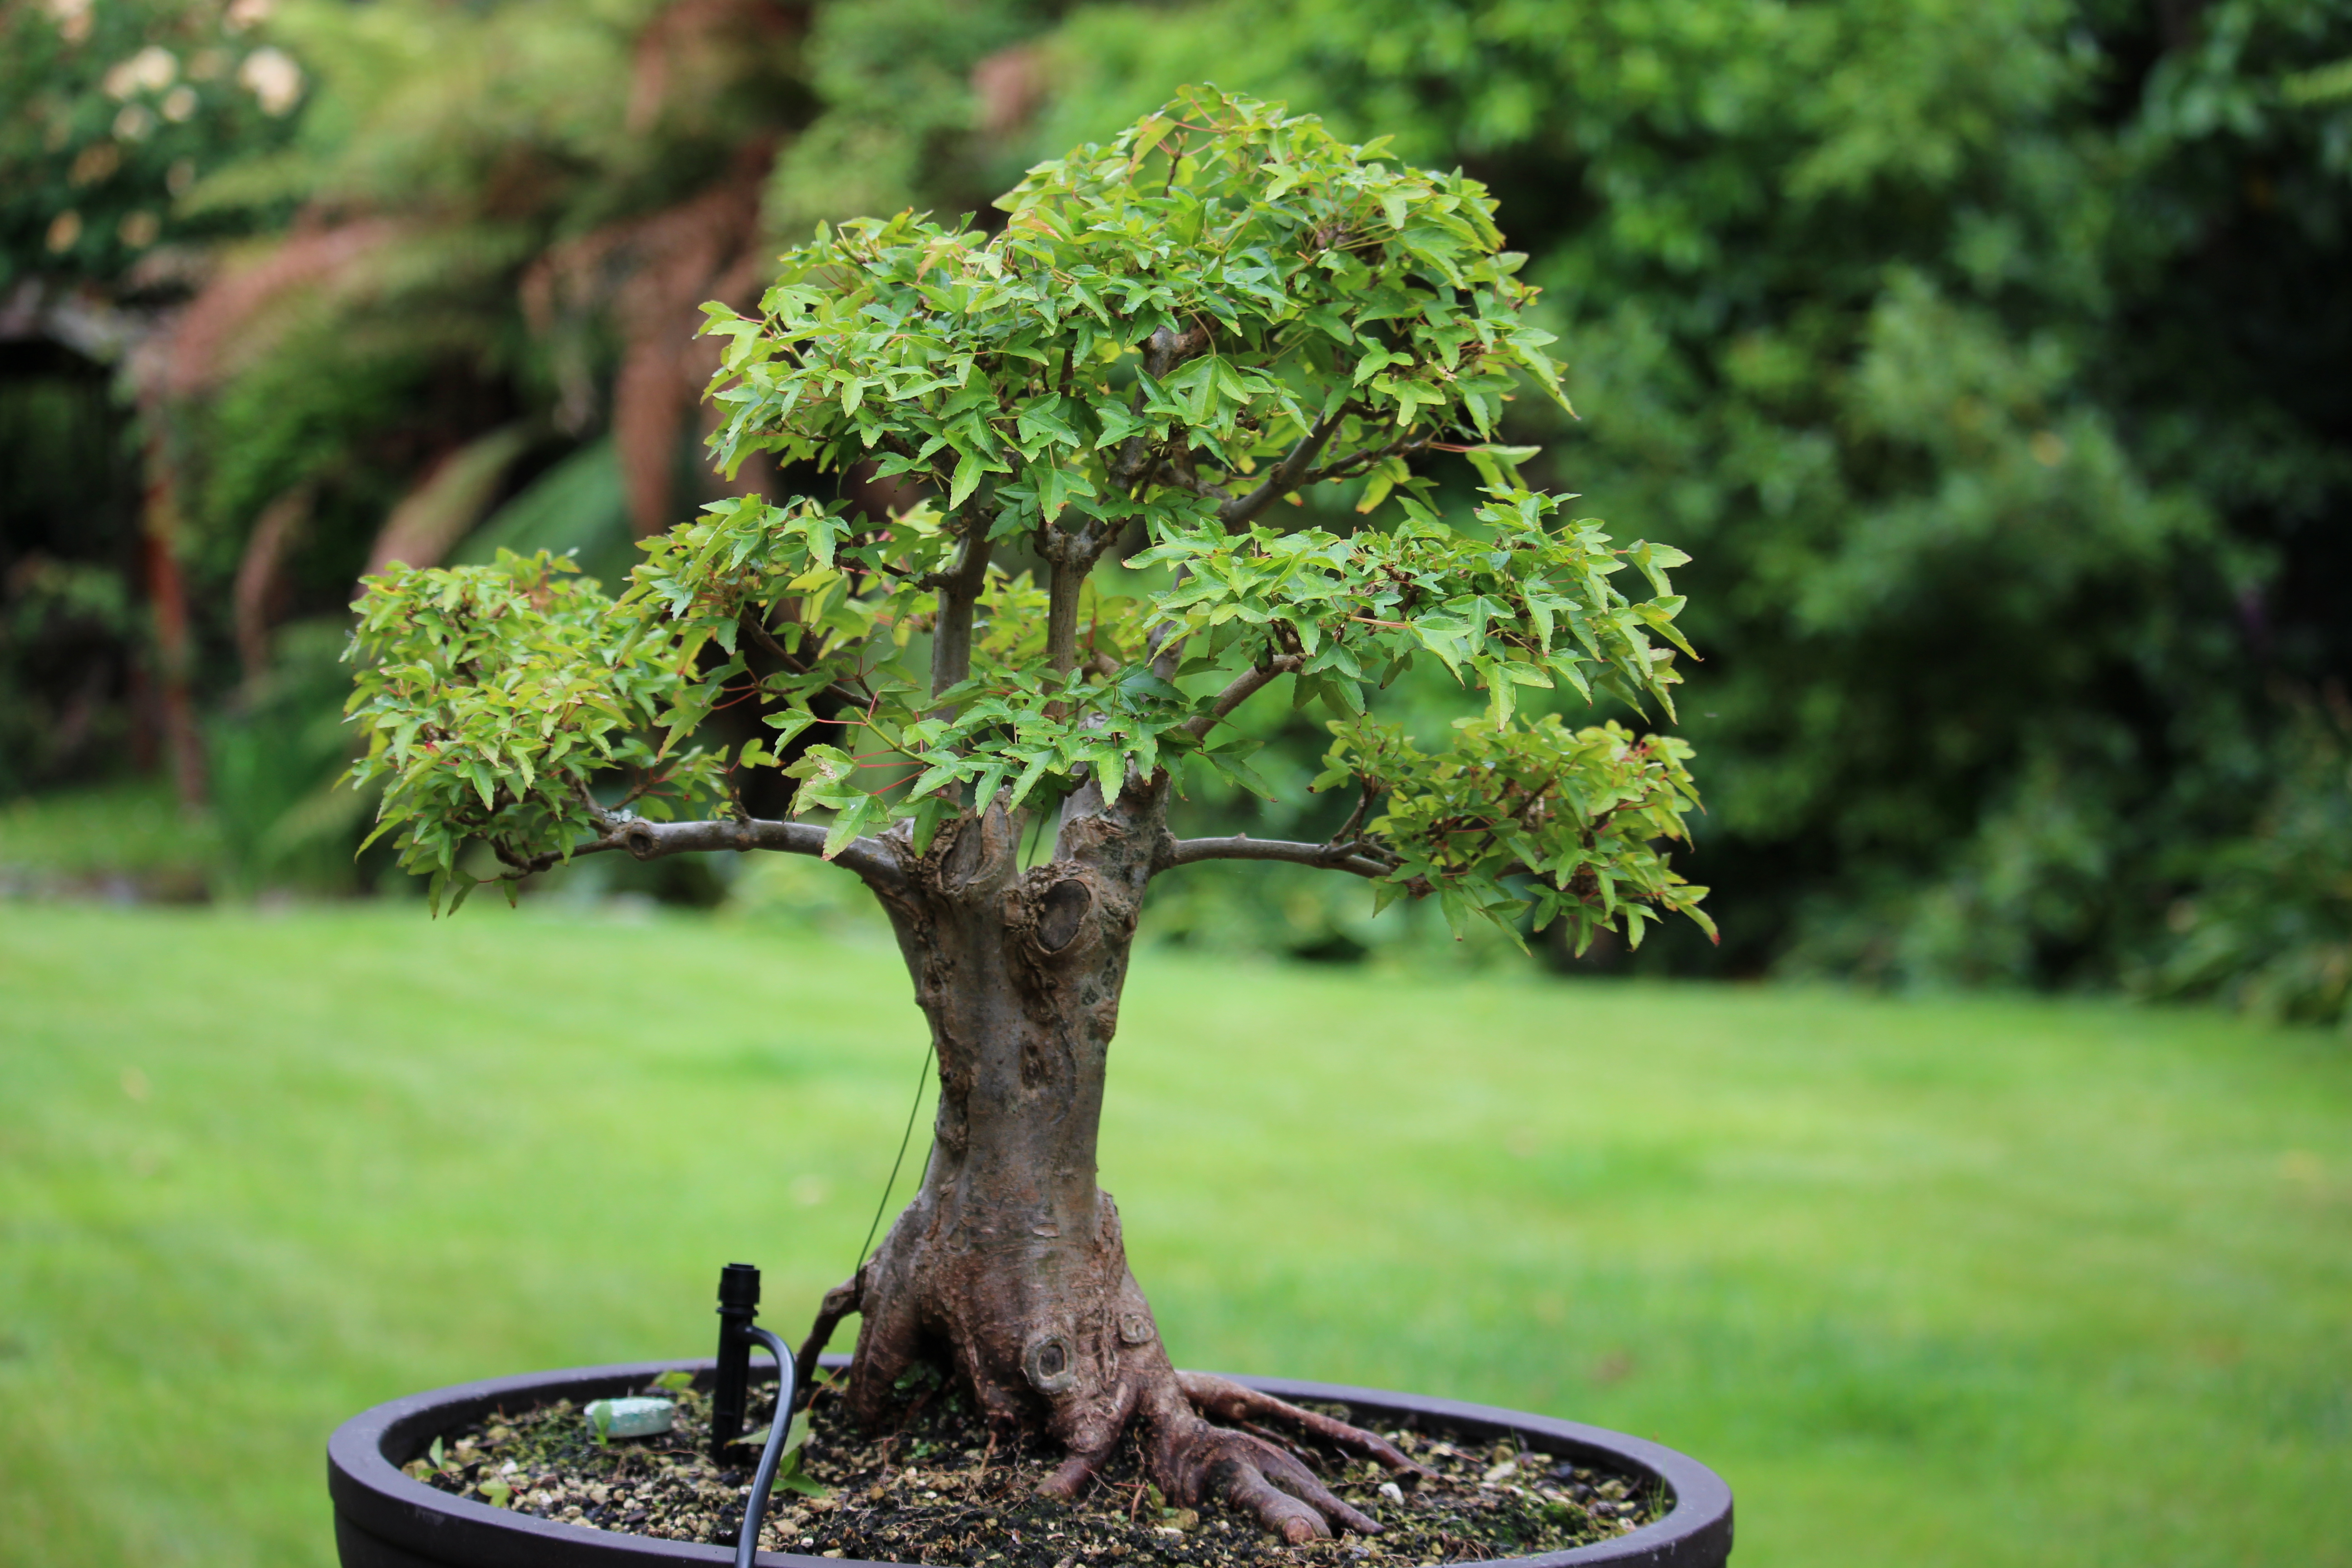
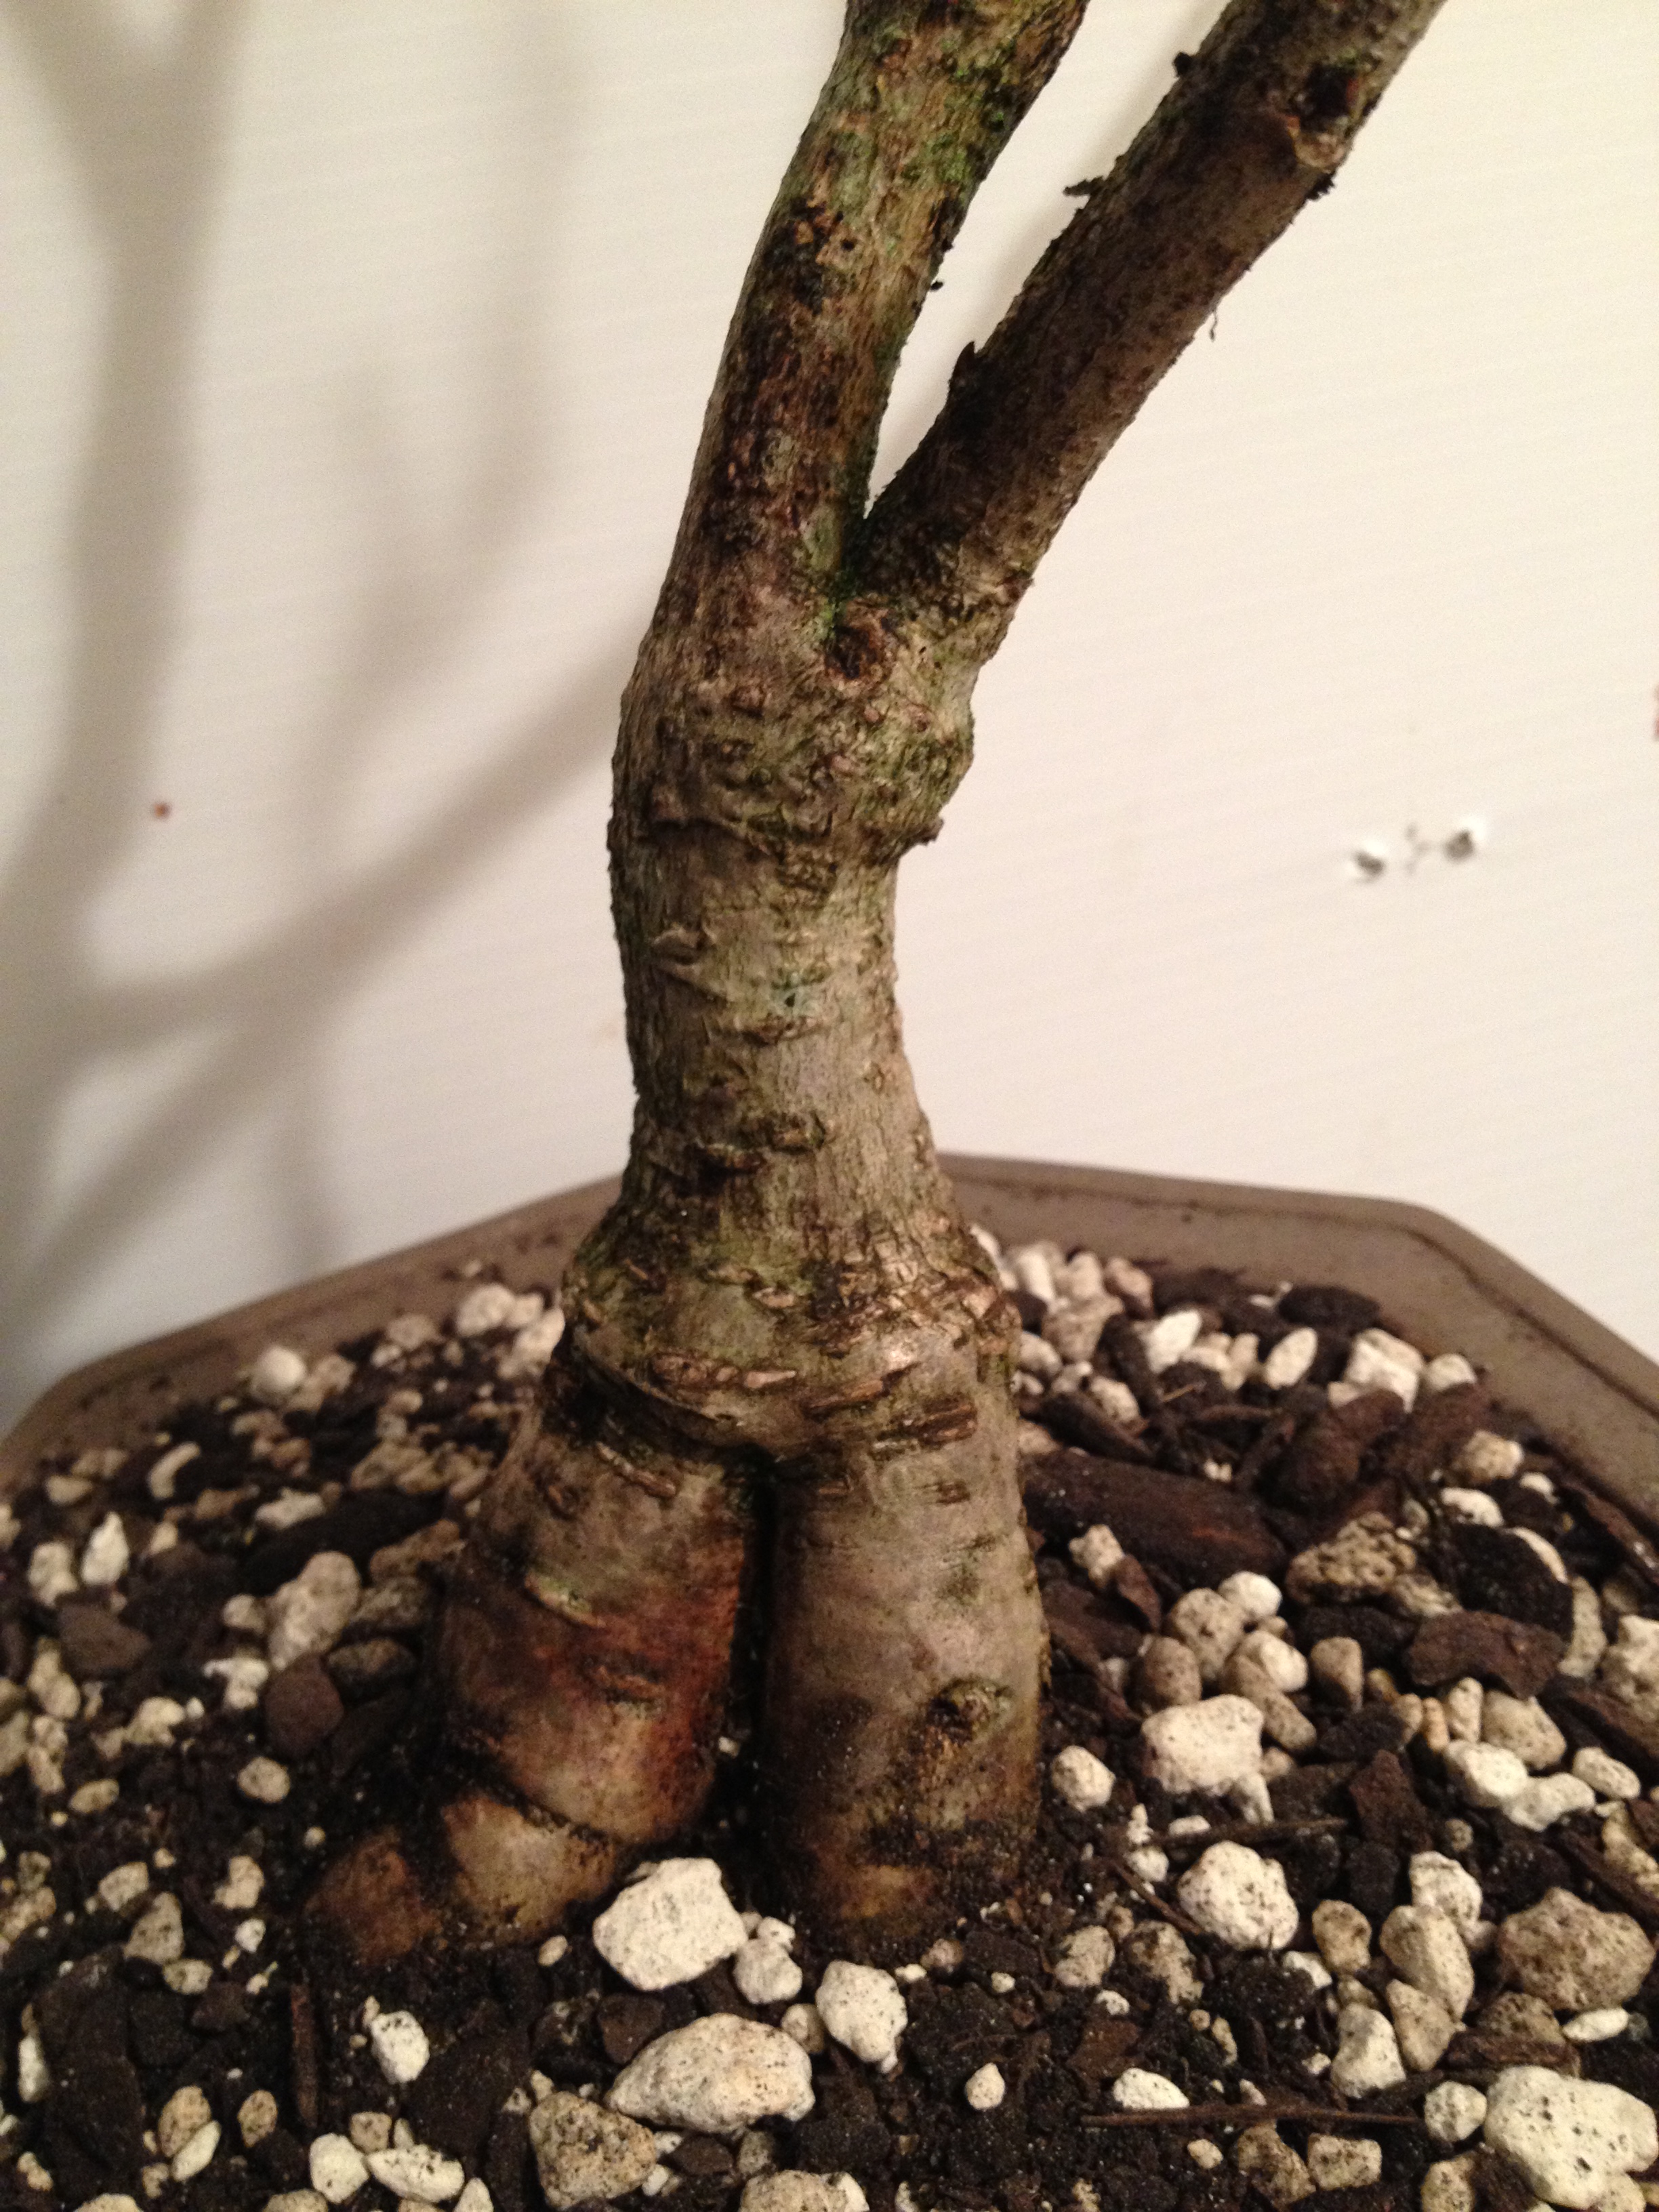
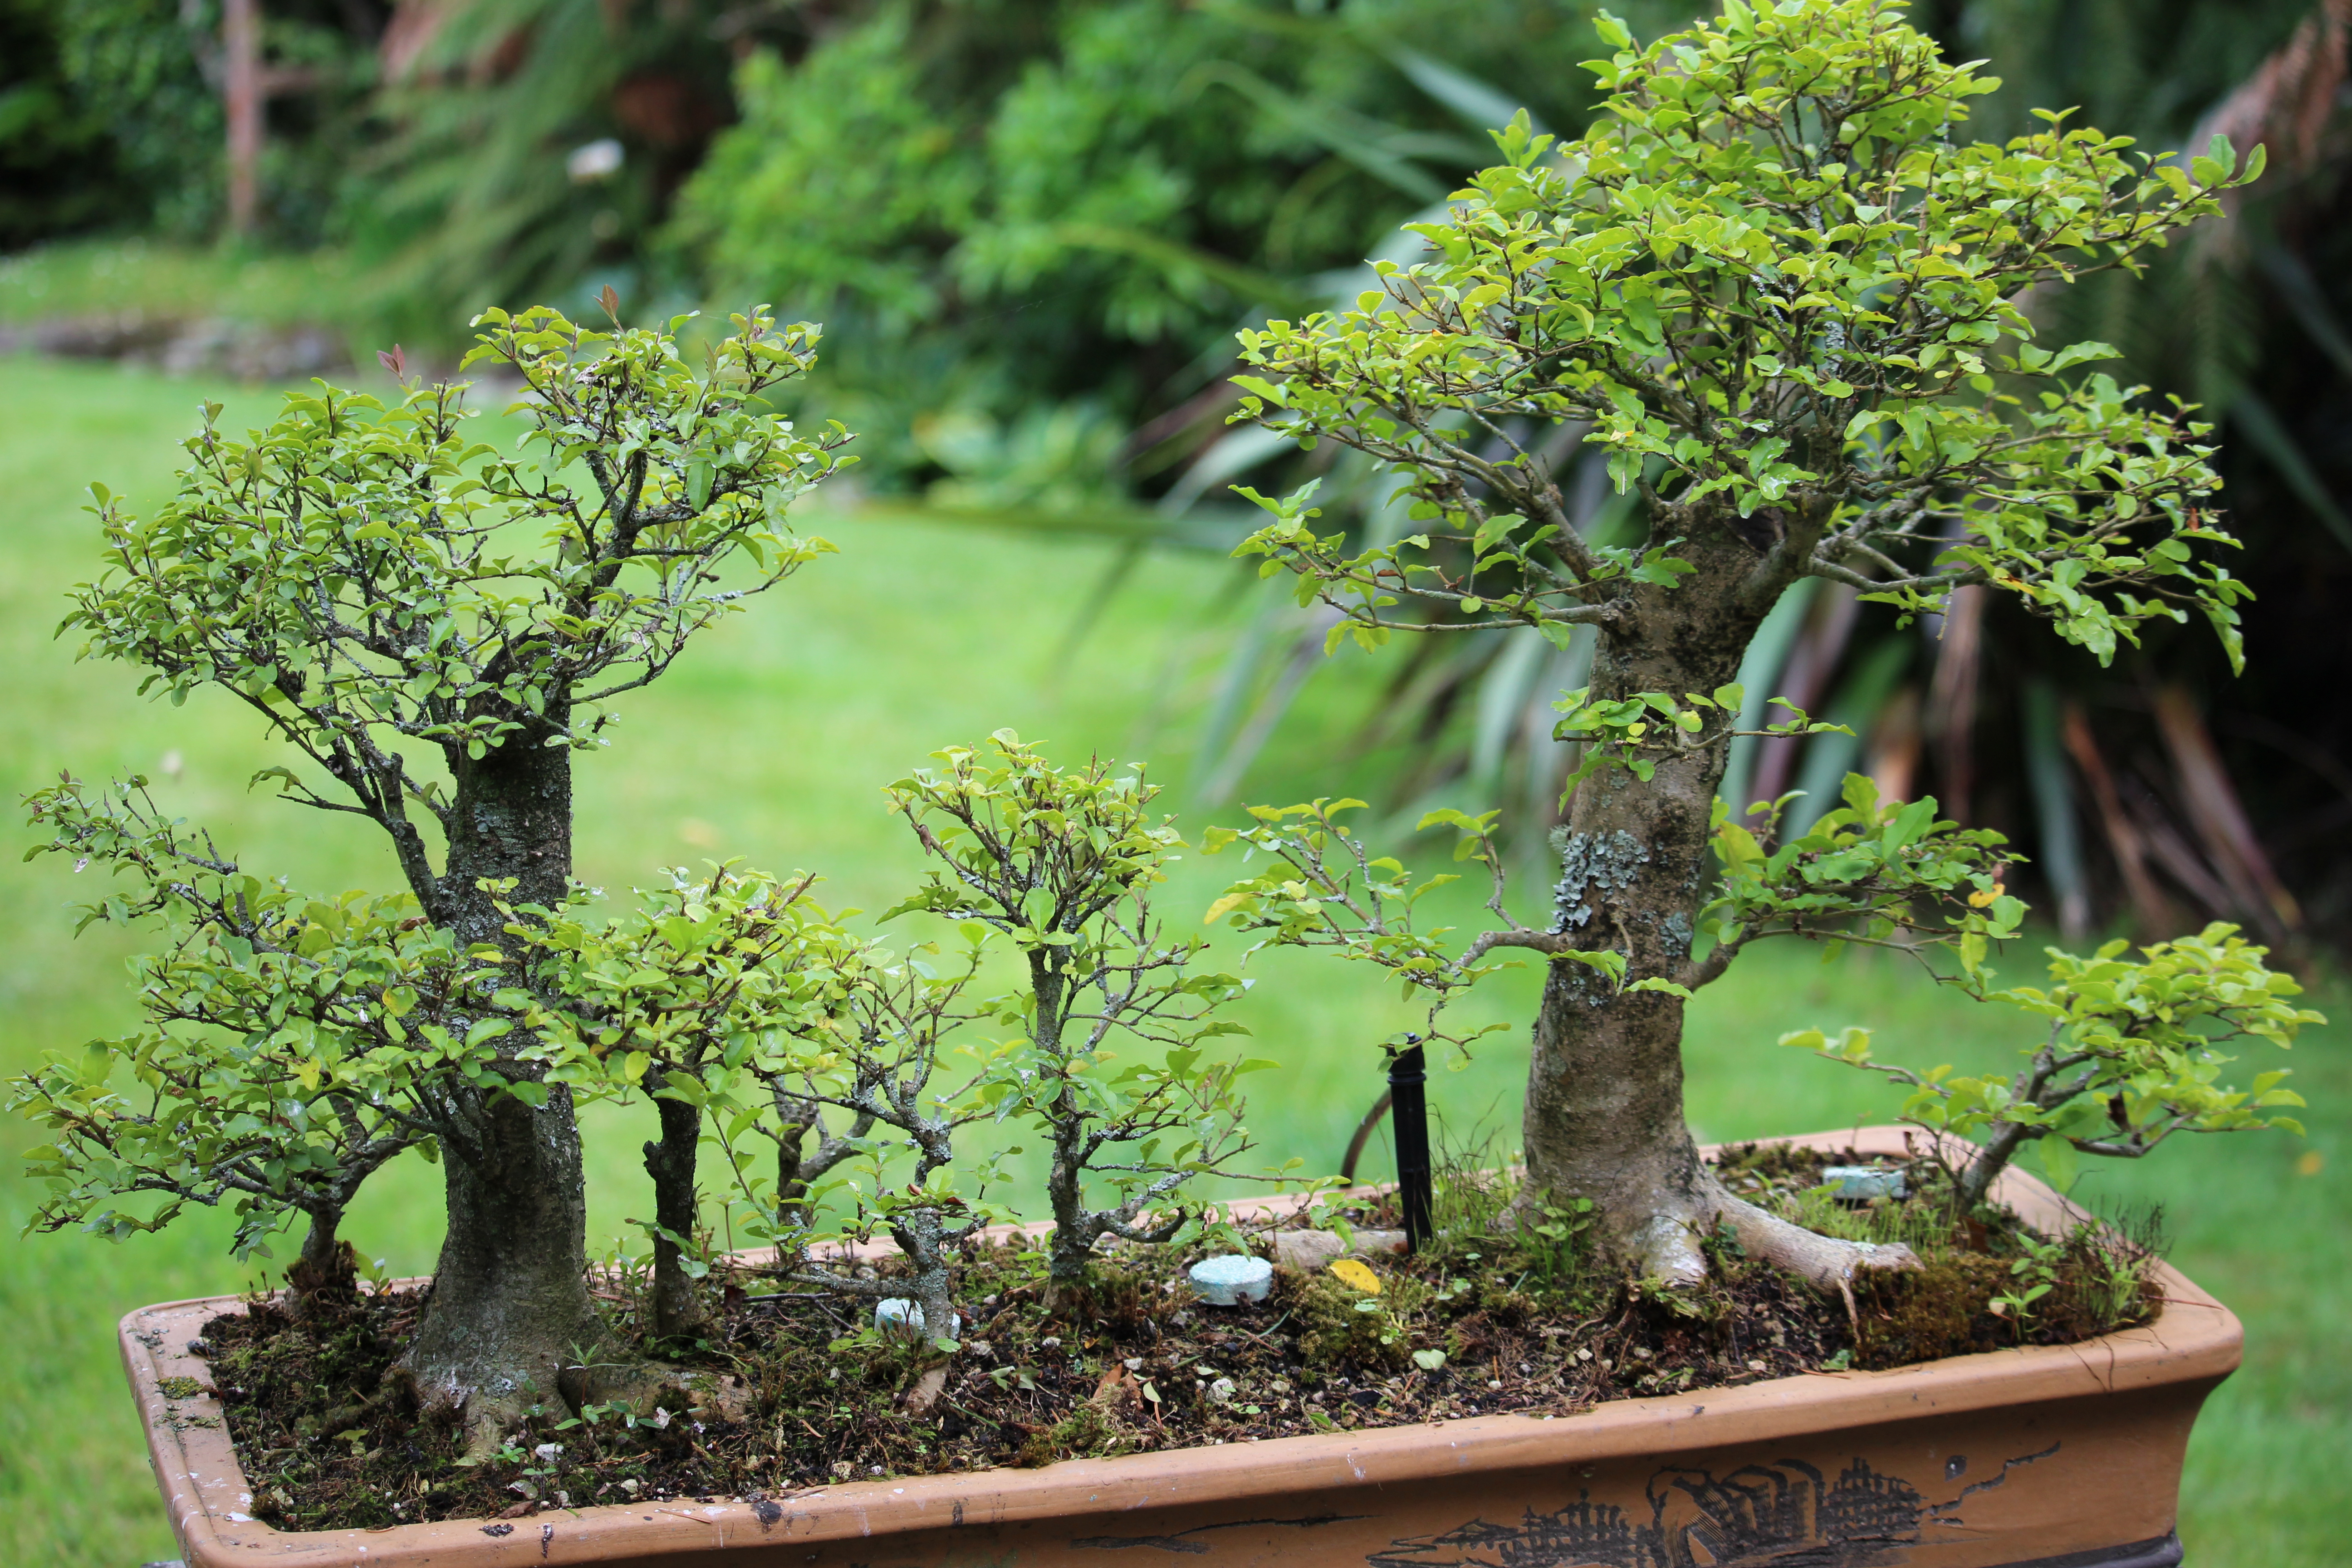
 at some sort of Nebari be established as it indicates age, shows that the tree is balanced and sturdy and has been there for a long time.
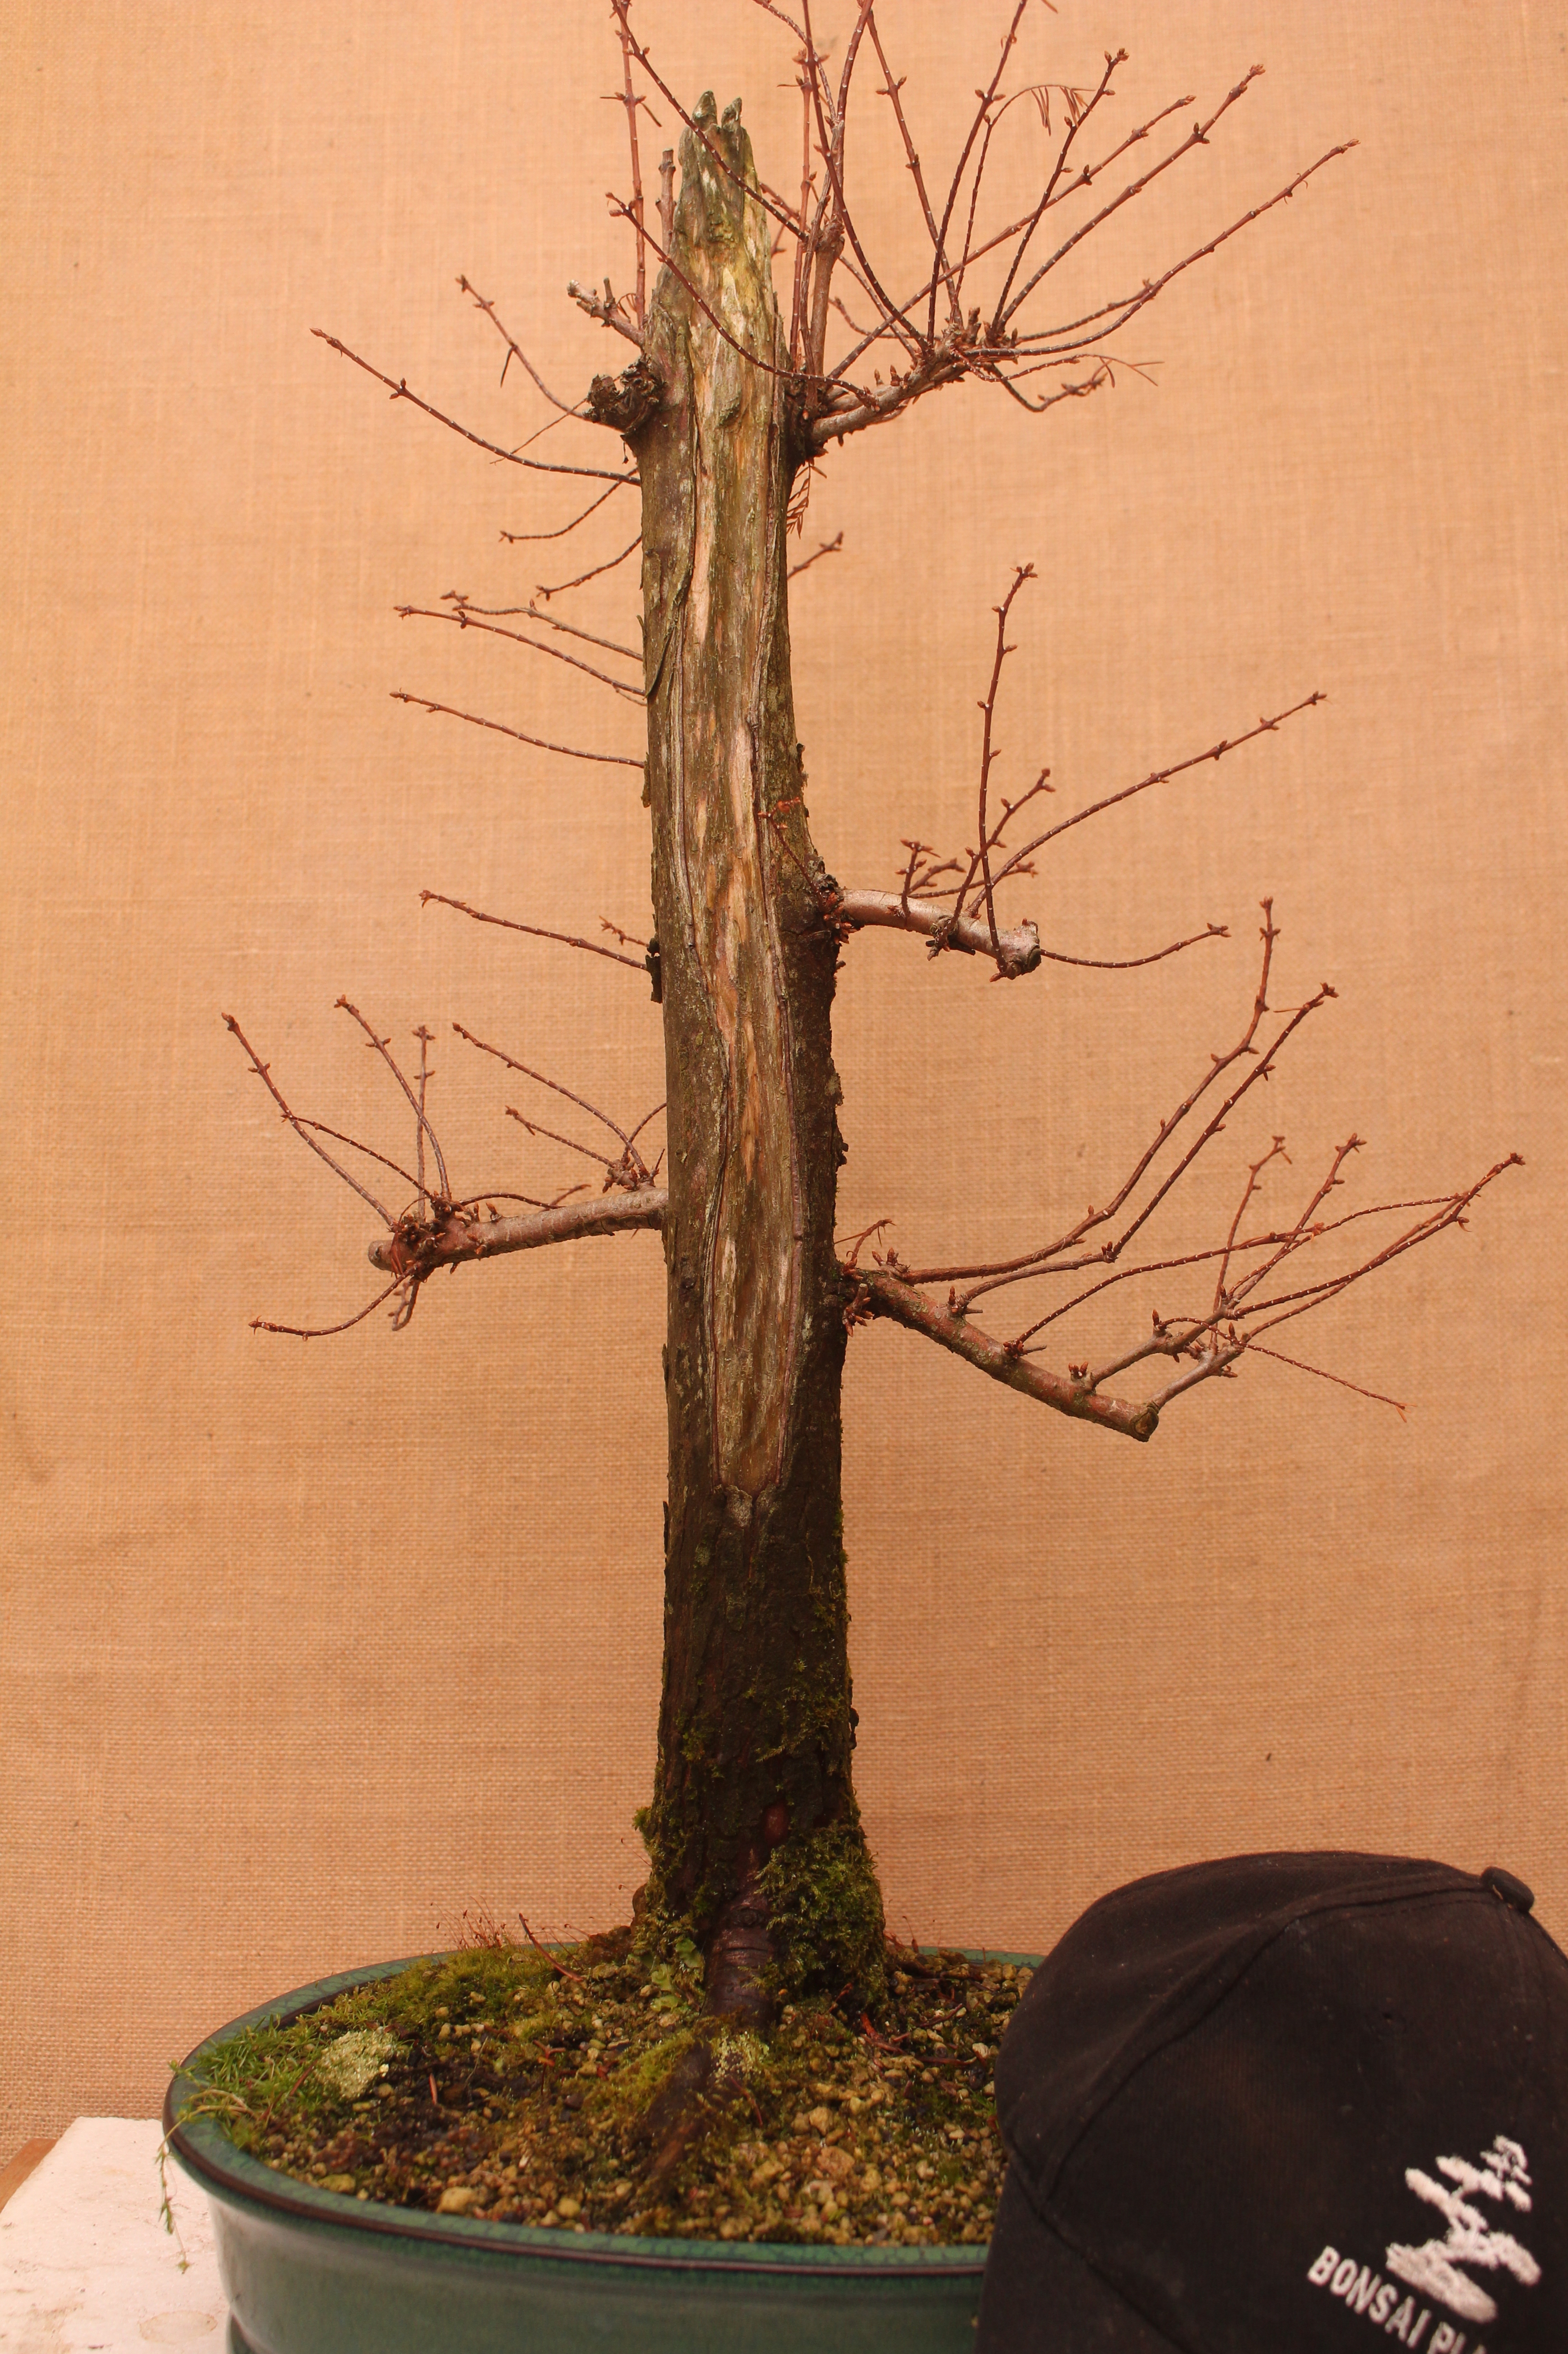
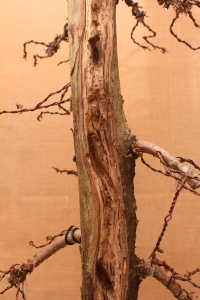 done first. The original carving was done with very rudimentary tools. I now have a rotary carver as well as a router that I use for carving. I went deeper today and added a bit more detail to the top. Out came the burner to get rid of all the frilly bits. The bark and branches were protected by aluminium foil. It was finished off with a wire and then a nylon brush.